The security and availability of the system in Windows 10 environments is important since this will largely depend on the satisfaction of the end user in terms of credibility. The reason is simple, in many cases the system can present operational failures both at the hardware and software level and if there is no backup of this information or any configuration made in the system, the loss can be of great importance. importance..
For this reason, Windows integrates a function called Protection of the system whose fundamental purpose is to revert the operating system to the last known stable point in which it worked correctly. Thus, in case of a software failure, it will be possible to restore the system to this point and thus have the normal operation of it.
To take into account, in the way the space is filled, the oldest restoration points are going to be automatically deleted in order to make way for the new restoration points and thus not saturate the hard disk space with repeated information..
The system restore function does not affect in any way our personal files such as photos, documents, email and others. But we must bear in mind that when the computer is restored to a previous restore point , all the applications that we have installed after that point will be uninstalled and the applications that were installed when that restore point was created will remain active and enabled.
One of the advantages of restoring the system is that Windows 10 gives us the possibility to see which programs will be affected when the restoration is executed, which gives us a much more global idea that it will be affected..
What includes a restoration point
When you create a restore point, some elements that will be integrated into these restore points are:
- Files located in the Windows file protection folder (Dcache)
- Types of specific files monitored
If we want to exclude or add different types of files or directories in the system, we can edit the following file in the path
% windir% \ system32 \ restore \ Filelist.xml
When restore points are created
Windows 10 will create restore points in situations such as:
- The moment Windows Update installs new updates in the system.
- When installing a driver that is not digitally signed by Windows Hardware Quality Labs.
By default the protection of the system is disabled and therefore TechnoWikis will explain how we can activate it or not, based on the needs, through this tutorial.
To stay up to date, remember to subscribe to our YouTube channel! SUBSCRIBE
1. Enable system protection in Windows 10 graphically
It is one of the most practical options because intuitively we have the options to activate and configure the restore points in Windows 10.
Step 1
To make use of this method, we have some options such as:
Using keyboard
Use the following key combination and there execute the following command:
+ R
SystemPropertiesProtection

Using graphic mode
Through the Control Panel in the following route:
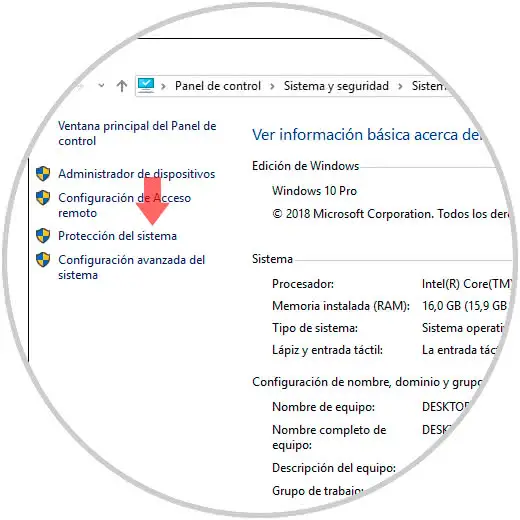
Step 2
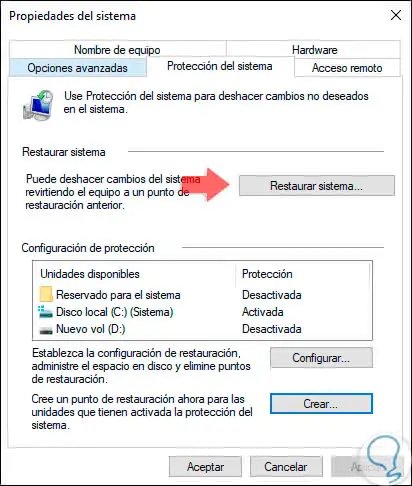
There we will click on the line "System protection" located on the left side.
Using any of the indicated options we will be redirected to the next window where we find the current units of the equipment, as well as the status of the system protection, in this case we can see that all these are disabled by default:
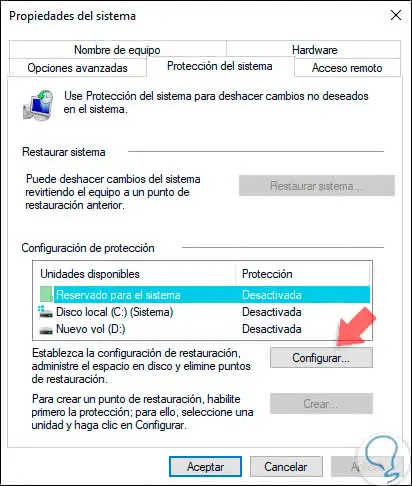
Step 3
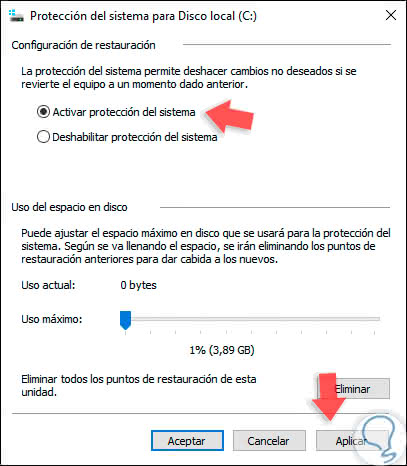
If we want to enable the protection of the system in any of the available units, we must select the unit to apply the protection and click on the "Configure" button, the following window will be displayed where we must activate the "Activate system protection" box.
In the lower part we have a sliding bar in which we will adjust the space on the disk that will be reserved for the restoration points, we also note that there is an option to eliminate all the restoration points that have been created in the unit that we selected. Defined these aspects click on the "Apply" button for the changes to take effect.
2. Enable system protection in Windows 10 using CMD or PowerShell
Step 1
For this case we have to use the Windows PowerShell console, GPO or Command Prompt for that purpose.
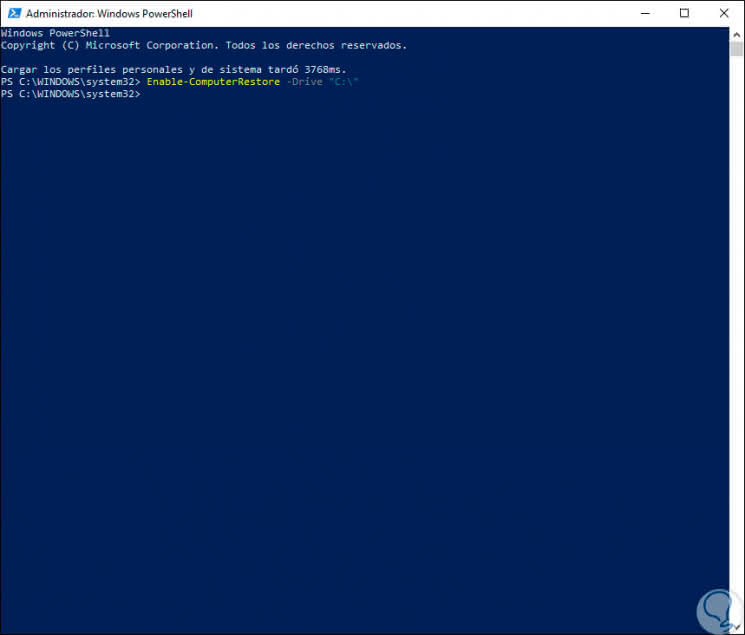
From PowerShell
In the case of Windows PowerShell we access this as administrators and in the console we will execute the following cmdlet:
Enable-ComputerRestore -Drive "C: \"
Note
There we can change the unit C by the letter of the unit where we want to activate the protection of the system.
The Enable-ComputerRestore cmdlet has been developed to activate the System Restore function in any of the Windows 10 file system units, and if we want to disable it, we must use the Disable-ComputerRestore cmdlet.
System restore points and ComputerRestore cmdlets are supported only on client operating systems from Windows 7 to Windows 10.
From CMD
Now, through the command prompt we can also manage some options of system protection, for this we access as administrators and execute the following:
vssadmin list shadowstorage
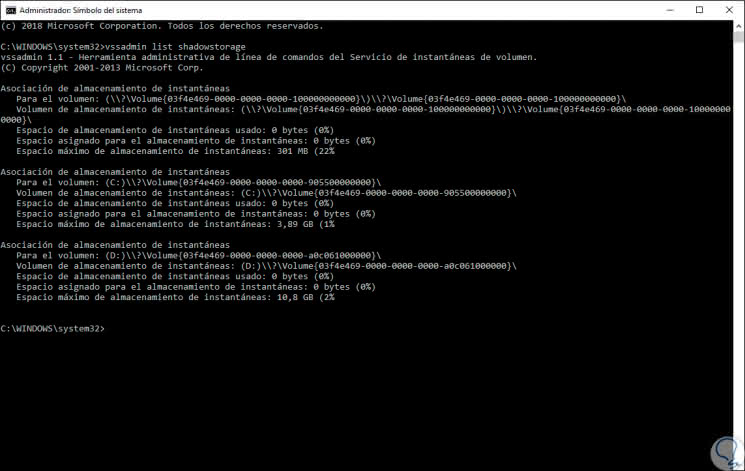
This is a command that lists all the existing snapshots of a specific volume, that's why there are specific details such as:
If we want to modify the storage size of System Protection, we must execute the following syntax:
vssadmin resize shadowstorage / for = <Volume1> / on = <Volume2> / maxsize = <MaxSize>
These values ​​indicate:
- <Volume1>: is the drive letter to apply the protection.
- <Volume2>: is the letter of the unit where the snapshot storage will be stored.
- <MaxSize>: There we will define the storage size to configure for the restore points.
For example, we can execute the following:
vssadmin resize shadowstorage / for = D: / on = D: / maxsize = 2%
In some cases it is possible that the System Restore option is not available or that, due to administrative reasons, it has been disabled. In this case we can access the register editor to correct this, for this we will use the following keys and execute the regedit command.
+ R
regedit
Now we will do the following:
In the expanded window we will go to the next route. There we must delete the DWORD values ​​DisableConfig and DisableSR.
HKEY_LOCAL_MACHINE \ Software \ Policies \ Microsoft \ Windows NT \ SystemRestore

From GPO
Another option is to use the group policy editor, for this we will use the following keys again and execute the command gpedit.msc:
+ R
gpedit.msc
Now we will go to the following route:
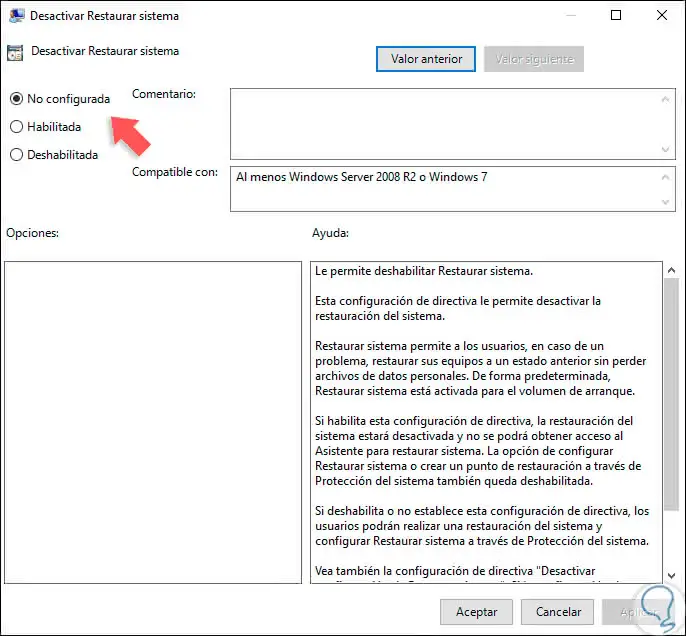
There we locate the policy called "Deactivate System Restore":
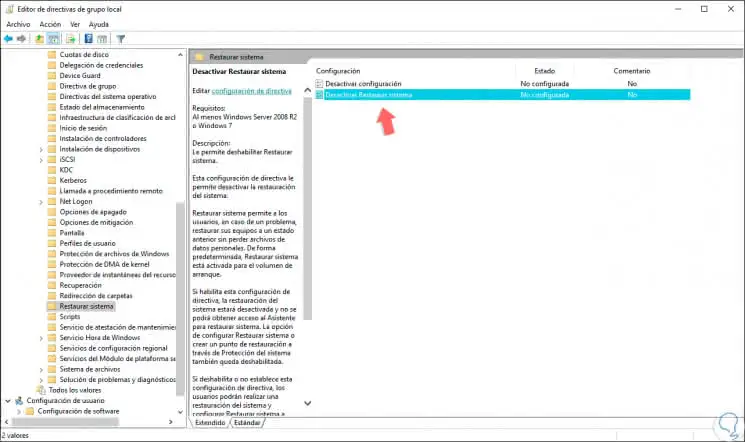
We double-click on it and set its value to "Not configured or disabled". Click on Apply and Accept to save the changes.
3. Change the execution frequency of System Restore in Windows 10
Step 1
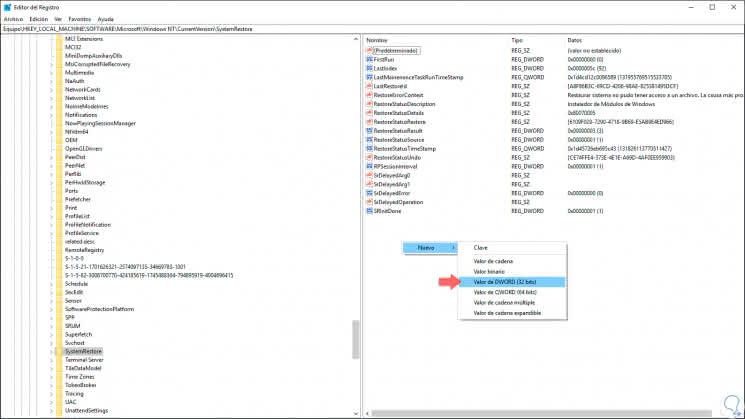
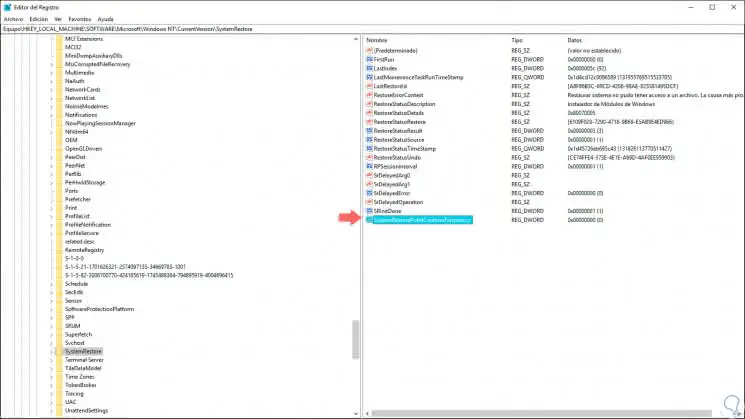
We may want to edit the frequency with which System Restore is executed, for this we must go to the record editor (regedit) to the route:
HKEY_LOCAL_MACHINE \ SOFTWARE \ Microsoft \ Windows NT \ CurrentVersion \ SystemRestore
Step 2
There we will right click on some blank space on the right side and select the option "New / Value of DWORD (32 bits)":
Step 3
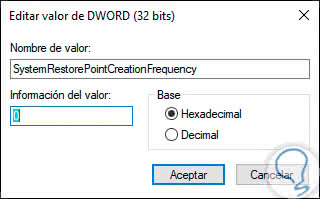
This new value will be called "SystemRestorePointCreationFrequency":
Step 2
We double click on it and define its value at zero. Click on OK to save the changes.
4. Create a restore point with System Protection in Windows 10
This is the main objective of the System Protection function, to create restore points so that they are available in case of failures
Step 1
To create a restore point manually we must access System Protection as we have seen previously and there we click on the "Create" button:

Step 2
The following window will be displayed where we assign a name to said restoration point:
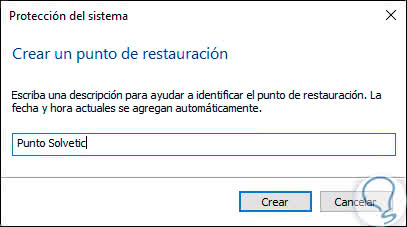
Step 3
Click on the "Create" button to start the process:
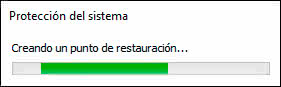
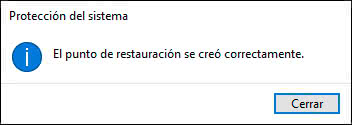
Step 4
When it finishes we will see the following:
Step 5
At the time it is necessary to restore our equipment, we must simply select the "System Restore" option:
Step 6
The following wizard will be displayed:
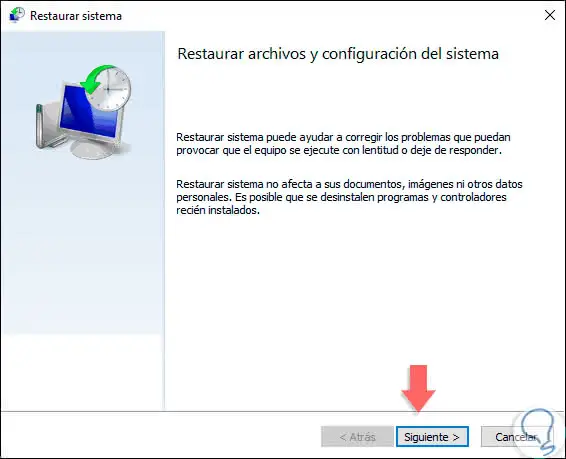
Step 7
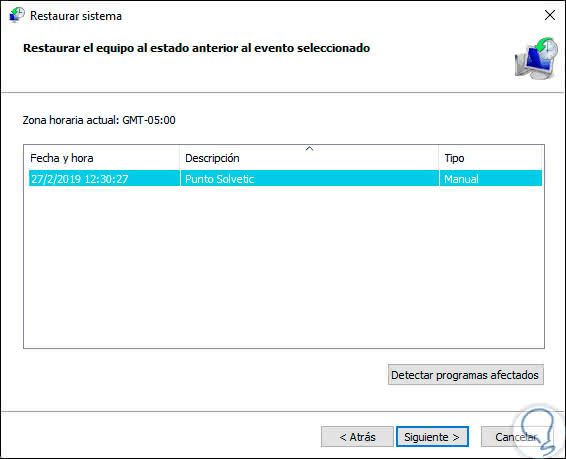
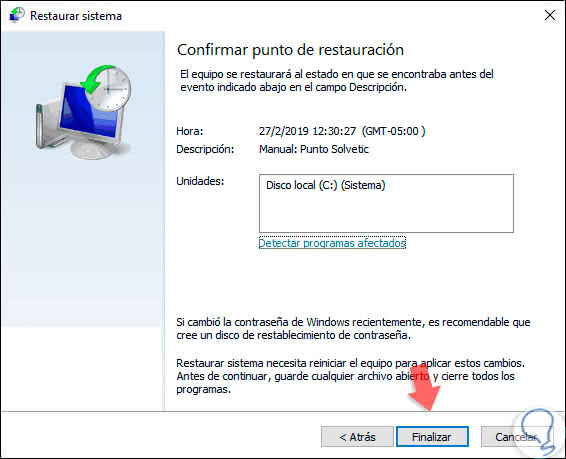
Click Next and in the next window you will find:
- Date and time of the restoration point
- Name of the restoration point
- Point type (manual or automatic)
Step 8
In the next window we find the following. There we can click on the line "Detect affected programs" to validate which applications will be uninstalled, click on "Finish" to restore the system.
5. Delete a restore point with System Protection in Windows 10
Step 1
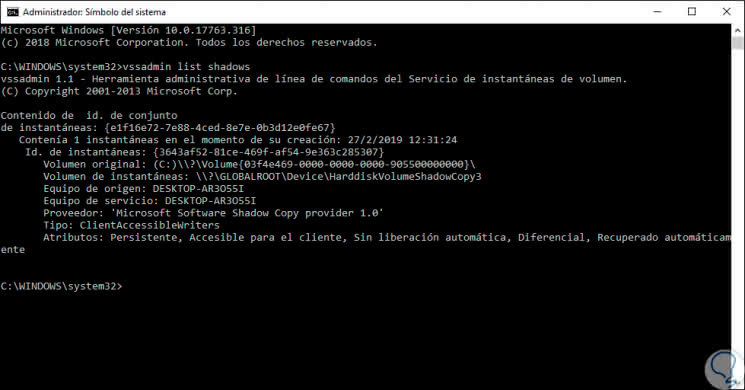
For this case we must access the command prompt as administrators and there execute the following.
vssadmin list shadows
Step 2
This will display the restore points that have been created in Windows 10:
Step 3
To eliminate a restore point we execute the following:
vssadmin delete shadows / Shadow = {ID} Step 4
In this case we will execute the following:
vssadmin delete shadows / Shadow = {e1f16e72-7e88-4ced-8e7e-0b3d12e0fe67} Thanks to the protection of the system we have a practical option to have an optimal state of the system and thus access in the case of errors that are presented by viruses, malware or services of the operating system itself.
We can take full advantage of this built-in function in Windows 10 to add one more level of security and availability.