The diorama effect , also known as illusion diorama, Tilt-shift or miniature tilt-shift is an effect or optical illusion , usually achieved through a digital editing process, by which a life-size scene is modified to look like a miniature. The blurred parts of the image simulate the shallow depth of field that is normally found in the approach photographs or macros, making the scene look much smaller than it really is. This type of effects can usually be achieved optically, by capturing the image with the help of a special type of lens, or by a subsequent digital processing that is the way we are going to do it now ... We must bear in mind that most of the Photos that are used to produce this effect are taken from a great height to simulate the effect of looking at a model from above..
Let's start
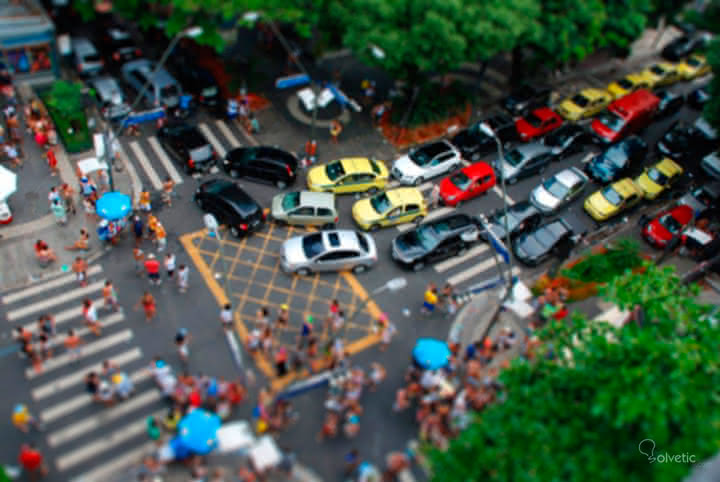
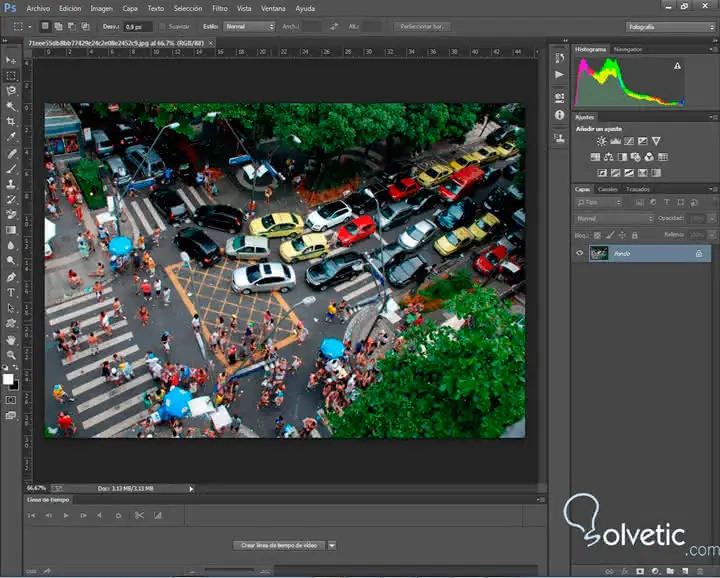
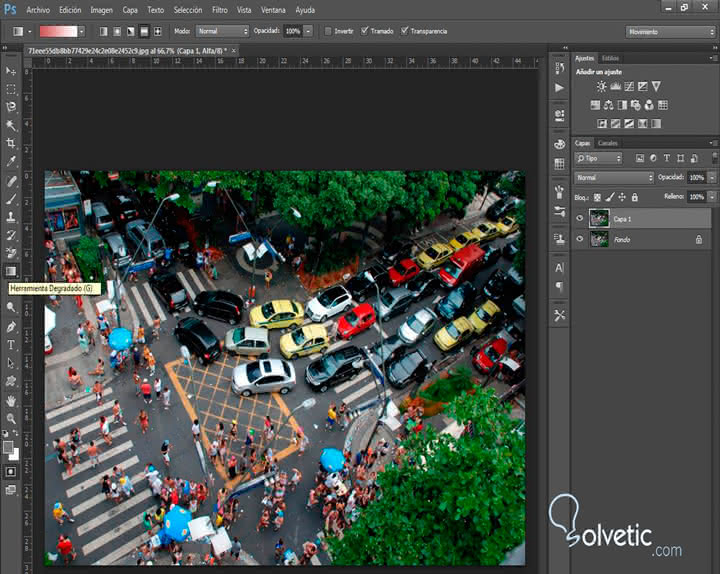
The first thing we must do is look for an image on which we can practice this effect in this case I have my photoshop open with a common image of a street with cars and passersby, I will work on it to achieve the effect.
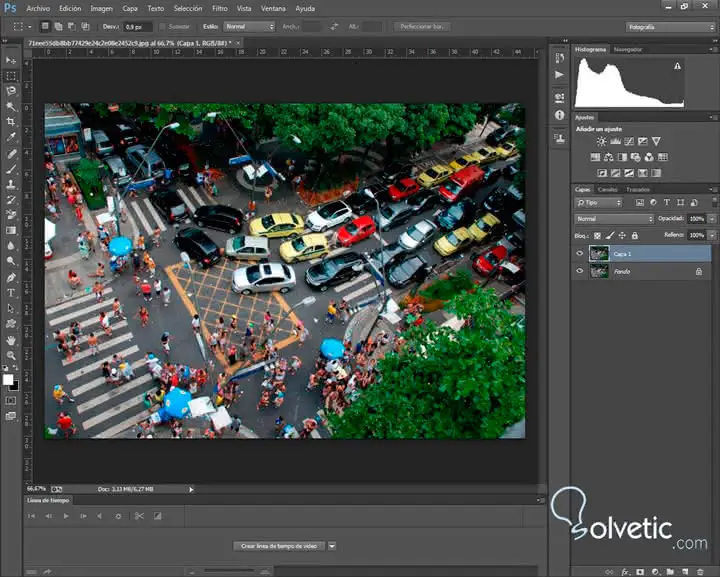
First let's duplicate the original layer to work with your copy and not with it directly, for this we press:
+ J CTRL + J
From now on we will perform all the procedures on the duplicate, I always recommend it so that in the end we can see a before and after if we want it ...
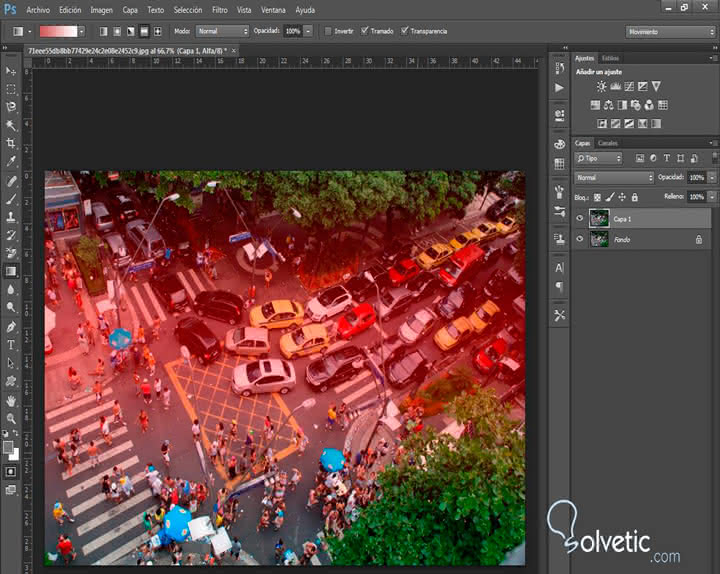
Now let's select the tool "Quick Mask" , we can select it quickly using the keyboard shortcuts by pressing the letter "Q" ..
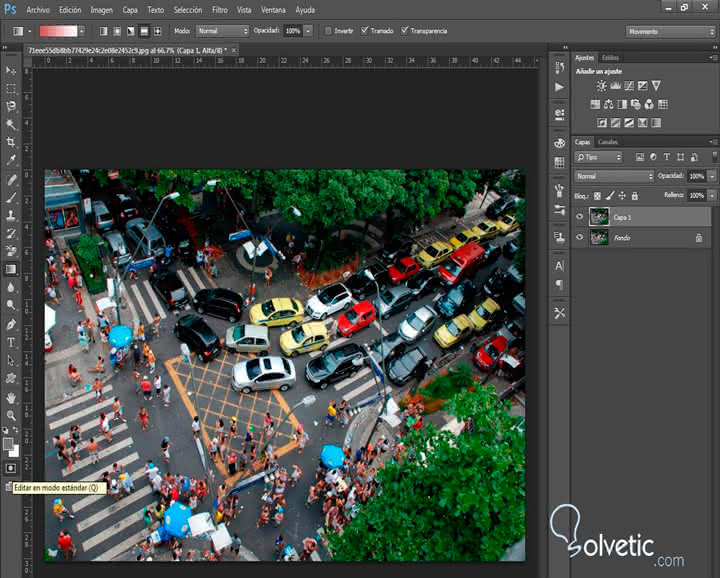
Then we also select the degraded tool and in the gradient form we choose "reflected gradient" .

Now we will proceed to make a selection of the area on which we are going to make the effect, for this we position the cursor on the area of ​​our image that we want to keep focused and then we click and drag, we can hold the Shift key while we drag to draw a straight line, when we release we will see a red strip that was formed from our stroke..
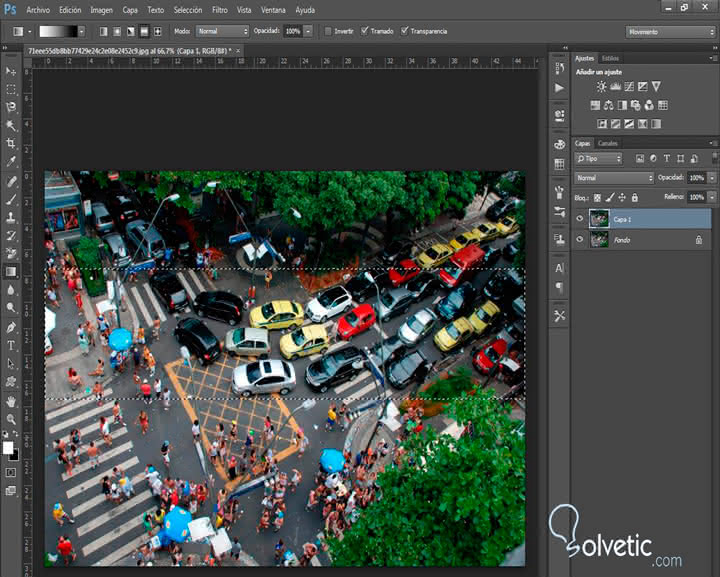
Then we will uncheck the quick mask tool, we can do it by clicking again on its icon or pressing "Q" again, once we uncheck it, we will see that the area we saw previously shaded in red is now a selection, but for the next step we need to that this selected is the upper and lower part of the image, for which we will have to invert the selection by pressing:
+ Mayus + I CTRL + Mayus + I
It is likely that the selection that results is not exactly how you wanted it, if that happens to you, just try to do it again until you are pleased with the results, it is a matter of practice, vary the distance of drag and so you can have a wider selection or more reduced according to what you need.
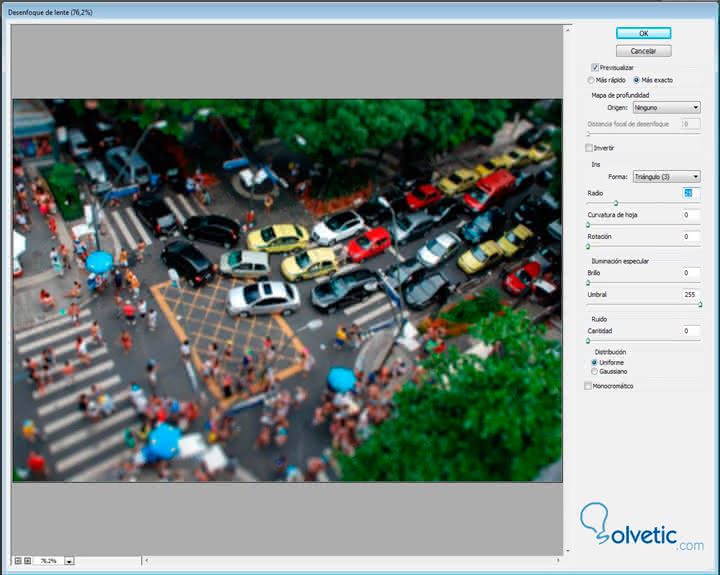
In my case, the selection stayed the following way.
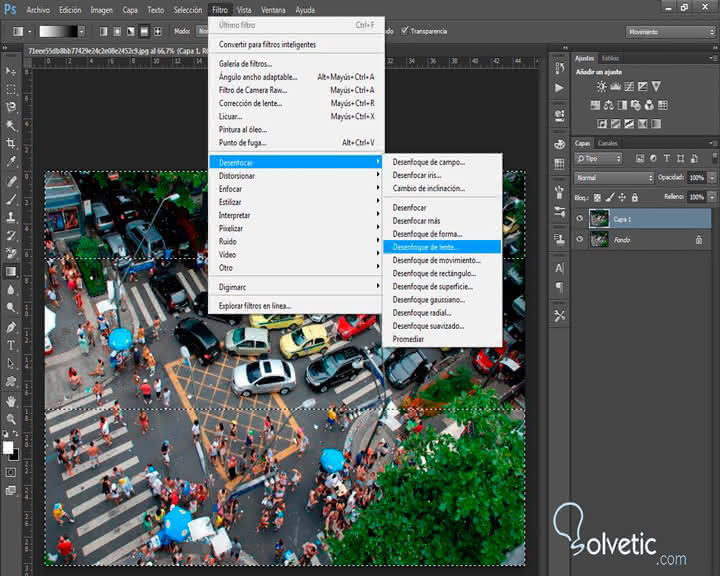
After all this we go to the Filters> Blur> Lens Blur menu and adjust the blur values ​​according to our preferences.
Once this is done we will not need the selection lines so we can remove them using the keyboard shortcut:
+ D CTRL + D
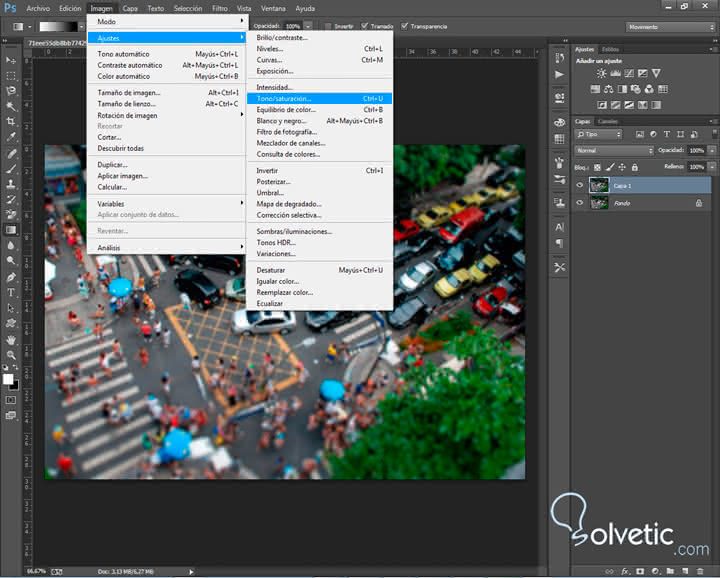
Now what we will do is exaggerate a little the colors present in the image for this we go to the menu Image> Adjustments> Saturation Tone and we will increase the saturation to where it seems convenient. We should not exaggerate a lot because we would give the image a lot of heat.

With this we finalize this effect, we only have to save the image in the format that we want.