Today we select the operating system that we want to use based on our needs. In the event that we decide to use Linux on our PC, we have several distributions which are updated with certain frequency. When using an operating system for a considerable time we will always look for the possibility that it will be updated to a new version which undoubtedly brings security , performance, compatibility and global functionality improvements ..
In this aspect Ubuntu is characterized by offering us constant new editions for both server and home systems (Desktop) and that is why we can update our system using the automatic method that displays a pop-up window where it is warned that a new one exists. version:
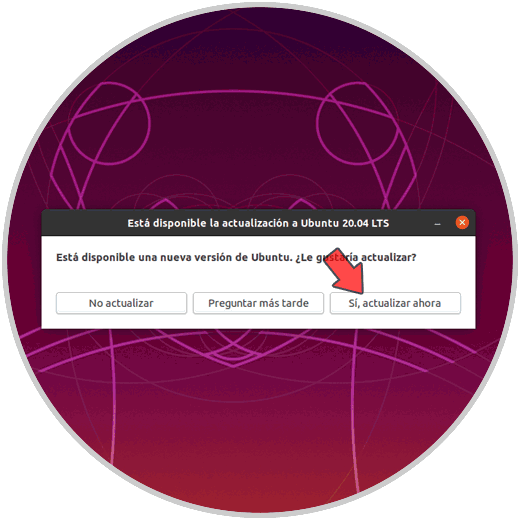
Or we can use the traditional method which implies the execution of the following commands:
sudo apt update sudo apt upgradesudo apt dist- upgrade
But this time TechnoWikis will explain a deeper method to perform the upgrade from Ubuntu 19.10 to Ubuntu 20.10 in a comprehensive and functional way and with this know that we have the latest versions of this dynamic system.
1. How to upgrade Ubuntu to Ubuntu 20.10
Step 1
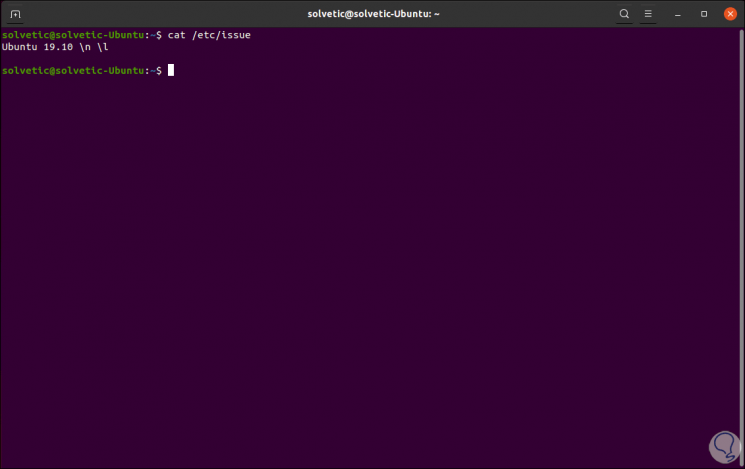
As we mentioned, this process will be done with Ubuntu 19.10:
Step 2
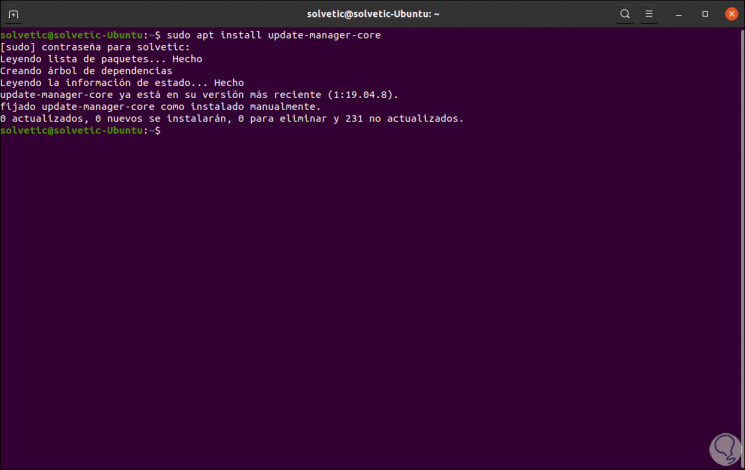
The first step to take will be to install the update manager administrator with the following command:
sudo apt install update -manager-core
Step 3
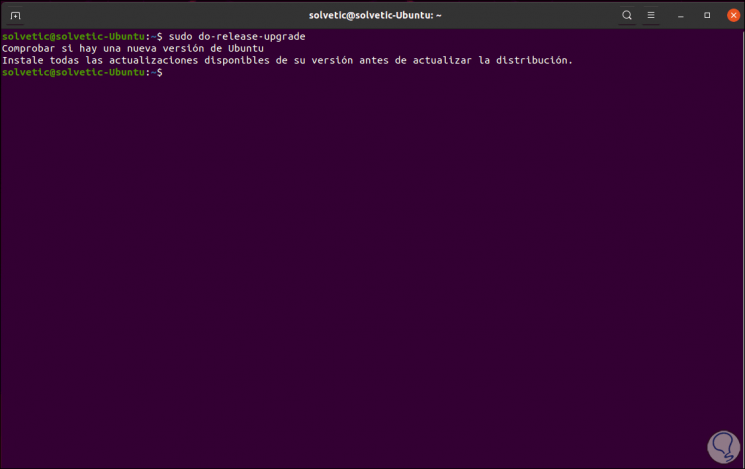
Now we execute the following command that is responsible for validating the availability of a new Ubuntu update:
sudo do - release - upgrade
Step 4
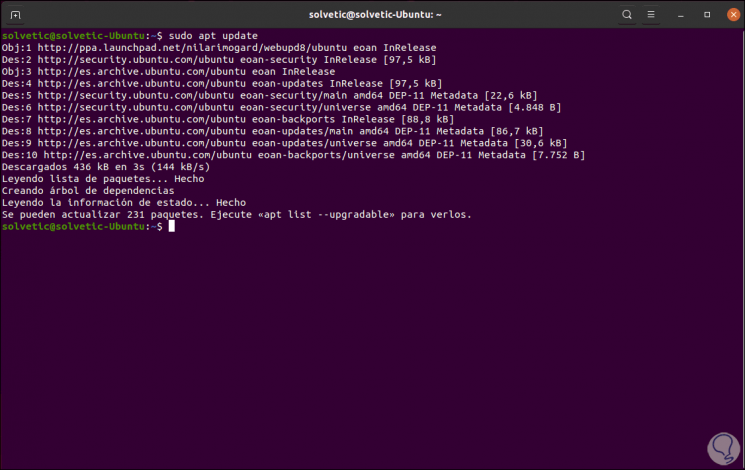
As we see, the manager requires that the system be updated first, for this we execute:
sudo apt update
Step 5
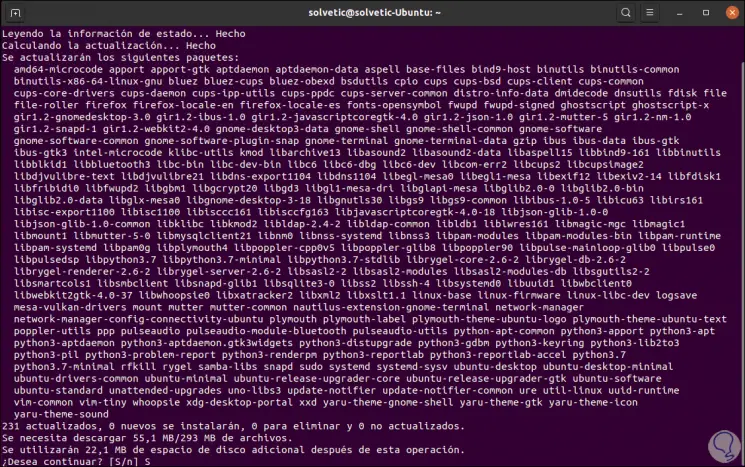
We install these updates by running the following command:
sudo apt upgrade
Step 6
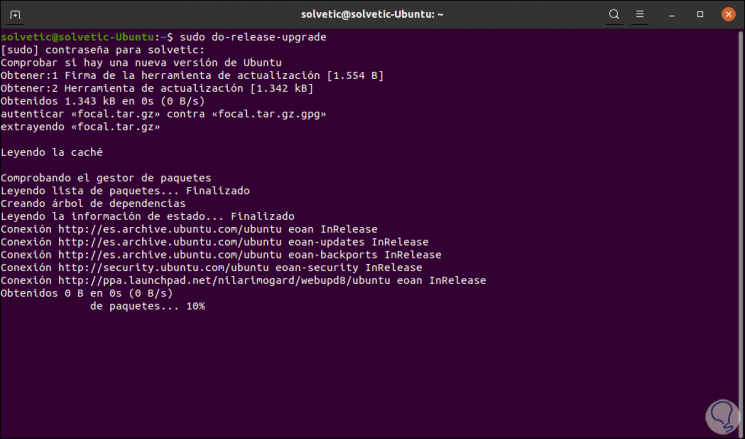
Once the system is updated we must restart it to apply the changes, after logging in we execute the update command again:
sudo do - release - upgrade
Step 7
We can see that the update process is given, in case of errors we can force the update by executing:
sudo do - release - upgrade -d
Step 8
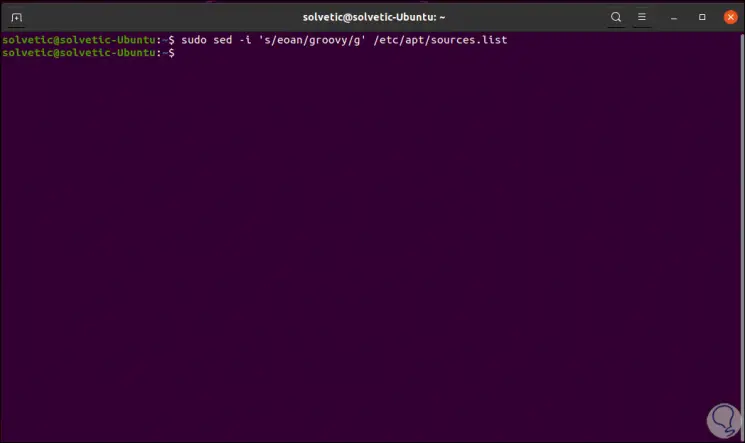
Now, since Ubuntu 20.10 is a trial version, we can directly specify the resource if the previous step only updates to Ubuntu 20.04. The Ubuntu 20.10 code name is Groovy Gorilla. This must be added to the /etc/apt/sources.list repository directory, in this case we modify the name of Ubuntu 19.10 Eoan to the name of Groovy:
sudo sed -i 's / eoan / groovy / g' /etc/apt/sources.list
Step 9
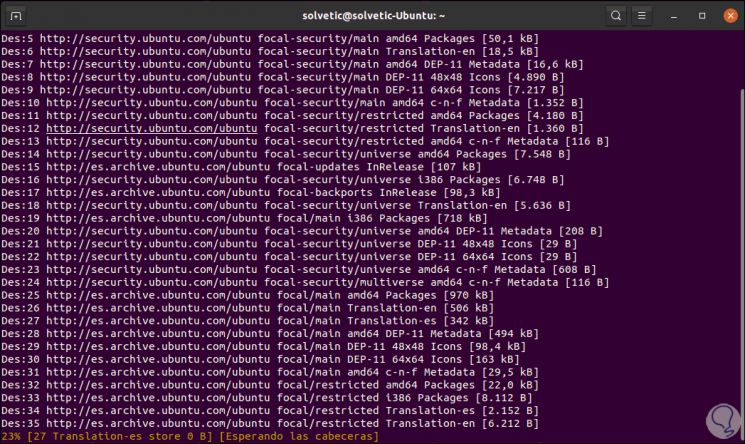
Next we update the system and its packages and repositories:
sudo apt update
Step 10
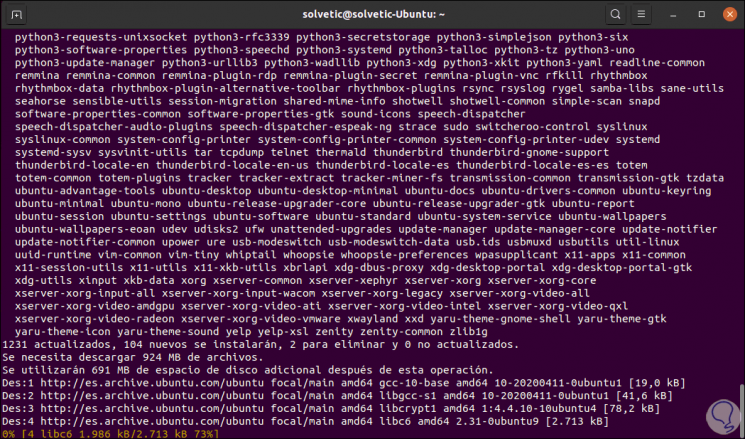
Once we update Ubuntu 19.10 we will update the system to the new version with the following command:
sudo apt -y dist-upgrade
Step 11
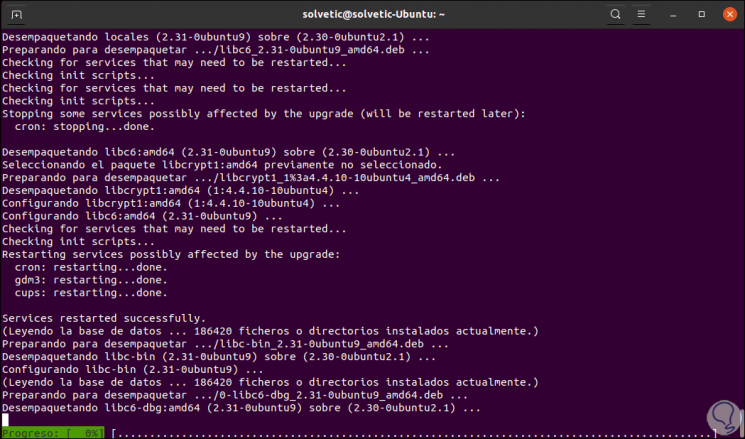
The process will continue downloading the necessary packages:
Step 12
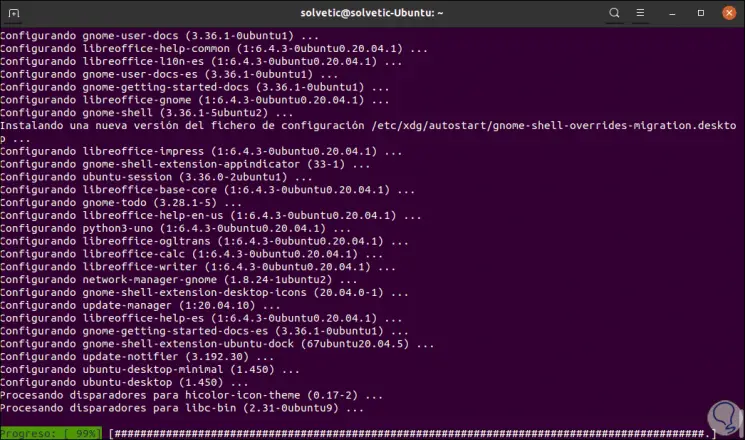
After that, languages and other plugins will be downloaded.
Step 13
This will download all the necessary plugins for the update, because Ubuntu 20.10 is still in testing (LTS will be established later), we must configure the update parameters to "Normal" in order for the update to be done.
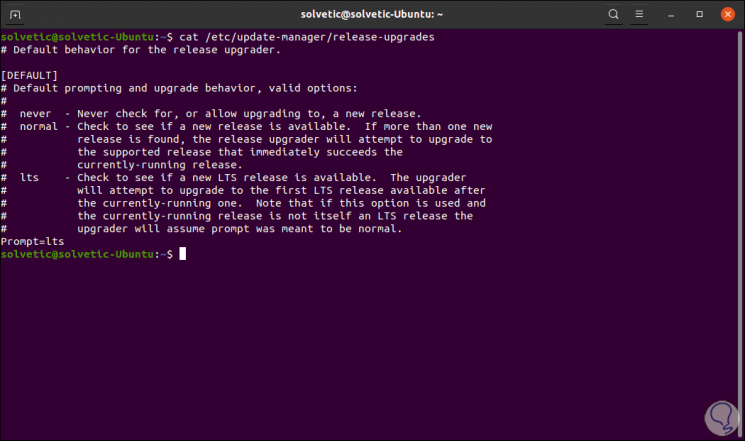
The default value is "LTS" and if we leave it like this we will see an error, we check this with the following command:
cat / etc / update -manager / release -upgrades
Step 14
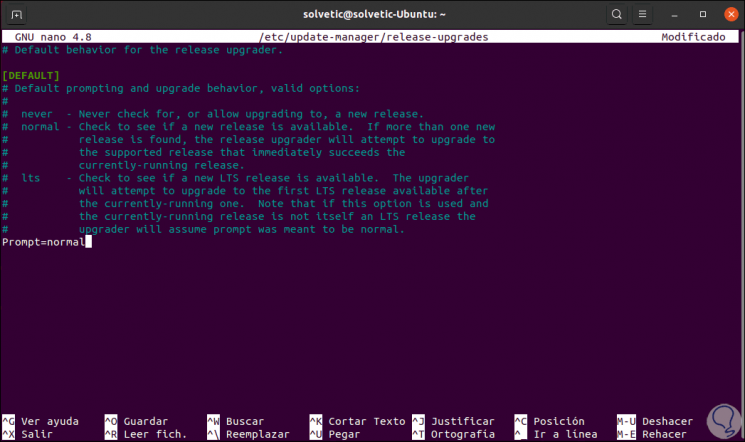
In the “Prompt” line we find the default value, to edit it we will use the following line:
sudo nano / etc / update -manager / release -upgrades
There we edit the value of "Prompt" to "Normal". We save the changes with the Ctrl + O keys and exit the editor with the Ctrl + X keys.
Step 15
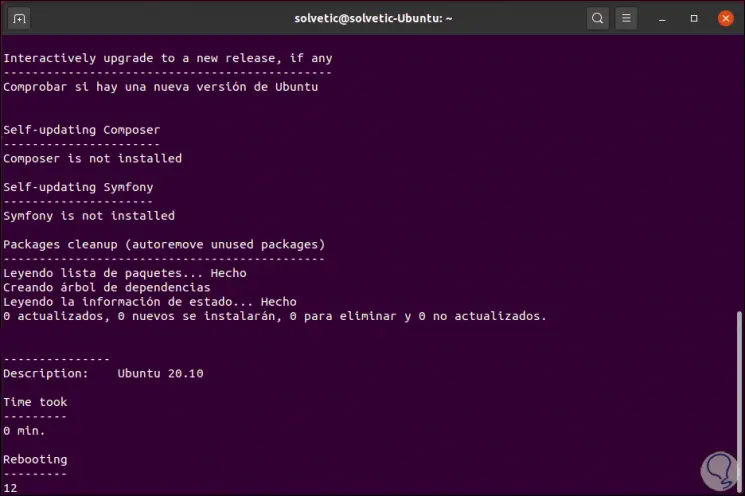
We run the updater again and this time it will detect the desired Ubuntu version:
Step 16
There is a matter of waiting for the update process to complete:
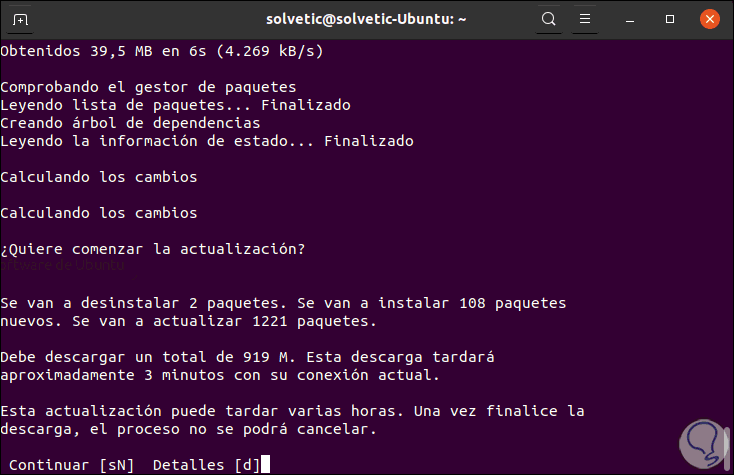
We enter the letter S to confirm the download. This will cause the system to be rebooted in order to apply the changes and we can access the system information to validate that it has been updated to Ubuntu 20.10:
With these steps we can update any of the versions of Ubuntu to Ubuntu 20.10 and know its news.