When we buy a mobile phone, the first thing we do is download lots of applications and over time and almost without realizing we have screens and screens full of apps that sometimes can not be difficult to keep organized and located.
So that this does not happen and that we can maintain a certain order on our iPhone or iPad, we have the option to create different folders with different names in order to see at a glance what we are looking for..
It is also a way to have more applications in the same space without having to change the screen for it. You save space and time.
Next we will explain how we can create folders so that you can keep all your applications in order and then how to place the one you select in the dock..
Step 1 Create folders
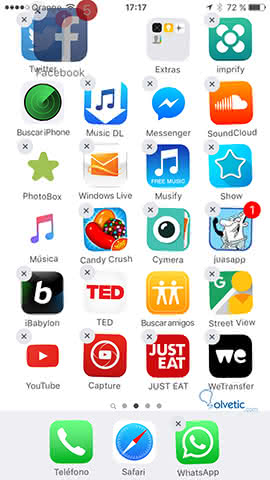
In the first place we have to create the folders that we consider appropriate. For this, what we must do is to
keep pressed an application and drag it on top of another one . Once we let go, we will be able to observe how
the new folder is
created. If we click on
the upper part, we can rename it with the name that we want to assign it.
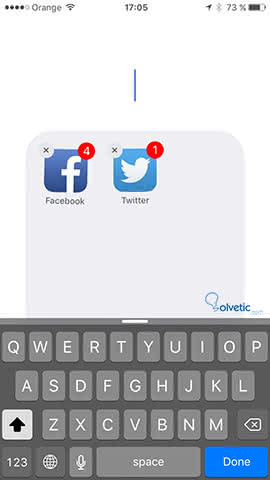
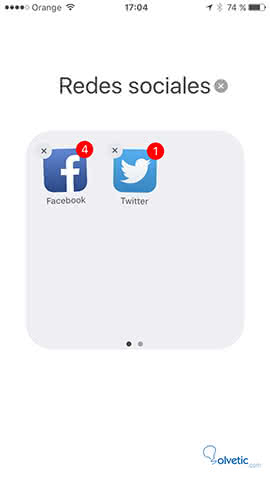
When you have finished, you have to press the Home button, to be able to leave it fixed inside the desk.
Step 2 Place folder in the dock
The first thing we have to do is
leave a free space in the dock , so we can include the folder that we have selected. We have to keep the icon pressed and move it to the main screen.
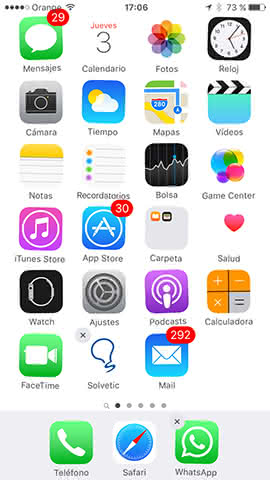
Now that we have the free space, we keep pressed the folder that we want to place in the dock and drag it to the hole.
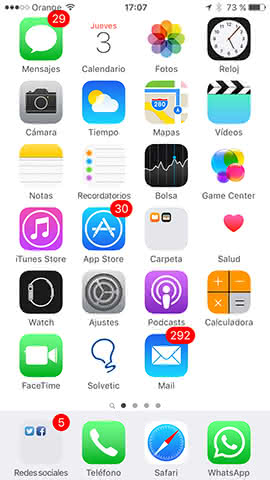
And ready! You can now have your folder with the applications that you selected and what else you use placed in the Dock. As we know, we can put the dock a maximum of four applications or folders that are more useful to us..