Our keyboards help us create different actions that are focused on optimizing our daily life, such as copying, pasting, cutting, etc., and as a general rule they are complemented by certain function keys that have a special mission such as:
Keyboard functions
- Go back or forward the pages
Within Windows 10 screenshot there is a function that is widely used and it is the Print Screen key which captures the current window, pastes it to the clipboard and then we can paste it either in a file or in some image editor program. The problem lies when some keyboards do not have such a key and makes this action difficult for users. For this reason, in TechnoWikis we will explain how to capture the Windows 10 screen without using that key..
What is Windows 10 Snipping
To solve this we have the Snipping Tool or Snipping Tool which is integrated in Windows 10 as the most practical way to make screenshot Windows 10 from the current window to the full screen of Windows, its main features are:
- Lets you capture free shapes
- Allows you to defer the capture of the selection to give us time to choose what to capture
- It is possible to save the image in formats such as JPG, GIF, PNG or HTML
- Lets send the clipping directly by email.
- Integrates tools like eraser, pencil or highlighter.
- Open the captured image with Paint 3D
TechnoWikis will explain to you in a comprehensive way how to access this utility and use it in Windows 10. There are different options to open this tool in Windows 10 and thus capture Windows 10 screen without Print Screen.
To stay up to date, remember to subscribe to our YouTube channel! SUBSCRIBE
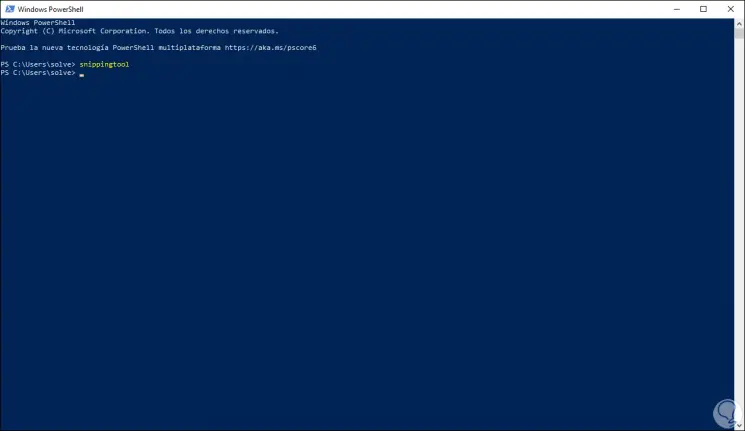
1. Screenshot Windows 10 with CMD Clippings
For this we must access one of these consoles and execute the following:
snippingtool
2. Screenshot Windows 10 from Start
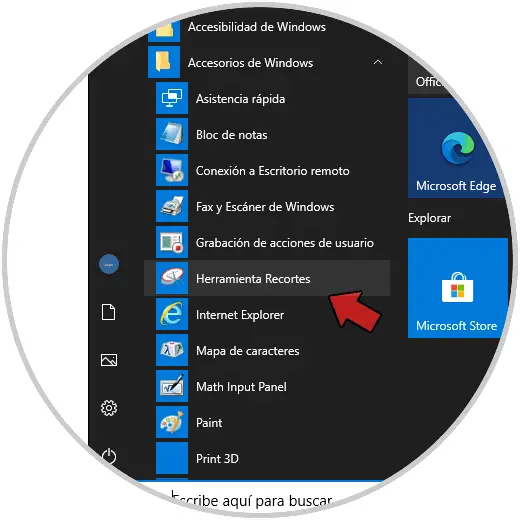
One of the most used methods is from the Start menu, for this we go to the "Windows Accessories" section and click on "Snipping Tool":
3. Screenshot Windows 10 from Run
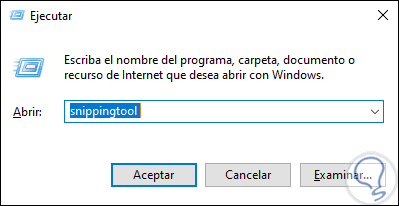
For this we use the following keys and execute. Press Enter or Accept.
+ R
snippingtool
4. Screenshot Windows 10 from Search
Step 1
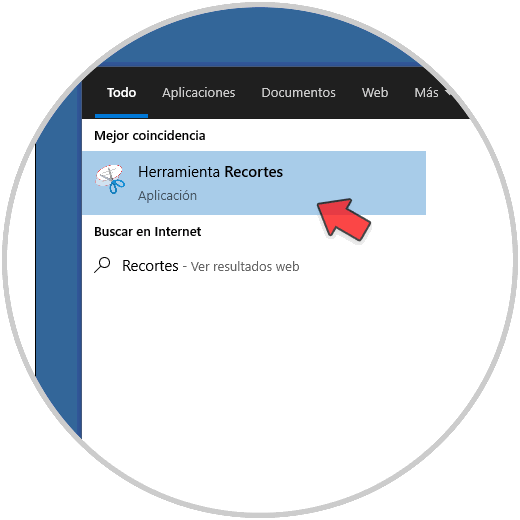
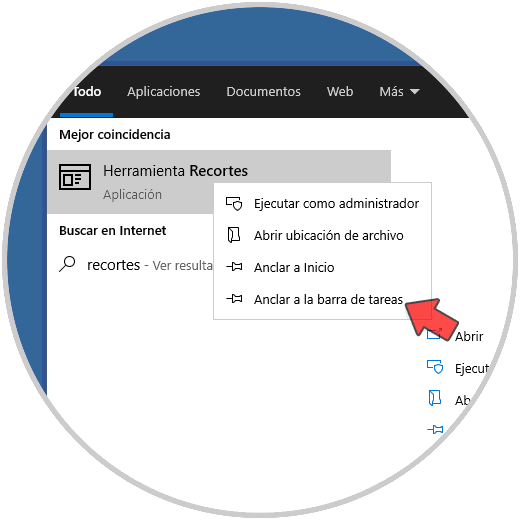
To do this we simply enter the term "clippings" in the search bar of the Start menu and select the deployed application there:
Step 2
As an additional point, here it is possible to right-click on the utility and select "Pin to taskbar" for much easier access from the Windows 10 taskbar:
5. How to use Windows 10 Clippings
Step 1
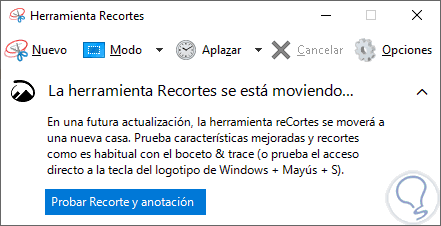
When accessing the Clip tool we will see the following:
Step 2
There they are made up of different options such as:
- New: here it allows to capture screen in Windows 10
- Mode: allows you to define the trimming mode to use
- Defer: allows us to postpone the capture time by seconds
- Options: allows access to different utility parameter options
Step 3
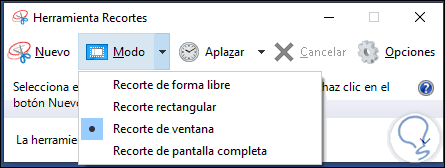
In the Mode field we have the following options:
- Freeform crop: this allows you to capture what you want from the screen in Windows 10
- Rectangular cutout: this tool captures rectangular areas in the desired area
- Window Crop - Lets you capture the current window
- Full Screen Crop - This captures the entire screen of Windows 10
Step 4
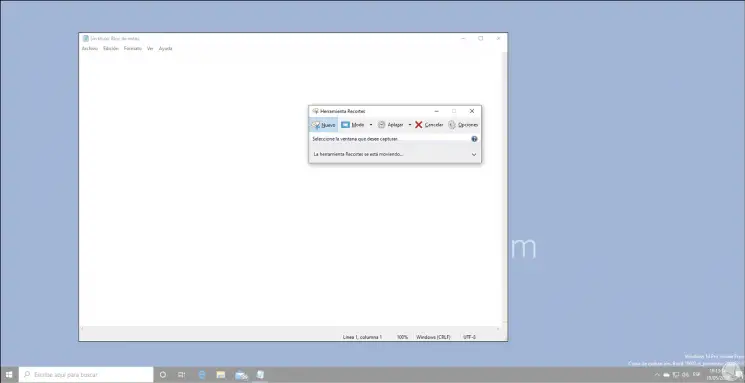
When we select any of these mods, for example, the Window Crop mode, when clicking on New we will see that the entire desktop area is selected and it is enough to click on the desired window to be captured:
Step 5
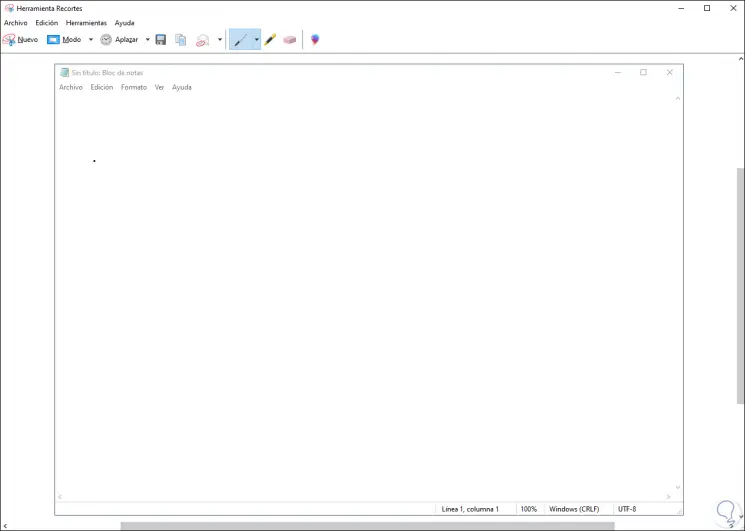
Once we capture it we will see the following:
Step 6
There we see the captured window and some additional options are available at the top, such as:
- Send the selection by email
- Use the eraser to erase certain areas of the selection
- Open the image with Paint 3D
Step 7
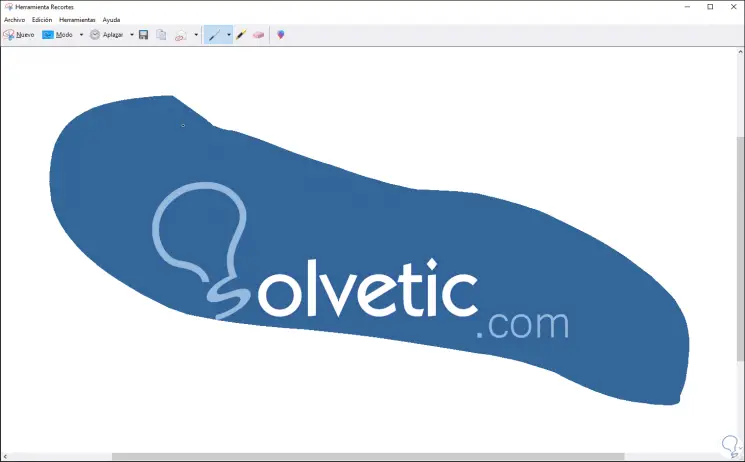
With the Free Crop option it allows us to manually select what to capture:
Step 8
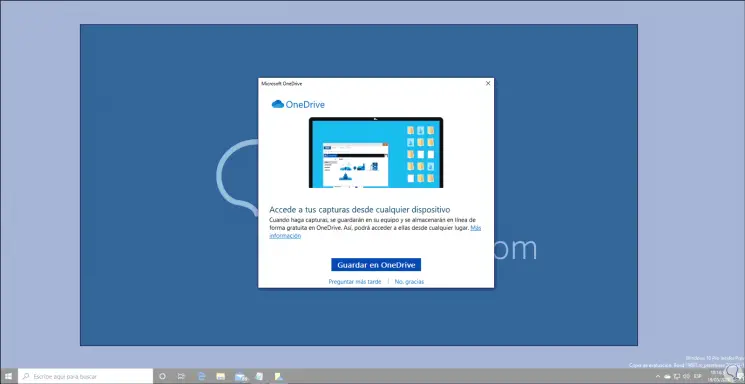
With the Rectangular Crop option it gives us the possibility to select areas with this design:
Step 9
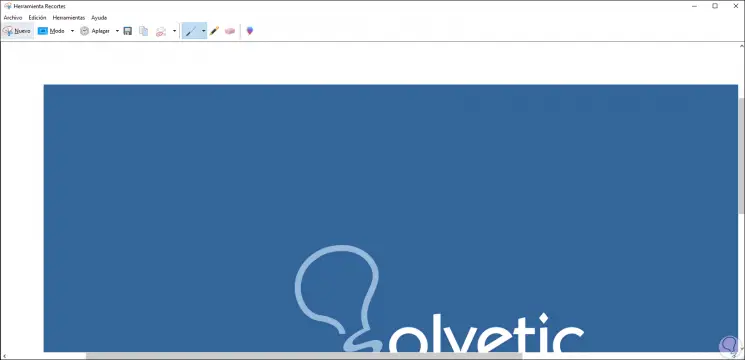
Finally, with the option Full Screen Crop, a full capture of the Windows 10 desktop will be made:
Step 10
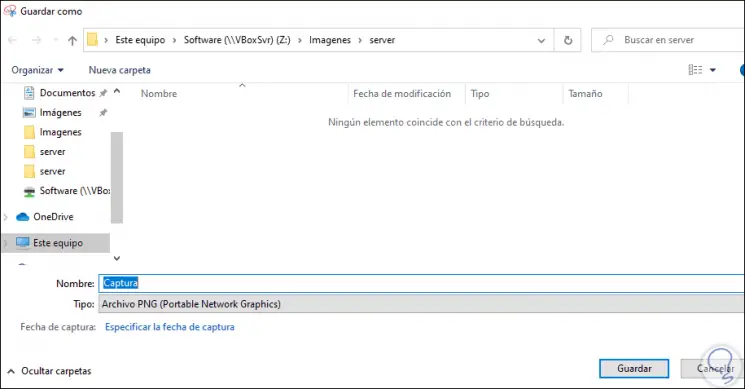
As we mentioned, these solutions of the Crop tool will help us capture our screen without using the Print Screen key on the keyboard, as we said, we can save the image in any of the available formats or leave it on the clipboard to be used in programs image edition.
6. Screenshot Windows 10 from keyboard
If our physical keyboard does not have this Print Pant key we are not lost since the virtual keyboard of Windows 10 will be the key solution for this.
Step 1
To access this we have two options:
- Use the key combination Windows + Control + O
+ Ctrl + OR
- Use the Windows + R keys and run the "OSK" command
+ R
OSK
Step 2
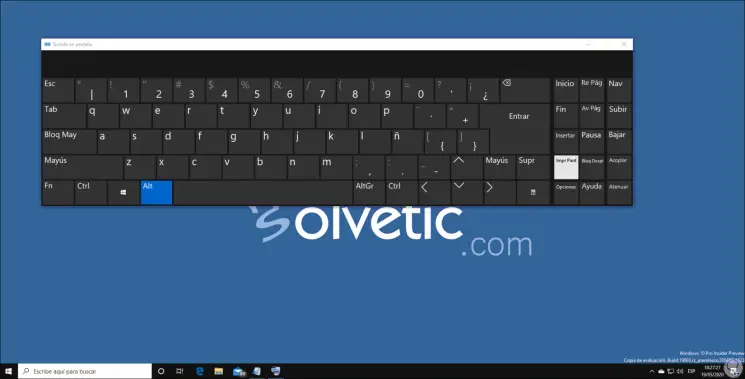
As a result of this we access the on-screen keyboard and there we can use the Print Screen key in two ways:
- Press the Print Screen key to capture everything on the screen
Print Screen
- Use Alt + Print Screen key to capture current window
Alt + Print Screen
Step 3
Once clicked we can paste the captured screen in an editor:
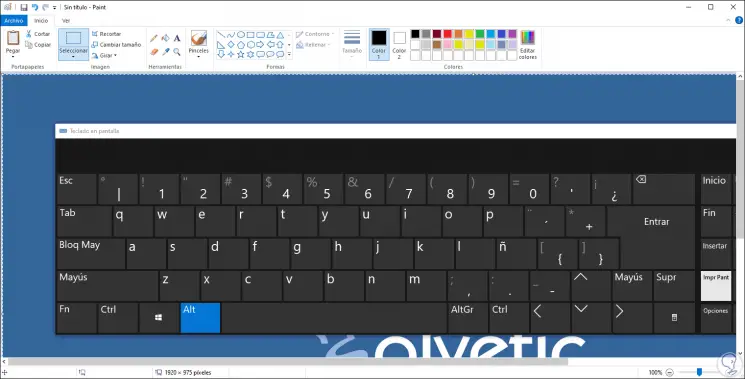
With any of these two options we can capture screen in Windows 10 without the need to use the physical Print Screen key on the keyboard..