Keeping your device up to date is one of the best security measures since security updates are delivered with every update available that optimize the overall operation of Windows 10 and its components and applications, but behind this there is a series of processes that allow The system can access these updates to download and install them on your computer, but if for any reason you get to see the following:

What is error 0x8024000B
The error in Windows 10 0x8024000B is an error generated when the Windows operating system cannot read the update manifest file that is required to install the downloaded updates, this may be because the action was canceled by the user or the Windows service Update itself.
Don't worry, it's an update error that has a solution and TechnoWikis will give it to you. Now you will see some solutions to correct this error and thus avoid problems when we try to install updates in Windows 10..
1. Repair error 0X8024000B in Windows 10 with Command Prompt
In Windows 10 there is a process called wuauserv, Windows Update Service, which allows the search, download and installation of updates available for both the operating system and applications. If this service is disabled, it will not be possible to access Windows Update or use the automatic update function, so we must perform some steps to configure this service.
Step 1
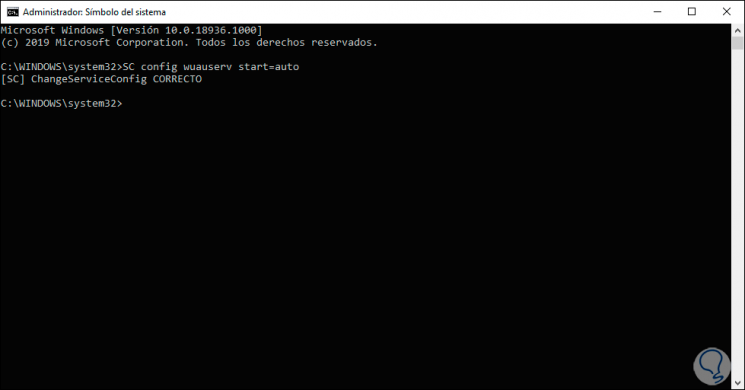
For this we access the command prompt as administrators and there we execute the following:
SC config wuauserv start = auto
Step 2
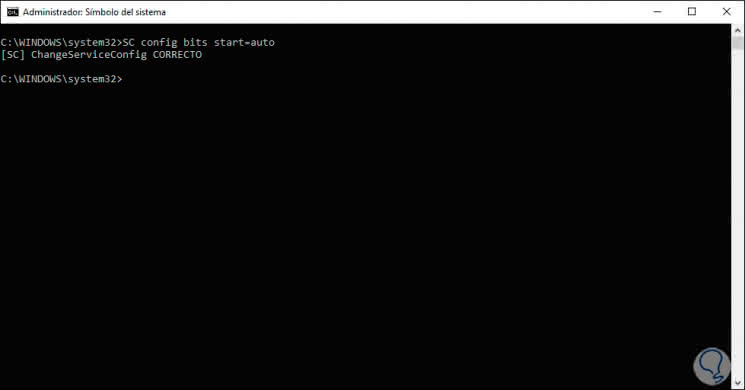
Now we execute the following:
SC config bits start = auto
Step 3
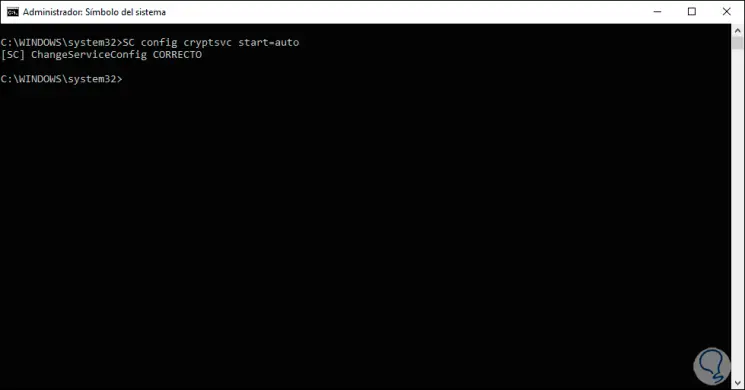
The BITS service (Background Intelligent Transfer Service) is a service through which it will be possible to download files or upload files to HTTP web servers and other SMB file shares and one of its functions is that this service is able to manage the network interruptions either by pausing or automatically resuming transfers that are in progress. After this we execute:
SC config cryptsvc start = auto
Step 4
Cryptsvc is the Windows 10 cryptography service with which we improve the security of transfers.
SC config trustedinstaller start = auto
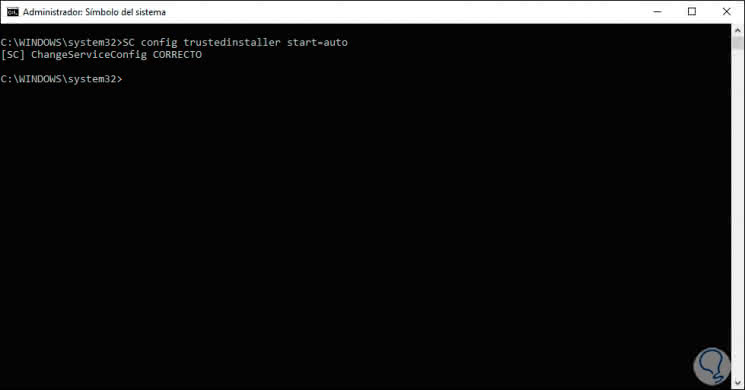
Trustedinstaller has the task of managing Windows updates and optional components.
We have activated the automatic start of each of these services, we can exit the command prompt and restart Windows 10 to complete the changes.
Method 2 using System Symbol
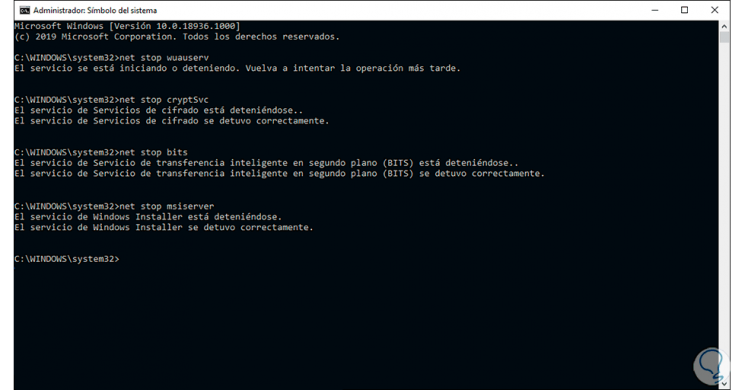
In case the above commands do not correct the mentioned error, we must access the command prompt again as administrators and this time we will execute the following:
net stop wuauserv (will stop the Windows Update service) net stop cryptSvc (will stop the cryptography service) net stop bits (will stop the BITS service) net stop msiserver (will stop the msiserver service which adds, modifies or deletes applications that are delivered as a Windows Installer package (* .msi))
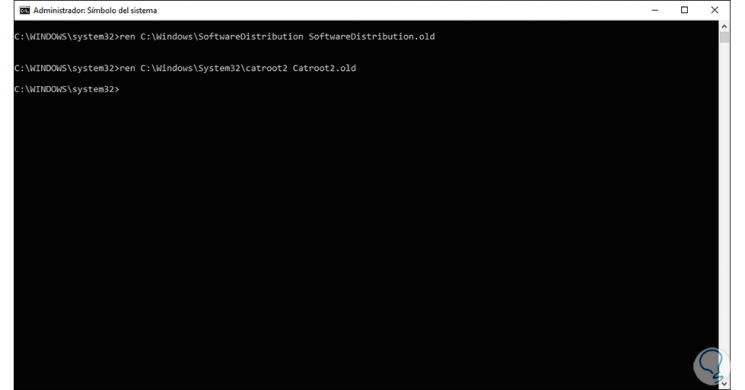
After this we execute the following line:
ren C: \ Windows \ SoftwareDistribution SoftwareDistribution.old ren C: \ Windows \ System32 \ catroot2 Catroot2.old
After this we proceed to start the respective services:
net start wuauserv net start cryptSvc net start wuauserv net start bits net start msiserver
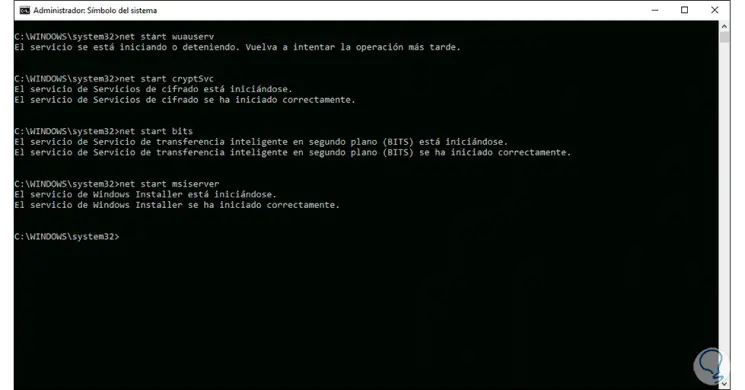
After this process we can exit the Windows 10 command prompt..
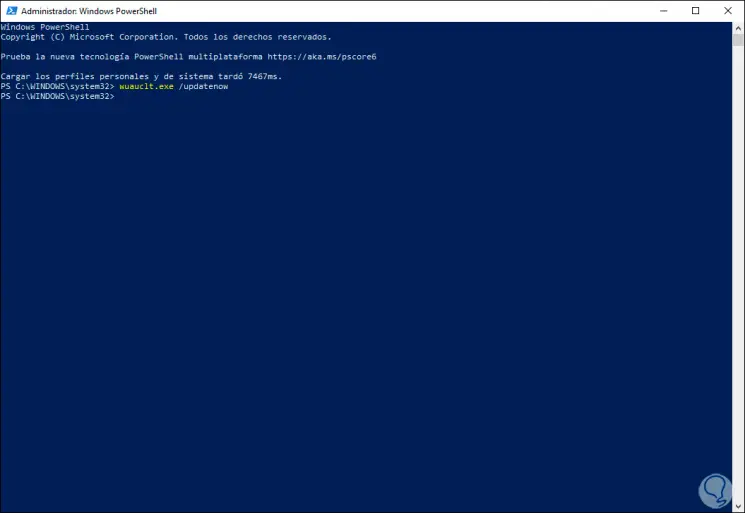
2. Repair error 0X8024000B in Windows 10 with Windows PowerShell
Now we are going to access the PowerShell console as administrators and there we execute the following. Wuau is the WSUS client / server type Windows service and with the following command we have updated it. We exit Windows PowerShell and restart Windows 10 to complete the action.
wuauclt.exe / updatenow
3. Repair error 0X8024000B in Windows 10 with Troubleshooter
Windows 10 integrates a problem solver thanks to which it is possible to automatically correct many general aspects of both the system and the components..
Step 1
To use this option we will go to the menu:
Step 2
There we will locate the “Windows Update†line and click on it, but if you use Windows 10 in its May Update edition you will see the following:
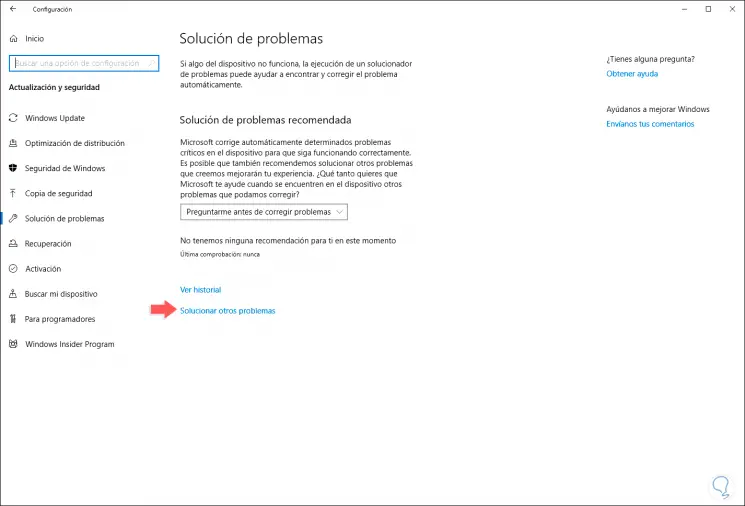
Step 3
There we click on the “Solve other problems†line and now we select Windows Update:
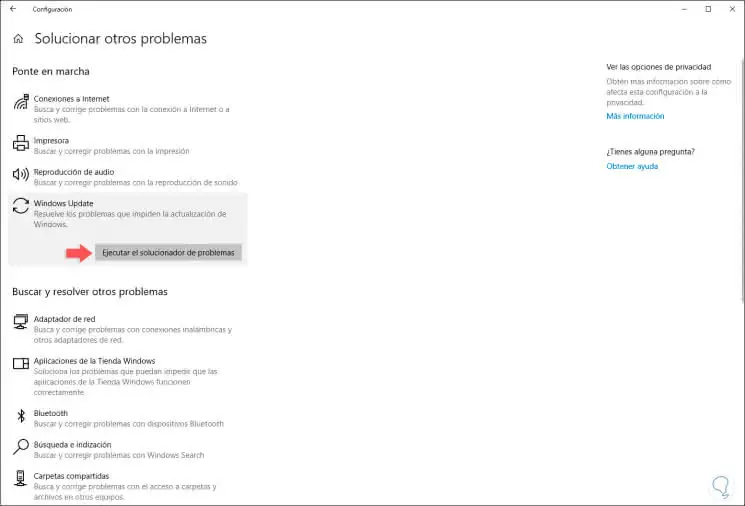
Step 4
We click on the "Run the troubleshooter" button and the analysis is automatically run:
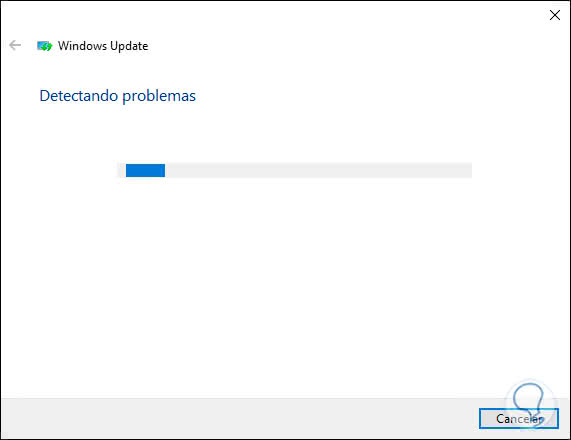
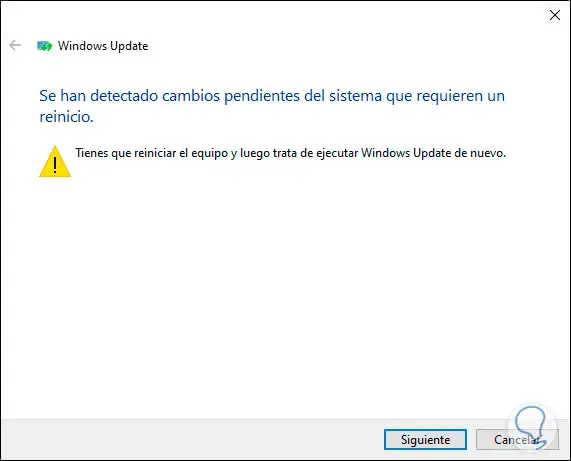
Step 5
Once the analysis concludes we will see the correction options available:
4. Repair error 0X8024000B in Windows 10 with Advanced Recovery
Step 1
To use this method we must go to the route:
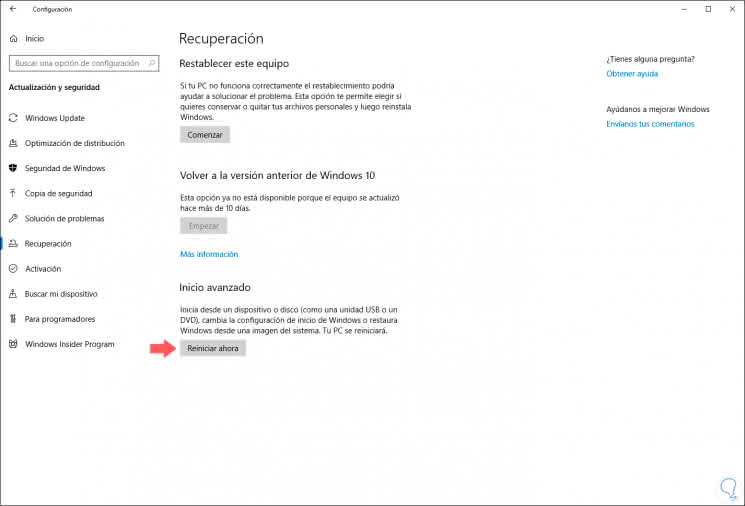
Step 2
There we click on the "Restart now" button located in the "Advanced startup" section and Windows 10 will proceed to restart and we will see the following:
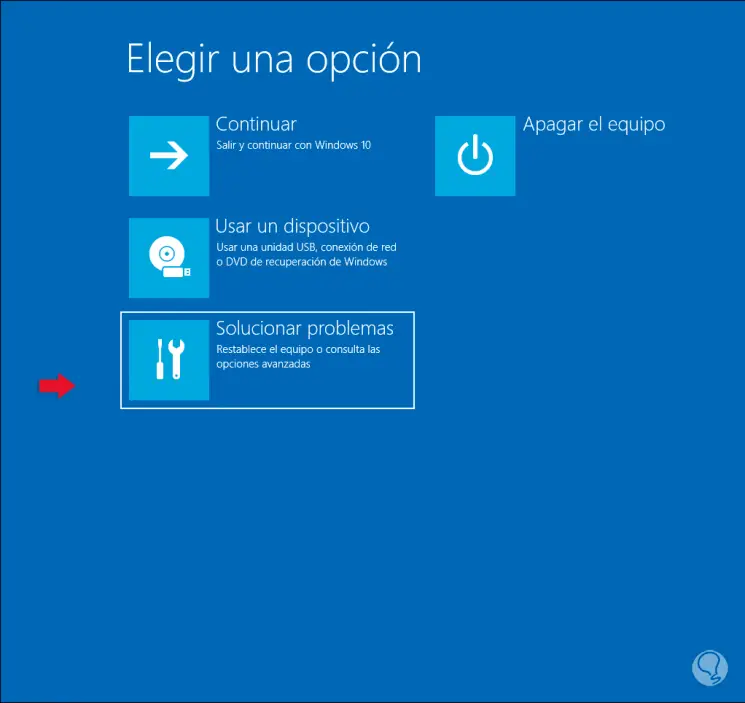
Step 3
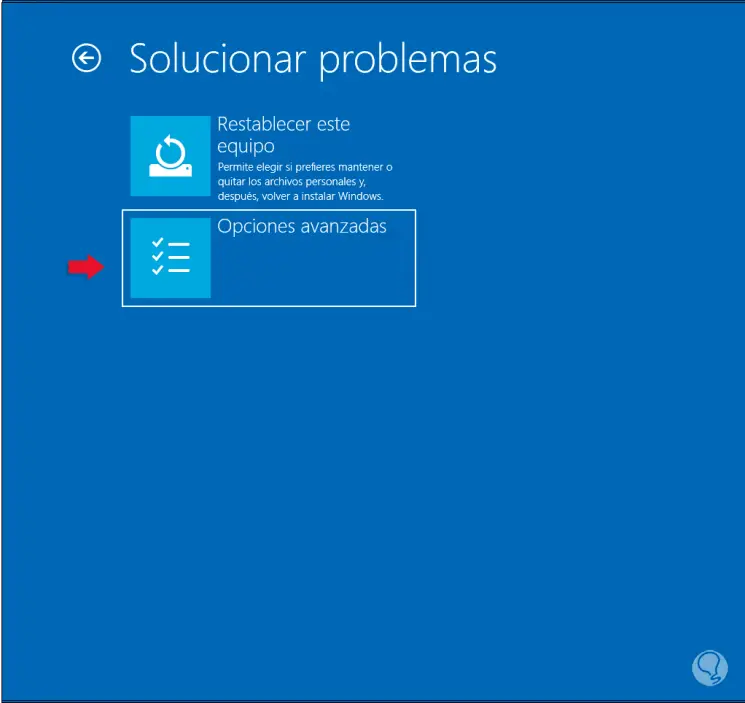
There we select the "Troubleshoot" option and in the next window we select the "Advanced options" line:
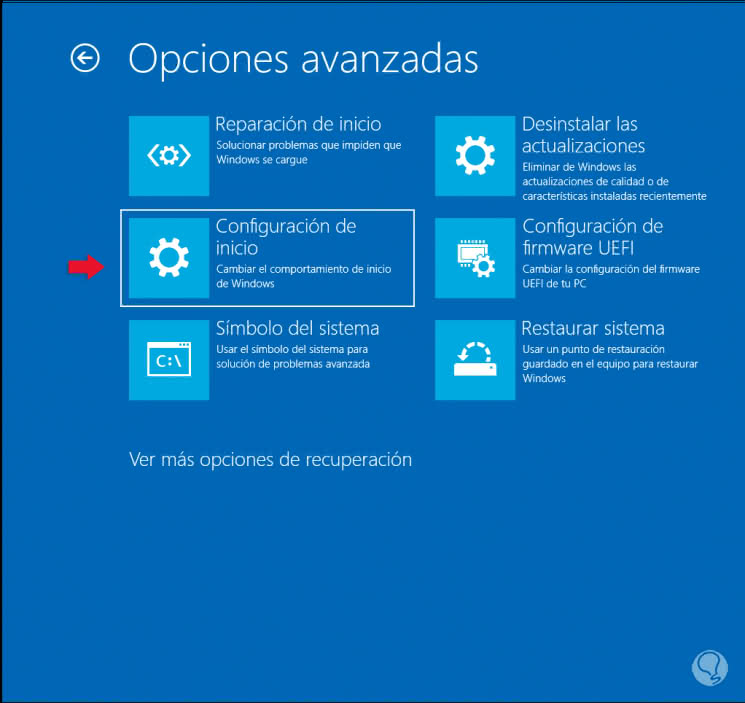
Step 4
In the next window we select "Startup Settings":
Step 5
We will see the following:
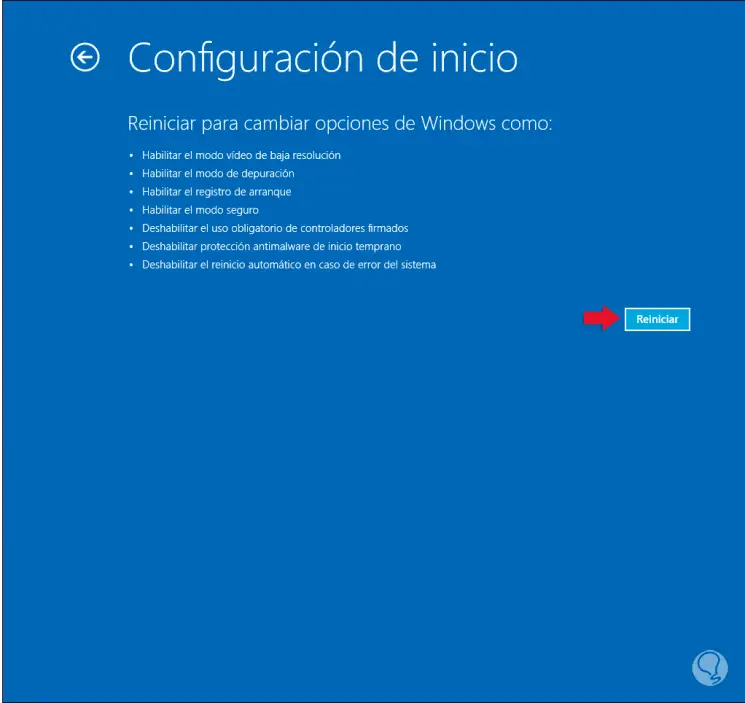
Step 6
There we click on Restart and we will see the following options:

Step 7
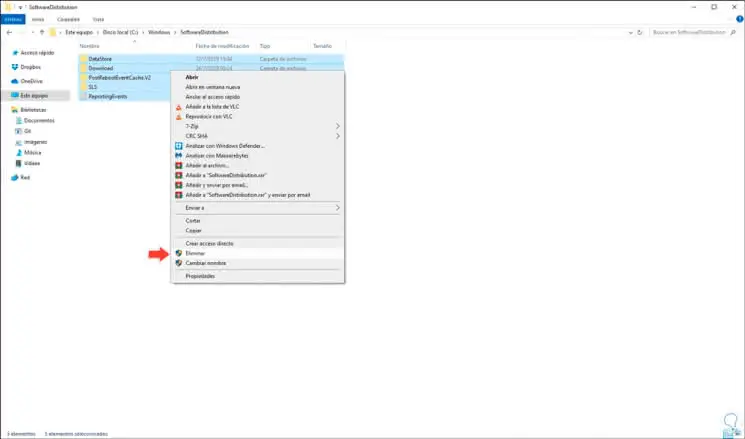
Press the F4 key to access the secure mode of Windows 10 and once we access open the File Explorer and go to the following path:
C: \ Windows \ SoftwareDistribution
Step 8
There we select all the content and delete it. After this we will restart the operating system and run Windows Update to complete the actions.
5. Repair error 0X8024000B on Windows 10 with DISM and SFC
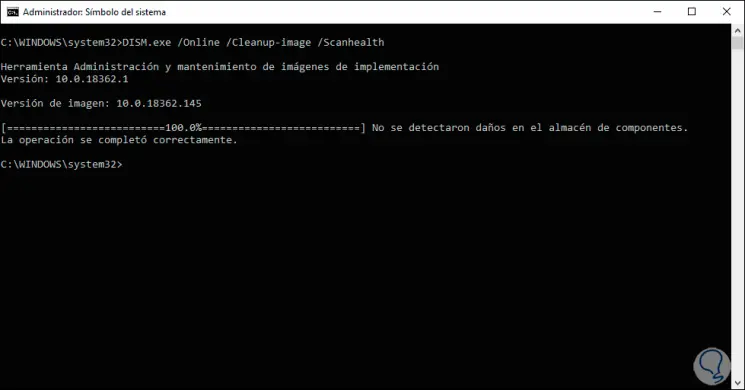
Windows integrates a command called DISM (Deployment Image Servicing and Management) which has as its mission to execute a maintenance and preparation of the images of the Windows operating system.
Step 1
To use it, we access the command prompt as administrators and there we execute the following:
Dism.exe / Online / cleanup-image / Scanhealth dism / online / cleanup-image / StartComponentCleanup
Step 2
Then we execute the following:
dism / online / cleanup-image / Restorehealth

Step 3
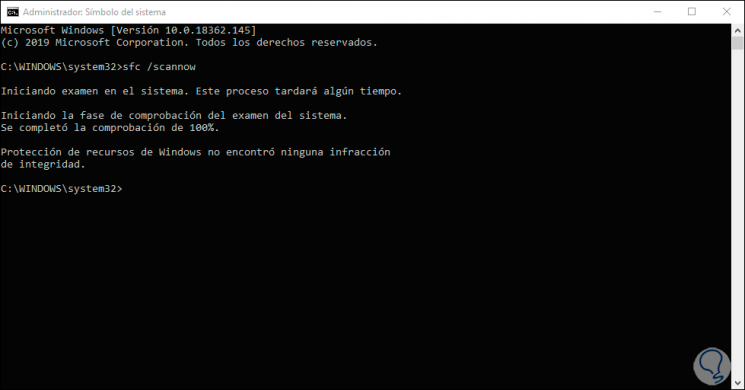
After this task, another of the useful commands of Windows 10 is SFC (System File Checker) which analyzes and corrects errors in the disk file system, for this, in the command prompt console, we execute:
sfc / scannow
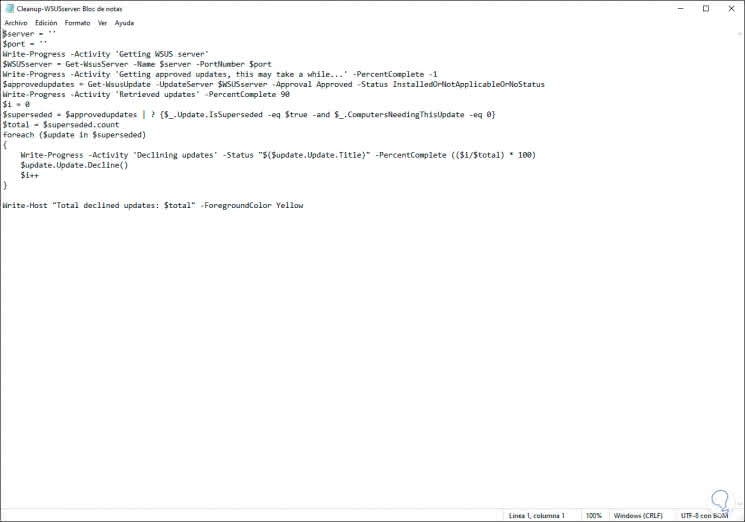
6. Repair error 0X8024000B on Windows 10 with Cleanup (Decline) Superseded script
Step 1
This is a free script thanks to which we seek to clean the updates that have been replaced on the WSUS server, its download is available at the following link:
Cleanup

Step 2
Once we download it we proceed with its execution, the basic structure of the script is as follows:
We have several options to correct the error 0x8024000b associated with Windows Update in Windows 10 and so know in advance that we will receive all available updates from the system.