Windows 10 is a system that is constantly updated, whether security, cumulative, etc., always looking for the user to have a reliable system, compatible with the latest applications and programs, but above all that it meets the required requirements. These updates are carried out through Windows Update where the updates available to be downloaded by local computers are hosted, but in this process the error 0x8000ffff may appear..
This error can occur due to defective or non-existent Windows components, but in the case of Windows Update, the origin is in its own processes.
TechnoWikis will explain how to fix this error 0x80000fff in Windows 10..
To stay up to date, remember to subscribe to our YouTube channel! SUBSCRIBE
1. Repair error 0x8000ffff from CMD
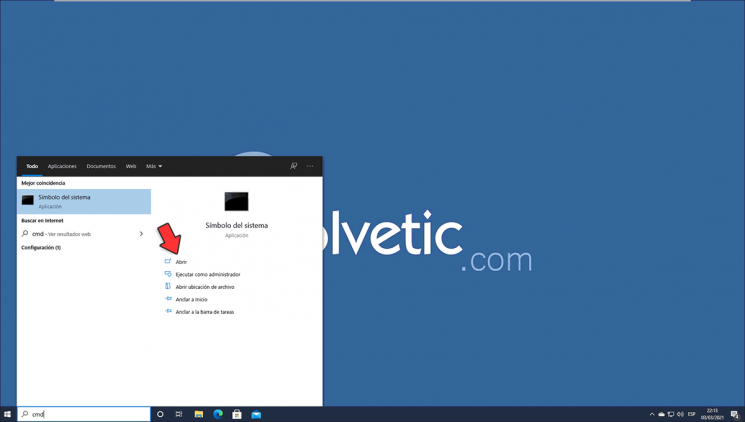
Step 1
We access the CMD as administrators:
Step 2
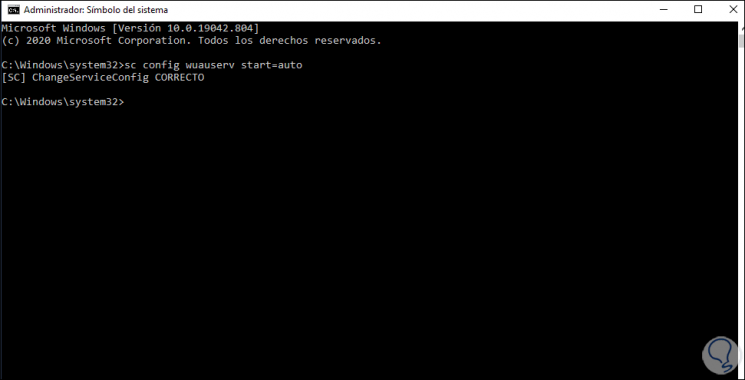
In the console, run the following command to set the Windows Update service to automatic:
sc config wuauserv start = auto
Step 3
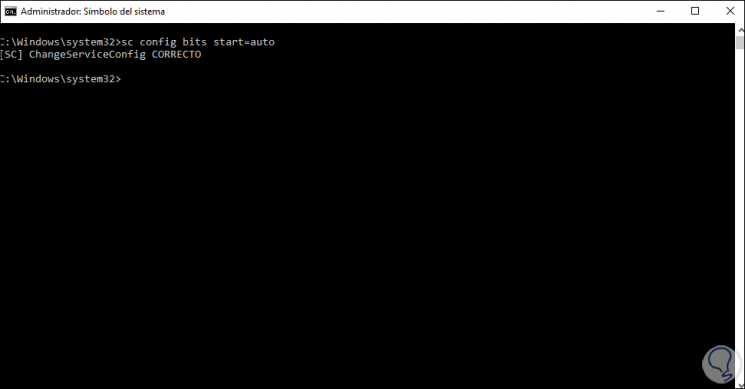
Now we execute the following command to automatically leave the BITS background transfer service:
sc config bits start = auto
Step 4
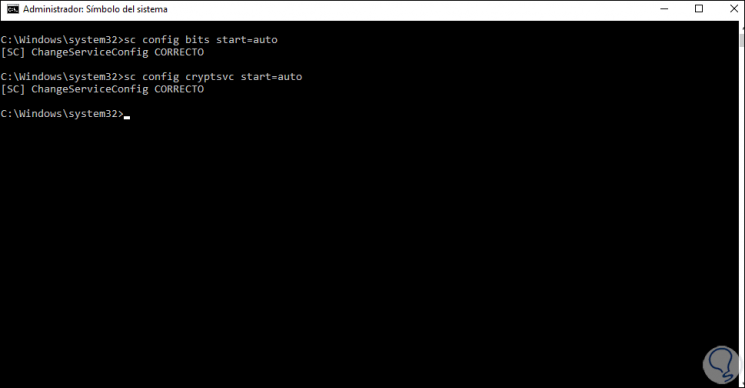
Then we configure the encryption service automatically:
sc config cryptsvc start = auto
Step 5
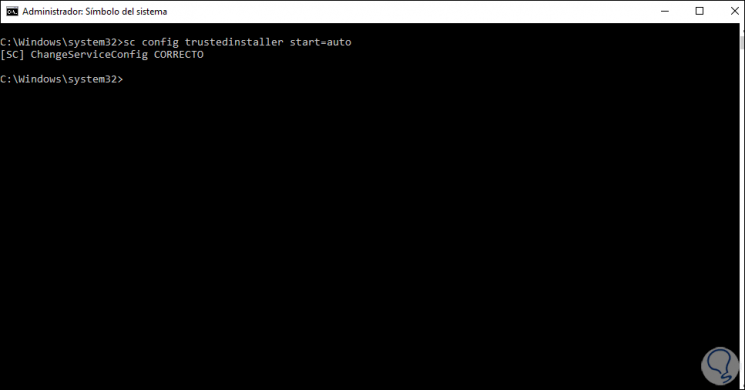
The next step will be to automatically configure the trusted installers service, we execute:
sc config trustedinstaller start = auto
Step 6
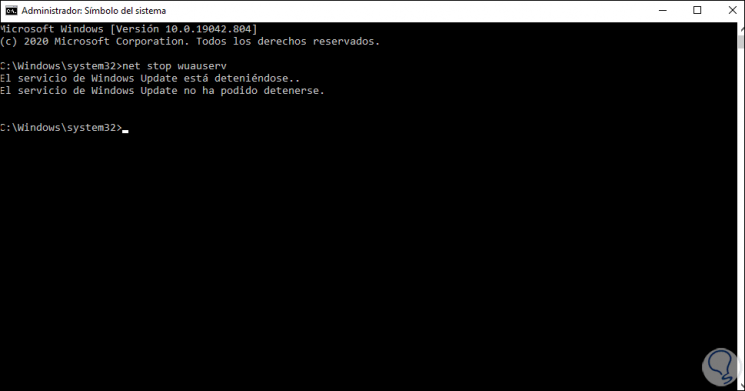
Now we stop the Windows Update service with the command:
net stop wuauserv
Step 7
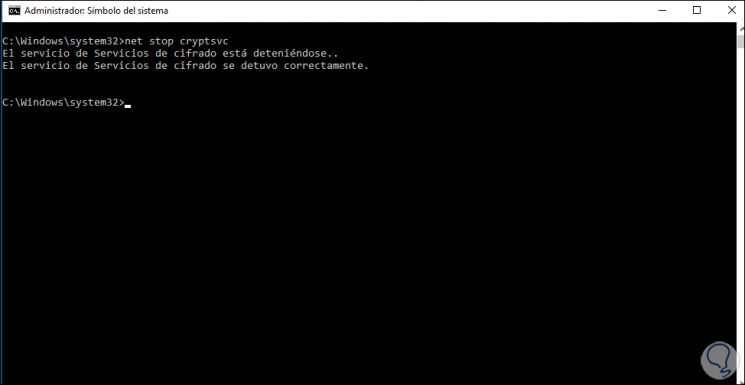
We stop the cryptography service, run:
net stop cryptsvc
Step 8
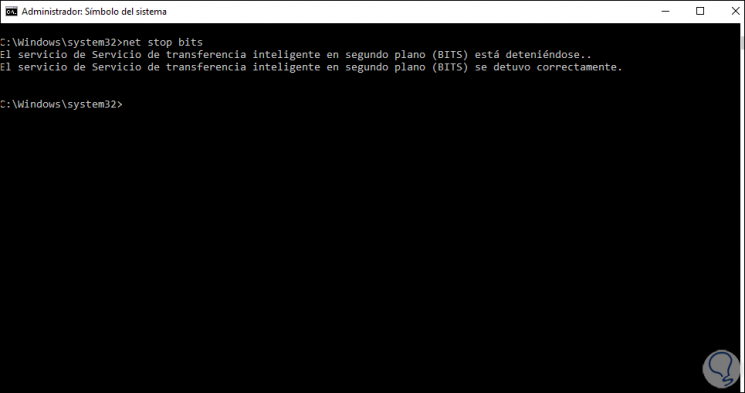
We execute the following command to stop the transfer service in the background:
net stop bits
Step 9
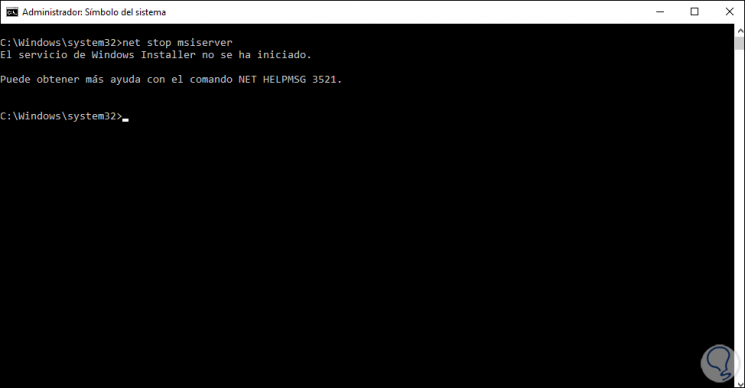
Then run the following command to stop the Windows Installer service:
net stop msiserver
Step 10
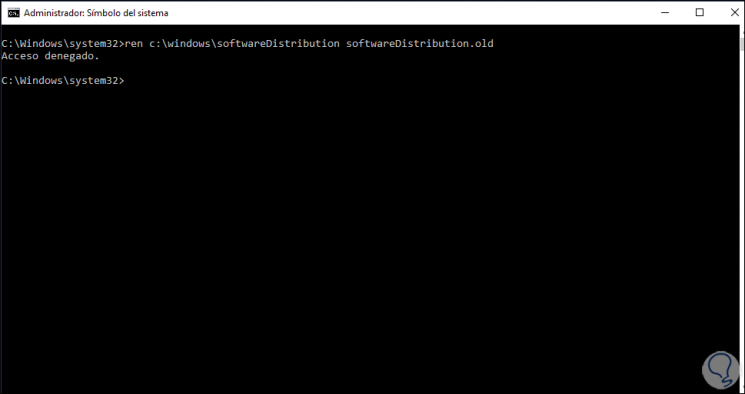
Next we will execute the following:
ren c: \ windows \ softwareDistribution softwareDistribution.old
Note
It is normal to get the access denied error as it is a system folder.
Step 11
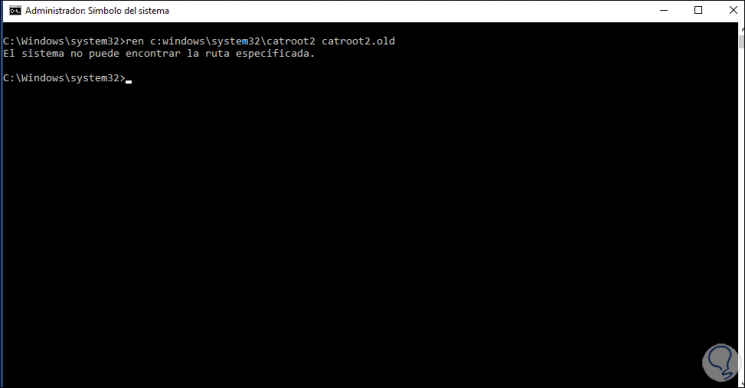
Then we will use the following command:
ren c: windows \ system32 \ catroot2 catroot2.old
This folder may not exist on your computer.
Step 12
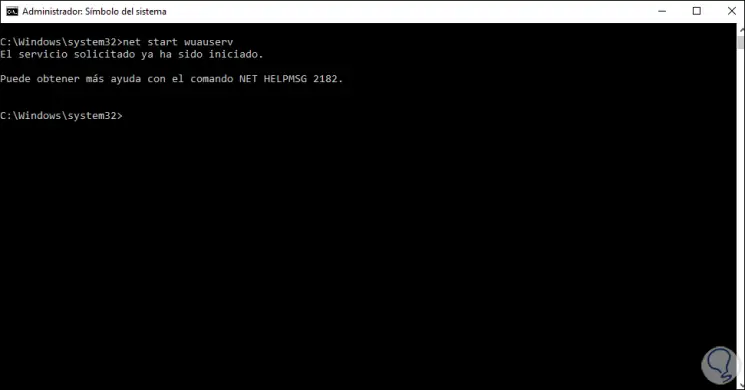
The next step will be to start the services, first of all we execute the following command to start the Windows Update service:
net start wuauserv
Step 13
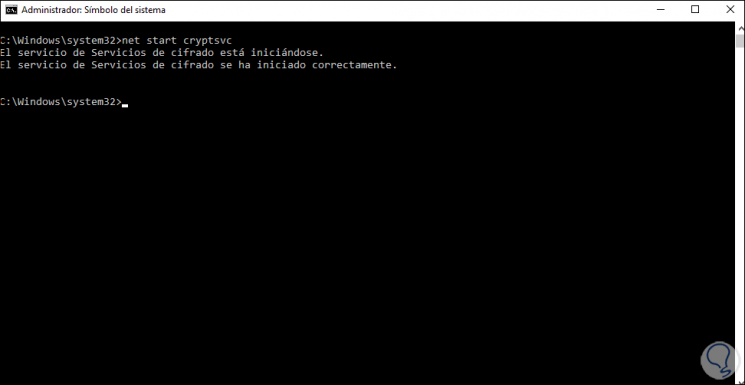
Start the crypto service:
net start cryptsvc
Step 14
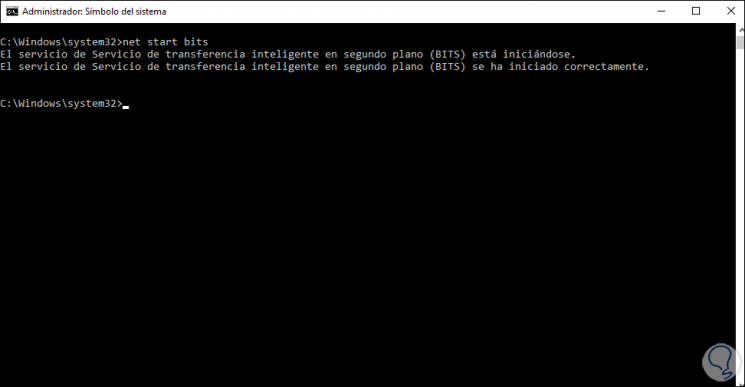
We start the transfer service in the background:
net start bits
Step 15
We start the Windows Installer service:
net start msiserver
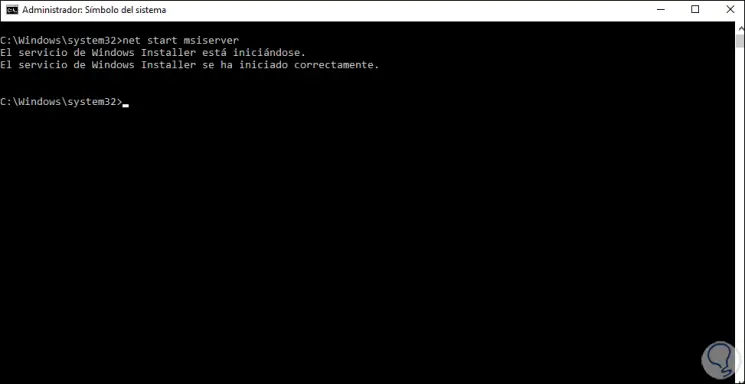
Up to this point we have worked in the command prompt console in Windows 10.
2. Repair error 0x8000ffff from PowerShell
Step 1
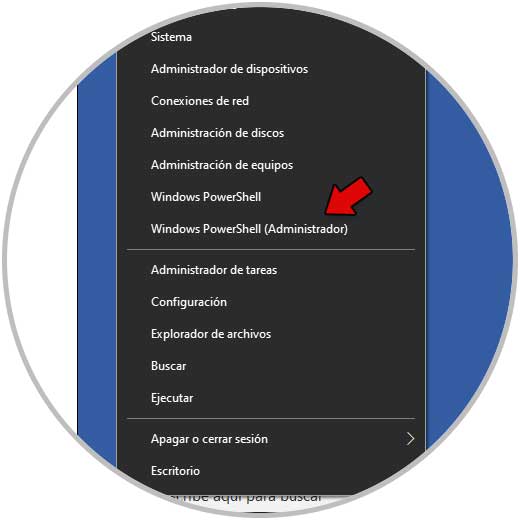
We access PowerShell as administrators:
Step 2
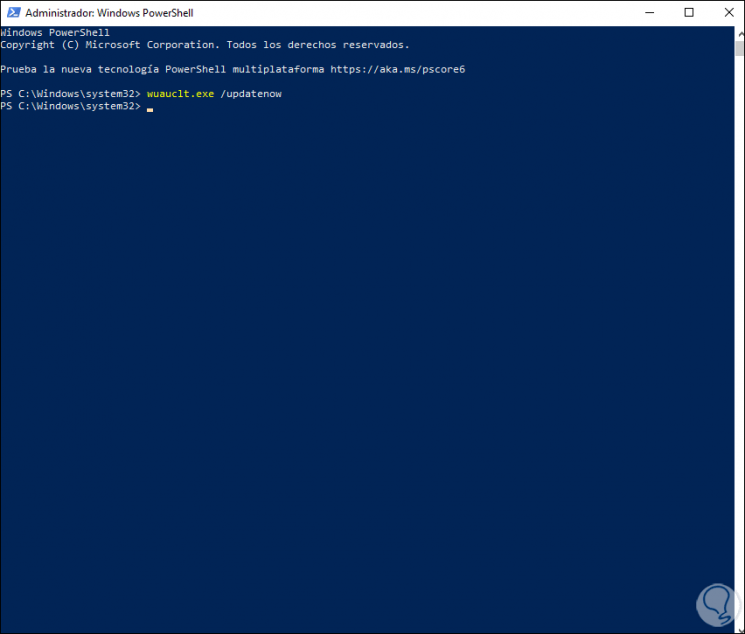
In the PowerShell console we execute the following command to update the Windows Update service.
wuauclt.exe / updatenow
Step 3
Now we are going to perform an analysis of the Windows 10 file system with SFC (System File Checker), for this we execute:
sfc / scannow
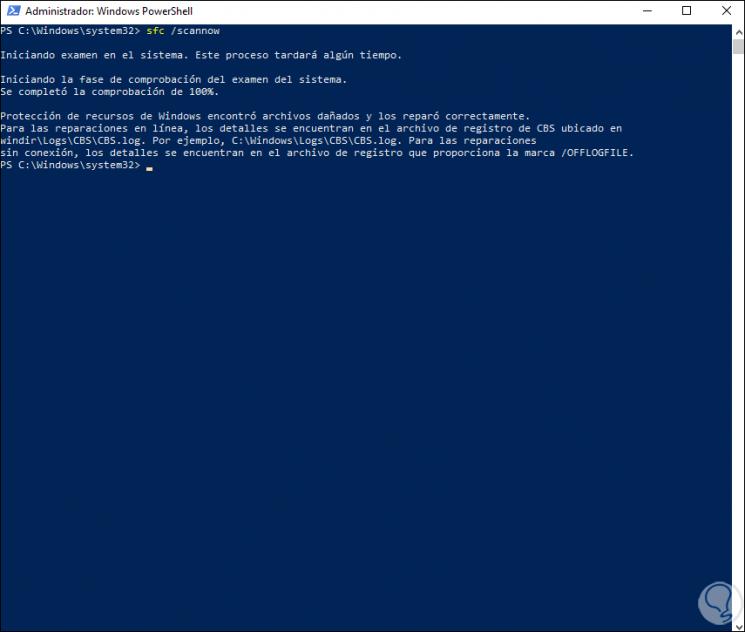
If errors are detected, SFC will automatically fix them..
Step 4
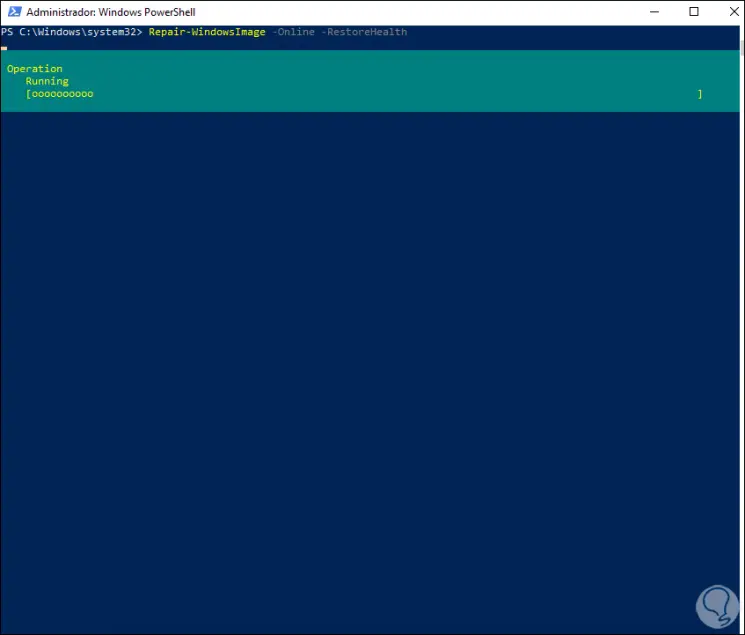
Finally we are going to execute the following:
Repair-WindowsImage -Online -RestoreHealth
This command is responsible for validating the status of the system image:
Step 5
At the end we will see the following:
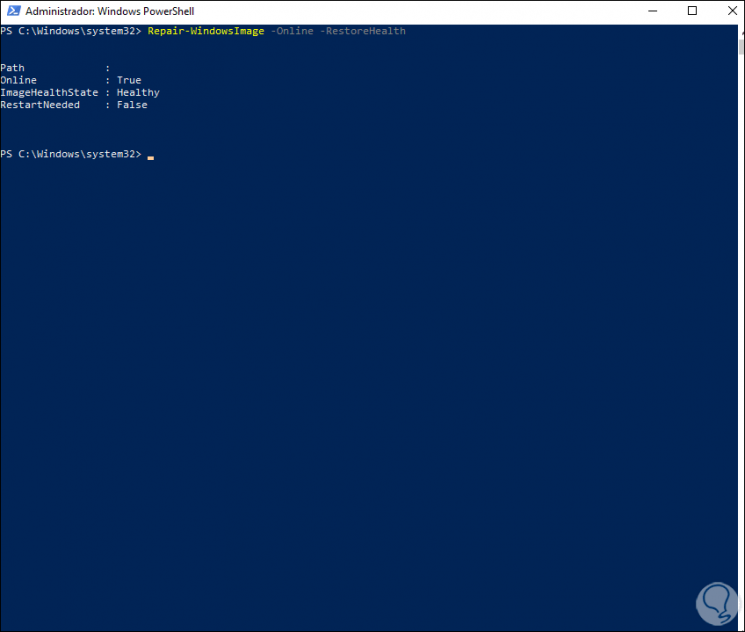
Here are the steps available to fix error 0x8000ffff in Windows 10.