The amount of information that is stored on computers is increasingly extensive, since access to different platforms and services is becoming easier. Today we use computers and mobile phones as the main places to store documents, photos, videos, accounts and passwords ... We also tend to remember our passwords when we enter for example our social networks or email, something which can be very dangerous if someone had access to our PC..
Security is one of the most critical issues for any user regardless of whether we are talking about a business or personal environment since each file and object that we host on the computer can have some degree of importance and privacy.
For this reason, Microsoft has adopted new security measures to log in to their computers or to recover passwords that we have forgotten..
To keep up, remember to subscribe to our YouTube channel! SUBSCRIBE
1. How to disable Windows 10 security questions
Step 1
We see this from the April 2018 version in which when we create a new local account it is required to integrate 3 additional security questions to the password or pin.
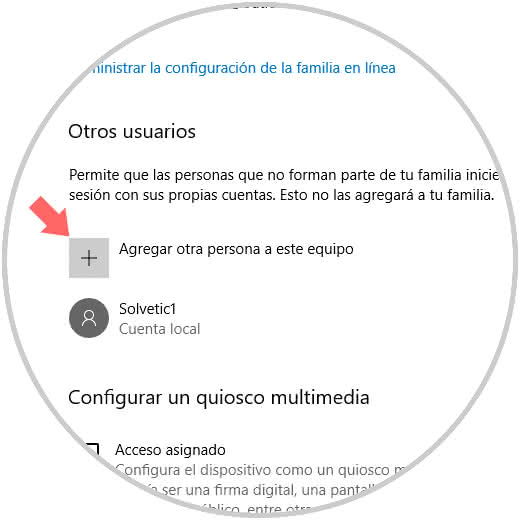
To verify this we will:
There we click on the option “Add another person to this team†and the following assistant will be displayed:
Step 2
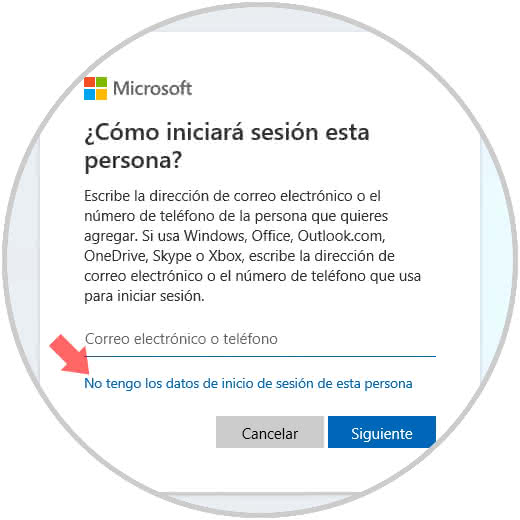
There we click on the line "I do not have the login data of this person" and we will be redirected to the following window:
Step 3
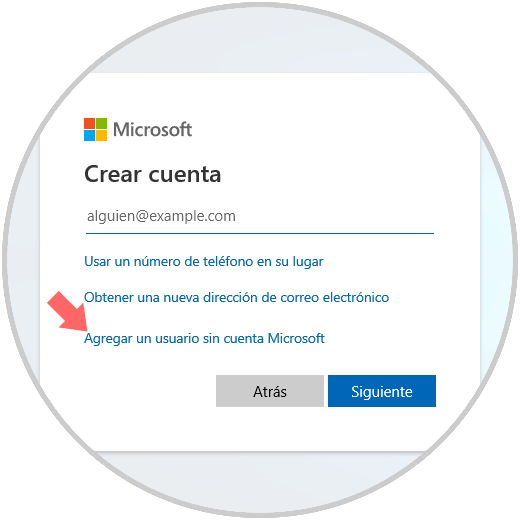
We click on the line “Add a user without a Microsoft accountâ€
Step 4
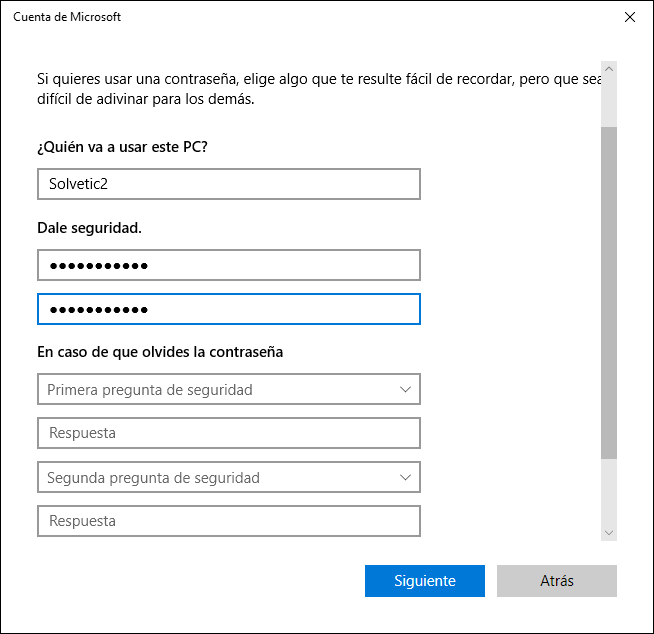
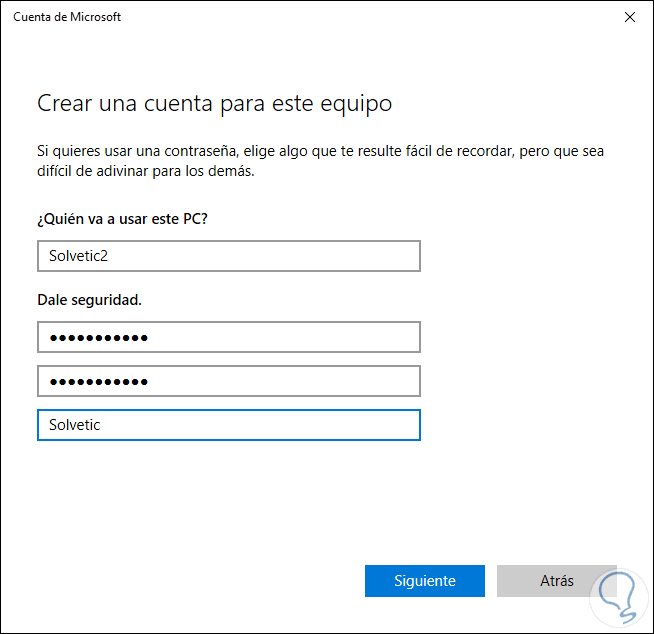
We will see the following window where we enter the name of the local account to be created as well as the password and the fields of the questions to be associated are automatically displayed:
Step 5
By clicking on the field of questions we will see the various options to select:
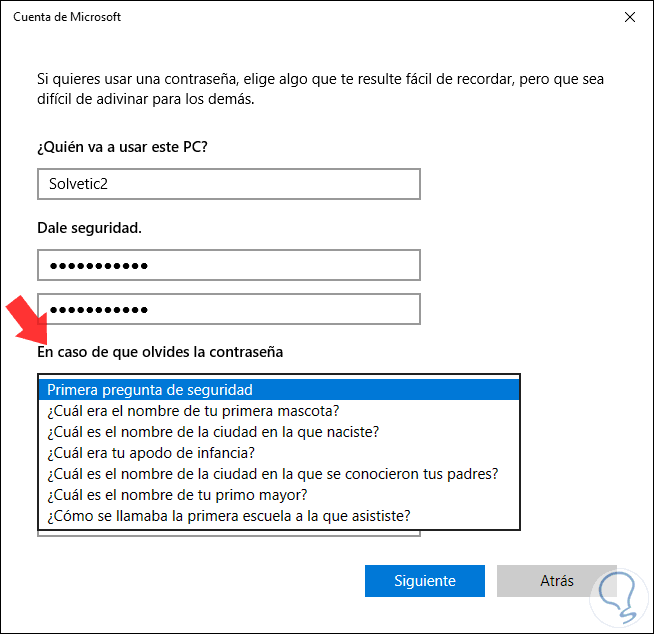
Like everything at the level of security and privacy, if someone close to you knows this information, you can access our team by answering the questions, so it is a good practice to disable them but oh surprise! how to perform this process directly from the registry editor or from group policies.
2. Disable security questions from the Windows 10 registry editor
This method applies to all editions of Windows 10 and it is recommended before its execution that we make a backup in case something is incorrectly configured.
Step 1
To access the registry editor we will use the Windows + R keys and execute the “regedit†command:
+ R
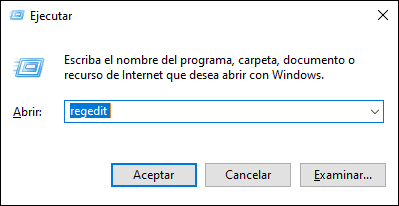
We click on Accept and in the new window we will go to the following route:
HKEY_LOCAL_MACHINE \ SOFTWARE \ Policies \ Microsoft \ Windows
Step 2
There we will right click on the Windows key and select the New / Password path:
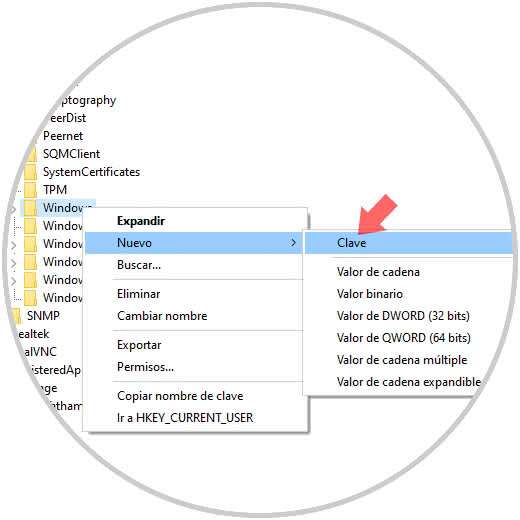
Step 3
This new key will be called "System", as a point to observe if the System key already exists we will not be able to create it.
Now, we will right click on System and select the New / DWORD Value option (32 bits):
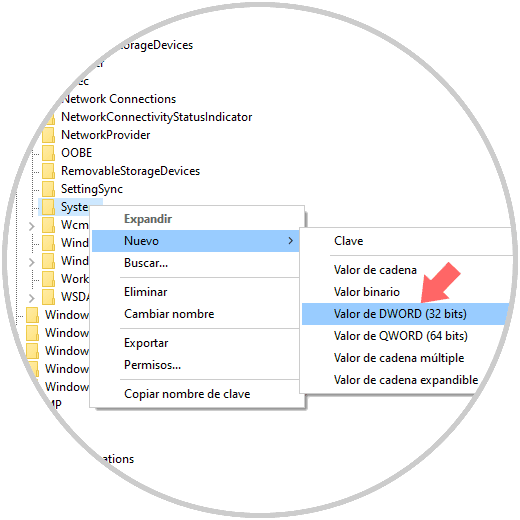
Step 4
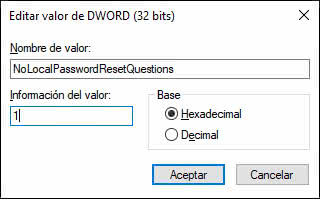
This new DWORD value will be called "NoLocalPasswordResetQuestions":

Step 5
We double click on this DWORD value and set the value of zero to one. Click OK to save the changes and we can close the registry editor, now restart the computer to complete the process.
Note
If we want to reverse this action, we must eliminate the DWORD value “NoLocalPasswordResetQuestionsâ€.
3. How to disable security questions from group policies
Step 1
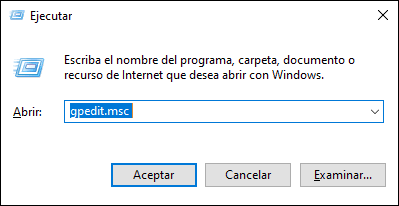
This option applies only to the Pro and Enterprise editions of Windows 10, to access it we will use the Windows + R keys and execute the gpedit.msc command:
+ R
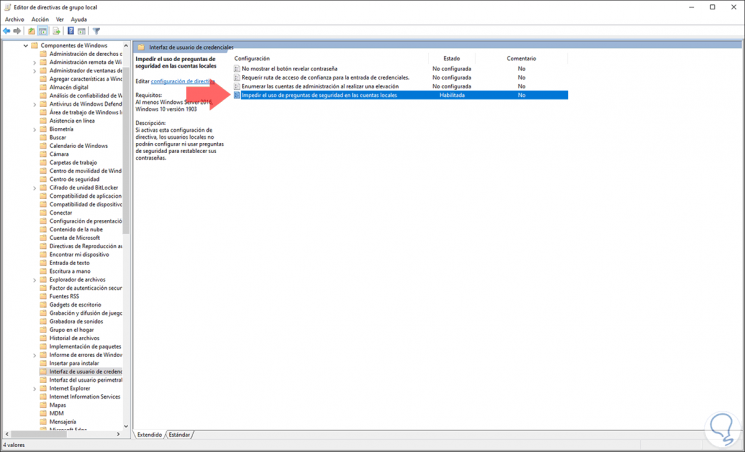
Step 2
In the displayed window we will go to the path Computer Configuration / Administrative Templates / Windows Components / Credentials User Interface, there, in the central panel we will locate the policy called “Prevent the use of security questions in local accountsâ€:

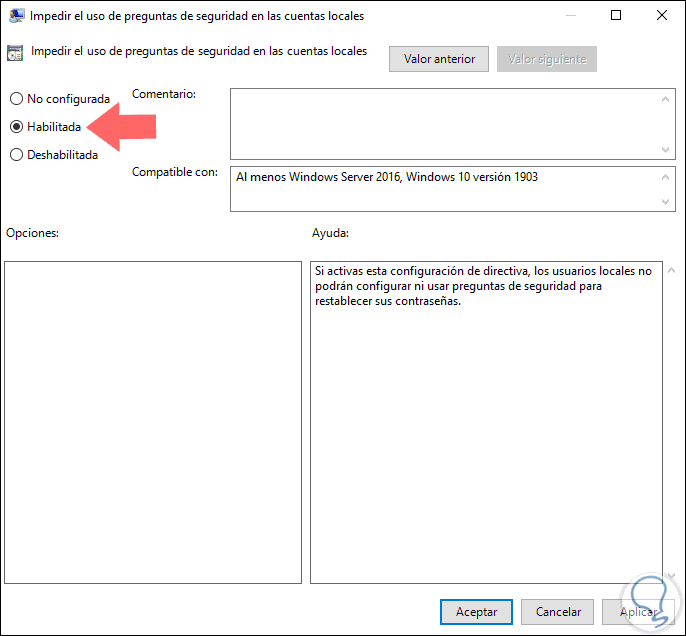
Step 3
We double-click on this policy and in the displayed window we activate the “Enabled†box. Click on Apply and Accept to save the changes:
Note
To reverse this process we must access the policy again and check the box Not configured or Disabled and then click on OK.
Step 4
With any of the above methods, when we go to the Start menu / Settings / Accounts / Family and other users and try to create a local account again, we will see that instead of the security questions we will see the field "Password suggestion":
As simple as that, we can remove Windows 10 security questions for local system accounts..