If you are a system or network administrator , you belong to the support area of ​​your company or you are simply a lover of Linux operating systems TechnoWikis has great news for you and it is that you have a special utility to manage various (if not all ) aspects of your system both at the level of services, processes, users but also of permissions, information and tasks that we carry every day..
We know that Linux offers us some distributions with a graphical environment (GUI) but when it comes to a server-level operating system it is normal for us to use it in Core (terminal) mode, and support tasks can become somewhat tedious and error prone.
Next we will see a tool to facilitate these tasks and this utility is Webmin. Therefore, we ask you to read in detail this tutorial that TechnoWikis has prepared for you in a complete way and so you can implement it in your organization regardless of its size. For this case we will use Ubuntu 19.04 Server and if you still do not have it we invite you to download it in the following link:
Ubuntu 19.04 Server
What is Webmin?
First of all we must know what utility we are going to use and what are its advantages. Webmin has been literally developed as a web-based interface, that is, access through current browsers, in order to manage Unix systems (within which is Ubuntu Server) in a simple but dynamic way.
We can make use of current browsers with the only condition that they support Java, tables and forms, if so, it will be possible to configure user accounts, manage the Apache server, configure the DNS, edit files and many more tasks focused on Administration and support..
The Webmin tool is integrated by a web server which has several CGI programs whose purpose is to update the system files being /etc/inetd.conf and / etc / passwd some of the best known, both the Webmin server and the CGI programs have They have been written in Perl version 5 and do not use non-standard Perl modules for better performance and response times to the needs of each of us.
In this case we will use Webmin in Ubuntu Server 19.04 but quiet since Webmin can be installed on operating systems such as:
Operating systems compatible with Webmin on Ubuntu Server 19.04
- Mandrake Linux Corporate Server
- Mandriva Linux Enterprise Server
- Redhat Linux Desktop and many more
Webmin includes 113 standard modules by default and we can use many more by third parties but later we will see something about this. Without more words we will see how to install Webmin on Ubuntu Server 19.04..
1. How to install Webmin repositories on Ubuntu Server 19.04
The first essential step for everything to work as expected is to add the Webmin repository to the system as this allows us to install and update Webmin through the package manager.
Step 1
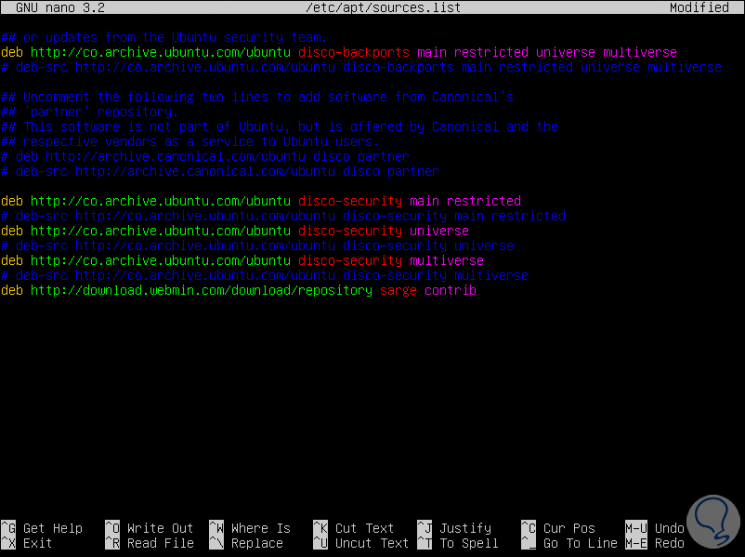
This repository must be added to the /etc/apt/sources.list file so that we will use the desired editor (nano or vim) and execute the following:
sudo nano /etc/apt/sources.list
In the open file we must enter the following line at the end of this:
deb http://download.webmin.com/download/repository sarge contrib
Step 2
This is the official Webmin repository for Ubuntu.
We save the changes to the file using the Ctrl + O keys and we will exit it with the Ctrl + X keys.
2. How to include the Webmin PGP key
Step 1
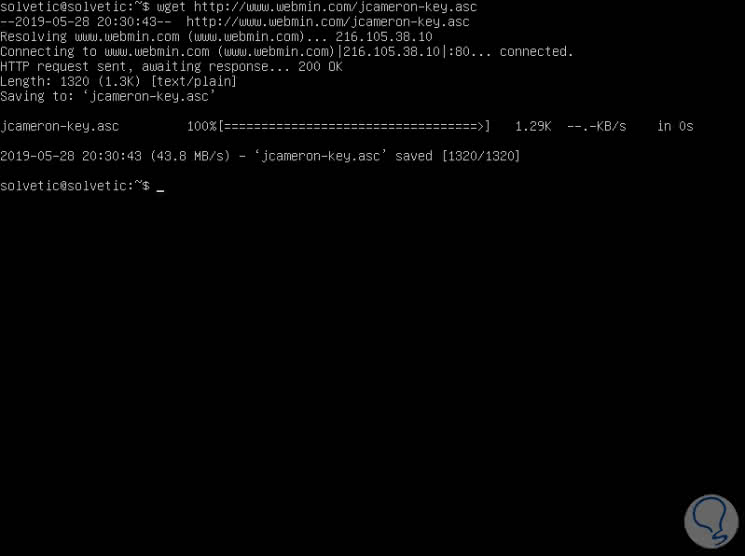
Now we will add the Webmin PGP key so that the system can access the repository and perform the download, to achieve this we will execute the following in the console:
wget http://www.webmin.com/jcameron-key.asc
Step 2
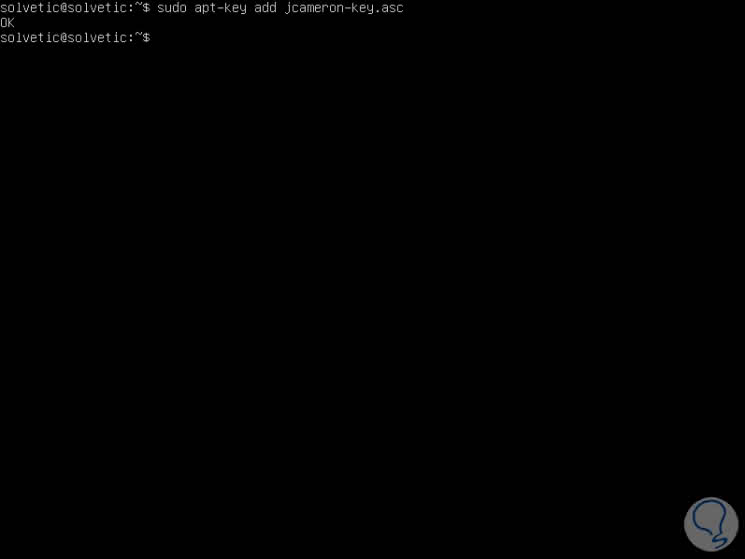
Now we must integrate the key by executing:
sudo apt-key add jcameron-key.asc
3. How to update Webmin packages
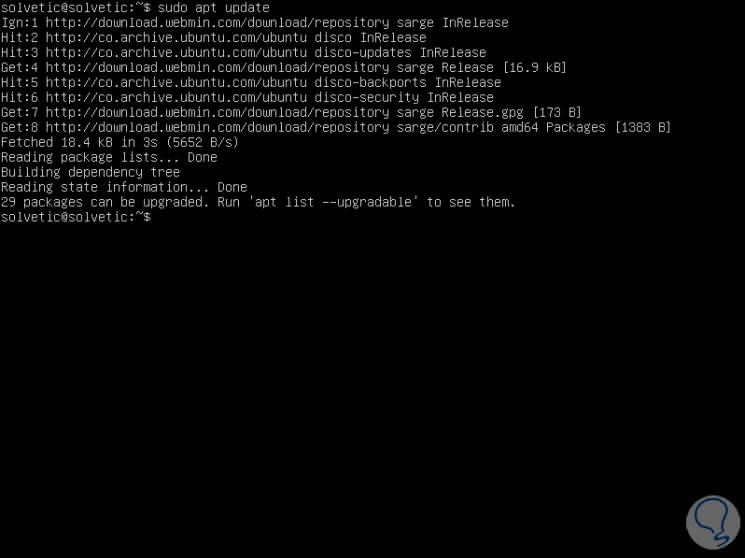
Once the process is successful, we will update the Webmin repository packages that we have added, for this we execute the following:
sudo apt update
4. How to install Webmin on Ubuntu Server 19.04
Step 1
The time has come awaited by all and is to install Webmin on the server, for this we will execute the following:
sudo apt install webmin
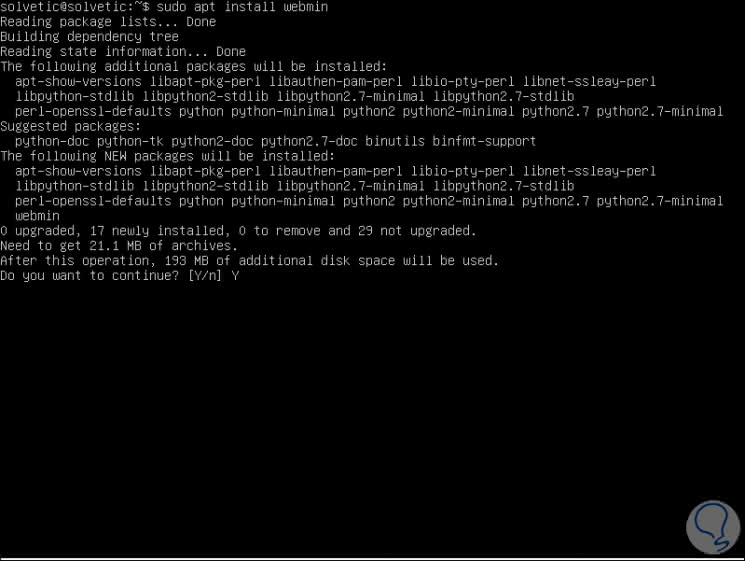
Step 2
Enter the letter Y to confirm the download and installation of Webmin on the server, when the process is finished we will see the following summary:
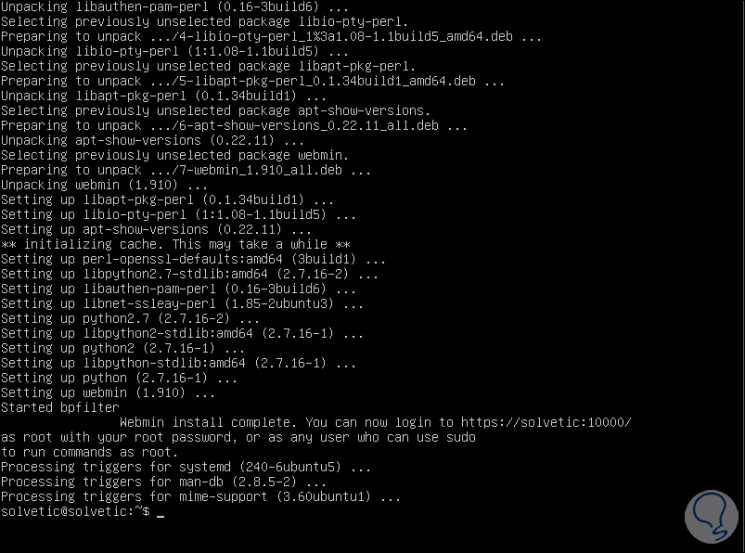
Note that in the final section of the summary we find a way to access the Webmin panel with the syntax:
https: // IP Address: 10000 / https: // teamname: 10000 /
5. How to enable the firewall in Linux
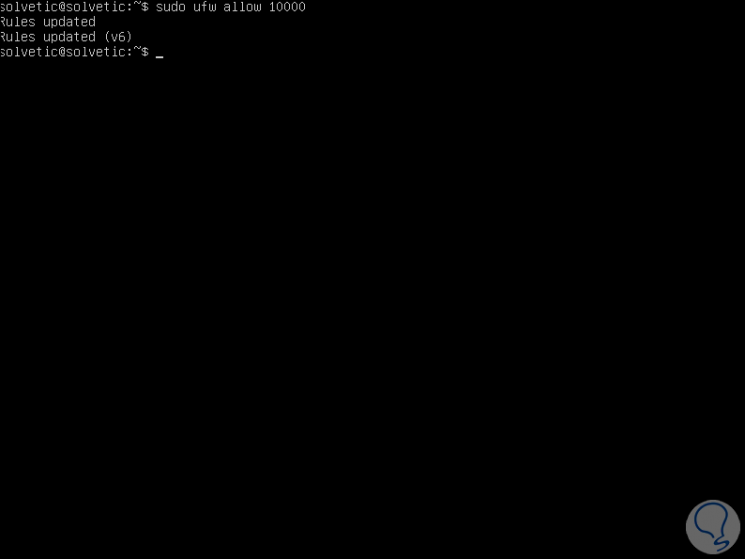
Up to this point we have installed Webmin and the next step will be to grant the connectivity permission since this will be from a web browser, this is achieved by granting authorization to port 10000 in the Ubuntu Server 19.04 firewall, for this permission it is enough to execute the following:
sudo ufw allow 10000
6. How to access Webmin on Ubuntu Server 19.04
Step 1
It is time to know the interface and use of Webmin on our server, for this we go to a browser, in this case Google Chrome, and in the address bar we enter one of the following options:
https: // solvetic: 10000 / https: // Server_IP: 10000 /
Step 2
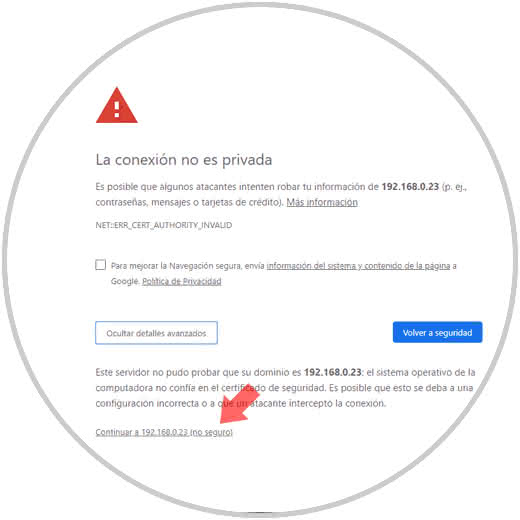
We will see the following warning since it is a secure HTTPS connection:
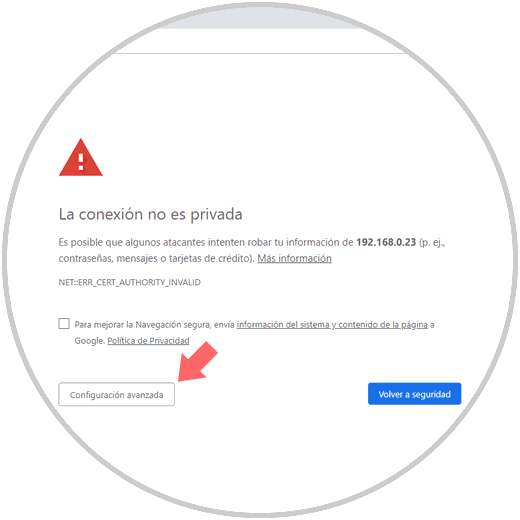
Step 3
We click on the Advanced Settings button and there we click on the "Continue to ... (not sure)" line:
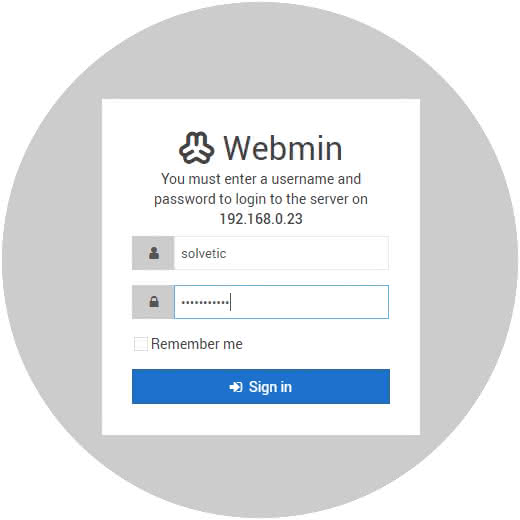
Step 4
By clicking there we will be redirected to the Webmin login window where we will enter the credentials with which we access the system:
Step 5
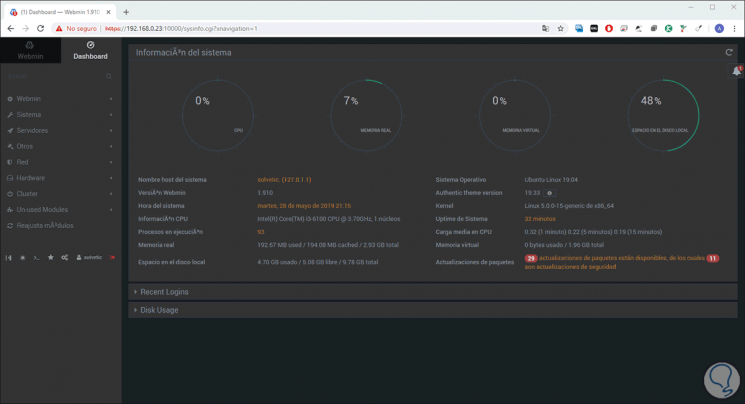
Click on the Sign in button and the initial Webmin environment in Ubuntu Server 19.04 will be as follows:
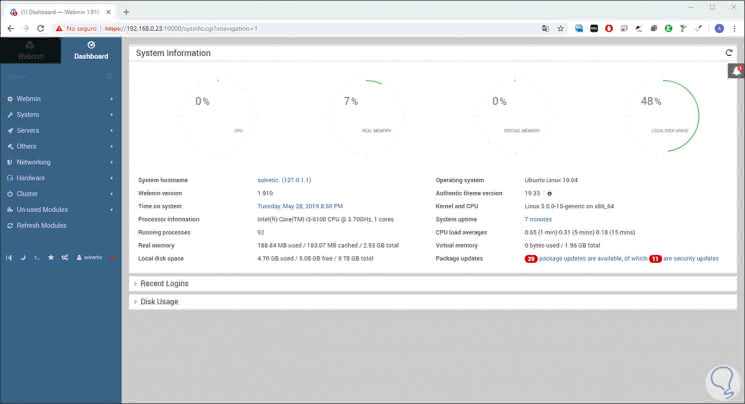
Dashboard
In the initial window called Dashboard we find specific details such as:
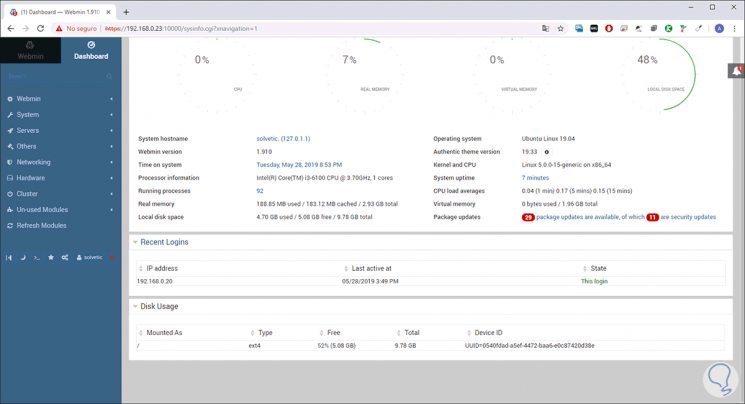
Step 6
At the bottom we find two sections where it will be possible to visualize the last logins as well as the use of the disk:
7. Webmin usage options in Ubuntu Server 19.04
On the left side we find a series of options that are the Webmin menus and from where it is possible to access the required information as well as configure the tool as necessary.
Webmin
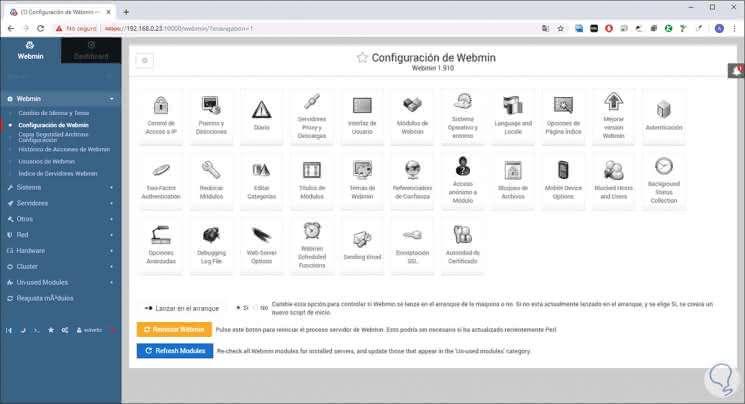
It is the configuration section of the utility which is divided into sections such as:
- Webmin configuration (themes, anonymous access, use of modules and much more)
- Adjust interface and language
System
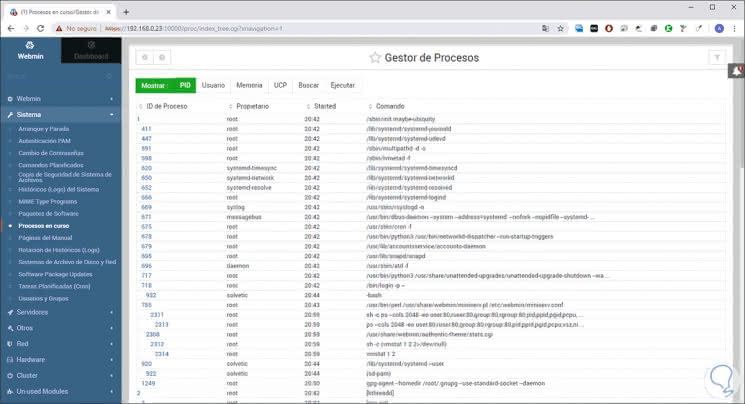
It is one of the most delicate since from there it will be possible:
- View current server processes
- View and update software packages
Servers
This section is intended for configuring mail servers such as Exim, Qmail, Postfix and Sendmail

Others
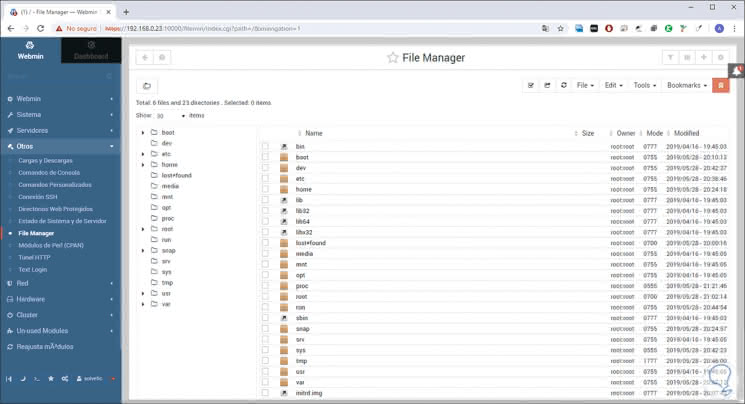
This section can be classified as a set of tools to work on the server, there are:
- Possibility of creating custom commands
- Establish SSH connections
- View system and server status
- Access protected web directories
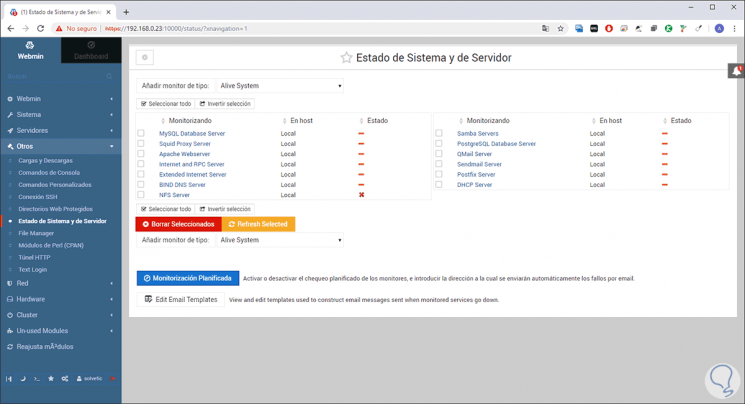
As a point to indicate, the "System and Server Status" section is ideal to have a complete overview of Ubuntu Server behavior with states such as good, regular or bad:
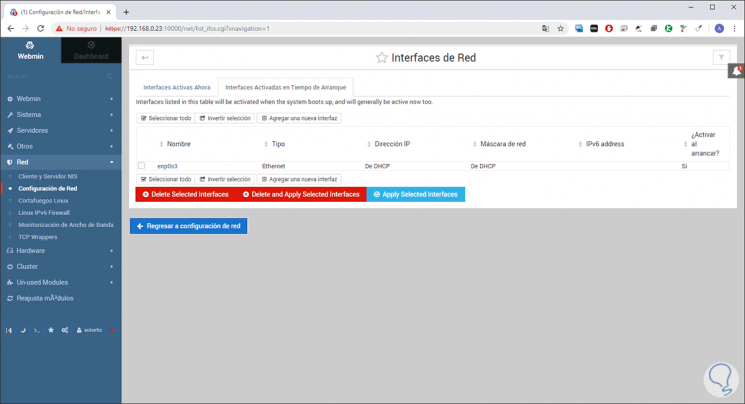
Net
As the name implies, there we handle all aspects of the network as it is:
- General configuration of network interfaces
- Manage the bandwidth used
- Configure the NIS client and server and more
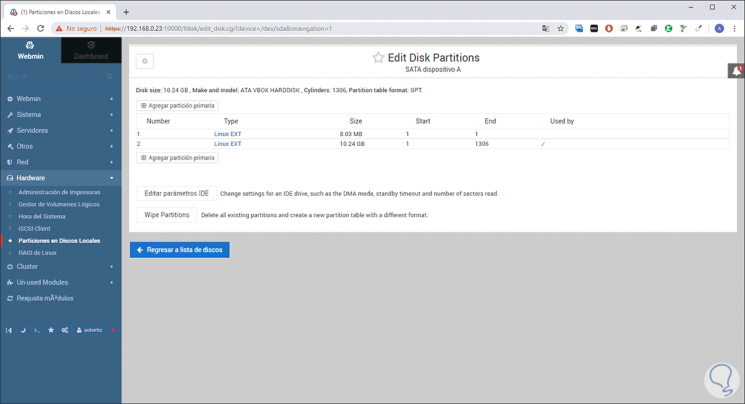
Hardware
A section dedicated to the hardware components of our Ubuntu server such as:
- View the current hard drive partitions.
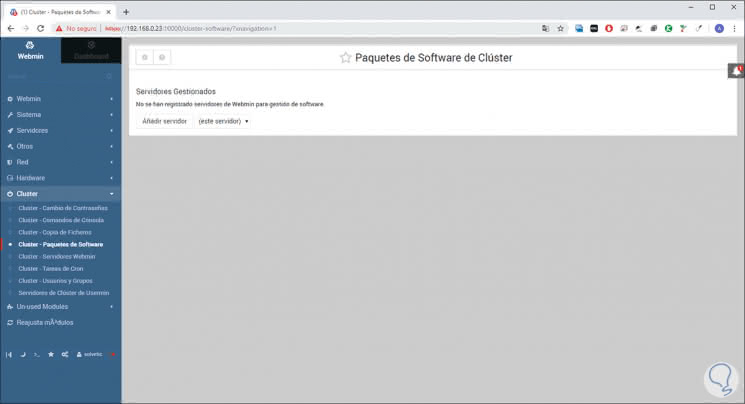
Cluster
This section is specially integrated to configure everything related to the cluster (if we have it) in the system, there it will be possible:
- Validate the integrated servers
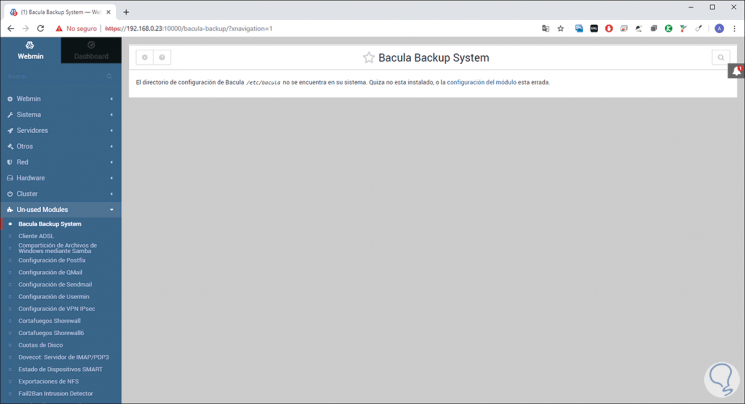
Un-used Modules
Here we find all the modules that for one reason or another are no longer used in Webmin and when selecting any of them we will see a description of their operation and role.
Reset modules
This option allows us to configure the modules to their factory state.
At the bottom we find a series of icons that allow us to perform specific actions on Webmin such as:
- Anchor the navigation menu.
- Set up the general theme.
- Edit the user with which we access.
At the beginning of the study we talked about the Webmin modules, we are going to mention only a few so that we understand and see the scope that this utility gives us:
- Backup Configuration Files
- Disk and Network Filesystems
- Network Services and Protocols
We see how Webmin is a powerful tool to manage various aspects of our server and thus have a much more complete administration.