Attacks with malware , viruses, ransomware and Trojans are the order of the day in any type of device and operating system, this is worrisome since more than 95% of the information we handle, whether sensitive or not, is through the network and many attacks are aimed at "hijacking" or stealing this information to later ask us for some kind of economic good for it or simply to sell it to third parties..
In these specific cases is where the protection tools such as antivirus, firewall, antimalware , and others appear, which have been designed with special defense mechanisms focused on preventing unauthorized access to our computers and executing changes that affect security and privacy. .
Microsoft has opted to use and improve the Windows Defender security center, which has significant changes in the Fall Creators edition, such as folder access control, cloud protection, better type of analysis and many more..
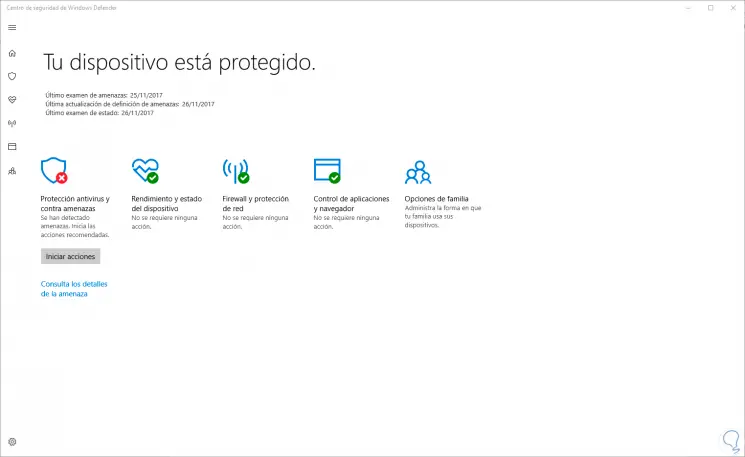
This is handy and really helpful, but something that Windows Defender is failing, and which can mean a security vulnerability , is that it has only been programmed to perform a detailed analysis of the computer but not of external drives, such as USB devices. or external disks, and this may mean that the malware is hosted on the external drive and is spread as soon as it connects to the computer.
TechnoWikis today will discuss two methods on how we can configure Windows Defender with the goal of including drives throughout its vulnerability and threat analysis process..
To stay up to date, remember to subscribe to our YouTube channel! SUBSCRIBE
1. Set up Windows Defender through GPOs (Group Policy)
This option applies to Windows 10 Pro and Enterprise editions.
Step 1
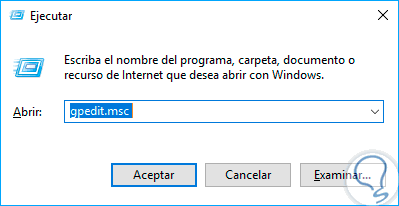
To access the local group policy editor in Windows 10 we will use the following key combination and in the displayed window we will execute the command gpedit.msc:
+ R
gpedit.msc
Step 2
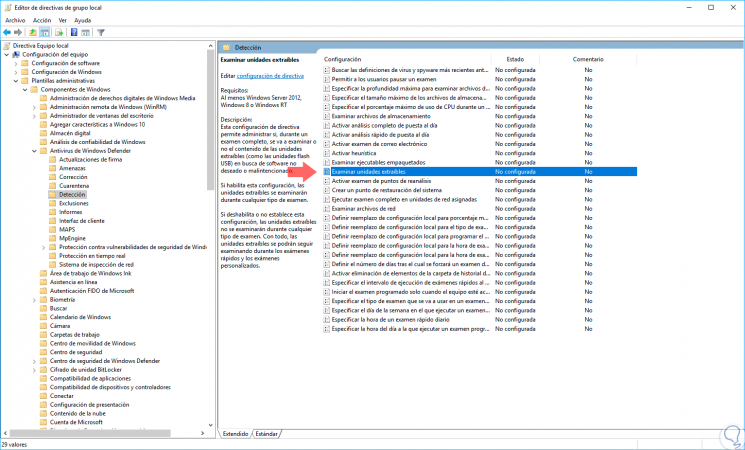
Press Enter or Accept. In the window that we will see, we must go to the following route:
- Windows Defender Antivirus
Step 3
Once on this route, we select the policy called "Examine removable drives" on the right side:
Step 4
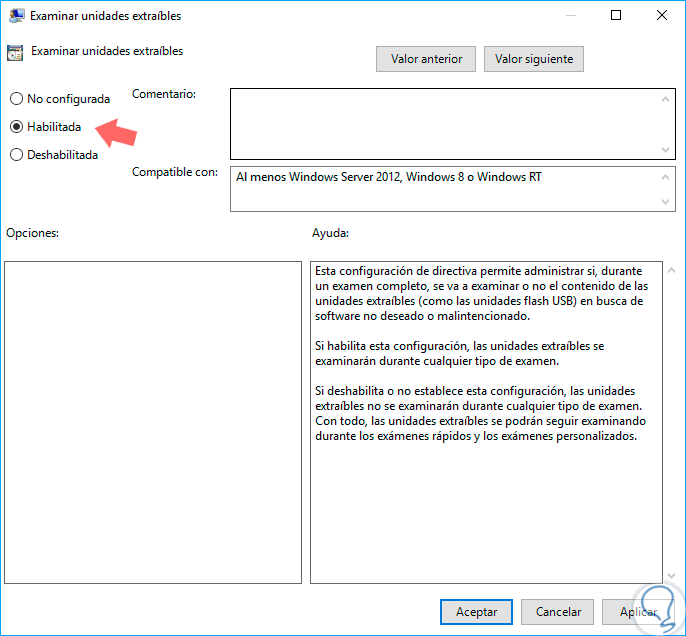
There we can double-click on it, or right-click / Edit, and in the displayed window we activate the “Enabled” box:
Click on the “Apply” button and then on “OK” to save the changes. In this way we configure Windows Defender to include all the drives in the different types of scanning.
2. Configure Windows Defender using Registry Editor
This option applies to all editions of Windows 10 including Windows 10 Home.
Step 1
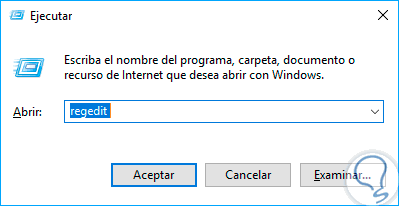
To access the registry editor we will use the following key combination again and in the displayed window execute the regedit command:
+ R
regedit
Step 2
Press Enter or Accept. In the displayed window we will go to the following route:
HKEY_LOCAL_MACHINE \ SOFTWARE \ Policies \ Microsoft \ Windows Defender
Step 3
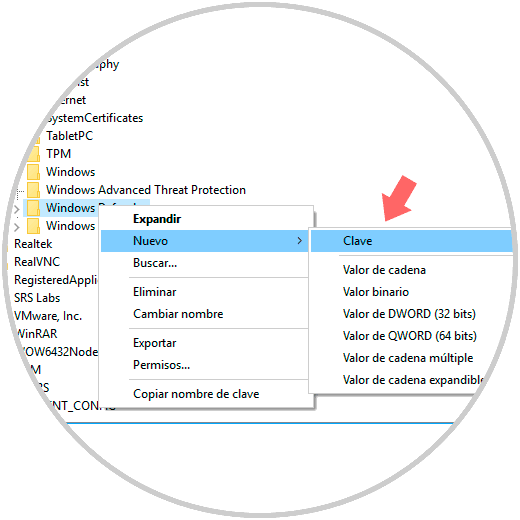
We will right click on the key "Windows Defender" and select the option "New / Key":
Step 4
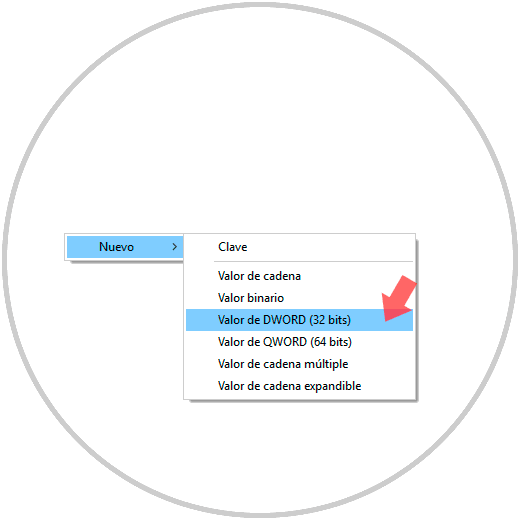
We will call this new key "Scan". Now we can right-click on Scan, or on any free area of said key, and select the option "New / DWORD Value (32 bits)":
Step 5
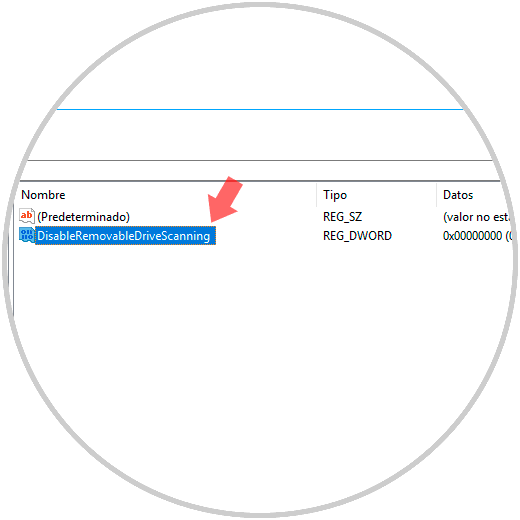
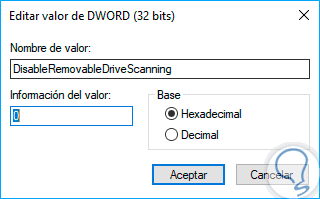
This new value will be called "DisableRemovableDriveScanning":
Step 6
We will double click on said value, or right click / Modify and we must make sure that the value registered in the "Value information" field is zero (0):
Step 7
Click on OK and we can exit the registry editor.
Note
In case of setting the default Windows Defender settings, we can delete the Scan key with its contents.
In this way we can add the removable drives to the Windows Defender analysis process.