The space liberator in Windows 10 is one of the integrated system tools, which has been around for many years, and thanks to which there is an option to eliminate elements that directly affect the storage capacity of the hard disk. Many of these objects are downloads, temporary, thumbnails, cache, Windows installation files, and more..
Many of these files are housed in the free spaces of the hard disk and this can affect storage for other important tasks.
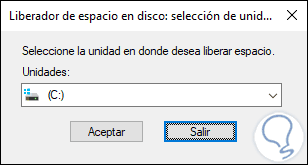
There are different ways to access this space liberator in Windows 10 and thus use this valuable tool to manage something as delicate as storage. We also leave you the video tutorial to know how to access the free disk space..
To stay up to date, remember to subscribe to our YouTube channel! SUBSCRIBE
1. Open Windows 10 space liberator from search
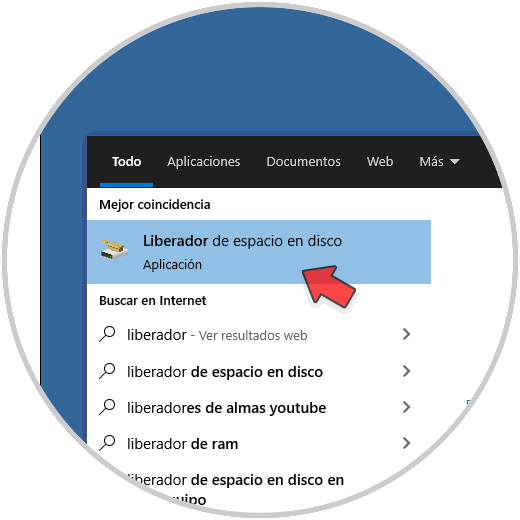
This is one of the simplest methods, for this we simply go to the Start search box and there we enter the word "liberator", select the application in the displayed results:
2. Open Windows 10 Space Liberator Control Panel
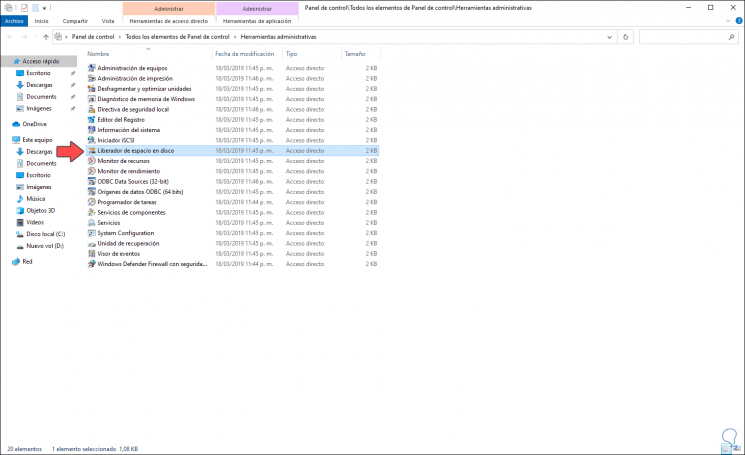
Another of the available methods is through the Windows 10 Control Panel.
Step 1
In this case we will go to the following route:
- All items in Control Panel
Step 2
There we find the "Disk Cleanup" application. We double click on it to open it.
3. Open Windows 10 space liberator from Run
Step 1
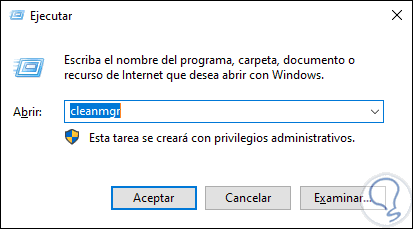
It is another popular method to access the space liberator and consists of combining the following keys and using the following command there:
+ R
cleanmgr
Step 2
Press Enter or click OK to access the utility.
1. Open Windows 10 CMD space liberator
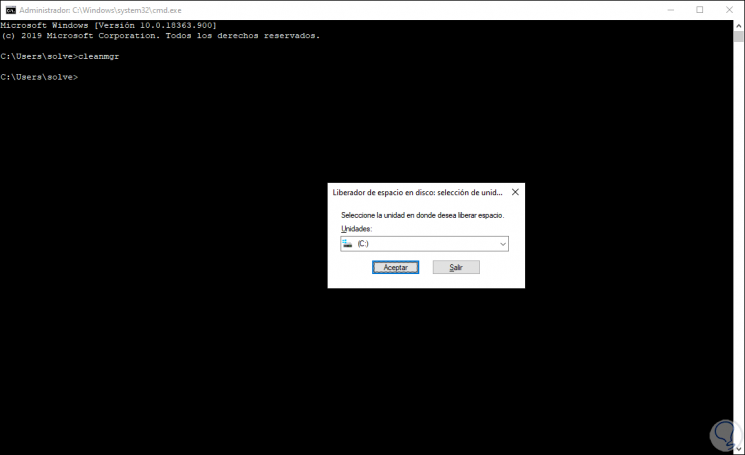
Finally, another option to open the release is through the command prompt console.
Step 1
For this we open CMD and there we execute the following. Pressing Enter will open the space liberator.
cleanmgr
Step 2
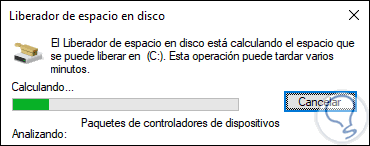
With any of these options we can open this application, select the desired drive and then apply the changes that we consider necessary to optimize the space on the hard drive:
Thus we will have different ways to know how to open Disk Cleanup Windows 10 easily..