Wake On Lan (WoL) technology is a technology that has been around for some time in our media and table equipment (as long as they are compatible). Wake On Lan is a protocol with which it will be possible to turn on a computer remotely without the need to press the power button. This is ideal in situations where we cannot be physically..
Requirements
For Wake On Lan to work as expected, two essential components are needed:
- The network card must be compatible with the protocol
- The motherboard or board must be compatible with the "very low consumption" mode and enable reactivation using the network
Network access
This access through the network must be configured in the BIOS and can be known in various ways such as:
To understand a little how Wake On Lan works, this protocol uses something called a “magic packet” which is integrated (being a network packet) by a 6-byte string of value 255 in hexadecimal (FF FF FF FF FF FF ) which in turn is followed by 16 repetitions of the MAC address of the equipment that will be turned on through this method. The ports used by Wake On Lan are UDP ports 7 and 9.
So when the local network card detects the packet and verifies that the 16 MACs are its own, it is responsible for generating an electrical signal to the motherboard so that the equipment turns on correctly..
Now we are going to learn how to configure Wake On Lan in Ubuntu Server.
WOL configuration in Ubuntu Server
Step 1
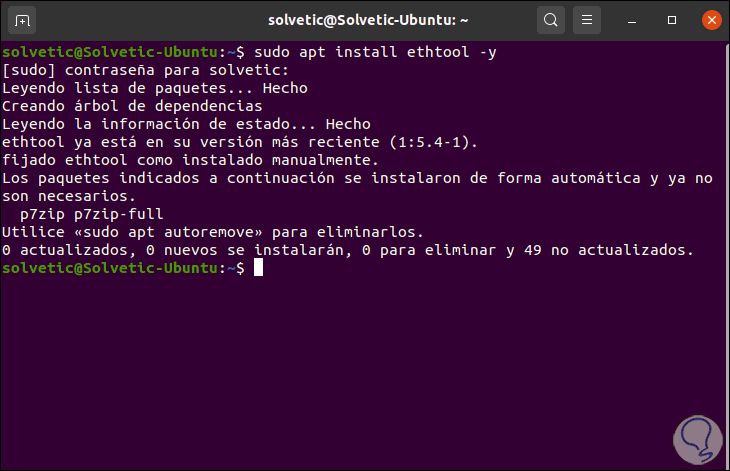
The first step to take will be to install the ethtool with the following command. Ethtools are a set of tools that allow you to control the network controller and the associated hardware configuration.
sudo apt install ethtool -y
Step 2
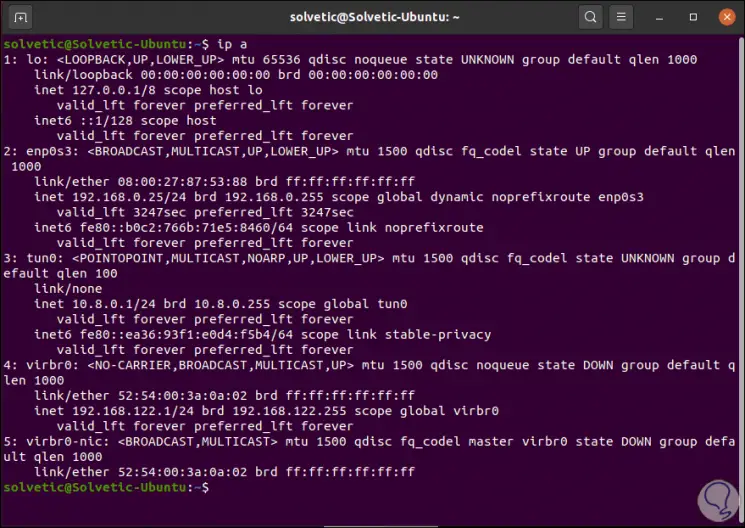
After this we must know the configuration of the network cards in order to know both the IP address and the MAC address of the card to use, for this we execute the following command. In this case, the network adapter to be used will be "enp0s3".
ip to
Step 3
Now we are going to execute the following command. In the INTERFACE field we must enter the name of the network card of the equipment to be turned on with Wake On Lan:
sudo ethtool -s INTERFACE wol g
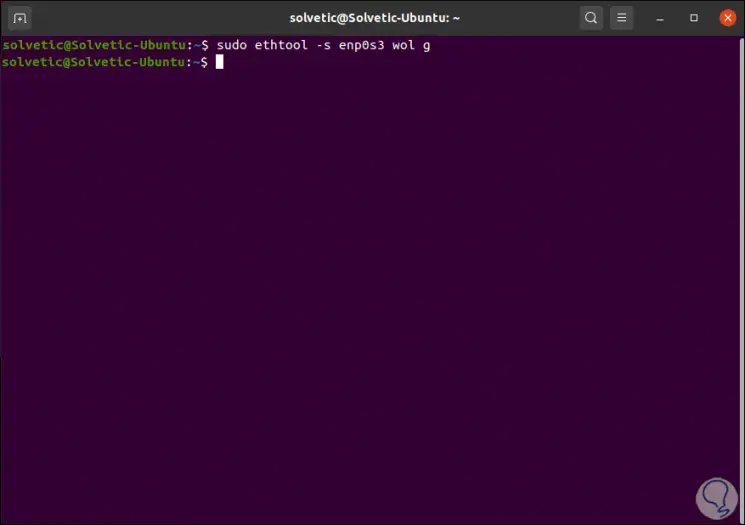
This command does not generate any information, but allows you to configure and enable Wake On Lan on the network card..
Step 4
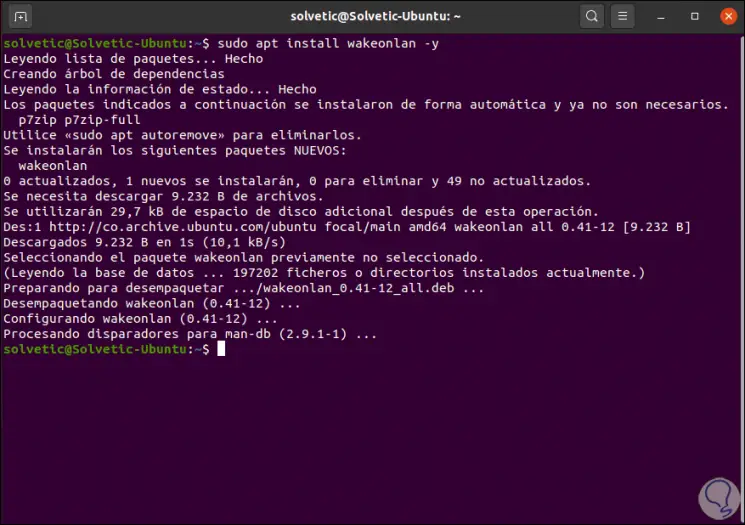
Next we are going to install the “wakeonlan” utility which allows the magic package to be sent between systems, remember that this package is the key to Wake On Lan operation.
For its installation we execute:
sudo apt install wakeonlan -y
Step 5
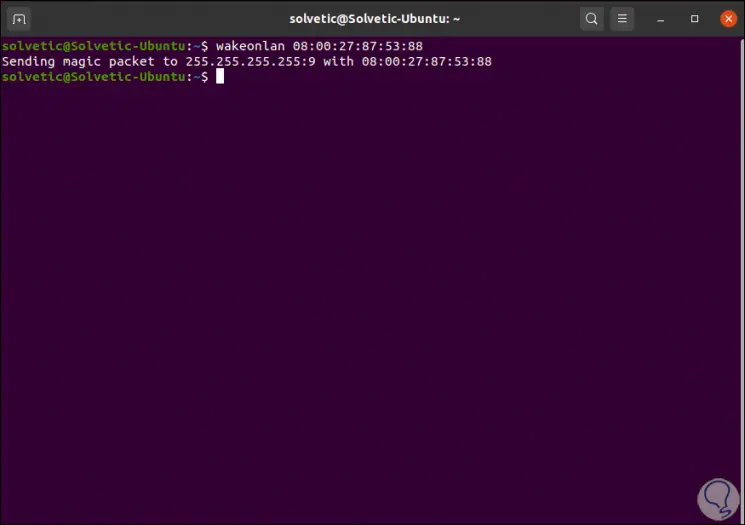
Once installed, we will send the magic package using the following syntax. Here the MAC field refers to the MAC address of the LAN interface with Wake On Lan enabled, when executing it we will see that the magic packet has been sent to the MAC address and the remote server must now be active, with this we can already log in. remotely there.
wakeonlan mac
Step 6
This method works, but only during this session, so when we reboot the system we must create all this again. To avoid this, we are going to create a file which will be enabled with the Ubuntu Server startup. For this we create the file as follows:
sudo nano /etc/systemd/system/wol.service
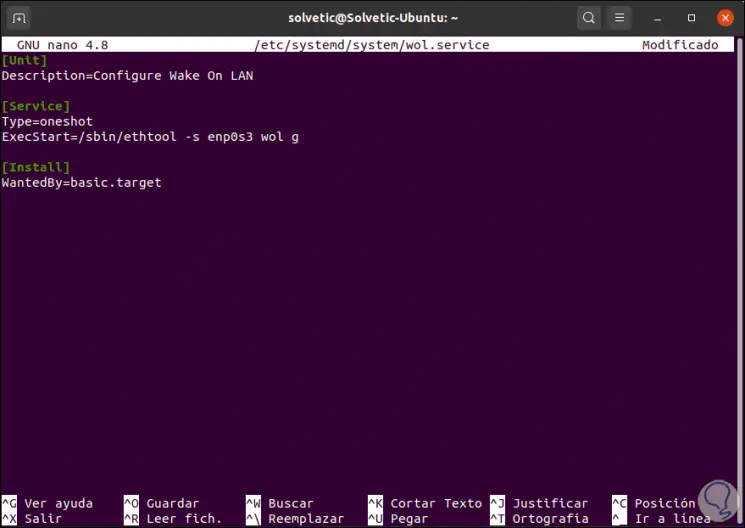
There we enter the following information:
[Unit] Description = Configure Wake On LAN [Service] Type = oneshot ExecStart = / sbin / ethtool -s INTERFACE wol g [Install] WantedBy = basic.target
Note
INTERFACE must be replaced by the name of the current network card.
We save the changes with the Ctrl + O keys and exit the editor with the Ctrl + X keys.
Step 7
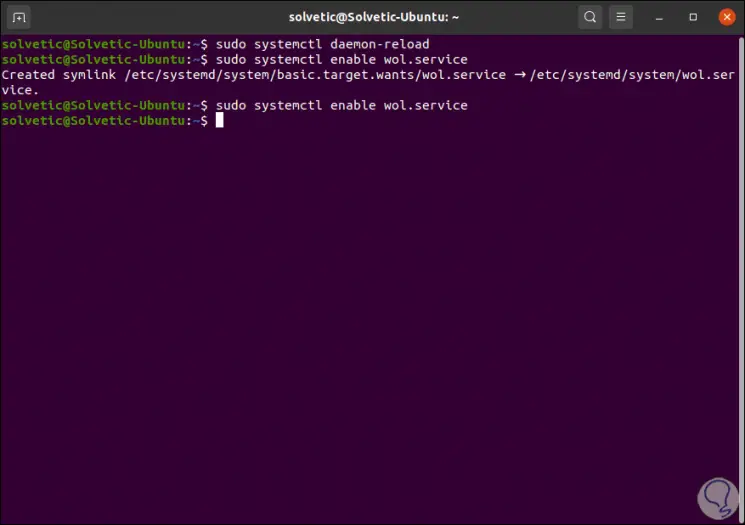
Now we execute the following commands:
sudo systemctl daemon-reload (load daemon) sudo systemctl enable wol.service (we enable the service)
Step 8
Finally we execute the service:
sudo systemctl start wol.service
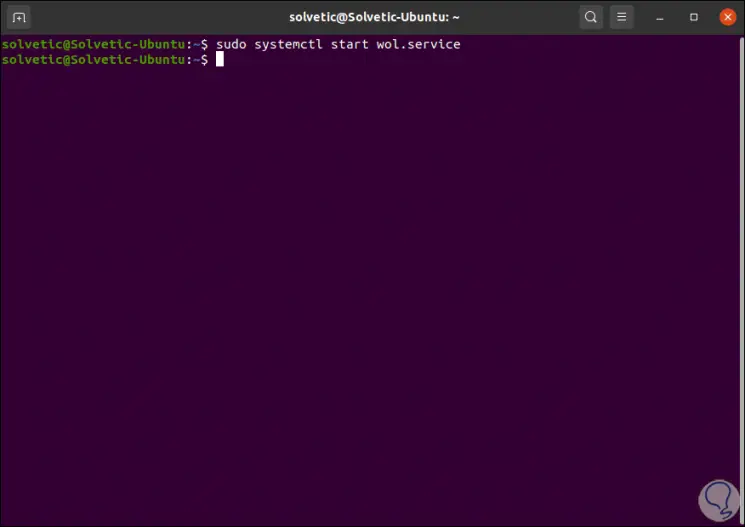
With this, Wake On LAN is available for the selected LAN interface in Ubuntu Server.