Eclipse IDE has been developed with the aim of giving the developer the best possibilities to create, edit and manage projects , this is achieved since the plugins of each project can be extended through the execution engine because the Eclipse plugins They already integrate the code so that the functions of the selected product work properly..
Eclipse IDE compatibility
Using Eclipse IDE it is possible to select work centers for environments such as:
Eclipse IDE Advantages
Some of the advantages of implementing and using Eclipse IDE are:
- Compatibility with the latest version of Java 14
- Current styles in Eclipse IDE
- It is open source with which we receive constant updates
- With its functions it allows a better generalized performance of the applications
For this process it is essential that we have Java JDK version 13 and we can download it at the following link:
Java JDK 13
We will learn to install Eclipse IDE in Windows 10 and thus have a comprehensive tool for this type of task at the developer level.
To stay up to date, remember to subscribe to our YouTube channel! SUBSCRIBE
1. Install Eclipse IDE in Windows 10
Step 1
The first step to take will be to go to the Eclipse IDE website at the following link:
Eclipse IDE
Step 2
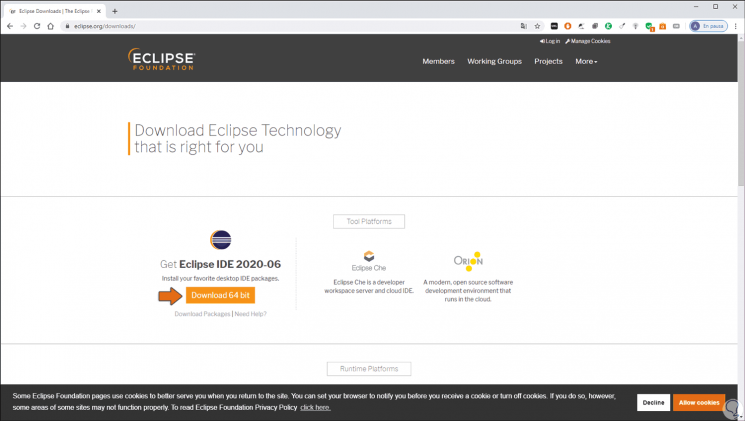
In the download section we will see the following:
Step 3
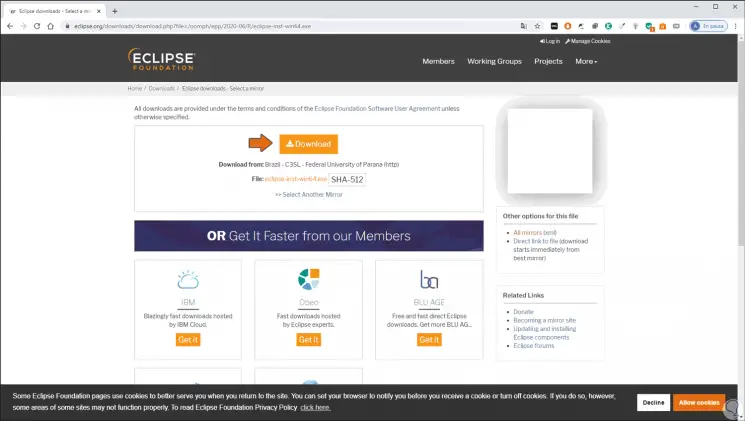
There we click on "Download 64 bit" and this redirects us to the following window where we must download the Windows 10 executable:
Step 4
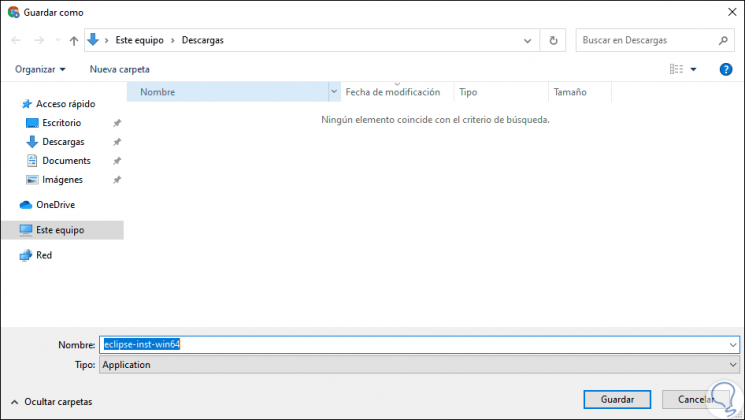
By clicking there we must save the executable where we want. We click "Save" to download the file.
Step 5
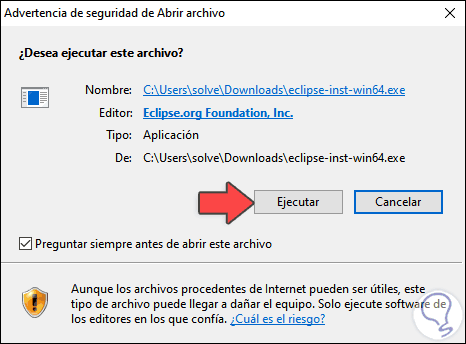
We go to the path where the file has been downloaded and by double-clicking on it, the following window will be displayed where we must accept the execution of this:
Step 6
We click "Run" and the loading of Eclipse IDE will start:
Step 7
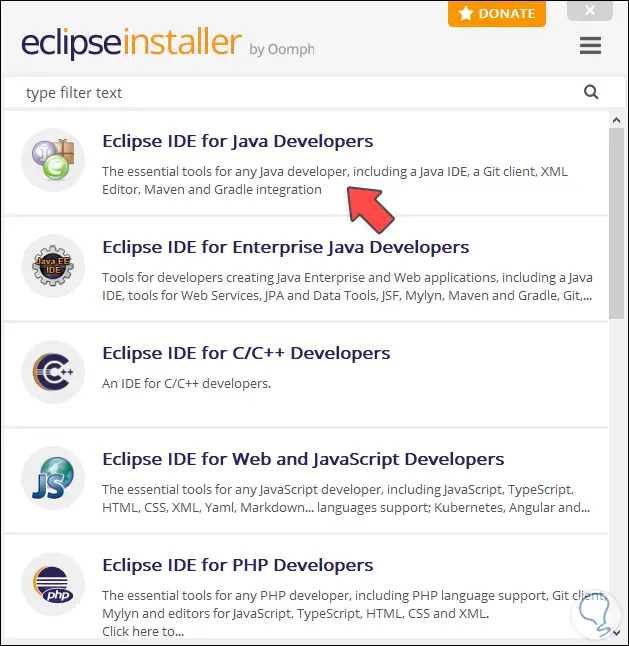
After this we will see the different options that are available to be used in Eclipse IDE like:
Step 8
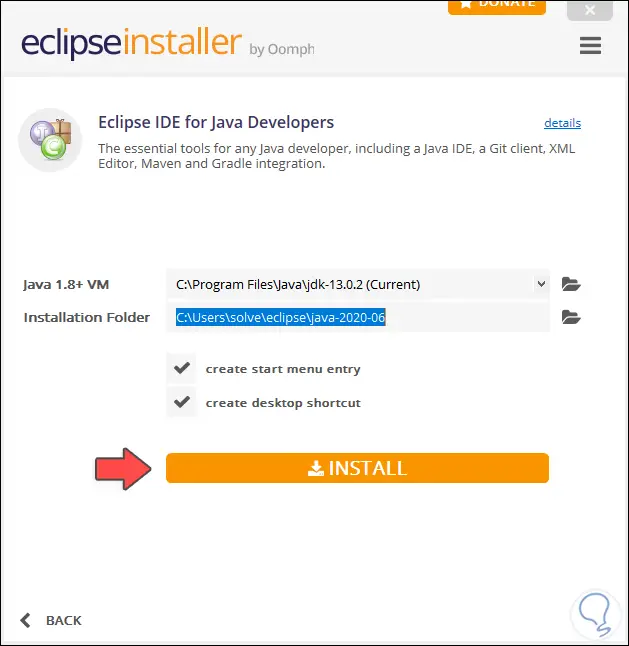
In this case we select the option “Eclipse IDE for Java Developers” and immediately we will see the following window where we can establish the following:
- Path where Eclipse IDE will be installed
- Path where Java will be installed
Step 9
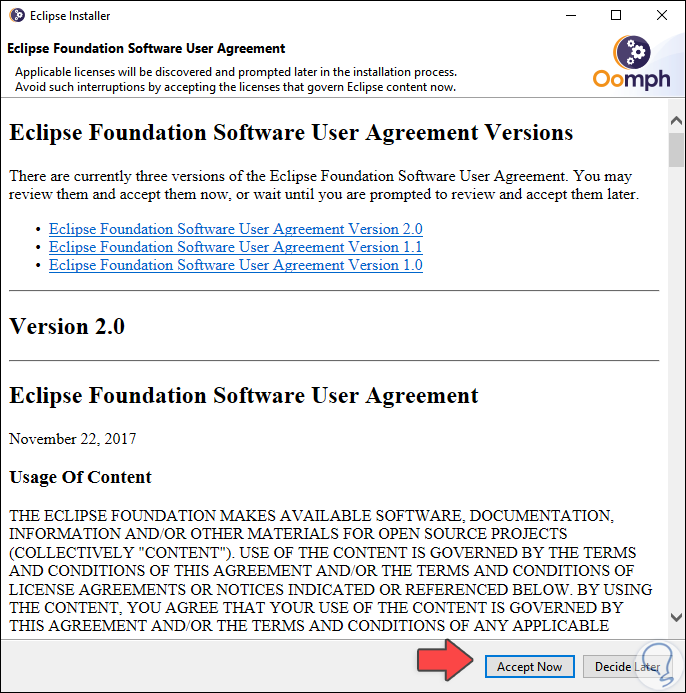
There we click on the “Install” button and the Eclipse user license will be displayed:
Step 10
We click on “Accept Now” and we will continue with the installation of the application:
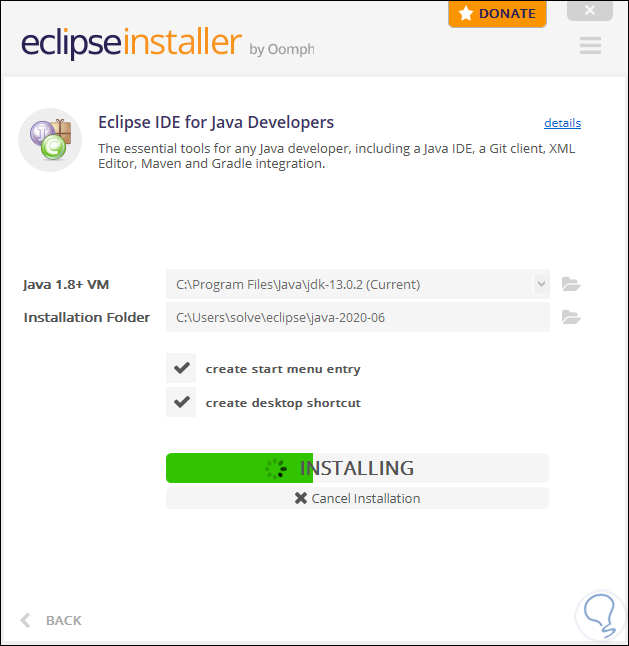
Step 11
At some point we may see the following:
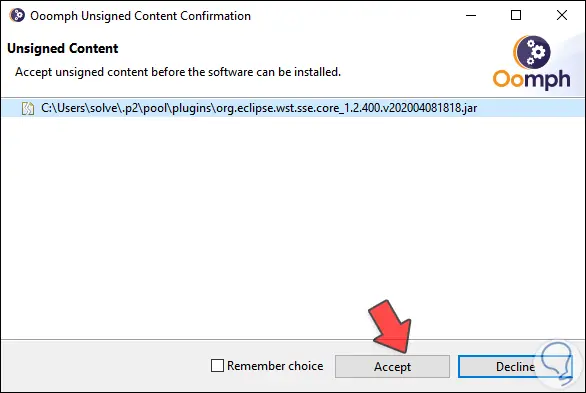
Step 12
There we must click on the "Accept" button and then continue installing it until we see the following:
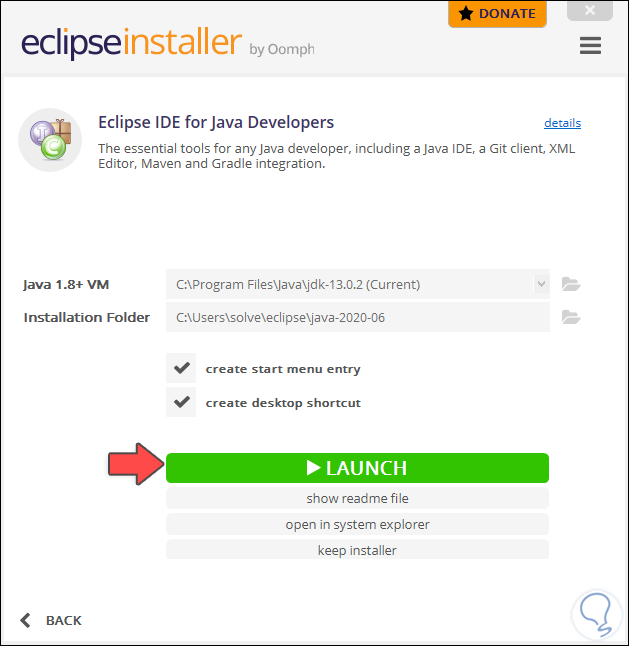
Step 13
To run Eclipse IDE we click on "Launch" and it will start the app:

Step 14
Then we will see the following window where the default workspace configured in Windows 10 is defined:
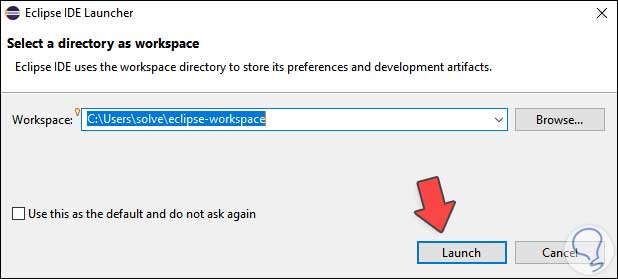
Step 15
If we agree with this route we click on "Launch" and the application will start loading:

2. Open Eclipse IDE in Windows 10
Step 1
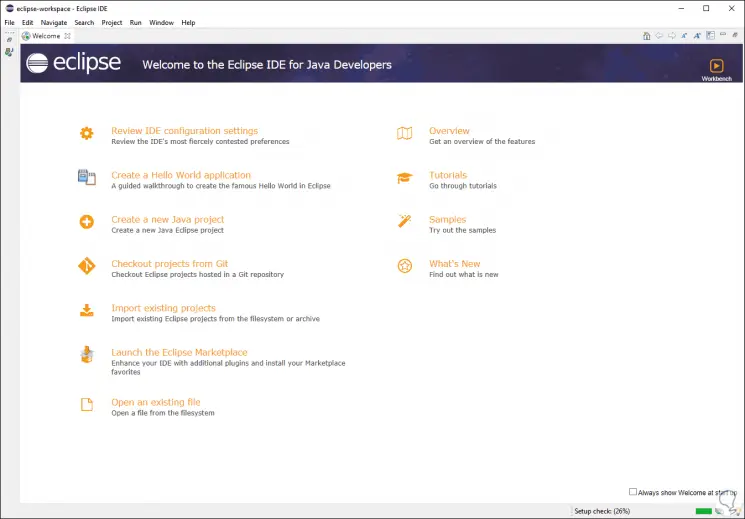
After this we access the Eclipse IDE environment for Windows 10:
Step 2
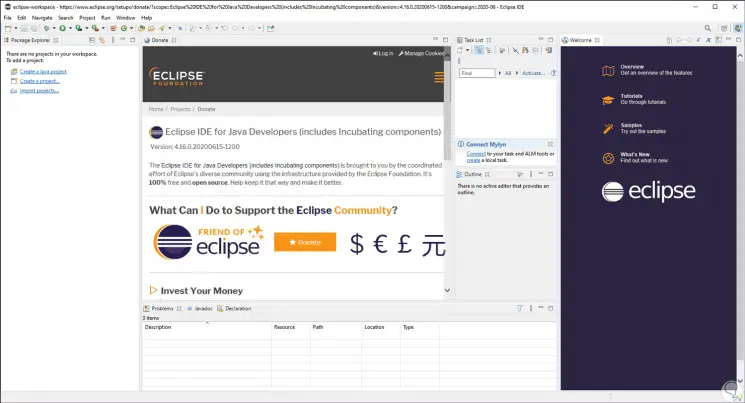
We can change the Eclipse IDE view mode for a better way of working in the environment:
Step 3
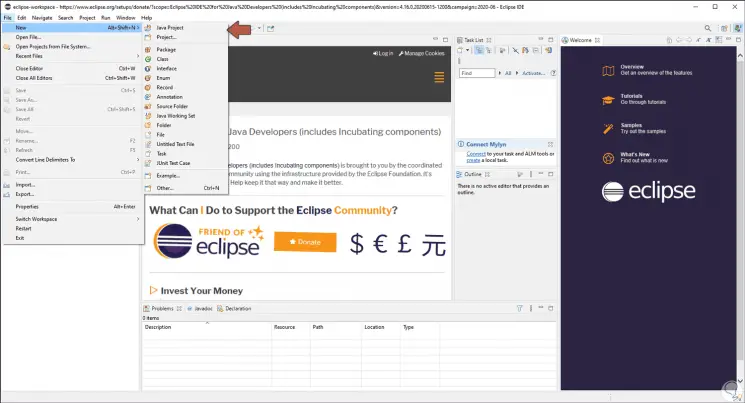
There are a series of menus for working in Eclipse such as:
File
it is possible to edit values like:
- Create new projects in Eclipse
- Access the properties of a project
- View recently created files
Edit
Here we can perform tasks such as:
- Undo or redo changes to projects
Navigate
In this section it will be possible:
- Go to different levels of Eclipse
- Open, activate or deactivate specific tasks
- Open resources and object types
- Access the settings of the selected project
Search
from here we are able to:
- Find items in various ways in Eclipse
- View text properties and more
Project
in the project section we can:
- Create new project environments
- Automatically build an environment
- Generate the JAVA documents of the resource
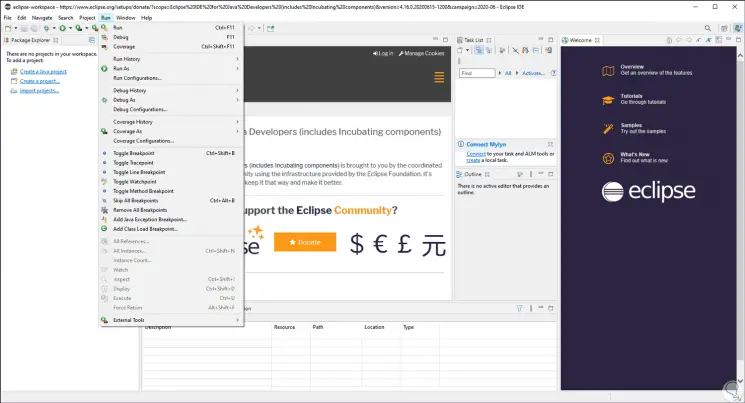
Run
in the execution section it is possible:
- Use external tools as plugins
Step 4
At Run we have our own project options:
Step 5
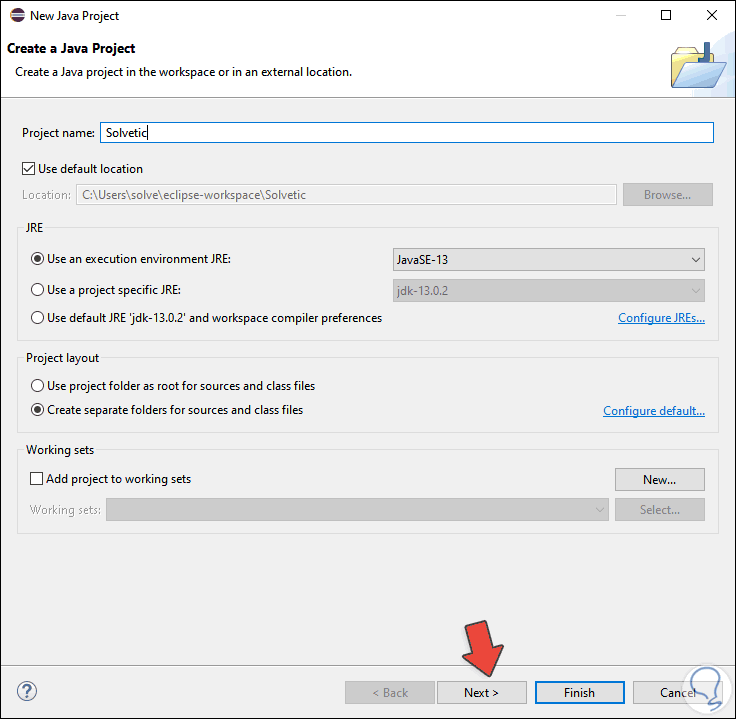
From the File - New menu we can create a new Java project and in the displayed window access different options such as:
- Determine the type of JRE environment
Step 6
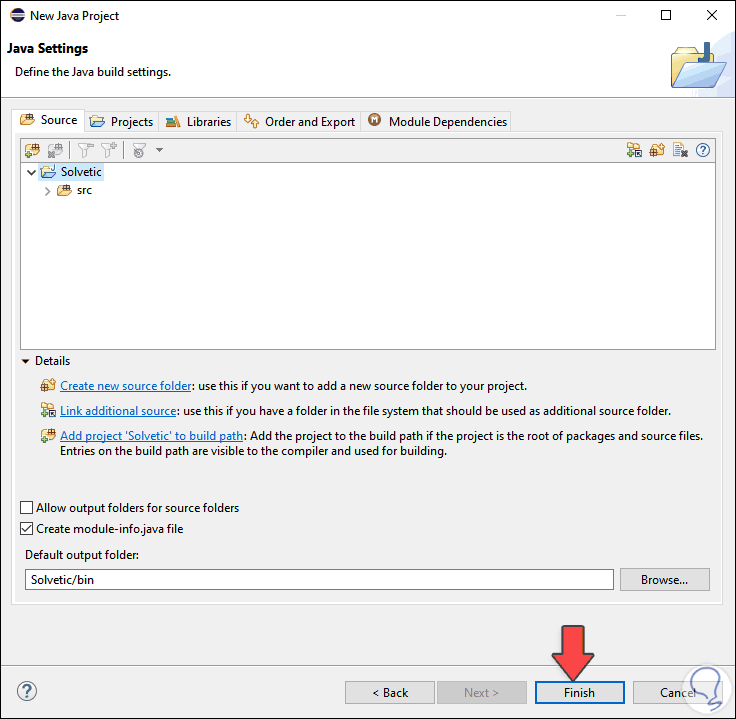
In Next we can find a tabbed design where it is possible to assign variables as necessary:
Step 7
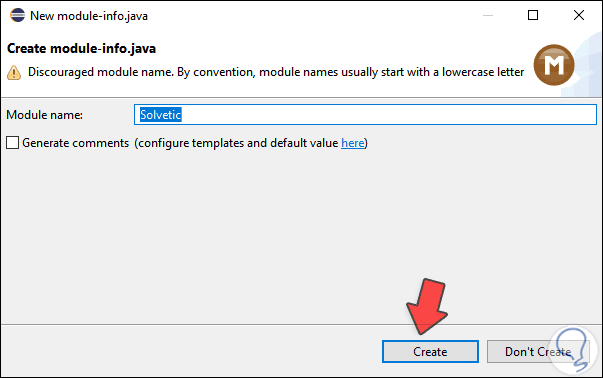
We click on “Finish” to enter the name of the module:
Step 8
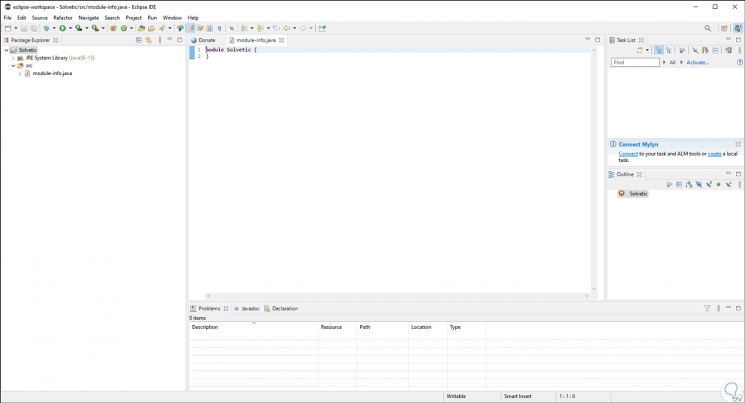
We click on “Create” and we are ready to use everything that Eclipse IDE offers us to work there:
Eclipse IDE is one of the most comprehensive solutions to manage projects in various ways in Windows 10 with the best development and execution options..