To stay up to date, remember to subscribe to our YouTube channel!
SUBSCRIBE ON YOUTUBE
One of the great advantages that we have when using Linux distributions, in this case we are talking about Ubuntu, is the possibility of extending the system's benefits to the maximum with open source applications and programs and without a doubt that a segment of the most used It is the development area where you must have the best tools to administer and manage all the components of this medium..
Eclipse IDE has been created as a way to create projects using multiple plugins simultaneously, they are subsystems that are based on a runtime engine focused so that performance is improved. Eclipse IDE (Integrated Development Environment) provides the user with various tools and features to work in developing software for programming languages such as Java, C++, Python, PHP and more.
characteristics
Eclipse IDE has a graphical user interface (GUI) from where it will be possible to write, edit and debug the code in an integral way, in addition to this, features such as syntax highlighting, code autocompletion, code navigation, refactoring, debugging are offered. integrated and many more, some of these are:
- Compatible with various plugins and extensions.
- It gives us the possibility of creating working groups so that users and organizations can work together.
- It can integrate with version control systems such as Git, Subversion (SVN) and CVS.
- It has a debugger which gives developers the ability to inspect and analyze the state of applications during their execution process.
- Integrated advanced code editor.
- It integrates specialized tools for the supported languages and technologies.
- Access controls / permissions integrated.
- Improved data import and export function.
- Web applications development.
TechnoWikis will explain in this tutorial how to install Eclipse IDE on Linux and thus have one of the best development platforms at hand..
How to install Eclipse IDE Linux
To begin we are going to open the terminal and install JRE, JRE (Java Runtime Environment) has been developed as a set of software where the necessary platform to run Java applications is integrated, it is made up of an execution environment and a group of libraries and components which make it possible to run Java programs on the system, without which Eclipse could not work.
Step 1
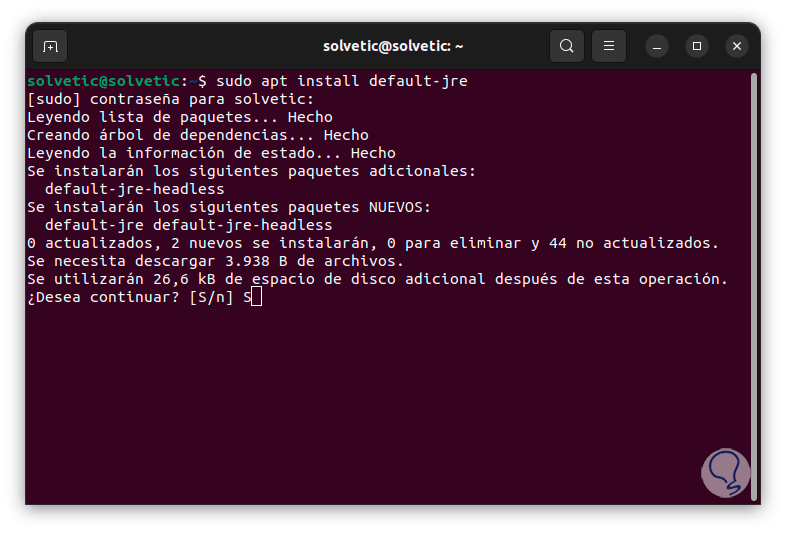
We open the terminal and execute the following:
sudo apt install default-jre
Step 2
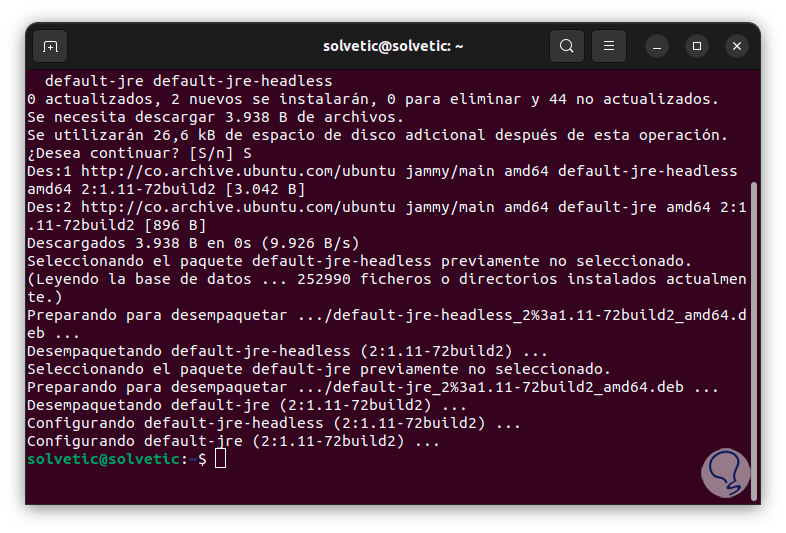
We enter the password and the letter S to confirm the download and installation:
Step 3
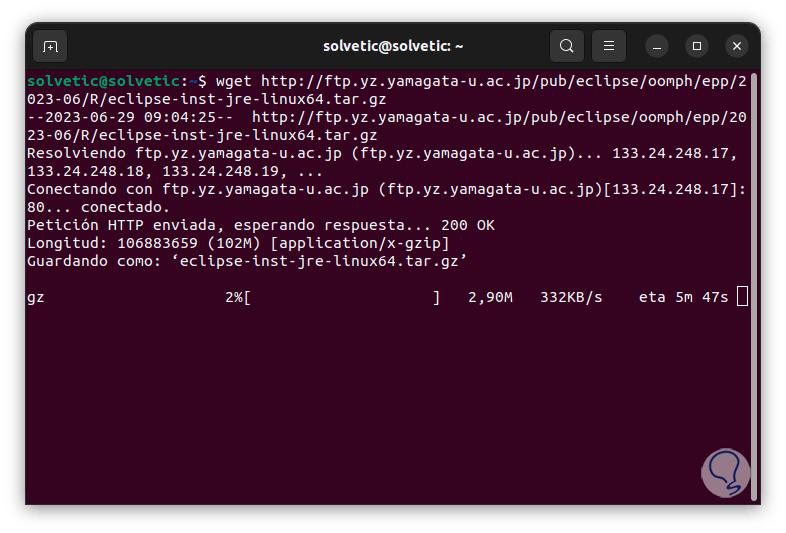
Now we are going to download the Eclipse zip file by running the following command:
wget http://ftp.yz.yamagata-u.ac.jp/pub/eclipse/oomph/epp/2023-06/R/eclipse-inst-jre-linux64.tar.gz
Step 4
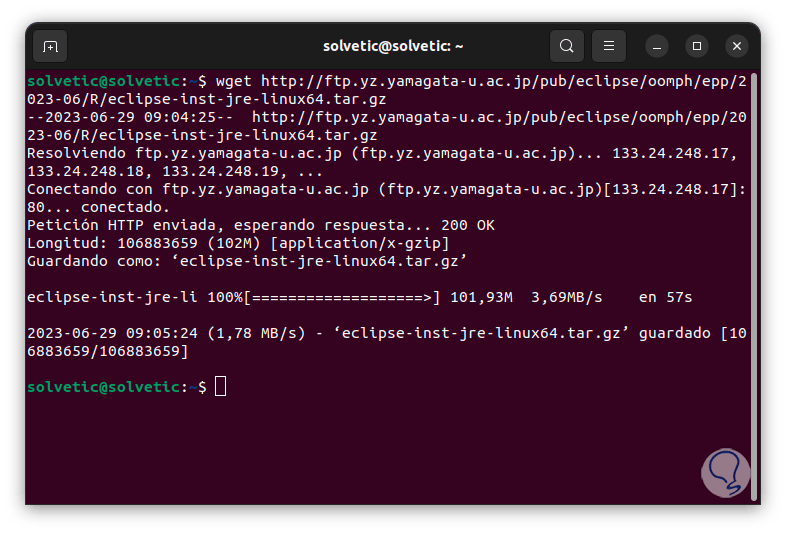
We wait for the file to be downloaded:
step 5
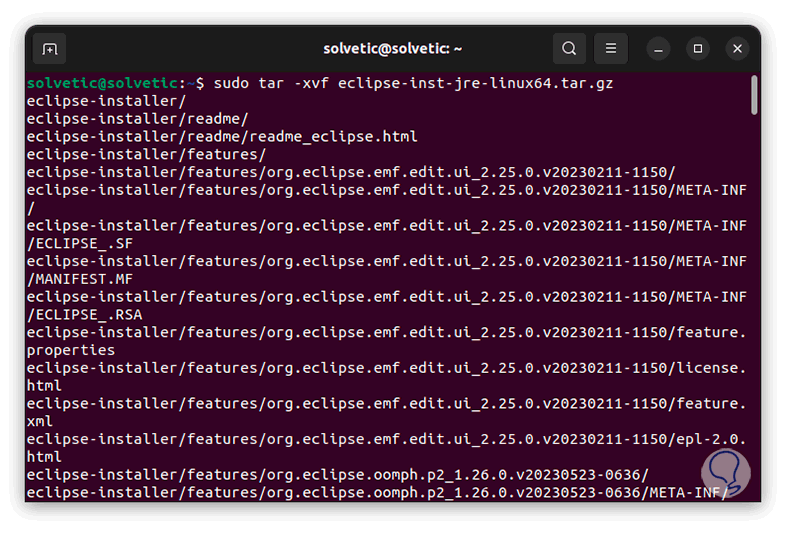
After this we are going to unzip the file with the following command:
sudo tar -xvf eclipse-inst-jre-linux64.tar.gz
step 6
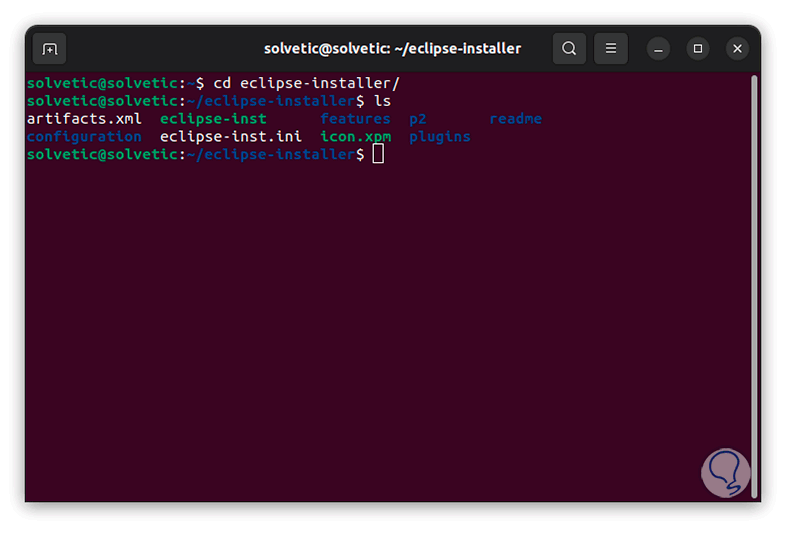
We access the folder created with the "cd" command and list the content with "ls":
step 7
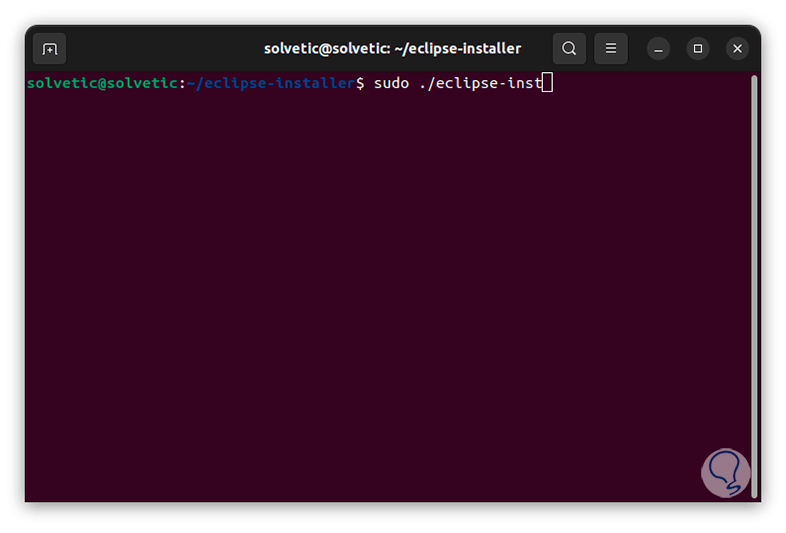
We are going to install Eclipse by entering the following command in the terminal:
sudo ./eclipse-inst
step 8
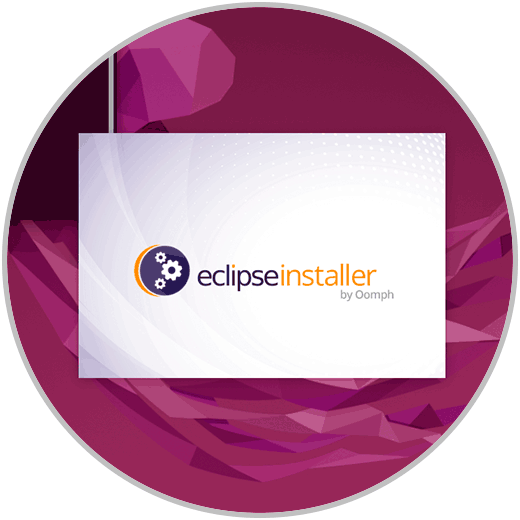
It will proceed to load Eclipse:
step 9
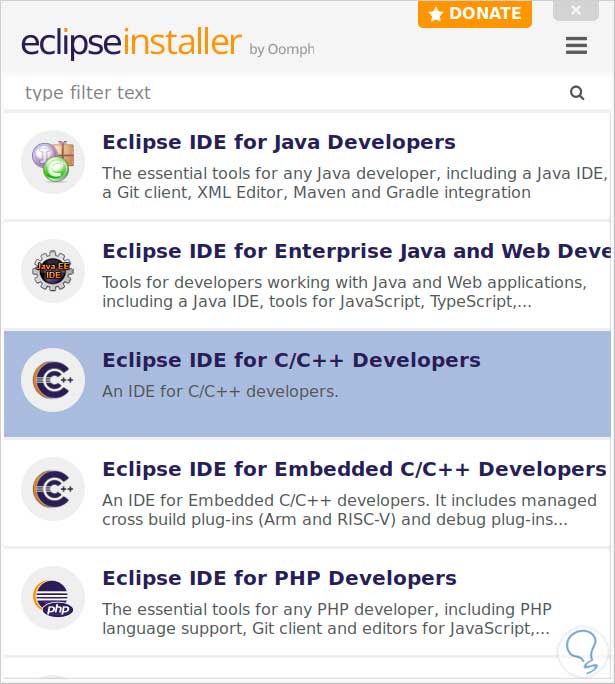
Then we will see the following:
step 10
We must select what type of environment will be used, once we click on it we will see the following:
step 11
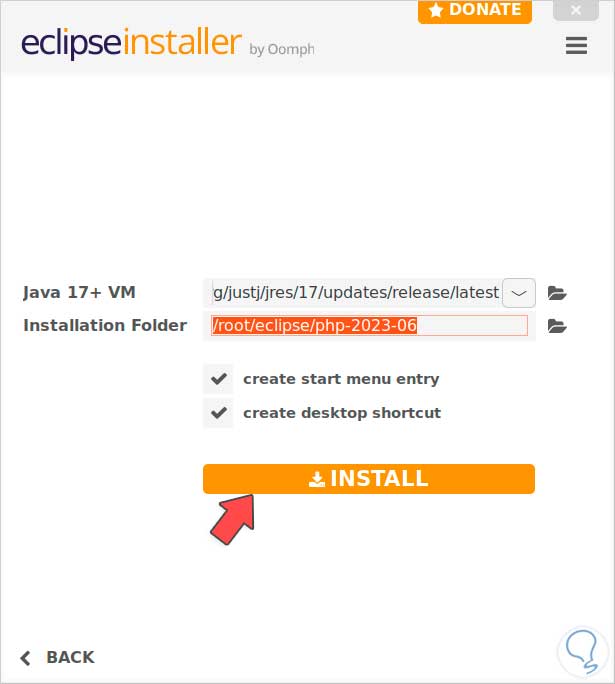
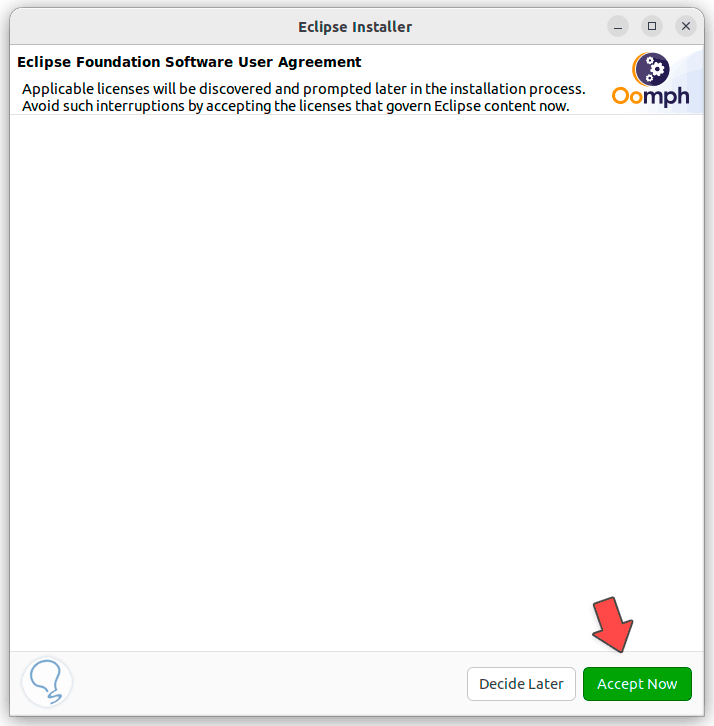
There we can modify the destination path but it is best to leave the default values, click on "Install" to install that selected Eclipse model, we must accept the use of the Eclipse license:
step 12
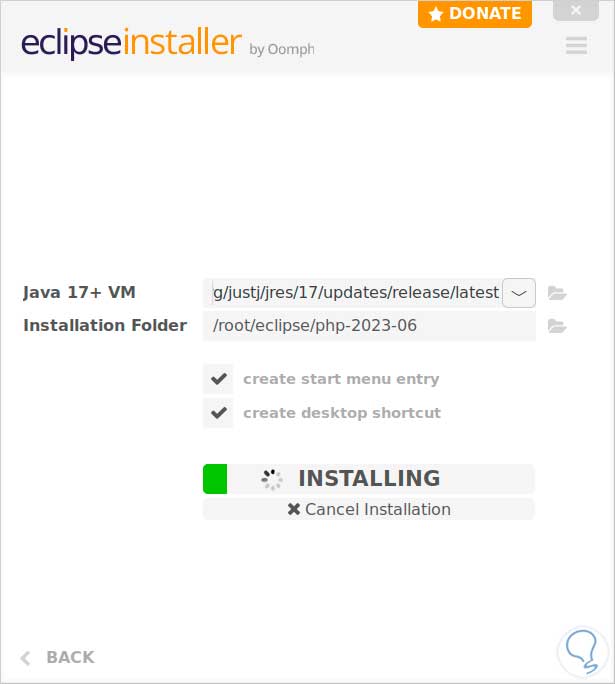
Eclipse will be installed:
step 13
We hope this process will come to an end:
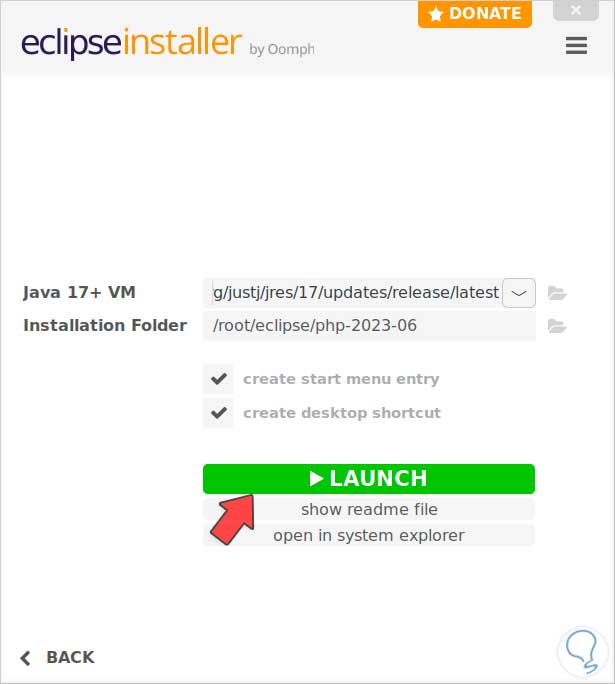
step 14
Now we are going to click on “Launch” to load the Eclipse environment:

step 15
The following window will be displayed where we can select the working directory to use:
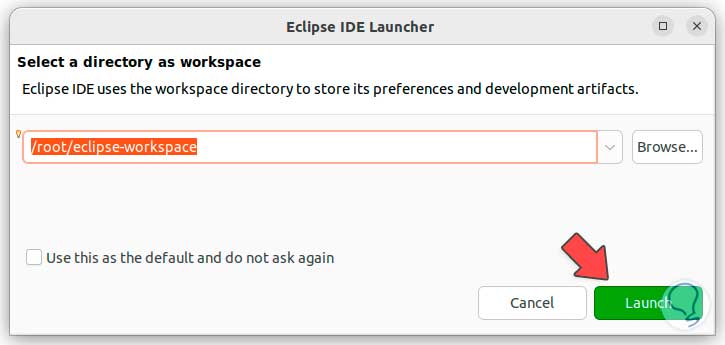
step 16
We click Launch again to access Eclipse and from there make use of each of its functions:
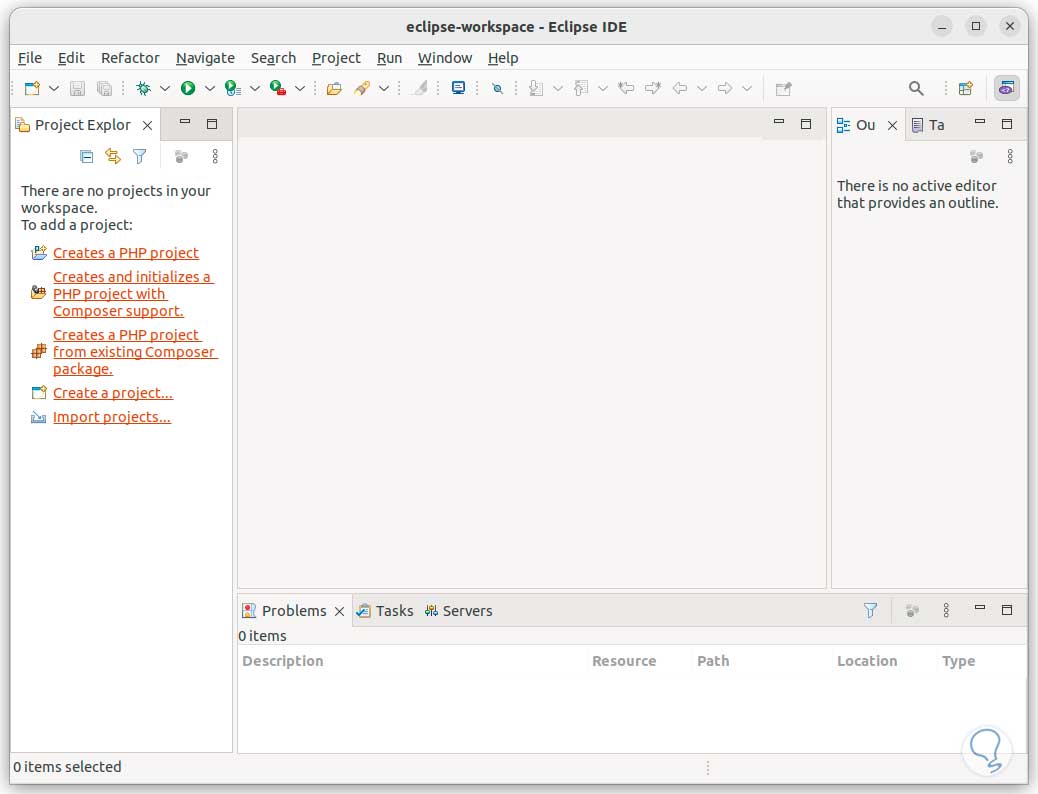
step 17
There the menus offer us options such as:
files
- Create new projects
- open existing projects
- Access Eclipse properties
- View recent files we've worked on
- change workgroup
- Exit Eclipse IDE
Edit
- Cut, copy or paste items
- Undo or redo changes
- Select all or part of the content
Refactor
- Move a file to a different folder
- rename files
navigate
- See the various levels of Eclipse
- Open, activate or deactivate tasks
- Open resources and data types
- Access current project settings
Search
- View the properties of an element
- Search content with various filters
projects
- Open or close projects in Eclipse
- Create new work sets
- Automatically build a project
- Generate the JAVA documents
Run
- Execute as
- Access history
- run the project
- View project instances
- Access external tools
windows
- Define the appearance of Eclipse
- Adjust environment values
This is how Eclipse is an ally to create and manage projects on Linux.