Eclipse is a platform to create, edit and manage projects in a centralized and complete way with special development functions since we can use Eclipse in Java, PHP, C / C ++, Web or JavaScript environments . With Eclipse we will be able to manage and create projects in different environments and that thanks to its complements make it a rich code..
Although Eclipse offers a series of comprehensive options, it is possible that at some point we must uninstall Eclipse from Windows 10 but the process is not the traditional one of any program, so TechnoWikis will teach you how to do it completely.
We also leave you the video tutorial to be able to uninstall Eclipse IDE Windows 10..
To stay up to date, remember to subscribe to our YouTube channel! SUBSCRIBE
How to remove Eclipse from Windows 10
Step 1
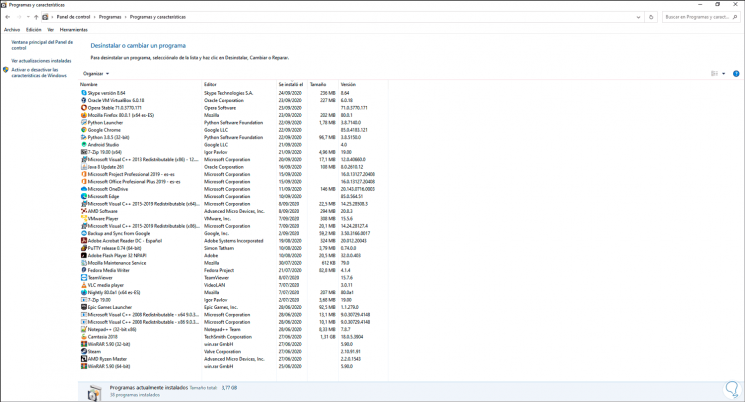
The first step is to check that if we go to the Control Panel in the uninstall programs section Eclipse is not available to be eliminated which should be the natural process
Step 2
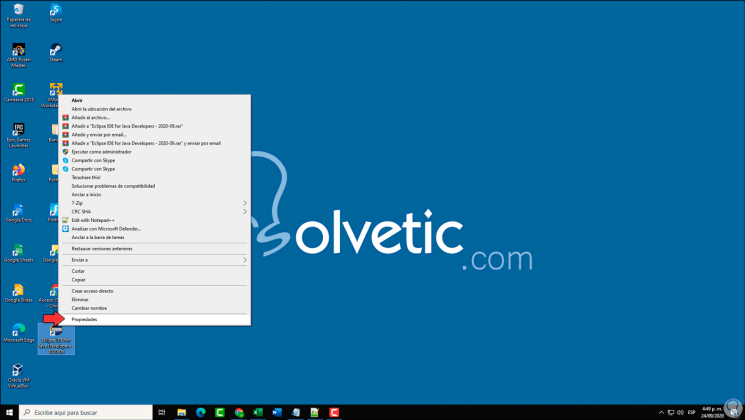
To remove it, we right-click on the shortcut on the desktop and select "Properties":
Step 3
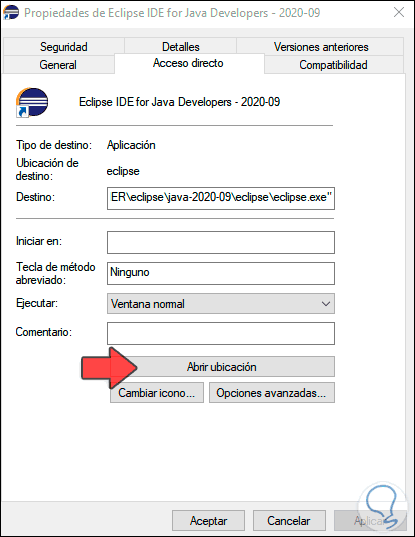
In the displayed window we can see the Eclipse executable file:
Step 4
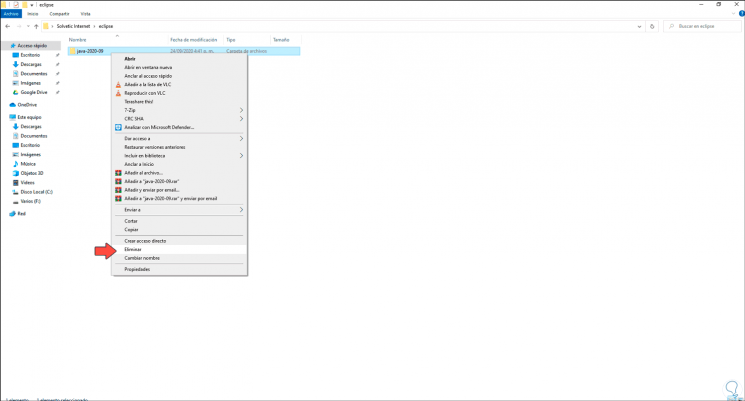
We click on "Open location" and we will be redirected to the following window:

Step 5
We must go to the root folder, in this case java-2020-09 and right click on it to select the "Delete" option:
Step 6
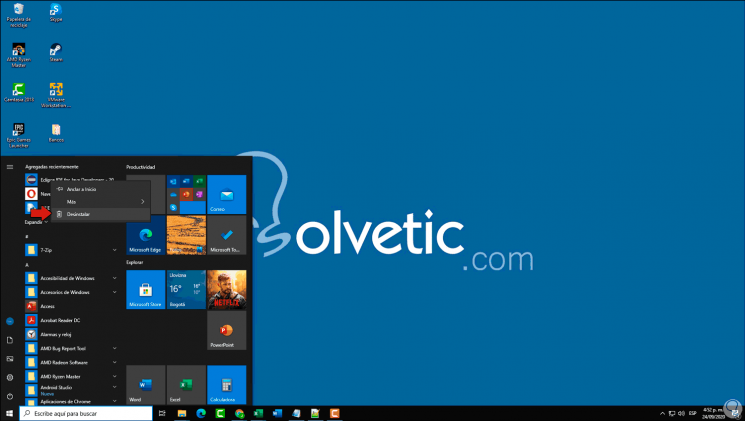
If we go to the Start menu we see that there is the option "Uninstall" in Eclipse (by right clicking) but this simply opens the Control Panel:
Step 7
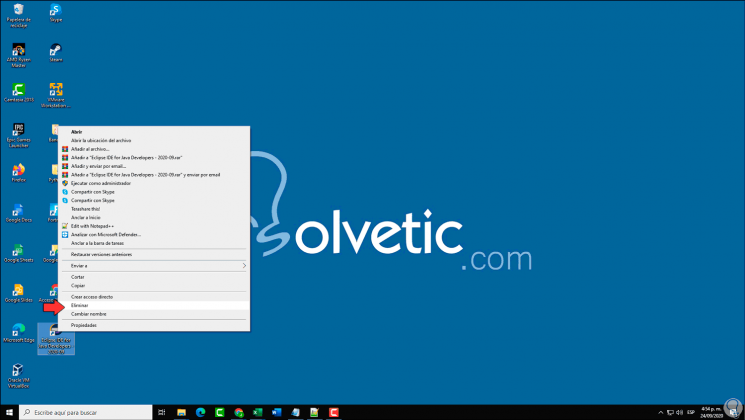
In this case, to end the process, it is to right click on the shortcut and delete it:
Step 1
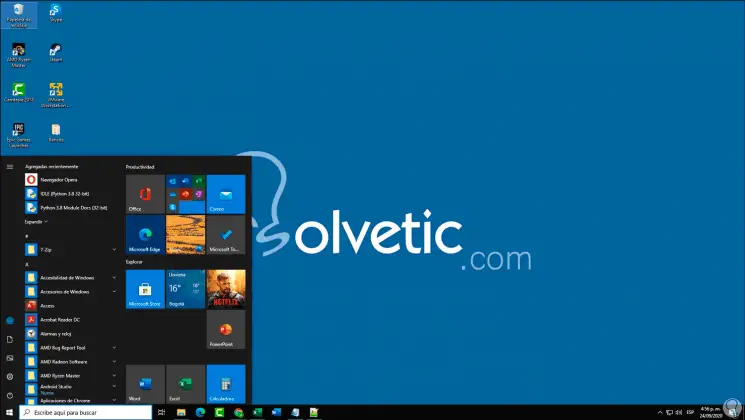
With these steps we will see that Eclipse is no longer available from the Start menu:
So Eclipse has been removed from Windows 10 using a non-traditional but effective method for it.