Currently we have numerous options at the operating system level focused on different user activities such as development, games, science, etc. One of these systems is focused on displaying the Android environment and is the Android Phoenix system ..
What is Android Phoenix
Android Phoenix is a system that has been developed based on the version of Android 7.1, within it natural PC features such as the desktop, mouse and keyboard, multiple screens, etc. are integrated, but it also offers comprehensive support for Android games by having compatibility functions at the operating system level.
The x86 version of Phoenix can be run on CPU devices with Intel x86 processors, it can be installed and run locally on the hard disk without affecting the performance of the original file system. Android Phoenix OS is compatible with different peripherals, such as the mouse and keyboards, gamepads or PUBG mobile ports.
When installing Phoenix OS, the applications can be run in a window, be minimized in the taskbar or change the size of the window if we wish and as a point in favor, Android Phoenix OS integrates Microsoft Office Suite for free, it integrates applications such as WPS and Evernote with which we can write documents, send emails and perform different additional tasks.
Android Phoenix OS features
Within the characteristics of Android Phoenix OS we find:
- Prevent applications from starting automatically
- It has a Notification Center
- Supports shortcut keys like Ctrl + C, Win + D, Alt + Tab or Alt + F4
- Create multiple application clones
- Ethernet support by allowing use of DNS or manual IP configuration
- It has the Stardust browser which has ad blocking, malware prevention, multi-tab browsing and more.
Dual boot between Windows 10 and Android Phoenix OS
We will learn to create a dual boot between Windows 10 and Android Phoenix OS, for this we must take into account the following to do in the BIOS:
To stay up to date, remember to subscribe to our YouTube channel! SUBSCRIBE
1. How to make Dual boot Android Phoenix OS and Windows 10
Step 1
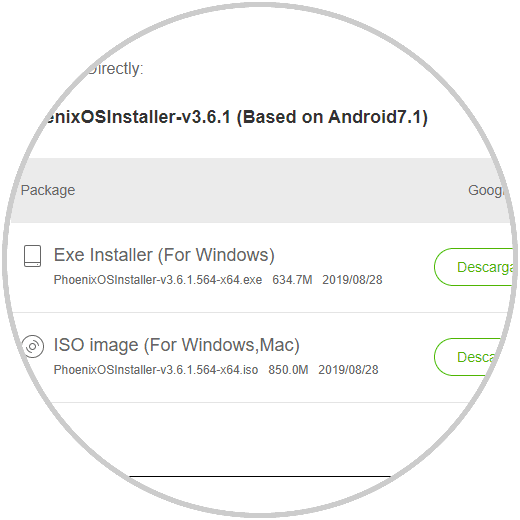
The first thing to do is go to the official Android Phoenix OS link to download the appropriate option:
Android Phoenix OS
Step 2
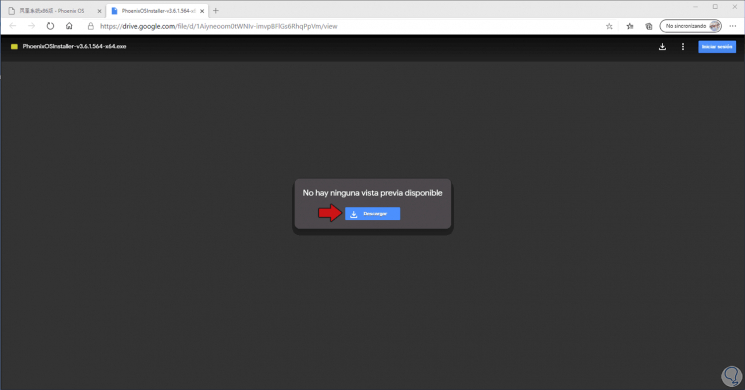
There we will download the executable option (Exe Installer) and we have two methods, Google or Mega, in this case we click on the Google option:
Step 3
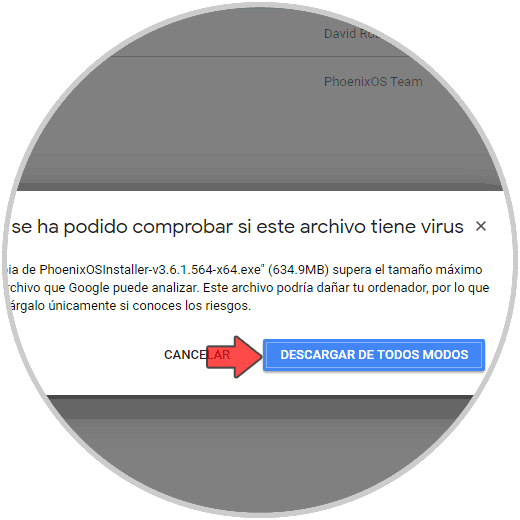
It is likely that when we click Download, a user limit error will be generated, in this case we must create a copy of the download to our Drive account and after this we right-click - Download and it will be possible to download this:
Step 4
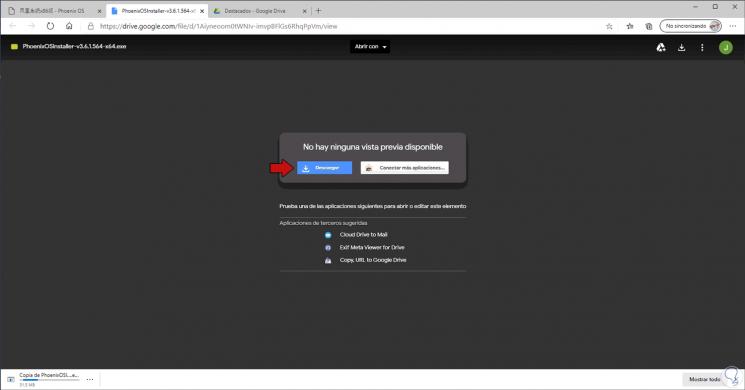
It will give way to the download process of Android Phoenix OS:
Step 5
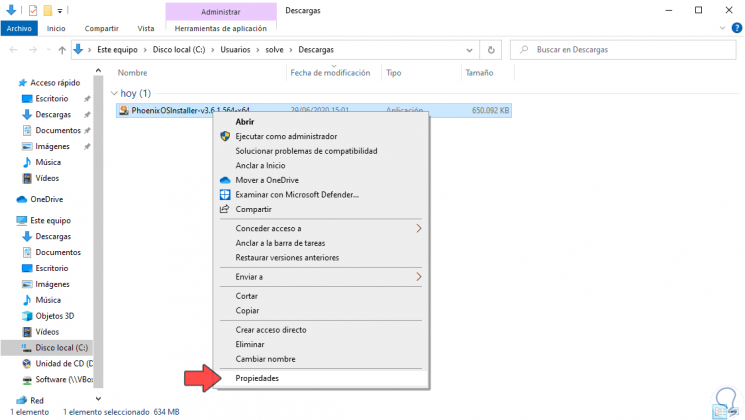
When the download is complete, go to the path where it was downloaded, right-click on the file and select "Properties":
Step 6
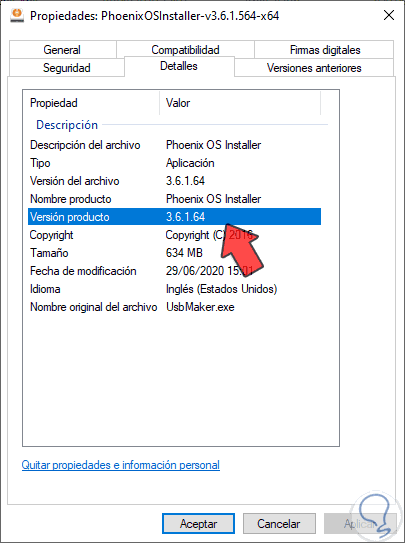
In the pop-up window we go to the "Details" tab and there we will see the values of the Android Phoenix OS installer:
Step 7
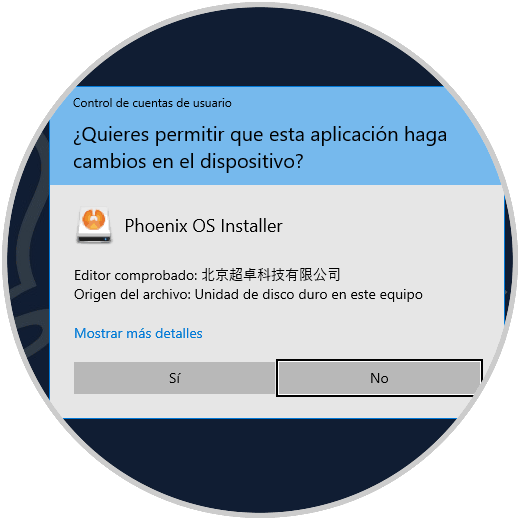
We close this wizard and double click on the downloaded file and accept the Windows 10 UAC:
Step 8
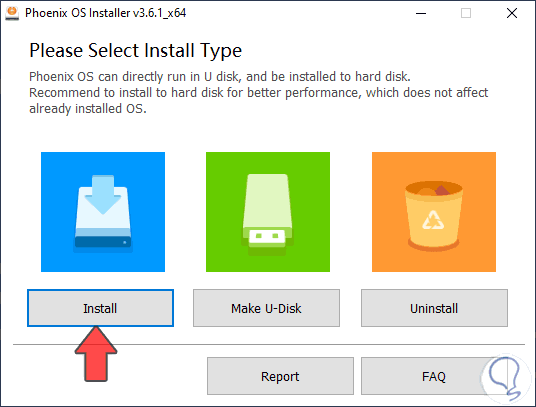
We click Yes and we will see the following:
Step 9
In this case the installation will be local, we click on “Install” and select drive C:
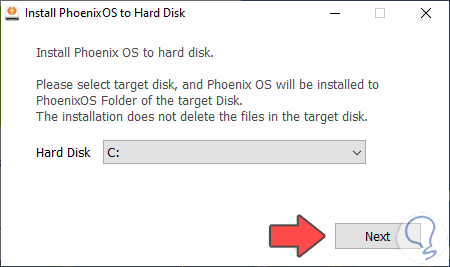
Step 10
We click Next and now select the amount of disk space to allocate to Android Phoenix OS:
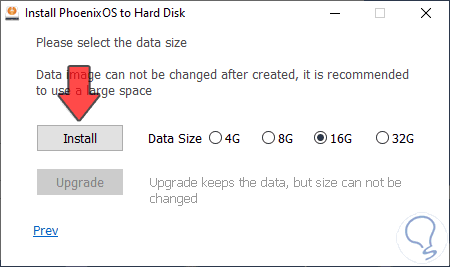
Step 11
In this case we select 16G and click on the “Install” button to proceed with the local installation:
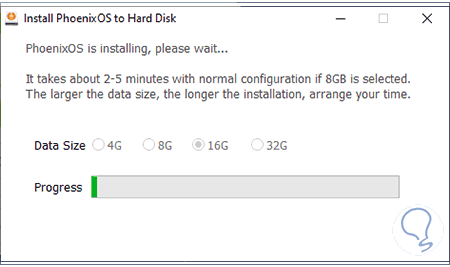
Step 12
When this process comes to an end we will see the following:
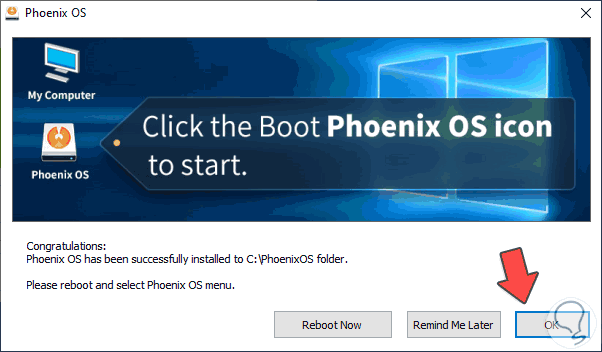
Step 13
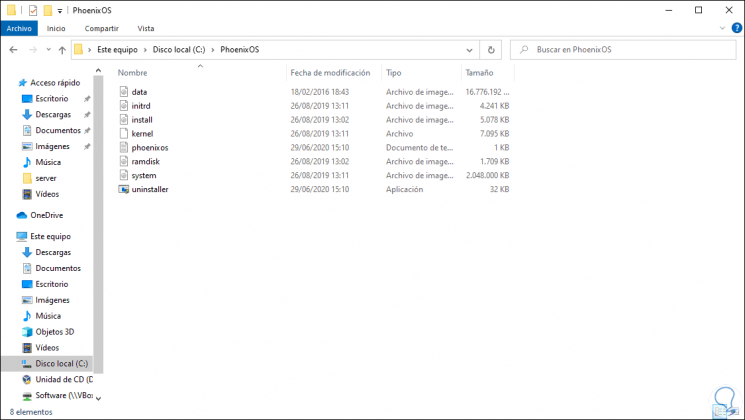
Before restarting the system, we go to Windows 10 Explorer and on drive C we can see that the PhoenixOS folder has been created with the system details:
Step 14
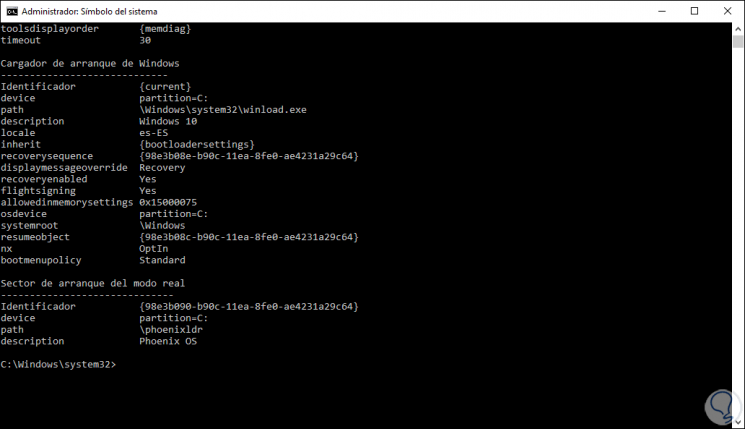
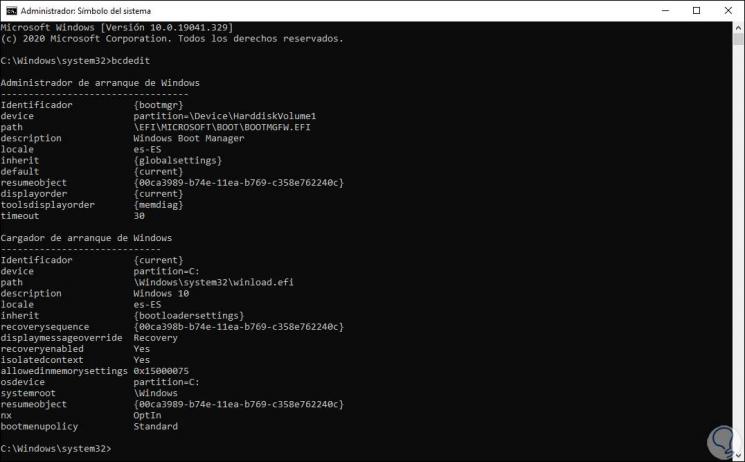
To check the boot, we access the command prompt as administrators and execute "bcdedit". We can see that Phoenix OS is available at the bottom.
Step 15
Now we click on the “Reboot Now” button to restart Windows 10 and complete the process:

Step 16
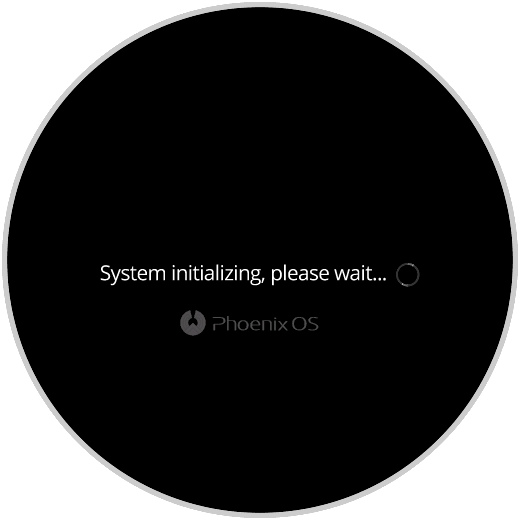
The system will be rebooted with Android Phoenix OS:
2. How to install Android Phoenix OS on Windows 10
Step 1
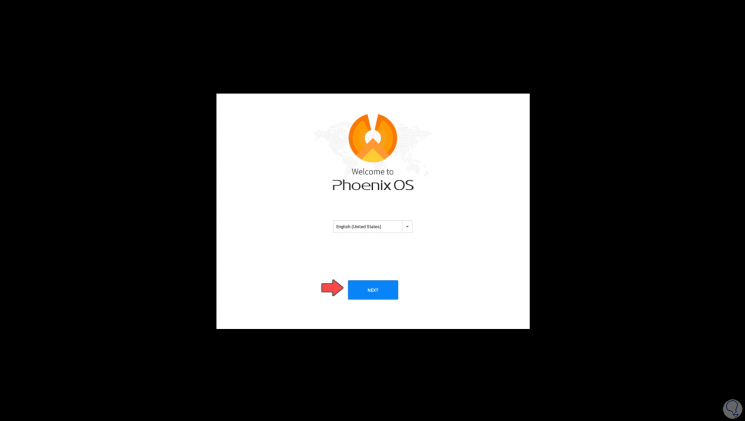
First, we set up the language, only English and Chinese are available:
Step 2
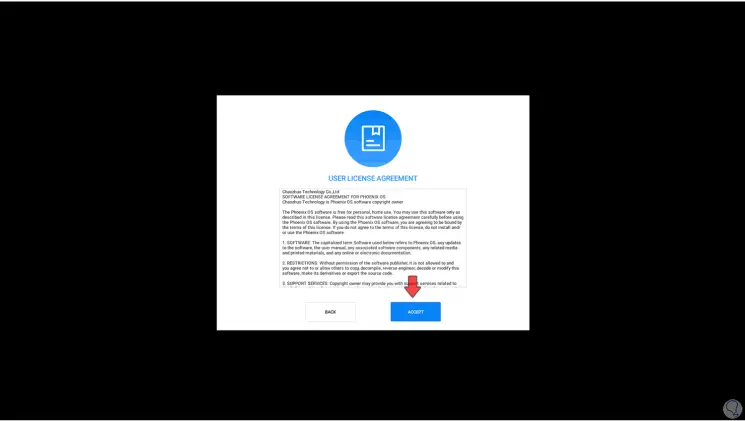
We click Next and now we accept the system license terms:
Step 3
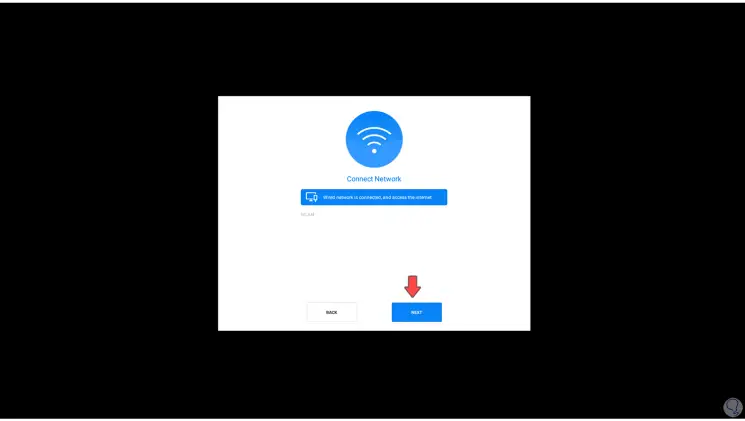
In the next window we will see the connectivity to the network:
Step 4
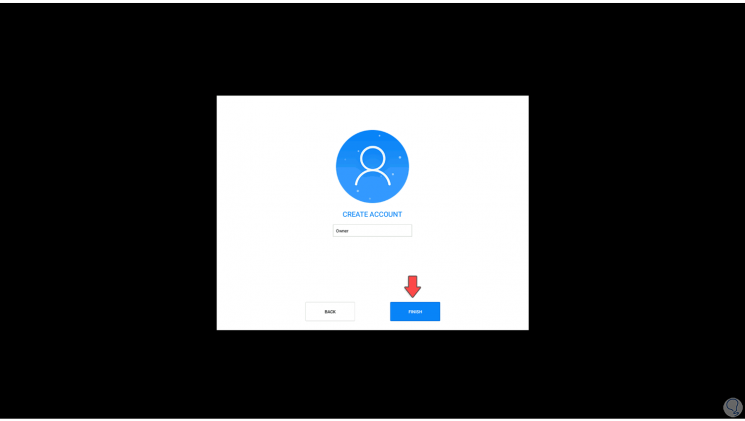
In the following window it is recommended to leave the default user:
Step 5
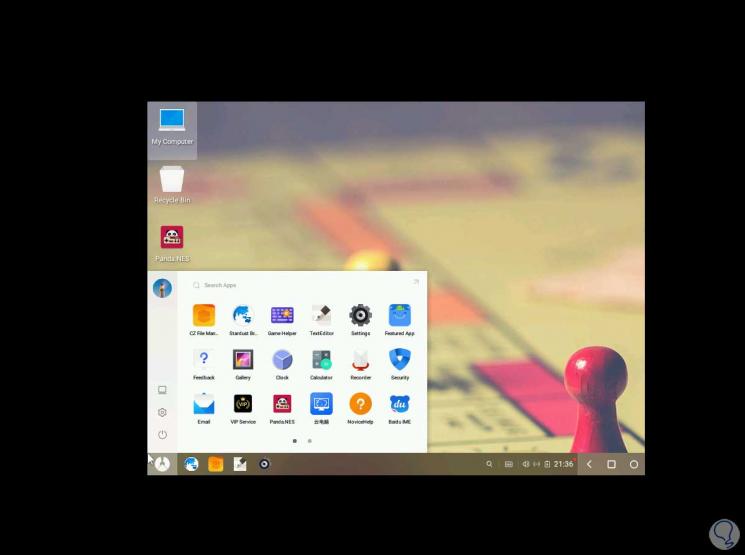
We click "Finish" and access the Android Phoenix OS environment:

Step 6
There we can click on the Start button to see the different usage options:
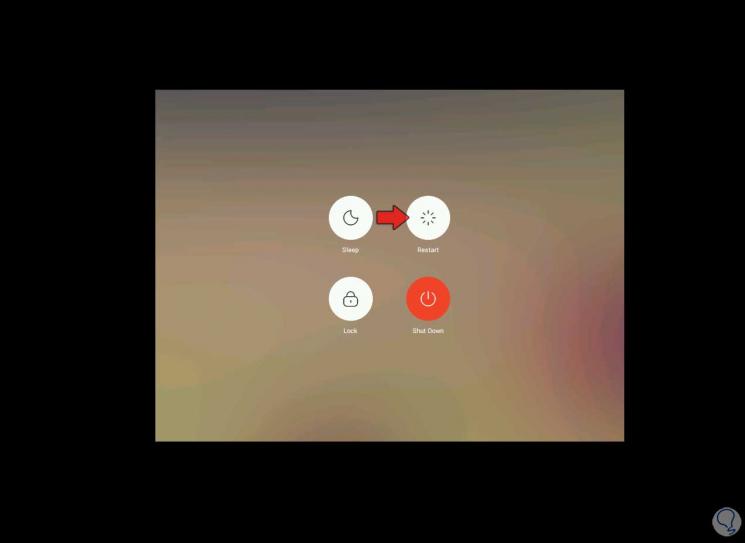
Step 7
After knowing the environment, we click on the off button and select "Restart":
Step 8
The system will be rebooted with Windows 10 system:
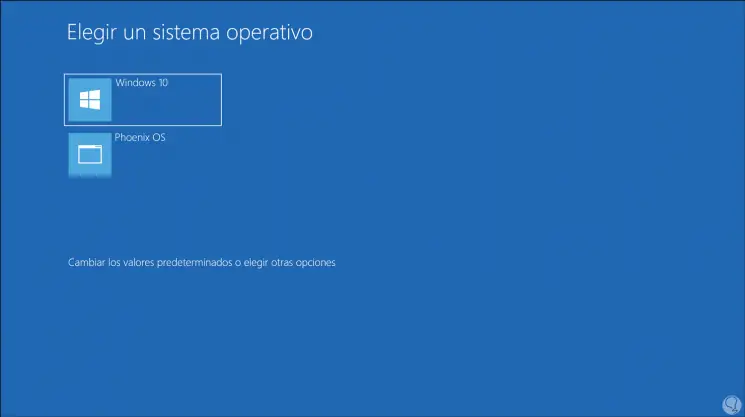
Step 9
At this time we will have the option to select which system to start with, Windows 10 or Android Phoenix:
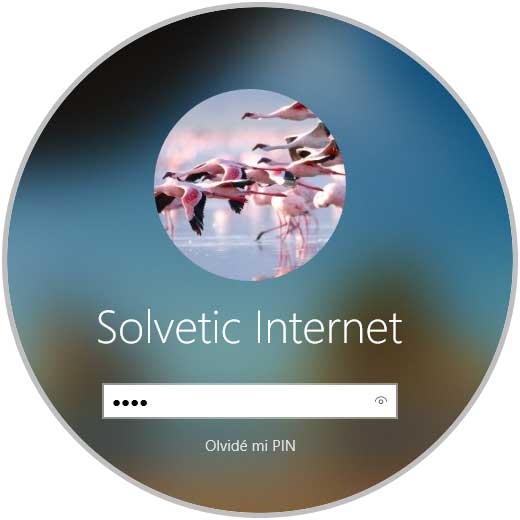
Step 10
We select Windows 10 and after that we get to the login screen:
Step 11
When accessing Windows. We click again on the downloaded file of Android Phoenix OS:
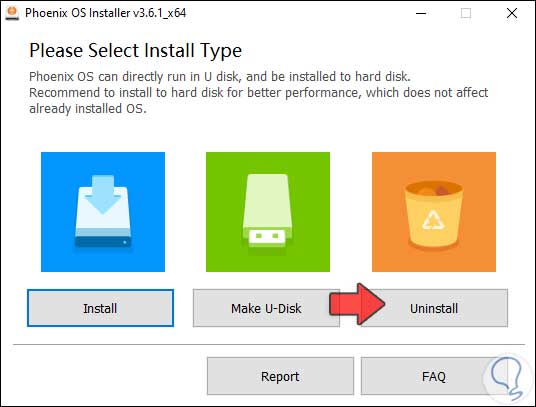
Step 12
We click on “Uninstall” and the following message will be displayed:
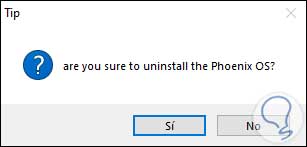
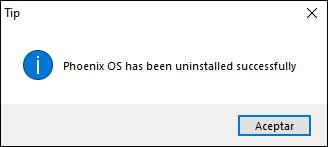
Step 13
We click Yes and then we see that Android Phoenix OS has been uninstalled:
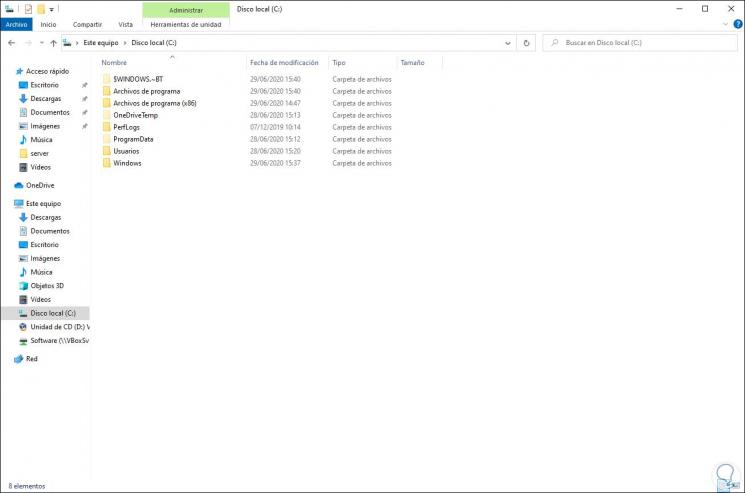
Step 14
We go to the File Explorer and in the C drive we check that the Phoenix OS folder has been deleted
:
Step 15
Finally, if we want we can access the command prompt and run "bcdedit" to check:
With TechnoWikis we have seen how to create a dual boot between Windows 10 and Android Phoenix OS and in this way enjoy both systems with all the available hardware resources..