The security and availability of information in Windows operating systems, and in reality in any operating system, must be one of the most important premises that all types of users must take into account when working with data that can become sensitive and confidential, therefore it is necessary to act frequently to preserve the integrity of these and one of the options of Windows 10 for this is to create a copy of the system image ..
Keep in mind that this option is different from a restore point since the Windows 10 image backup allows us to restore the computer to the state it was in when the backup was created, that is, when creating and restore a backup of the operating system image both the system itself and the installed applications will be fully recovered, this is the difference with the traditional restore point.
An image backup of the system is responsible for copying absolutely everything available on the disk (you can be a local or external disk) and this also covers the partitions and the boot sector, so this is the most effective method to create and keep a backup of the current installation of Windows 10 in a satisfactory way since the applications and configurations made are integrated, it is true, it takes more time, but it is much more effective..
TechnoWikis will explain in detail how to create a backup of the operating system and how you can restore it in a few steps.
To keep up, remember to subscribe to our YouTube channel! SUBSCRIBE
1. How to create an image copy of the Windows 10 system
Step 1
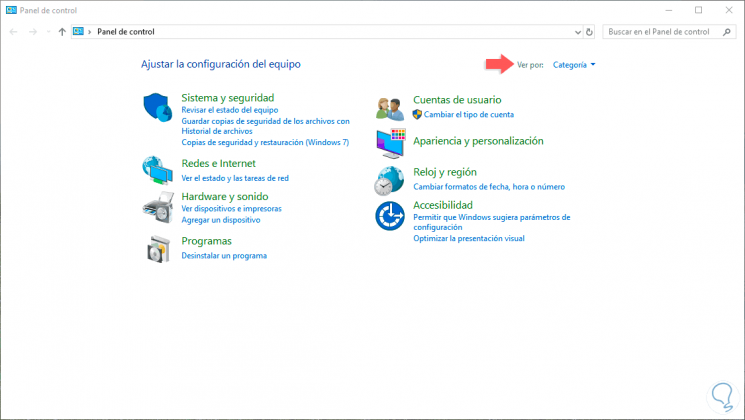
To start this process we will go to the Control Panel where we will see the following:
Step 2
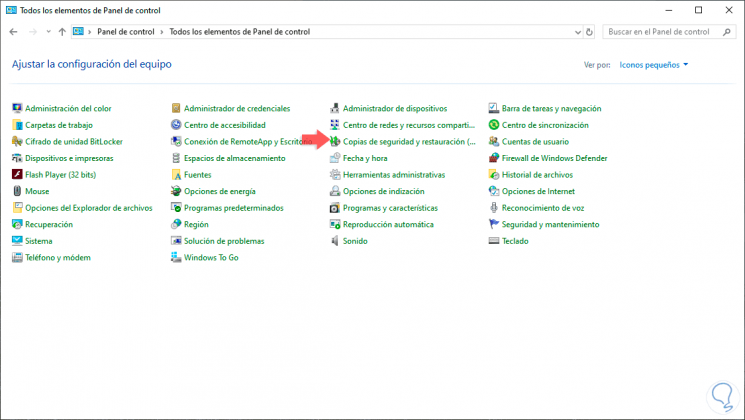
There we click on the "View by" field and select the "Small icons" option:
Step 3
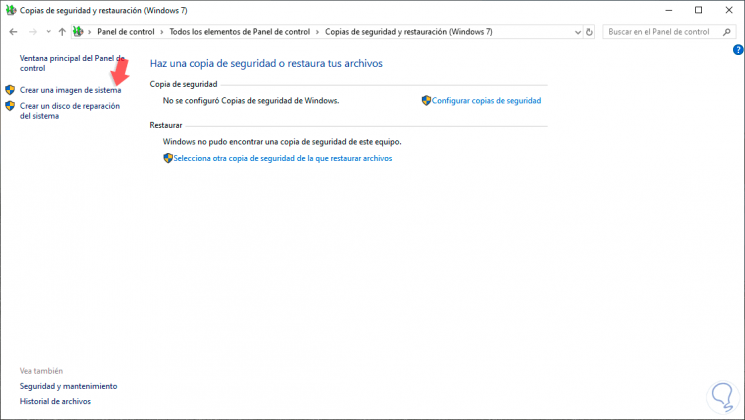
In the options displayed we click on the line “Backup and restore (Windows 7), the Windows 7 legend refers to the fact that since that edition of Windows the functionality was already active. Clicking there will display the following. We click on the “Create a system image†line located on the left side
Step 4
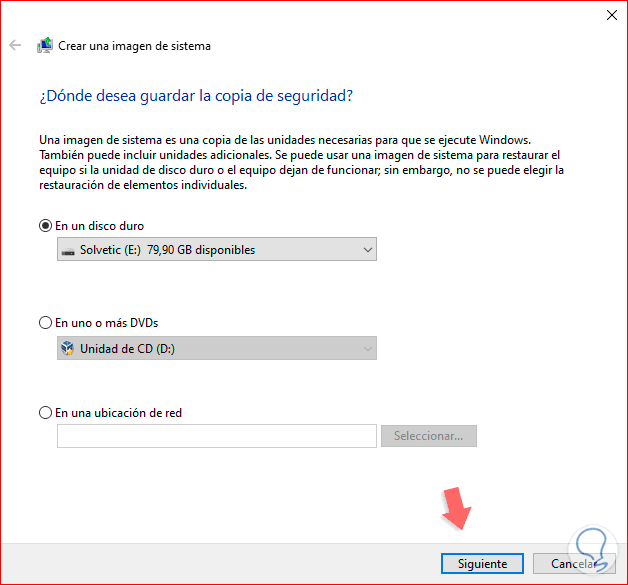
The following assistant will be deployed in which we must define the place where the backup will be hosted, we have options such as:
- On a DVD (or more depending on the system size).
Step 5
In this case we select a local hard drive and click Next, after a small space analysis we will see the following:
Step 6
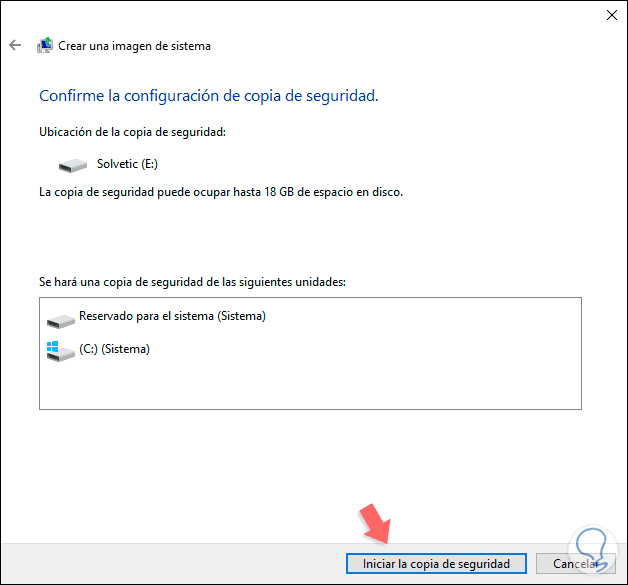
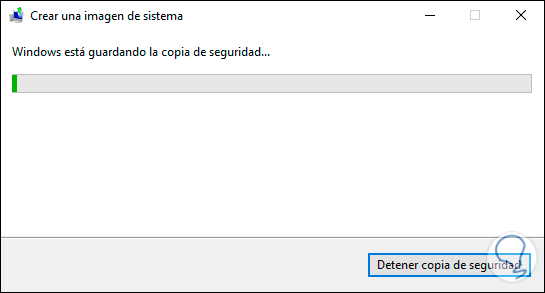
There are indicated the values ​​that must be backed up with the copy, in this case the system and the space reserved for it, defined this we click on “Start the backup†and we will see that this process takes place:
Step 7
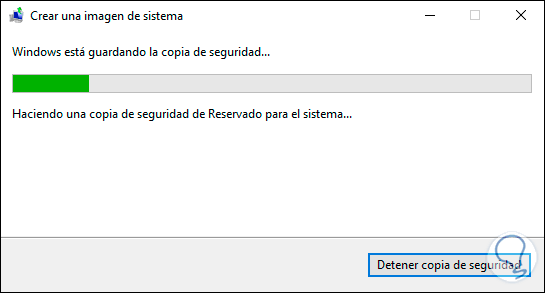
We can validate that the copy of each of the specified values ​​is created:
Step 8
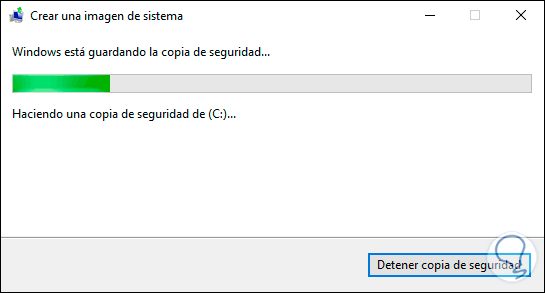
Then the operating system itself is copied:
Step 9
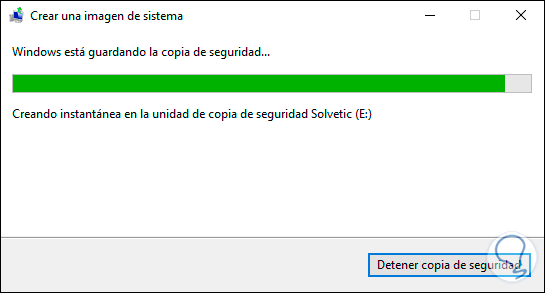
Once this process is ending we can see that the snapshot of the image backup is created:
Step 10
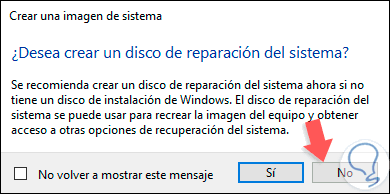
When the copy comes to an end, the following message will be displayed asking if we want to create a system repair disk, in this case we click on “Noâ€:
Step 11
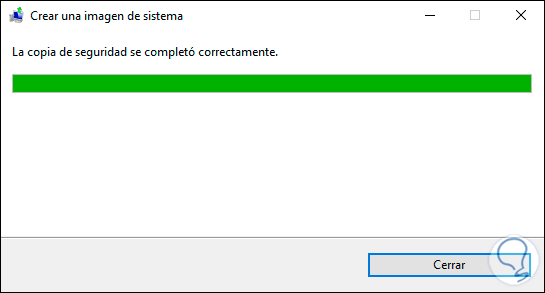
Once this is done we see that the copy of the image has been a success. Click on "Close" to exit the assistant.
At this point the backup of the Windows 10 image has been created and we are ready to use it whenever we want.
2. How to restore Windows 10 using the copy of the Windows 10 image
Step 1
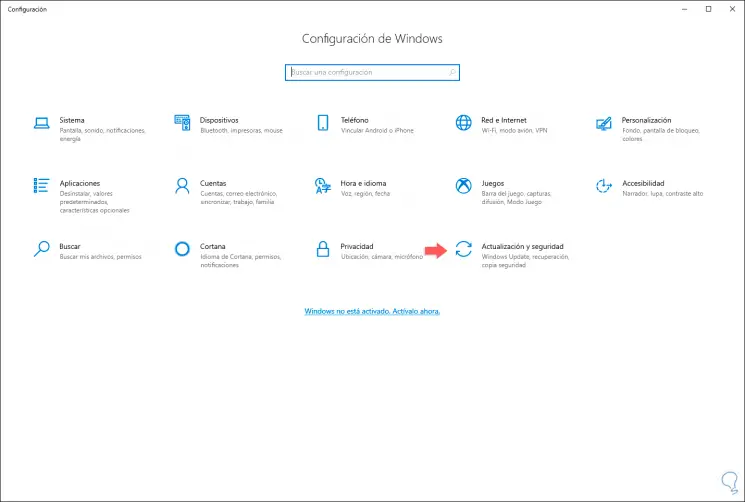
If the system gets to present some type of fault we can take advantage of the copy that we have created previously, to restore the system with it we must go to the Start menu and then select the Configuration utility:
Step 2
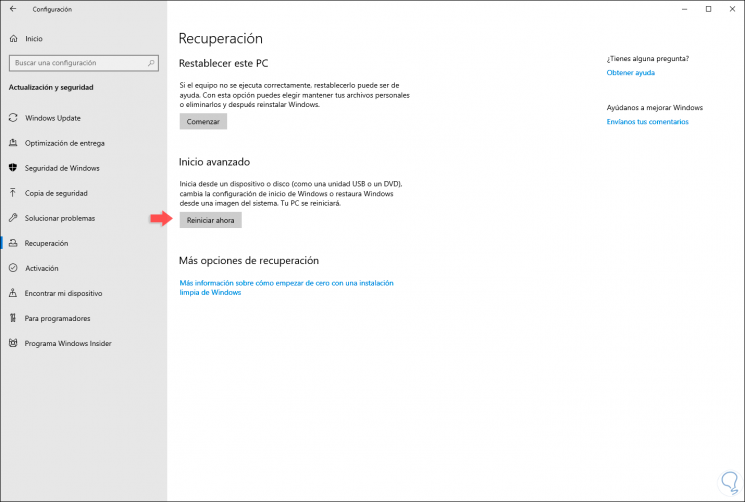
There we select the “Update and security†category and in the next window we go to the “Recovery†section:
Step 3
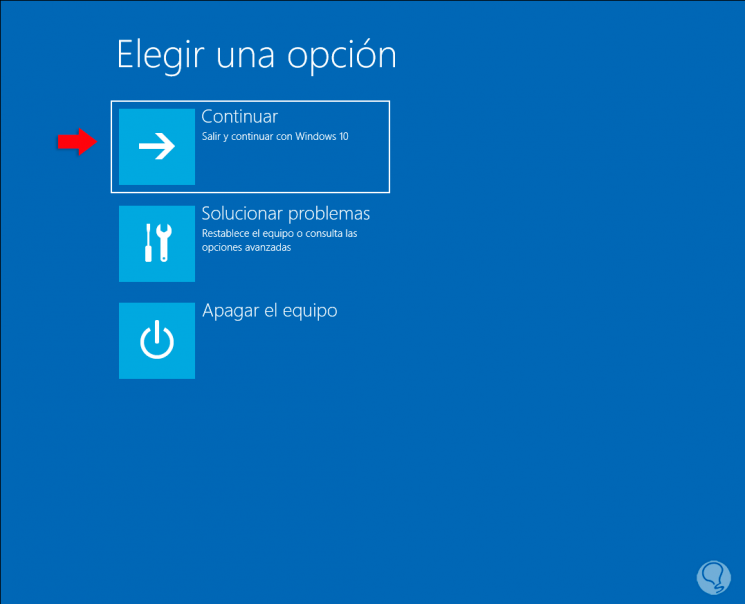
We click on the "Restart now" button located in the "Advanced startup" field and after the system restarts we will see the following:
Step 4
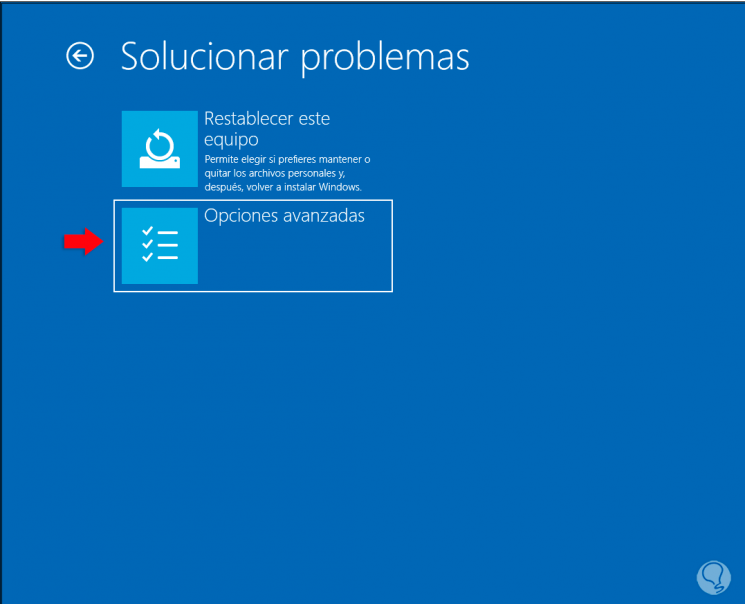
There we click on "Troubleshoot" and then we will see the following:
Step 5
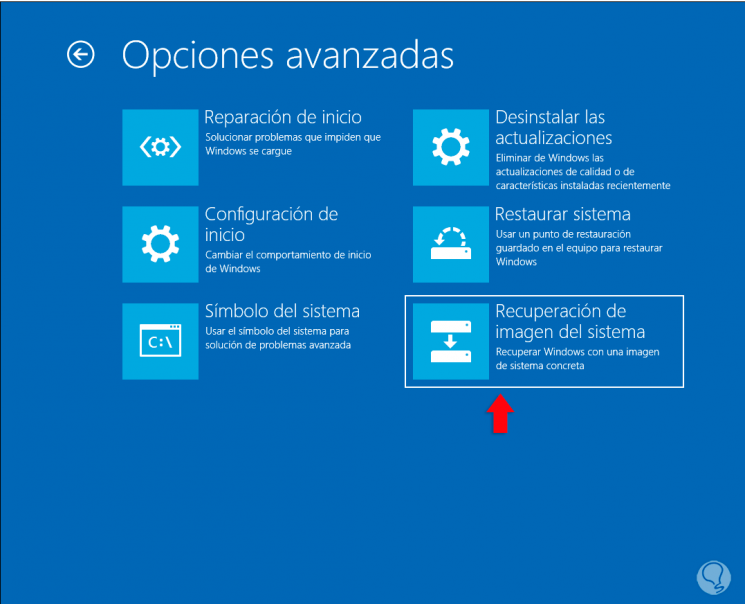
We click on “Advanced options†and the following alternatives will be displayed:
Step 6
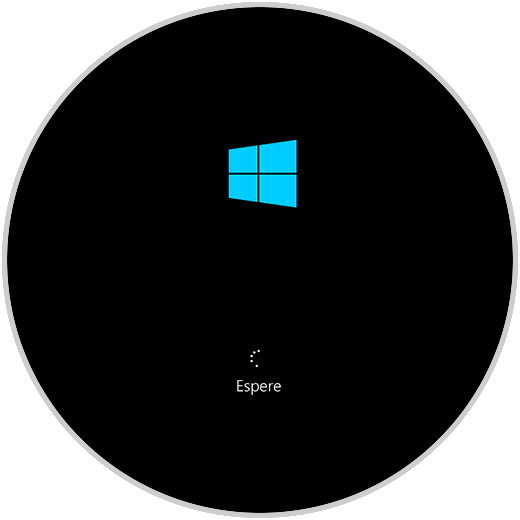
In this case we select "System image recovery" and clicking there we will see that the system is restarted:
Step 7
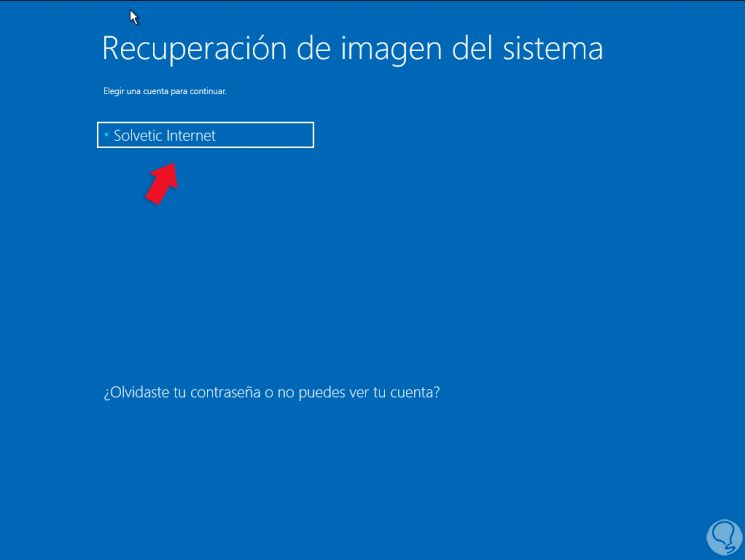
When this process is finished we validate the user account:
Step 8
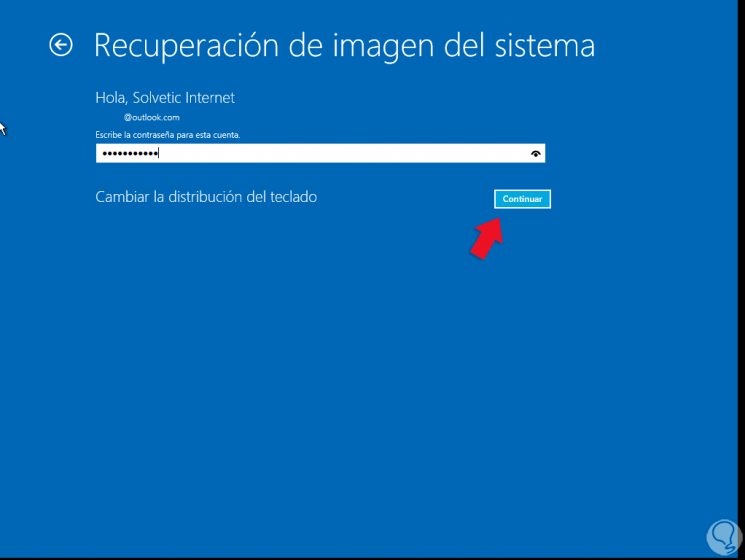
We click on it and then enter its password:
Step 9
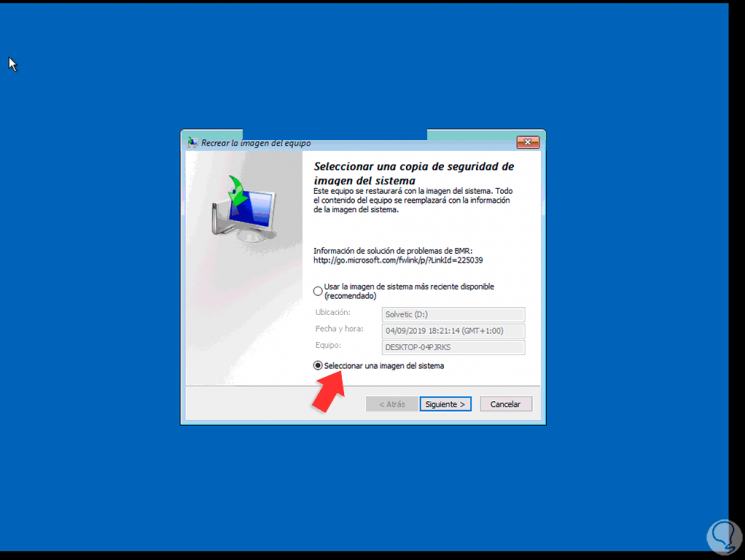
We click on the "Continue" button and the following wizard will be displayed where we see two options:
- View the most recent image copy
- Select other available images
Step 10
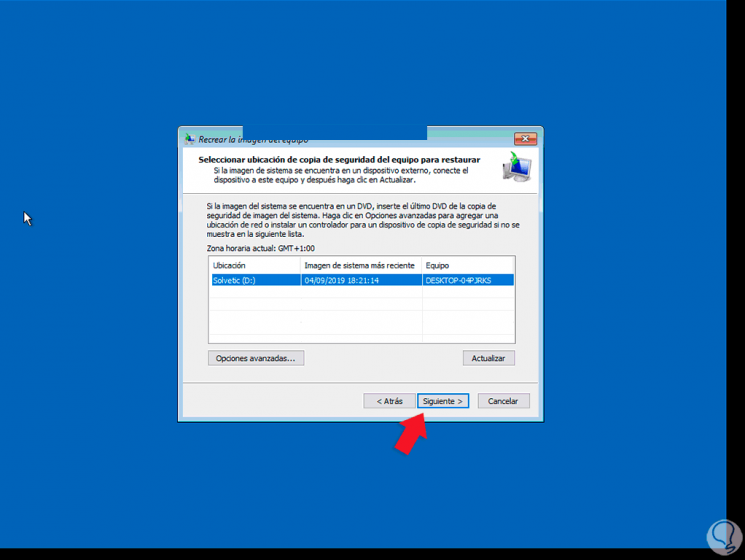
We can select the desired option, in this case the second one, and then we will see this:
Step 11
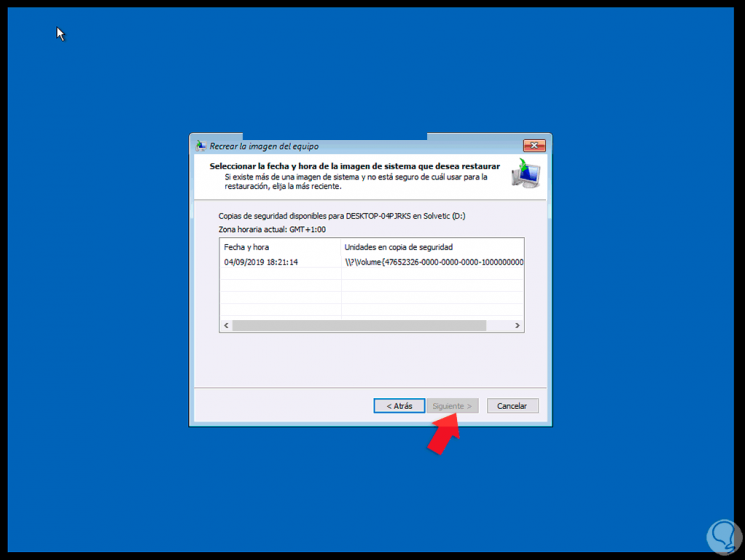
There we find the copy of the image that we have created with its creation date and time, as well as the location and equipment where it is hosted, we click on Next and then we will see more details of it:
Step 12
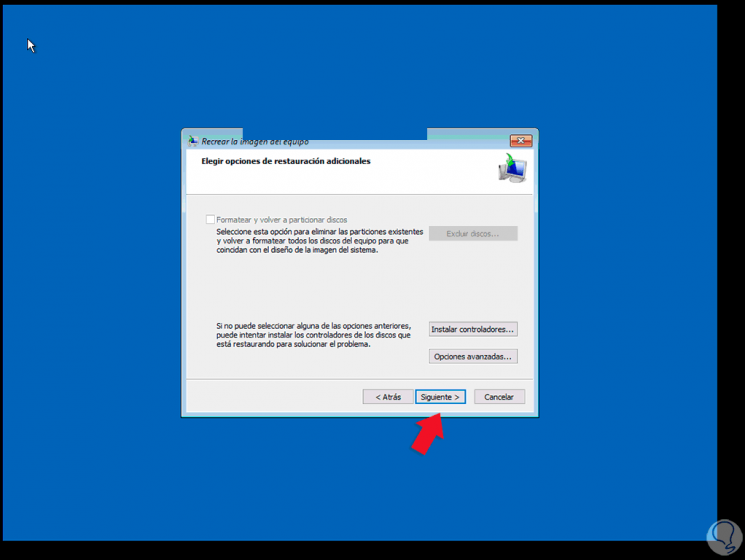
We select it and click Next and the following window will be displayed:
Step 13
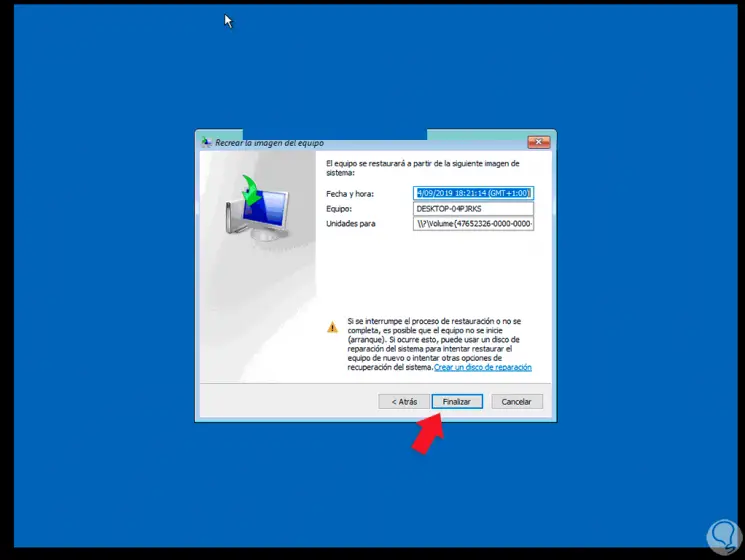
There we can specify some special parameters if it is the case, we click on Next and we find a summary of the action to be performed, in this case it is indicated that the equipment will be restored to that date:
Step 14
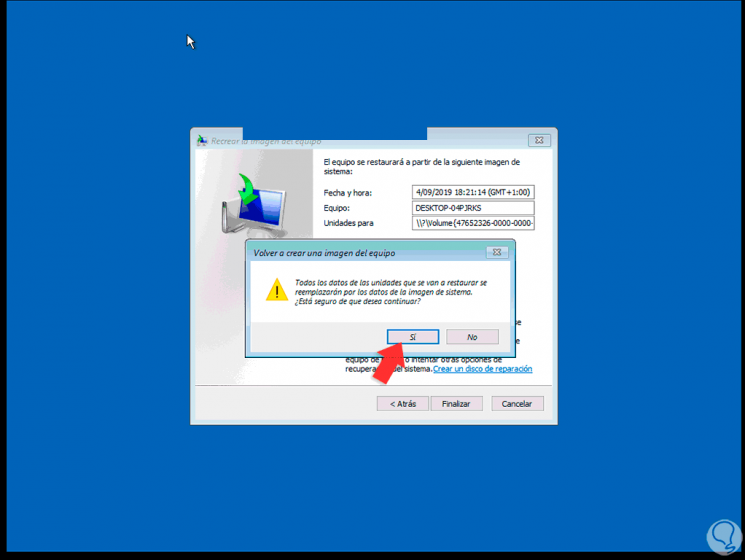
We click on Finish to execute the process and we will see the following warning:
Step 15
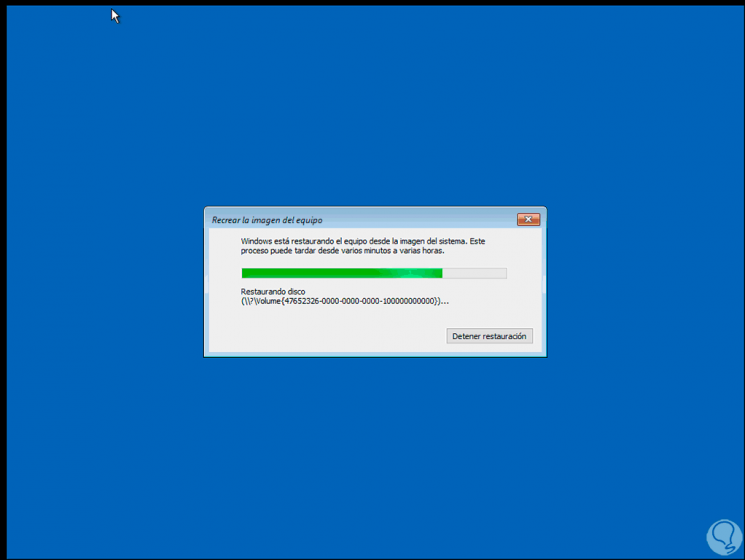
We click Yes and the restoration process begins:
Step 16
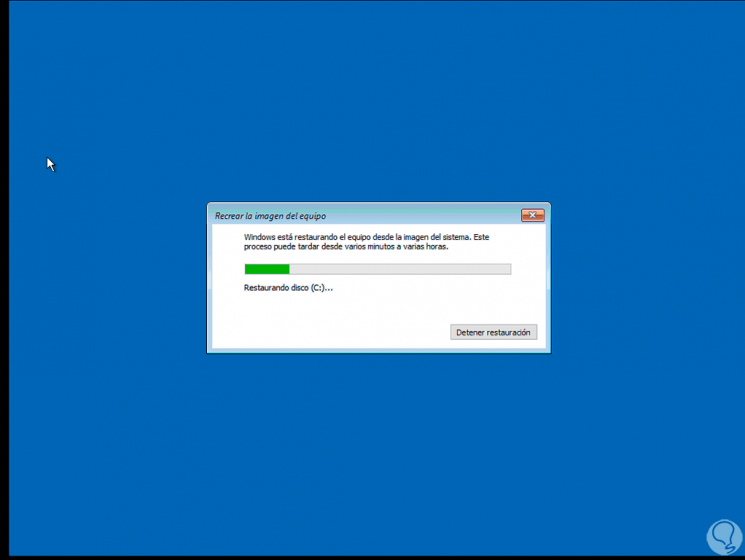
We can see that the changes are applied to the system:
Step 17
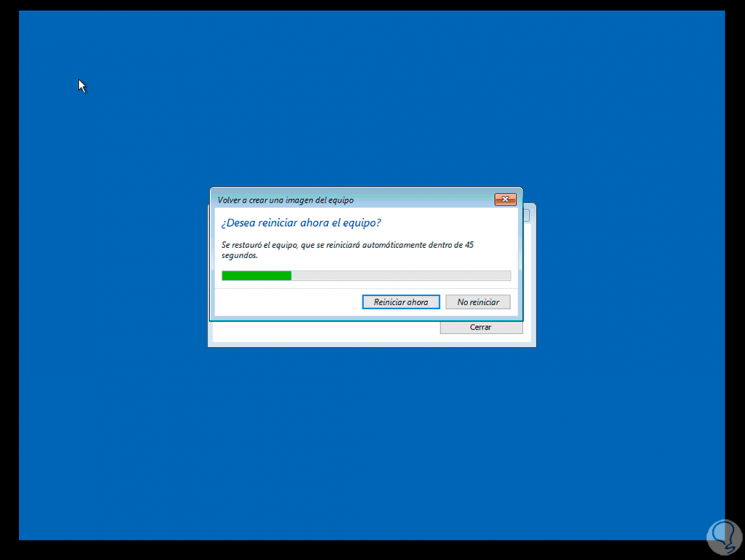
When it finishes the system must be rebooted to complete the process:
Step 18
After the restart we log in:

Step 19
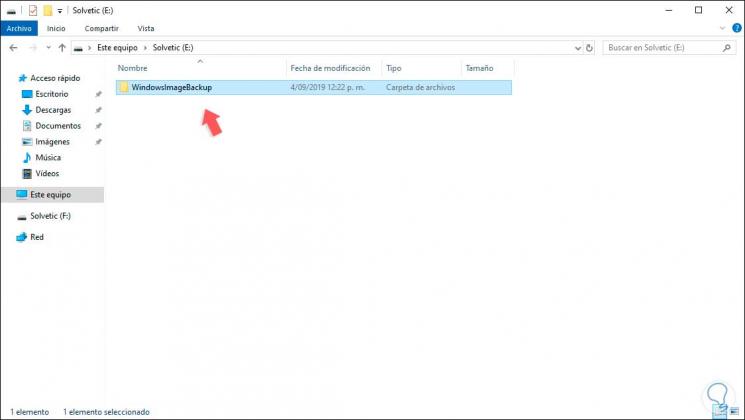
All this is achieved because during the creation of the copy a folder called “WindowsImageBackup†is created on the destination disk. This is the one that allows you to execute the restoration correctly.
With TechnoWikis you have learned to create and restore a backup image of Windows 10 to offer maximum availability of this..