Windows Server is a safe, comprehensive and full of roles and special functions operating system that will make administration tasks and objects (computers and users) simple, but we must understand that Windows Server requires that some configurations are stable, one of them and Perhaps the most delicate is the availability of the network . This is because Windows Server is a central point from where files, resources are shared and where domain users log in to access their local computers..
For this reason, if for any reason the IP address or the configuration of the Windows Server network changes, these accesses may be disabled and the resources not available, there comes into play the role of the domain administrator to change the properties of the adapter from where we can verify current network status, configure static IP address, adjust DNS and more. But we may find that I cannot change Windows Server adapter options and thus make changes.
We also leave you the video tutorial to solve that Windows Server does not detect a network adapter..
To stay up to date, remember to subscribe to our YouTube channel! SUBSCRIBE
1. Open Windows Server Network Adapter Configuration
Step 1
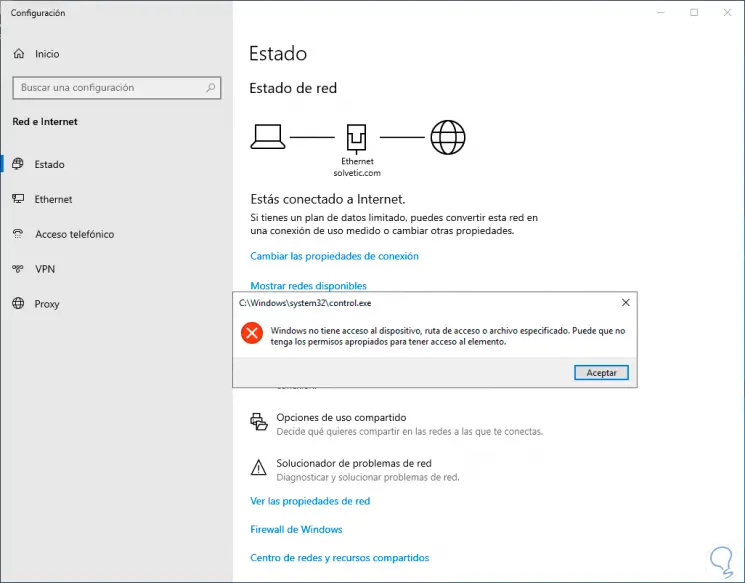
When we try to perform this process from the Network and Internet Settings we can find the following error in Windows Server 2016 or 2019:
Step 2
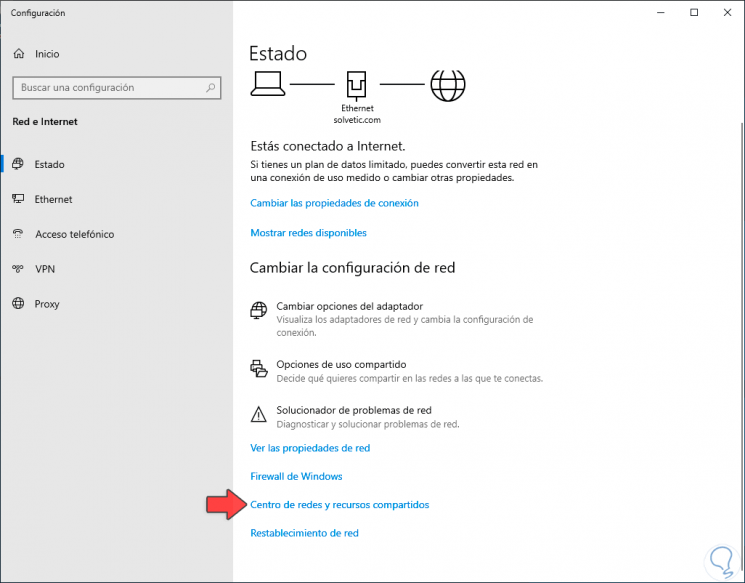
We can click on the line "Network and Sharing Center" located at the bottom:
Step 3
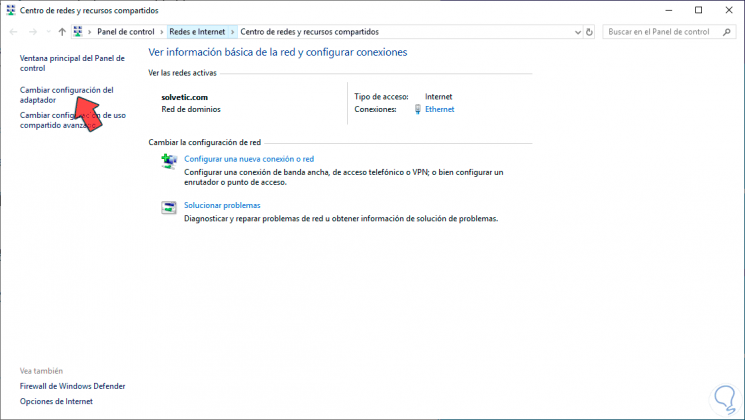
This redirects us to the active networks on the server and domain. There we can click on the line "Change adapter settings" and then access the active network devices in Windows Server:
Step 4
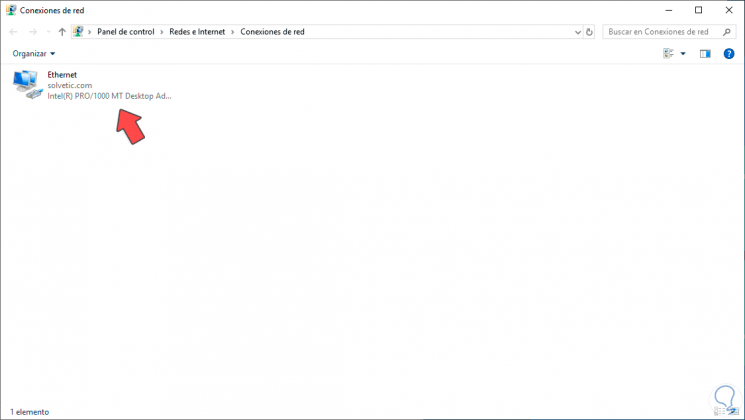
From here we can access the properties of the adapter and perform the management tasks on it, but this route should be accessed by clicking on "Change adapter options" directly, but the error jumps, with TechnoWikis we will see how to correct this error in Windows Server 2016 or 2019.
2. I can't change Windows Server network adapter settings
Step 1
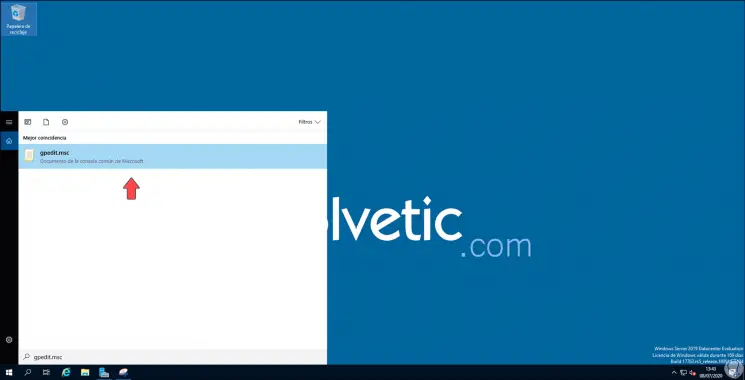
To correct this error we must access the group policies of the server, for this we have the following options:
- In the Start search box enter "gpedit.msc"
- Use the following keys and execute the command "gpedit.msc"
+ R
gpedit.msc
Step 2
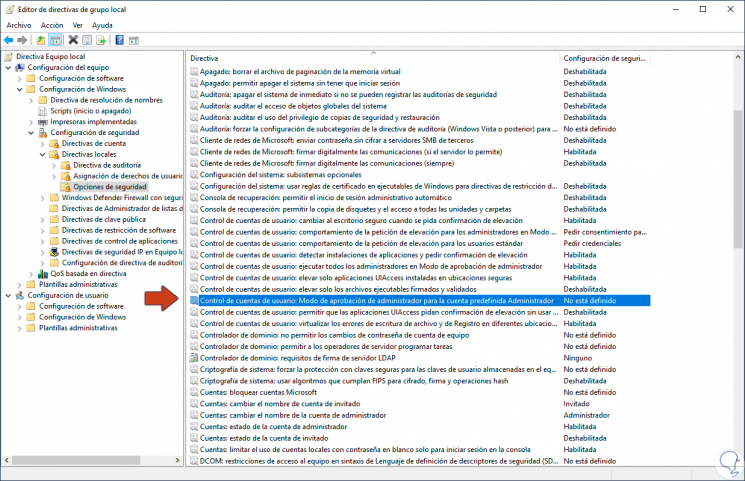
In the deployed administrator we will go to the following route:
Step 3
In the deployed policies we select the policy called “User Account Control: Administrator approval mode for the predefined Administrator account”:
Step 4
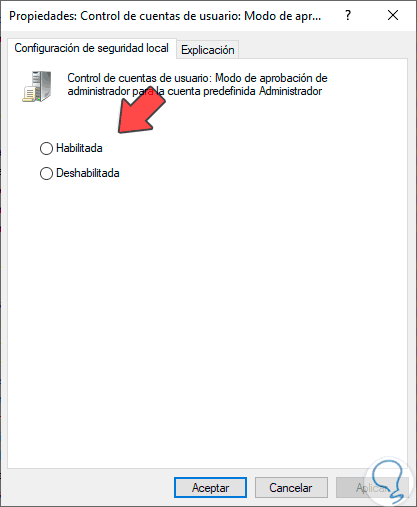
We double click on it and the following will be displayed:
Step 5
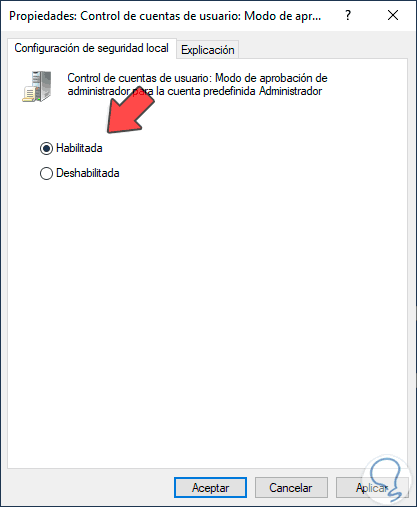
We activate the “Enabled” box and click Apply and OK to save the changes.
Step 6
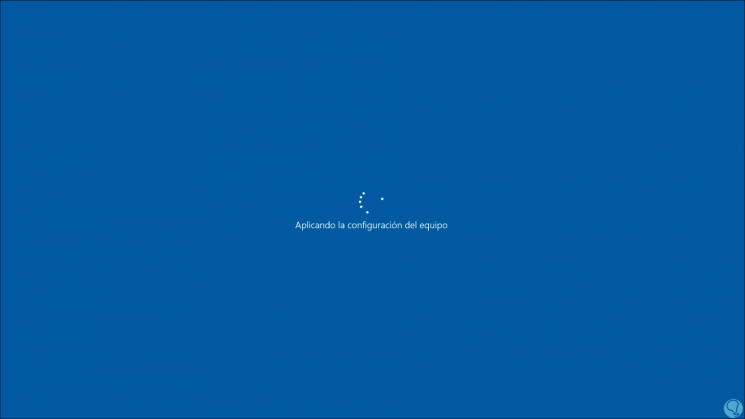
After this we must restart the server for the changes to be applied:

Step 7
This allows the change made to allow us to edit the adapter settings:
Step 8
When logging in, we go back to Network and Internet Settings and this time we will see that it is possible to change the adapter options from there:
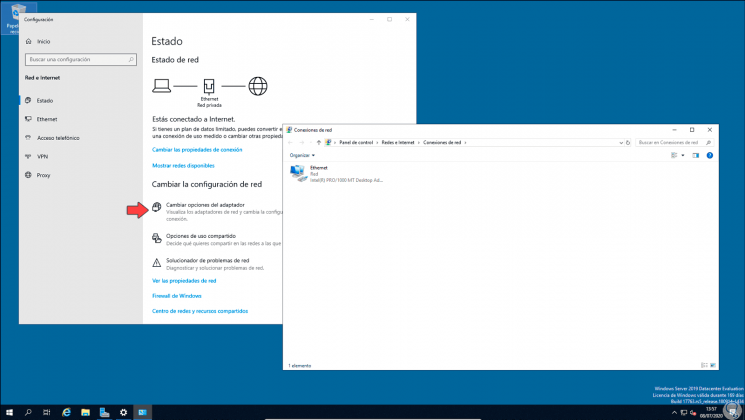
With this process we will be able to edit the options as necessary in Windows Server.