The computer has become an indispensable device of our day to day, since thanks to it we have the possibility of carrying out a number of tasks directly from your system. Windows 10 allows us to perform certain tasks automatically so that as users we can save time for other types of tasks. One of these tasks is the automatic shutdown of the system , this can be done through the command "shutdown"..
In this period of time Windows 10 will close services and processes and proceed to shutdown, but if for any reason we want to prevent the system from turning off, TechnoWikis will explain various ways to do it in Windows 10.
The command to use will be the following:
shutdown -a
The parameter -a (abort) is responsible for canceling the system shutdown, it applies during the timeout of this action, let's see the options to use it.
To stay up to date, remember to subscribe to our YouTube channel! SUBSCRIBE
1. Turn off automatic shutdown Windows 10 through Run
Run is a functional command in Windows 10 thanks to which we can perform different administrative or information tasks on the system, to open Run we can:
- Use Cortana or the Start search box
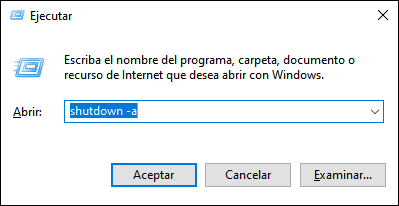
Once the Run window opens we enter:
shutdown -a

2. Turn off automatic shutdown Windows 10 from PowerShell
PowerShell is a console based on cmdlets to execute hundreds of commands in the operating system and without a doubt that canceling the automatic shutdown is included within them.
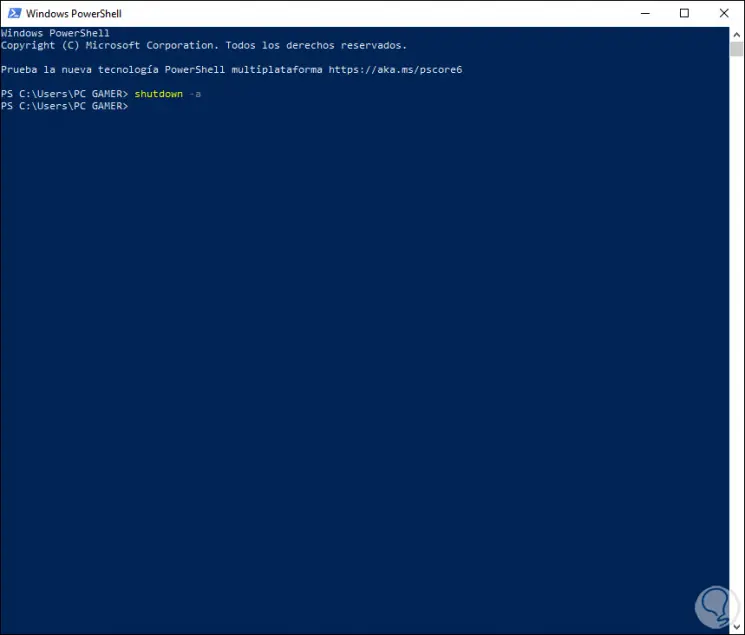
For this we open PowerShell and execute:
shutdown -a

3. Disable Windows 10 automatic shutdown from the command prompt console
Step 1
Like the previous steps, just go to the command prompt console and run:
shutdown -a

Step 2
Remember that the automatic shutdown in Windows 10 can be programmed with the following syntax:
shutdown -s -t "time in seconds"
With any of these methods it is possible to cancel the automatic shutdown in Windows 10. In this way we can prevent our PC from being turned off when we do not want this to happen.