For all of us who manage networks or operating systems , at some point it has been necessary to configure DHCP (Dynamic Host Configuration Protocol) which is a function that has the task of creating leases or groups of IP addresses for randomly assigning computers on the local network without repeating them and within this IP address concession it will be possible to reserve IP addresses for some extra support tasks.
CentOS 8 is one of the Linux distributions focused on companies thanks to its security, performance and operation functions. That is why below we will see in detail how to install and configure a DHCP server in CentOS 8 both at the server and client level.
1. How to install DHCP on CentOS 8 server
Step 1
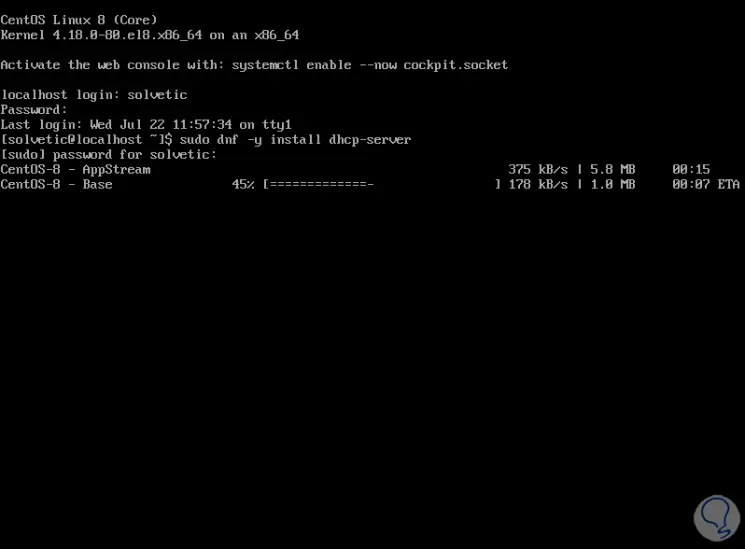
The first step we must take is to install the DHCP protocol on the server computer, for this we execute the following command:
sudo dnf -y install dhcp-server
Step 2
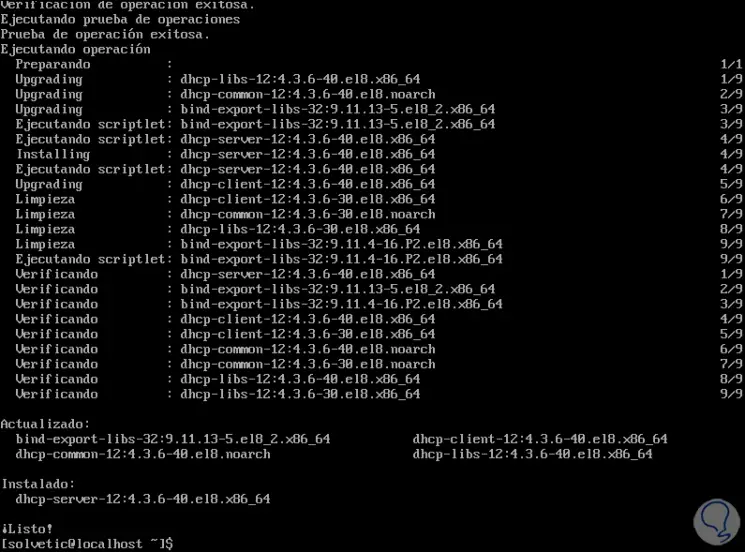
When this process ends we will see the following:
2. How to configure DHCP server in CentOS 8
Step 1
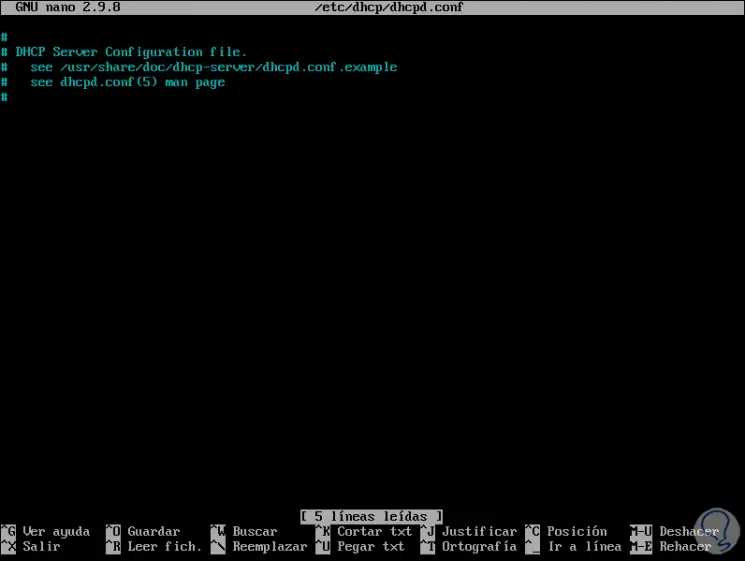
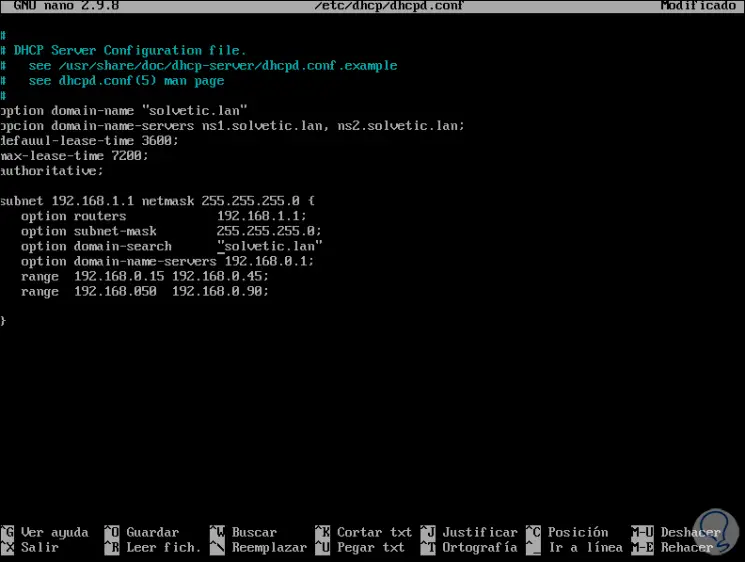
Once installed we are going to configure it, for this we will access the following file with our desired editor:
sudo nano /etc/dhcp/dhcpd.conf
We will see the following:
Step 2
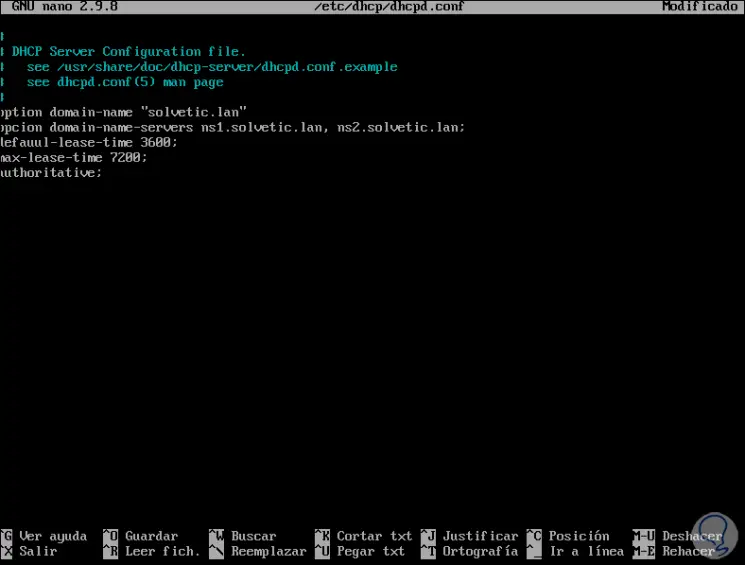
At the top of this file we will enter the following variables:
option domain-name "technowikis.lan"; option domain-name-servers ns1.technowikis.lan, ns2.technowikis.lan; default-lease-time 3600; max-lease-time 7200; authoritative;
Step 3
Then we enter the following:
subnet 192.168.1.1 netmask 255.255.255.0 { option routers 192.168.1.1; option subnet-mask 255.255.255.0; option domain-search "technowikis.lan"; option domain-name-servers 192.168.0.1; range 192.168.0.15 192.168.0.45; range 192.168.0.60 192.168.10.90; }
Step 4
In these lines we have defined:
We save the changes with the Ctrl + O keys and exit the editor with the Ctrl + X keys.
Once this is done, we start the dhcp service:
sudo systemctl start dhcpd
Step 5
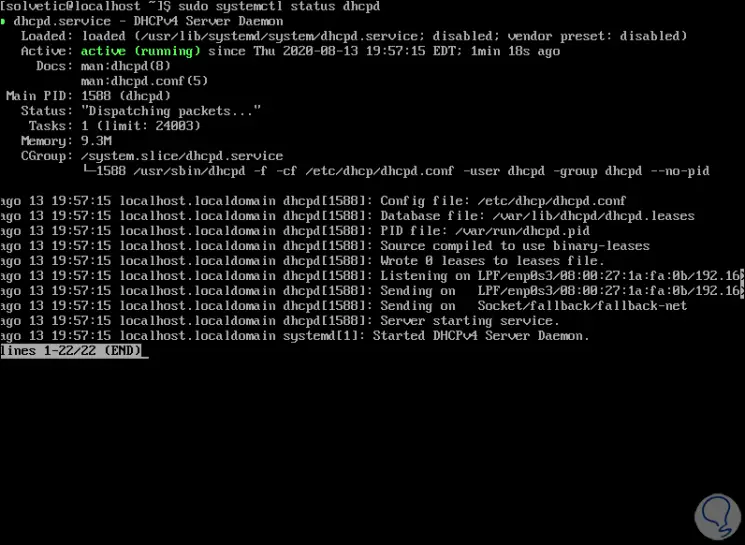
We check the DHCP status with the following command:
sudo systemctl status dhcpd
Step 6
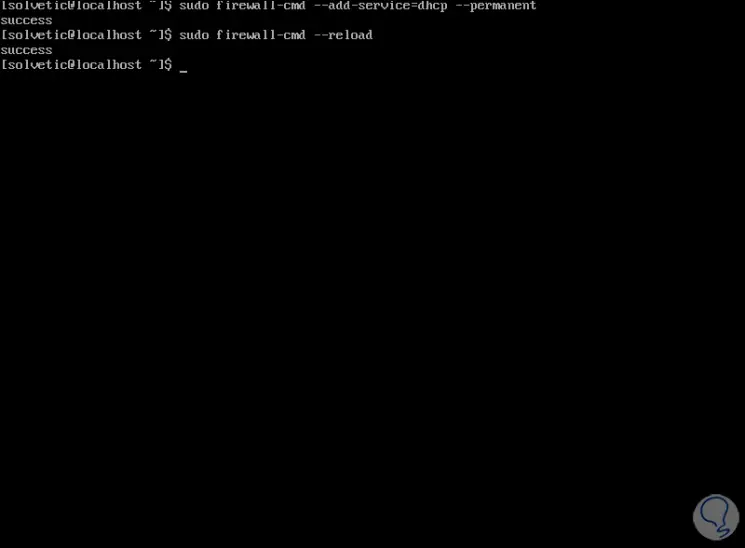
We will add the DHCP service to the CentOS 8 firewall and update the rules with the following commands:
sudo firewall-cmd --add-service = dhcp --permanent sudo firewall-cmd –reload
Step 7
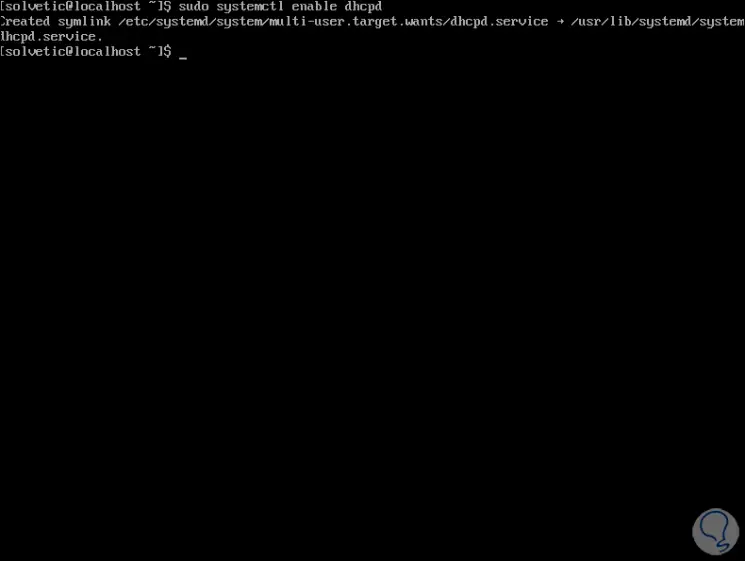
We enable the DHCP service to be started on CentOS 8 startup:
sudo systemctl enable dhcpd
Step 8
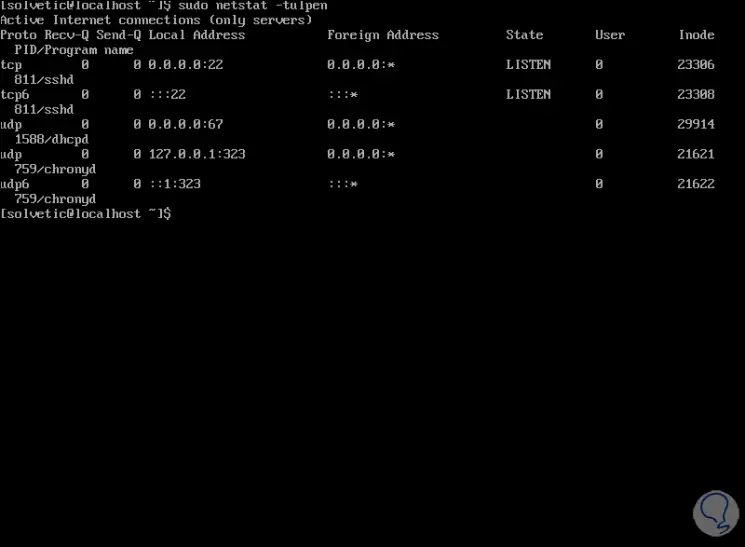
If we wish, we can confirm the port through which DHCP is listening:
sudo netstat -tulpen
Up to this point we have installed the DHCP server on CentOS 8.
3. How to configure CentOS 8 DHCP client
Step 1
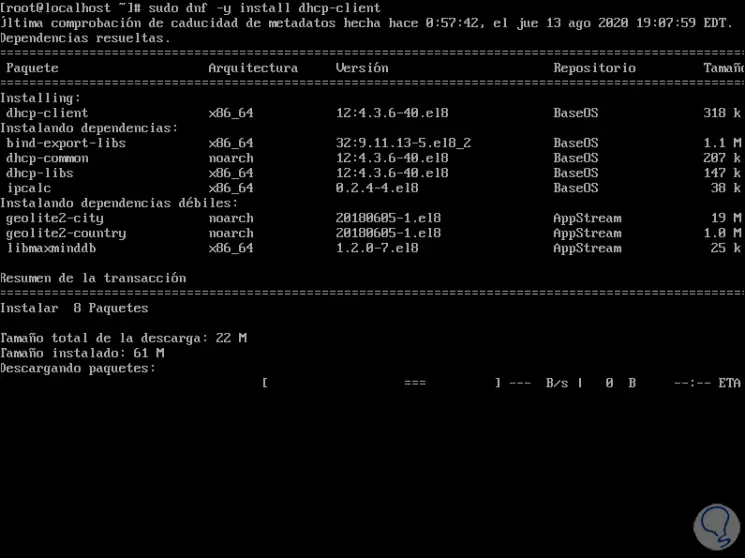
We go to the CentOS 8 computer that will act as a client and there we will install the DHCP client with the following command:
sudo dnf -y install dhcp-client
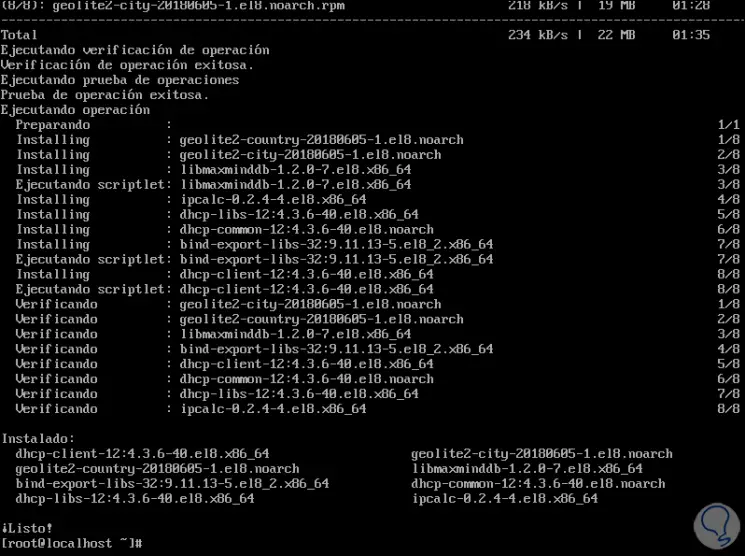
Step 2
At the end we will see the following:
Step 3
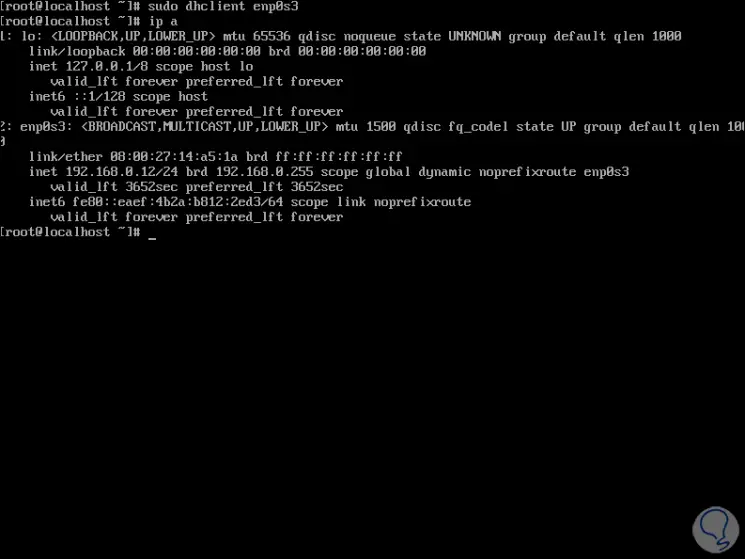
Now we will use the dhclient command followed by the interface for DHCP requests:
sudo dhclient "interface"
Step 4
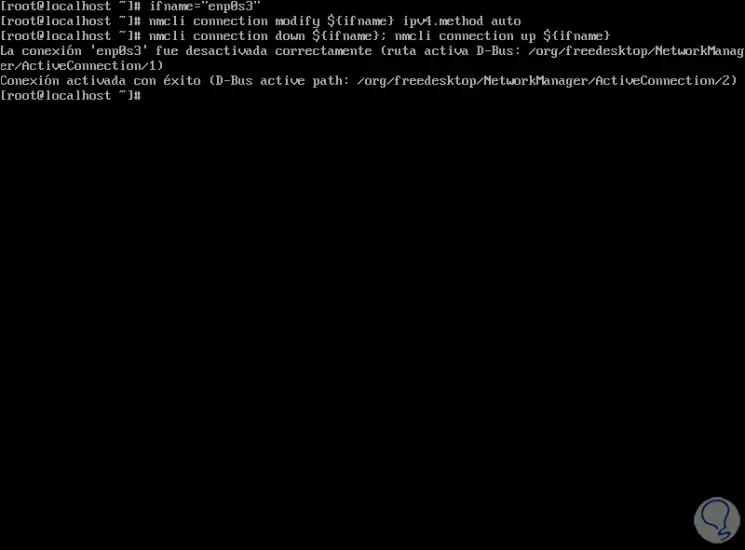
We are going to create a persistent DHCP connection, for this we execute the following:
ifname = "adapter" nmcli connection modify $ {ifname} ipv4.method auto nmcli connection down $ {ifname}; nmcli connection up $ {ifname}
Step 5
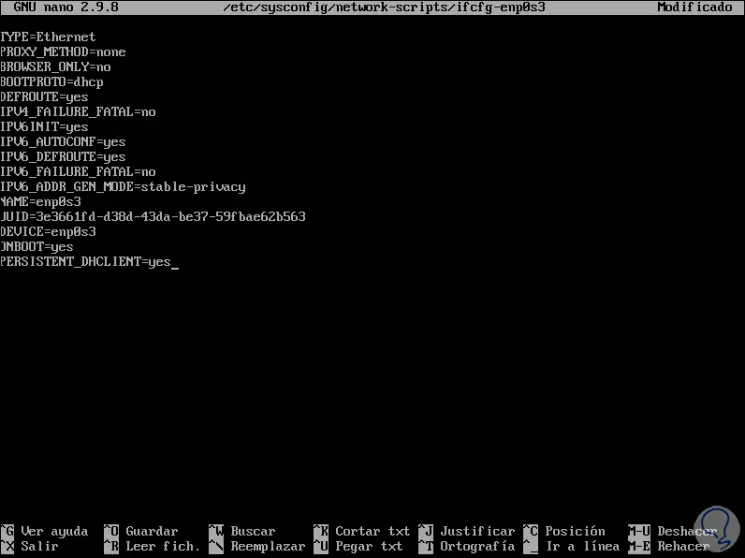
We configure the adapter parameters with the following command:
sudo nano / etc / sysconfig / network-scripts / ifcfg-enp0s3
Note
We must enter the correct adapter in each case.
Step 6
There we edit the following:
DEVICE = "enp0s3" BOOTPROTO = "dhcp" ONBOOT = "yes" TYPE = "Ethernet" PERSISTENT_DHCLIENT = "yes"
We save the changes with the Ctrl + O keys and exit with the Ctrl + X keys.
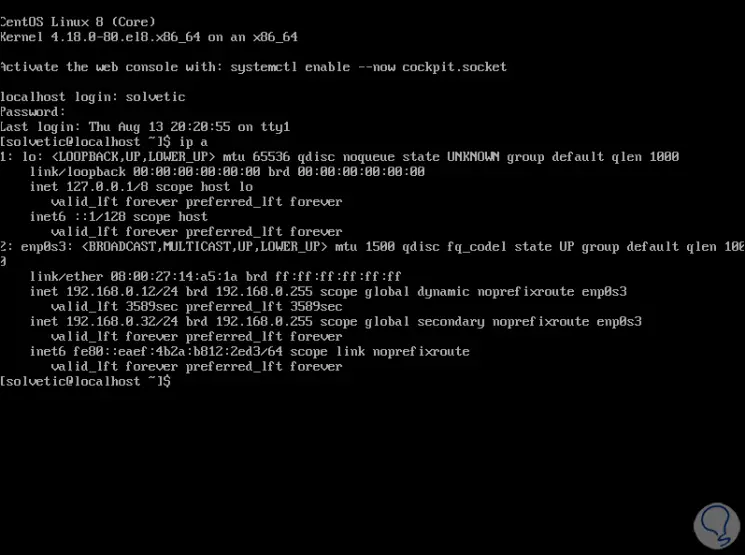
Step 7
After this we restart the client computer and with the command "ip a" we will see that an IP address has been assigned from the range that we have established:
Step 8
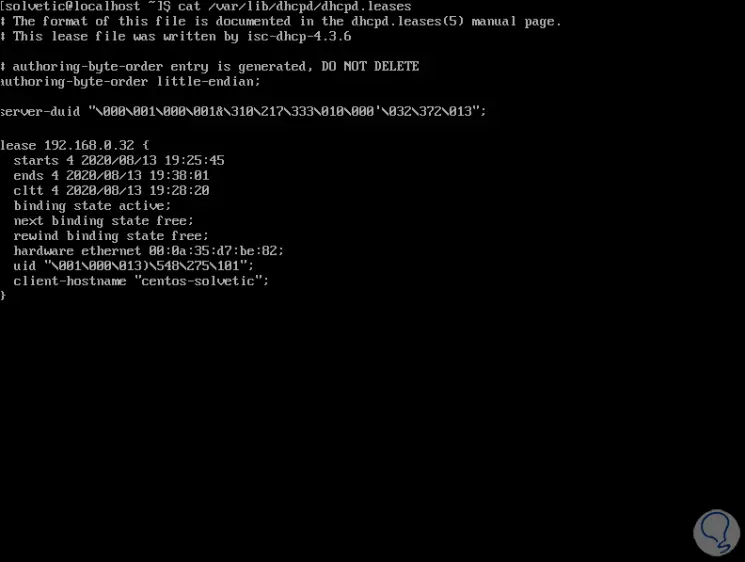
From the server we can see the DHCP connections by executing the following. There we find specific details of the team.
cat /var/lib/dhcpd/dhcpd.leases
TechnoWikis has explained how to install and configure DHCP as server and client in CentOS 8.