The domain name server (DNS ) is a special network function thanks to which it is possible to connect to the network since it allows the equipment to connect to the server's domains and is also responsible for translating the IP address to the domain name..
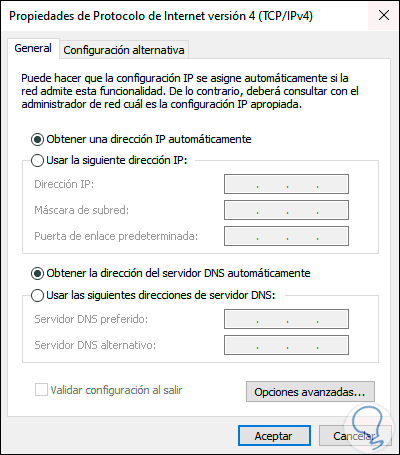
When we access a website, the browser used will make a query with the DNS server indicating the IP address of our domain and then load the corresponding site, by default on our computers we have a DNS address that is delivered by the Internet provider ( ISP):

But if for some reason this DNS fails , connectivity to the network will be impossible or intermittently, so a tip that TechnoWikis gives you is to change the DNS IP address in Windows 10 and although this can be done graphically, the console of the Command prompt is another method available for this purpose, so we will see how to change DNS using this method.
To stay up to date, remember to subscribe to our YouTube channel! SUBSCRIBE
Change DNS in Windows 10 from CMD
Step 1
For this we must access the command prompt as administrators, then we execute the following to enter the network configuration:
netsh
Step 2
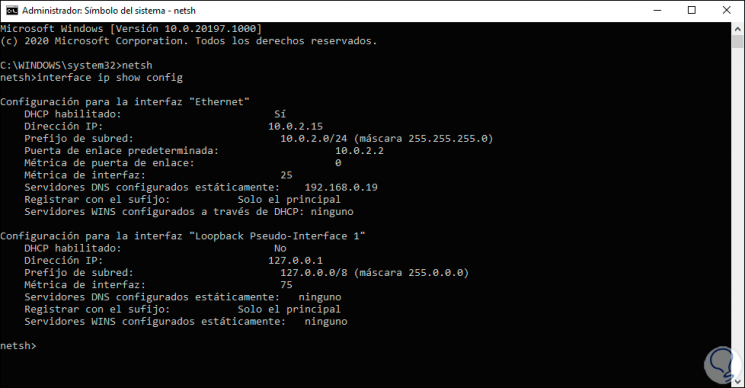
Then we execute the following. There we can list the current network properties.
interface ipv4 show config

Step 3
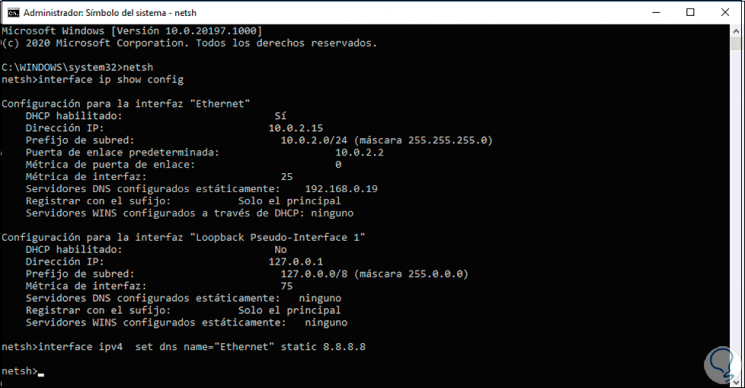
To configure the primary DNS (the most important) we execute the following syntax:
netsh interface ipv4 set dns name = ”interface” static 8.8.8.8

Step 4
As an option we can add the secondary DNS with the following syntax:
netsh interface ipv4 set dns name = ”interface” static 8.8.8.8 index = 2
Step 5
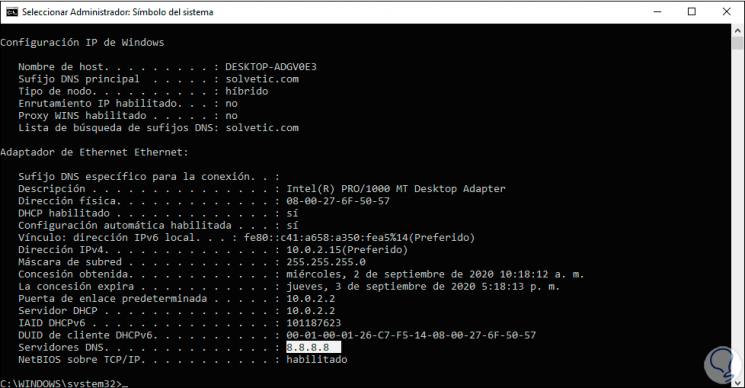
After this we exit netsh with "exit" and execute "ipconfig / all" where we check that the DNS address is the one we have established:

So it is possible to establish a DNS from CMD in Windows 10..