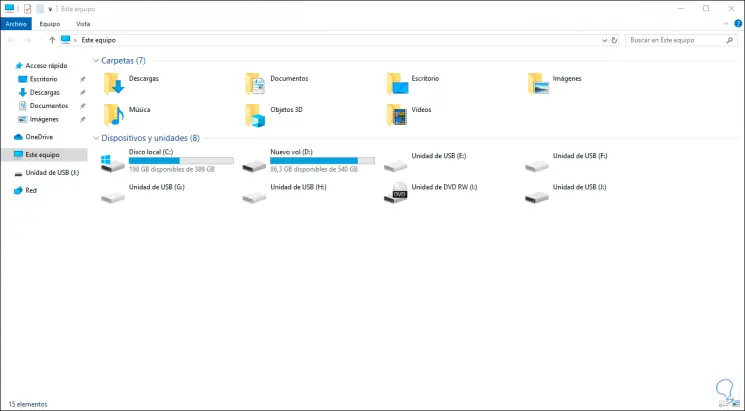
Usually we use external hard drives (be they large capacity drives or USB sticks) to store information there, run programs directly from these disks or use them as backup for system support tasks but sometimes when we connect the external disk to the computer With Windows 10 we notice that Explorer does not recognize it and therefore neither the disk services of the operating system, remember that when you connect an external hard drive it should be reflected with a letter randomly assigned by the system:
The hard disk is a main hardware element for our equipment since it is involved both in the boot process and in the operation to store the information that we need at all times. When we experience some kind of problem on the hard drive, our computer suffers, we notice it because abnormal problems begin to occur. If we are working with files and data, if the external disk is not recognized we will have a problem because we will not be able to transfer information..
But when we connect the external hard drive and this is not reflected there, which in turn prevents access to it, it can be a problem since we require its immediate use, for this reason TechnoWikis will explain in detail how to solve the error of Windows 10 does not detect your external hard drive.
1. Check the USB ports of the computer to fix Windows 10 external hard drive error
In general, all computer equipment (portable and desktop) has a minimum of 2 USB ports to connect devices there. It is possible that the port where the hard disk is connected has some failure, so the most essential and basic thing is to change the connection port and thus rule out if the error only occurs in that port or is already an error of the external hard disk.
2. Check the hard drives to fix external hard drive error Windows 10
Step 1
For this method we will access the Device Manager using one of the following options:
Step 2
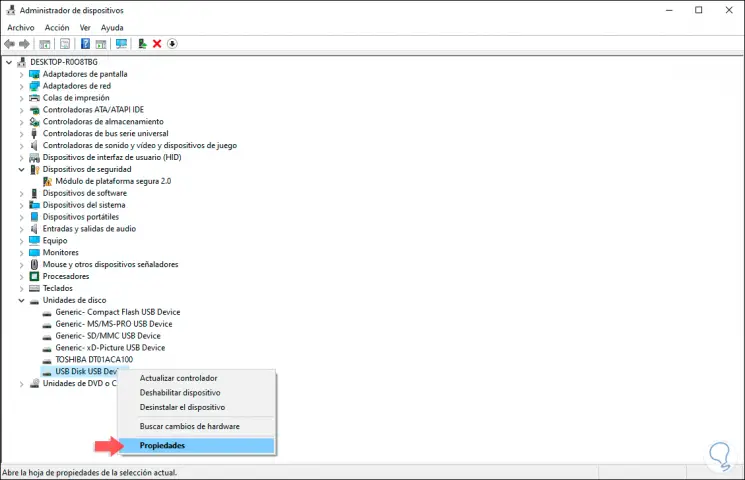
Once the Administrator has been deployed, we go to the "Disk drives" line and right click on the external hard drive and select "Properties":
Note
In some cases we can see an exclamation point next to the unit with which an associated error is referenced.
Step 3
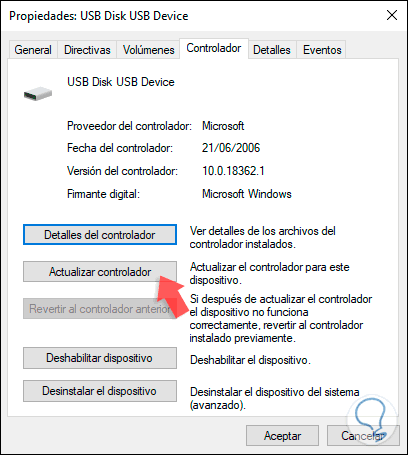
Once we select "Properties", in the window displayed, we will go to the Controller tab where we will see the following:
Step 4
There we click on the "Update driver" button so that we have the following options:
- Update the driver automatically.
- Update the driver manually by first downloading the latest driver available on the manufacturer's website.
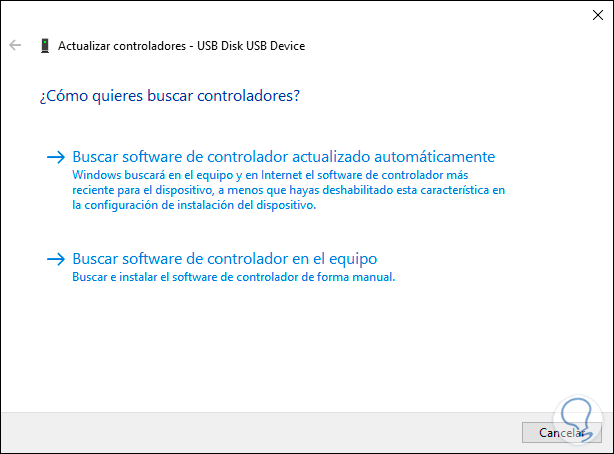
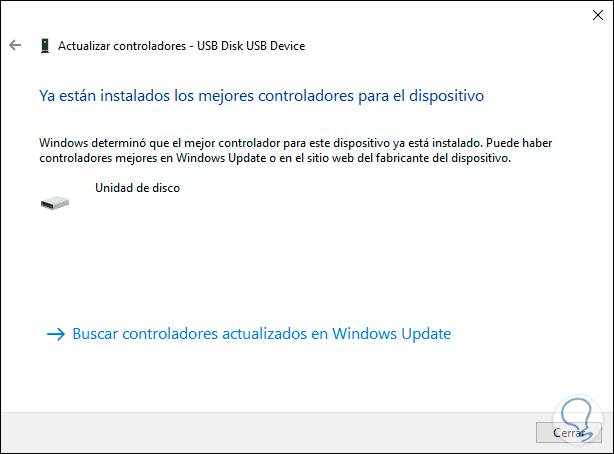
Step 5
In this case we select the automatic option and the system is responsible for checking if there are updates or if we have the latest driver version:
Note
We can execute this same procedure by right clicking on the hard disk and selecting "Update driver".
3. Use the disk utility to fix Windows 10 external hard drive error
The disk utility is the central point from where we can perform various tasks on the hard drives connected to the computer so that we can turn there to see the status of the external disk that we have connected.
Step 1
To access the utility we have options such as:
Step 2
Once the administrator is open, it is possible that our external disk looks like this:

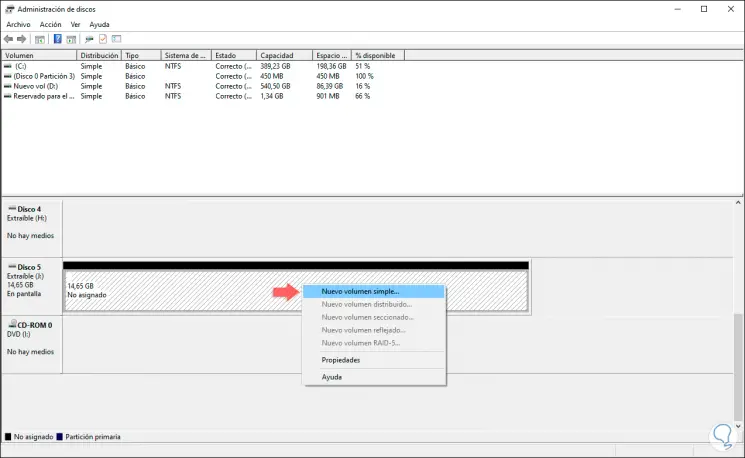
Step 3
As you can see, although the disk is recognized it has the status “Not assignedâ€, that is, Windows 10 has not yet assumed the disk as an active volume. To proceed with the activation of the volume, we right click on it and select "New simple volume":
Step 4
The following wizard will be displayed:
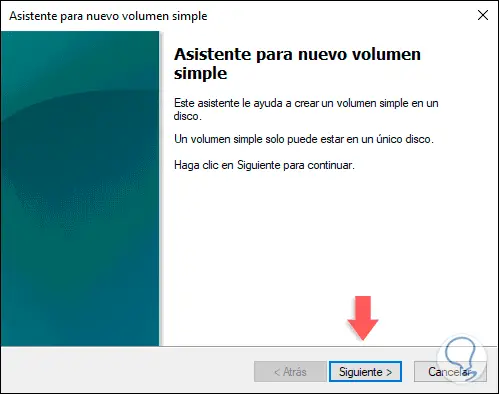
Step 5
Click Next and now define the size to use of the external disk:
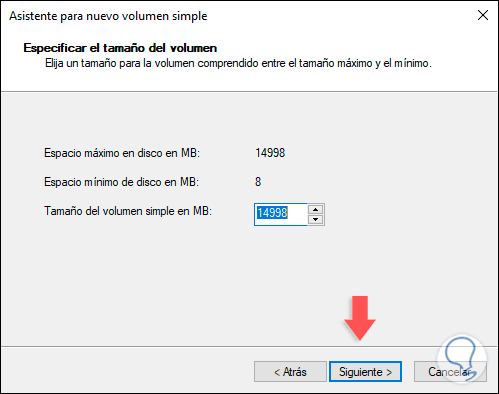
Step 6
Again click on Next and now assign a letter for that disk:

Step 7
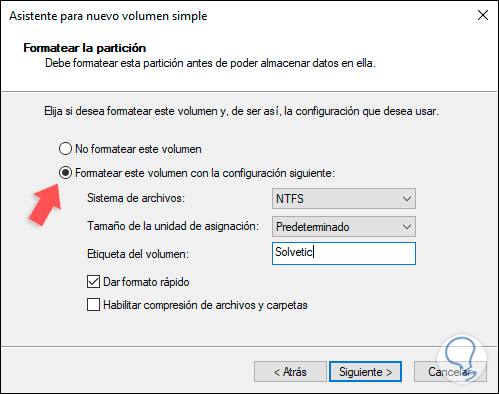
In the next window we assign the following:
- File system to use (NTFS, ExFAT, FAT32)
Step 8
Click on Next to see a summary of the task to be executed:
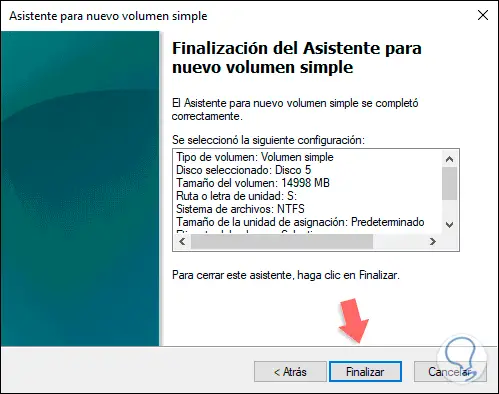
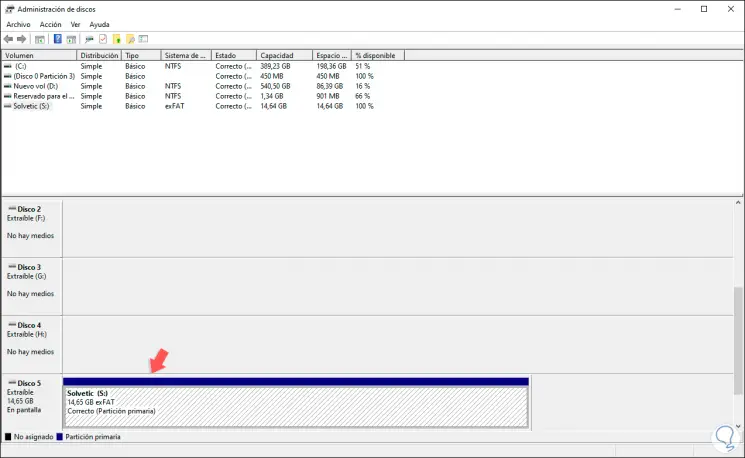
Step 9
We click Finish to complete the process and we will see that the volume has now been activated. There it will be ready for use.
4. Reinstall the USB drivers to fix Windows 10 external hard drive error
Since external hard drives are connected via USB, it is ideal that we reinstall these drivers so that their services are optimized again.
Step 1
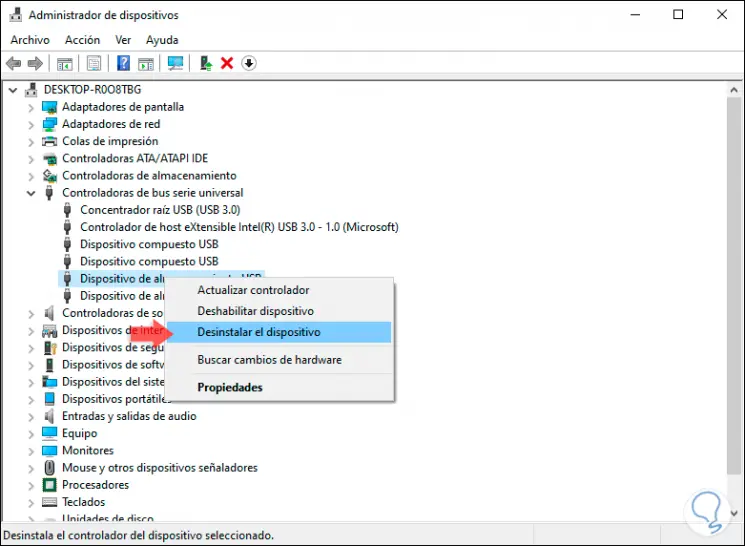
For this we go back to the Device Manager as we have seen and there we will go to the line “Universal serial bus controllers†and there we must right click on each of the USB controllers and select the option “Uninstall the deviceâ€:
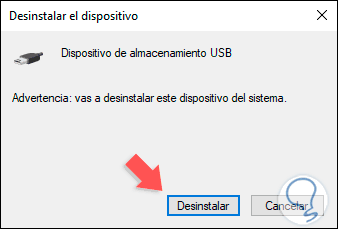
Step 2
We will see the following message. We confirm the action by clicking on Uninstall. After this, we proceed to restart the system and Windows 10 automatically takes care of downloading and updating the USB drivers to their latest version.
5. Disable the USB standby selective mode to fix Windows 10 external hard drive error
Within the power options of Windows 10 a function is integrated that is responsible for suspending the operation of the USB ports and is known as selective mode of suspension, logically if the USB ports are deactivated it will be impossible for the disk to be recognized.
Step 1
To verify this functionality we will go to the following route in the Control Panel:
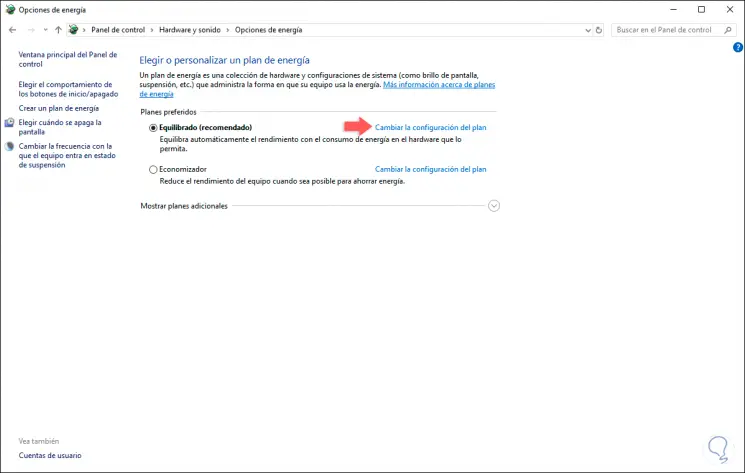
Step 2
There we click on the line “Change plan settings†and we will see the following:
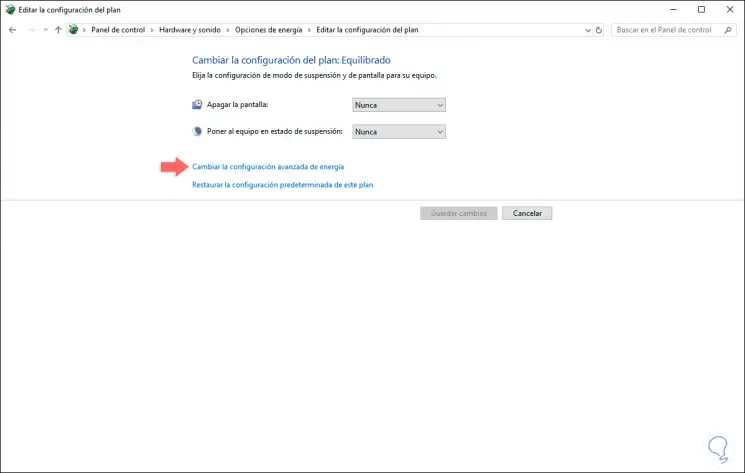
Step 3
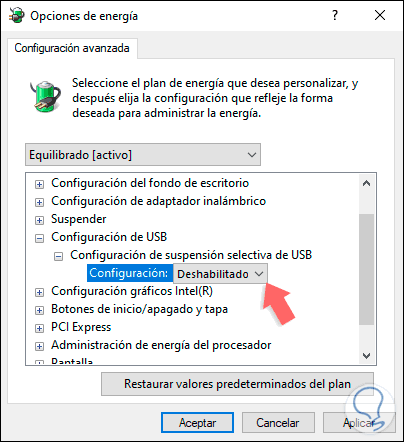
Now we click on the “Change advanced power settings†line and in the pop-up window we go to the “USB Settings†line, we display your option and then click on “Selective USB Suspend Settings†and in the field Configuration select “Disabledâ€. Click on Apply and Accept to save the changes.
6. Use commands to fix Windows 10 external hard drive error
From the command console we can find options that help us find possible problems on our hard drives and also repair them successfully. On this occasion we will see the utility of CHKDSK to be able to detect through a scanner the errors that our disk has and therefore it is not being detected correctly. We will also use the sfc scannow utility to solve it.
Step 1
The first thing will be to open the command console as administrators.
Step 2
Now we can use a system file analyzer and a disk repairer:
Check system files with SFC
In the command console we will execute the following commands individually by pressing Enter after each one.
Sfc / scannow DISM.exe / Online / Cleanup-image / Scanhealth DISM.exe / Online / Cleanup-Image / CheckHealth DISM.exe / Online / Cleanup-image / Restorehealth DISM.exe / Online / Cleanup-Image / startComponentCleanup
Fix disk error with CHKDSK
To use the CHKDSK utility we will use the following command in a complete way that will make a complex analysis of our disk
chkdsk B: / f / r / x

7. Restore system to an earlier point to fix external hard disk error Windows 10
If we have made some kind of update in the system, it is possible that there has been some modification that is affecting the recognition of the USB ports and therefore to the external disks. That is why it is useful that we review the previous points and, if not resolved, perform a restoration to a previous point in the system.
To restore the system we will do the following steps:
Step 1
We will enter the Control Panel with these options:
Step 2
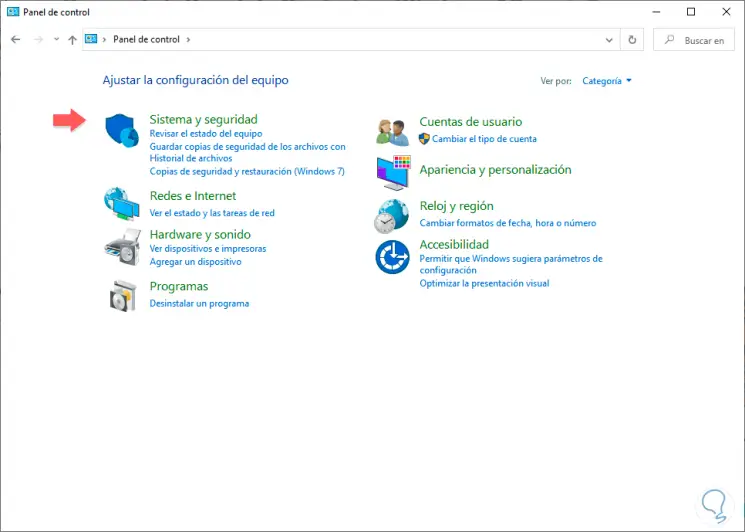
Now we will click on the "System and security" option:
Step 3
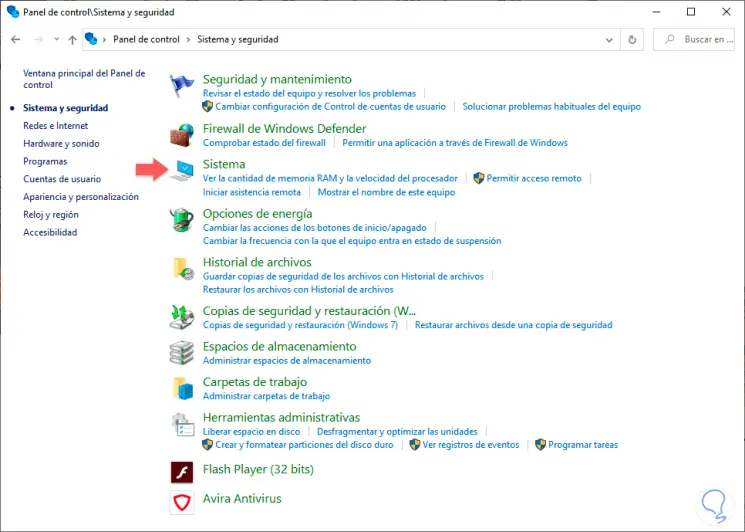
In the next window we will click on the "System" option.
Step 4
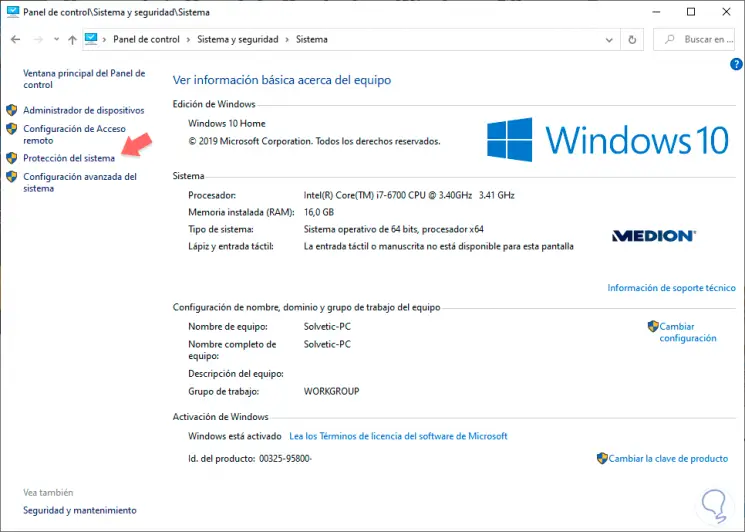
In this window we will click on the left option under the name "System protection".
Step 5
In the new window we will enter the option of "System Restore".
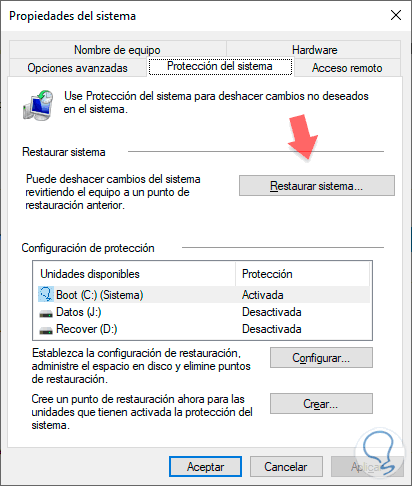
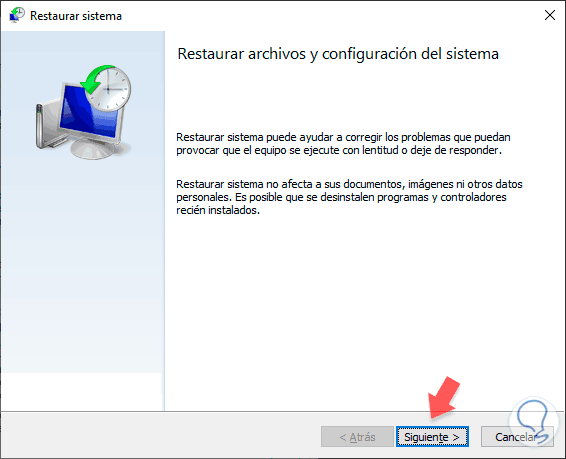
Step 6
We will see that the system restoration process begins. We just have to follow the necessary steps.
To keep up, remember to subscribe to our YouTube channel! SUBSCRIBE
8. Check USB power management to fix Windows 10 external hard drive error
One of the reasons why we have problems with USB is its power configuration and that is why we will analyze it.
Step 1
The first thing will be to open the Windows 10 Device Manager:
Step 2
Next, we will sell the section “Universal serial bus controllersâ€
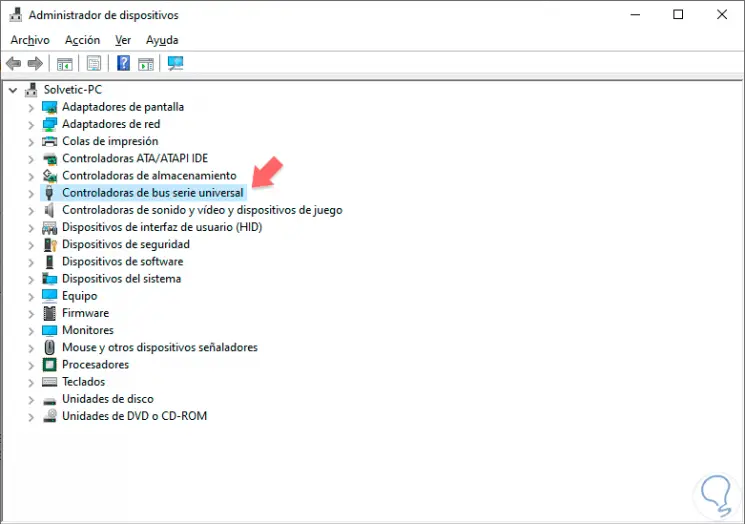
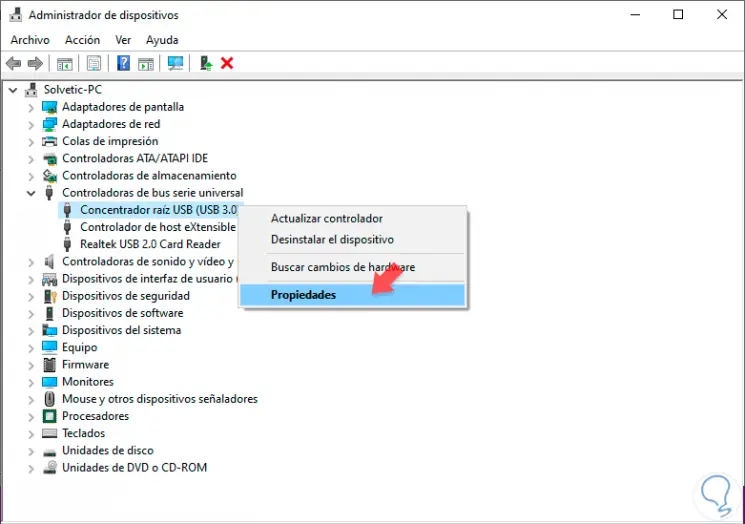
Step 3
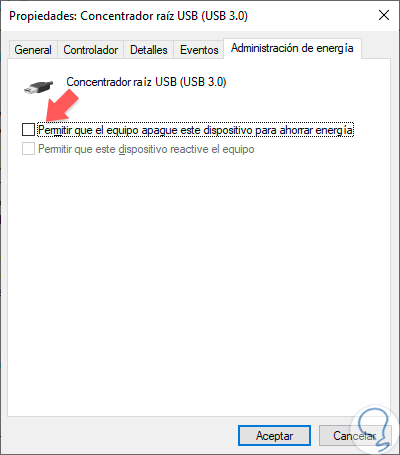
Here we will right click on the “USB Root Hub†and click on “Propertiesâ€.
Step 4
Go to the Power Management tab and uncheck the option "Allow the device to turn off this device to save energy."
With any of these options it will be possible to allow Windows 10 to recognize your external hard drive and thus perform the necessary tasks on it..