The hard disk in Linux systems is an essential hardware component since without it, the operating system or any of the applications that we work could simply not be installed . In addition to this, with the hard disk it is possible to create backup configurations that allow maintaining the availability of the data.
When managing a hard disk in Linux , there is an essential option that allows us to determine the way of use by users and that is with disk quotas. These quotas are basically in charge of defining the amount of space for a file on a specific user. This prevents a particular user from abusing the global disk space for things that are not vital.
The file systems that support the quota system are xfs, ext2, ext4 and ext3 and more, it is important to clarify that when a quota assignment is applied it will be specific to the file system and for each user created and available on the system used.
There are two types of quotas in Linux:
By Blocks (blocks)
One block is equivalent to 1 kb, so a block quota indicates the total number of blocks that a user can use in the system.
By inodes (inodes)
In Linux, an inode refers to the pointer number for the Linux file system, this indicates on which specific blocks of the disk the data of a file or object is available
TechnoWikis will explain how to install Quota and configure it on Ubuntu 20.04 or 20.10.
1. How to install Quota on Ubuntu 20
Step 1
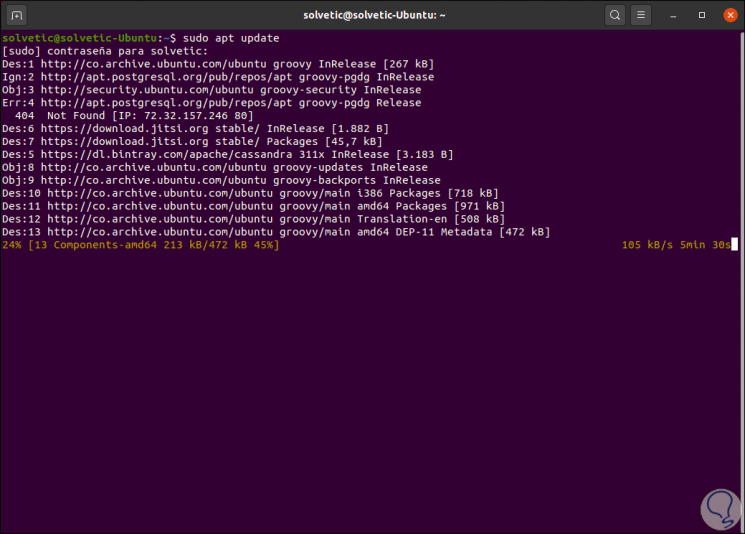
The first step will be to update the system, for this we go to the terminal and execute:
sudo apt update
Step 2
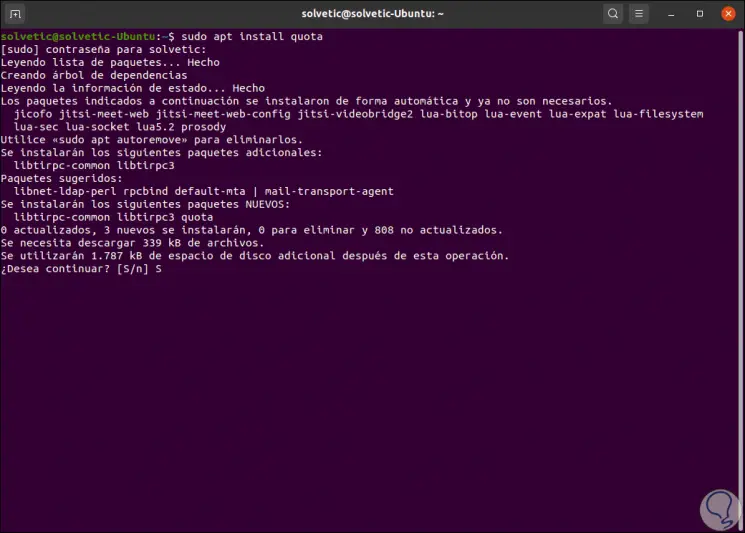
Once the system has been updated, we proceed to install Quota with the following command:
sudo apt install quota
Step 3
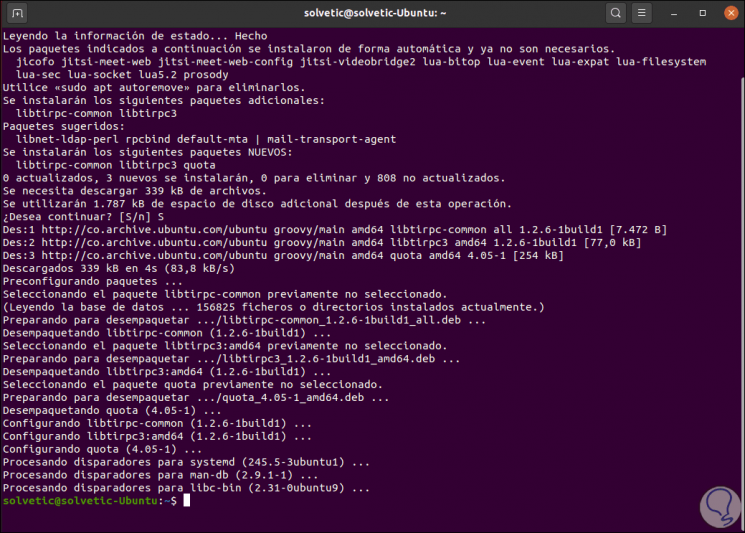
We enter the letter S to confirm the download and installation of quota in Ubuntu 20, when this process finishes we will see the following:
Step 4
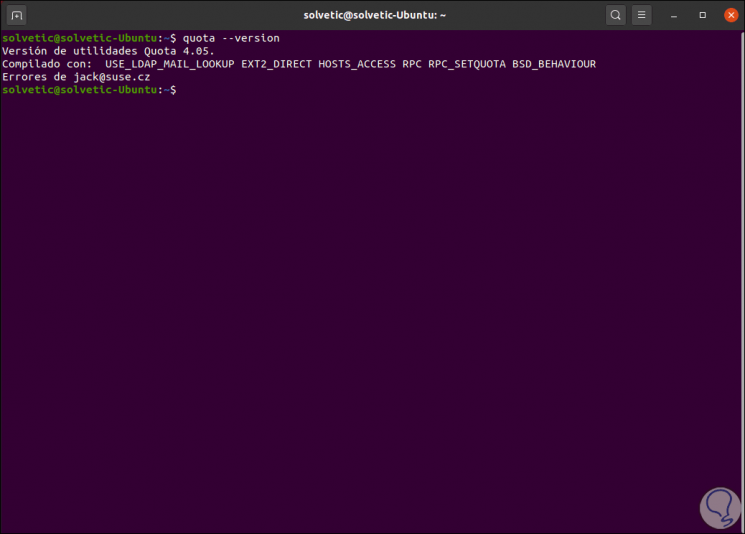
We confirm the quota version with the command:
quota –version
2. How to install quota module in Ubuntu 20.04 or 20.10
If you are running a virtual cloud-based system, the default Ubuntu installation may not have the kernel modules that make use of quotas.
Step 1
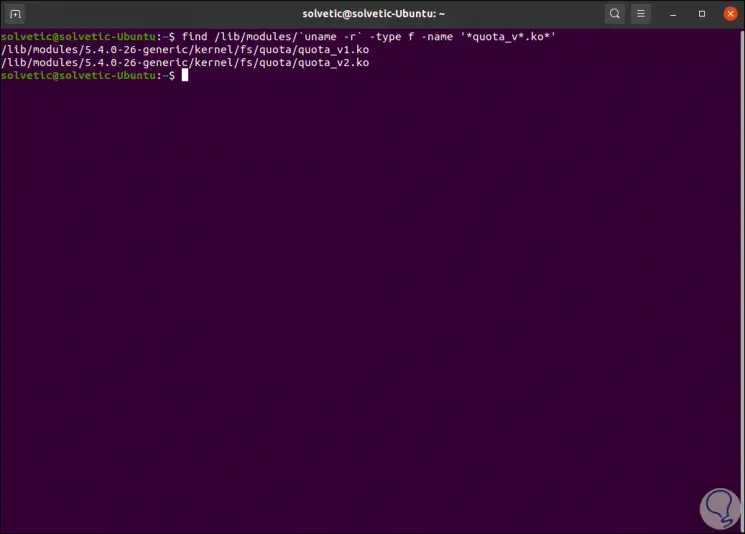
The quota_v1 and quota _v2 modules must be in the / lib / modules directory, we confirm this with the following command:
find / lib / modules / `uname -r` -type f -name '* quota_v * .ko *'
Step 2
In case of not being present we must execute the following for its installation:
sudo apt install linux-image-extra-virtual
3. How to update mount options in Ubuntu
In order for quotas to be active in the system, they must be mounted with related quota options.
Step 1
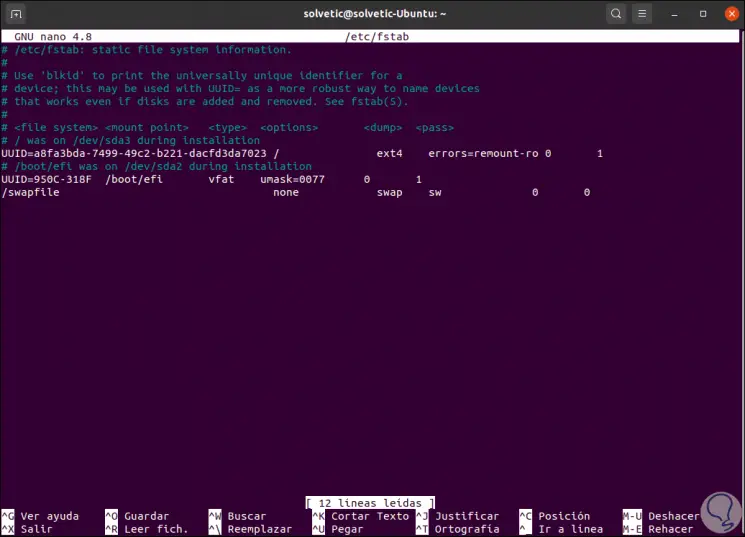
One option is to update the filesystem entry located in the / etc / fstab file with some editor:
sudo nano / etc / fstab
We will see the following:
Step 2
There we must replace the root line (/) which points to the root system with the following:
LABEL = cloudimg-rootfs / ext4 usrquota, grpquota 0 0
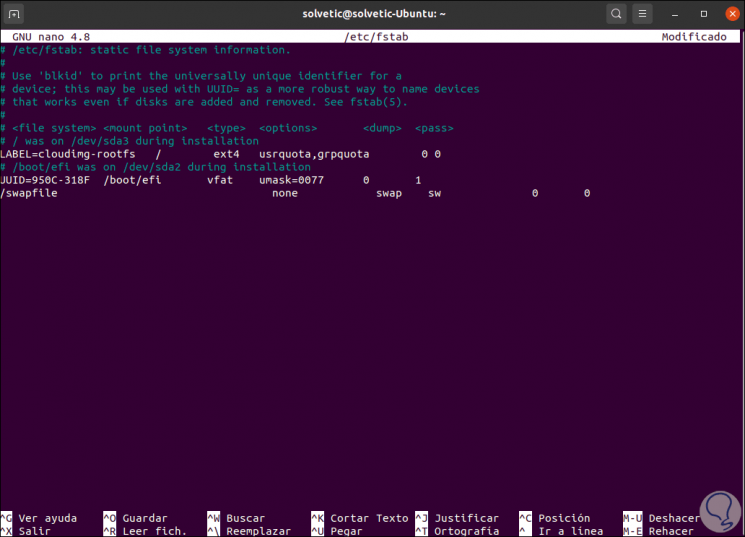
We save the changes with the keys Ctrl + O and we exit the editor with the keys Ctrl + X. The lines entered have the task of allowing access to userquota and grpquota.
Step 3
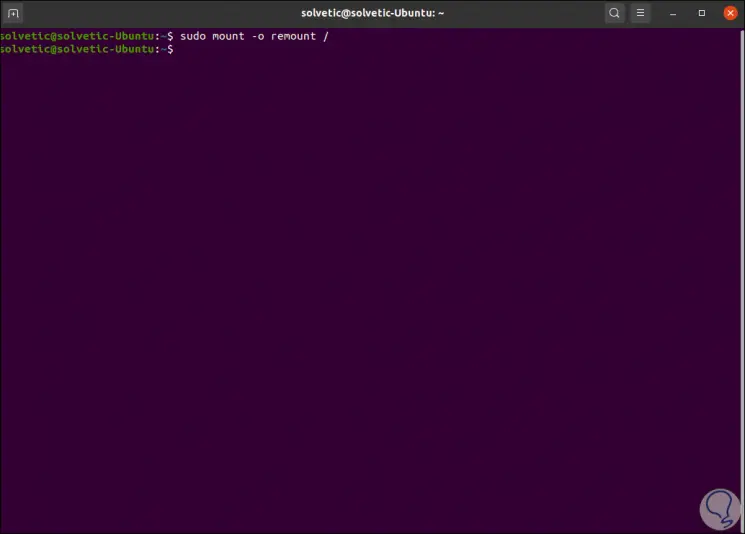
We set up the system to apply the changes:
sudo mount -o remount /
Step 4
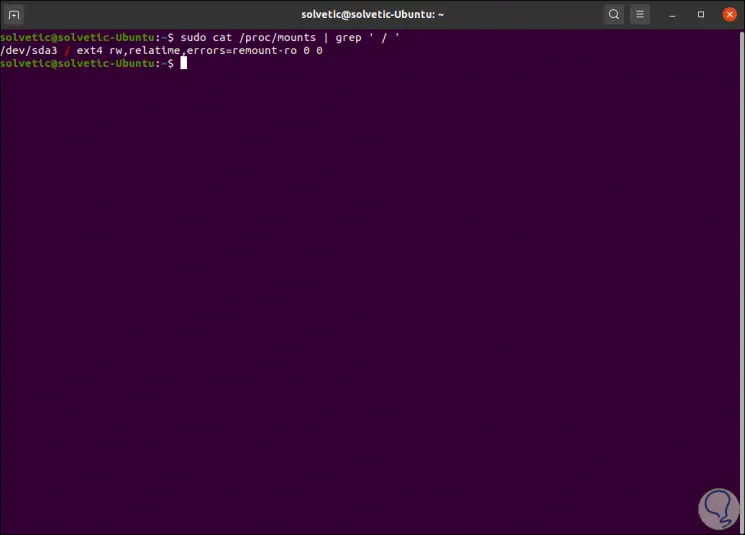
To verify the use of new options when mounting the file system in the / proc / mounts file, it will be done through grep, we execute the following:
sudo cat / proc / mounts | grep '/'
4. How to enable quotas in Ubuntu 20
Step 1
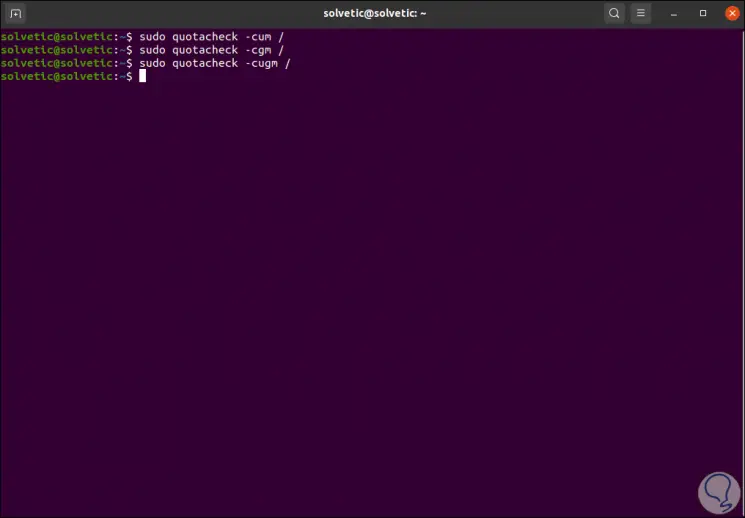
In order for the file systems to be ready to use quota, we are going to run the quotacheck command on each of the file systems that quota will act on as follows:
sudo quotacheck -cum /
If we are only going to use the quota group we execute:
sudo quotacheck -cgm /
If we are going to use both user and group we execute:
sudo quotacheck -cugm /
Step 2
The variables used are:
- -u: indicates that a user-based quota file will be created.
- -g: indicates that a group-based quota file will be created.
- -m: disable file system remount to read-only level
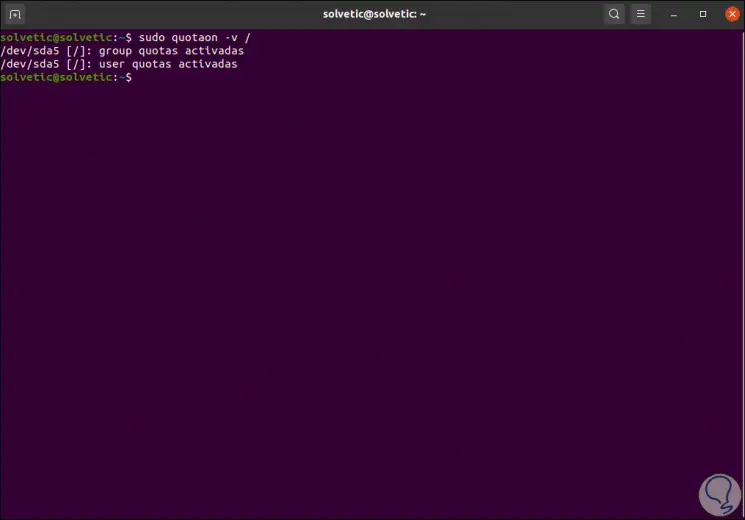
We activate the quotas in root (/):
sudo quotaon -v /
Step 3
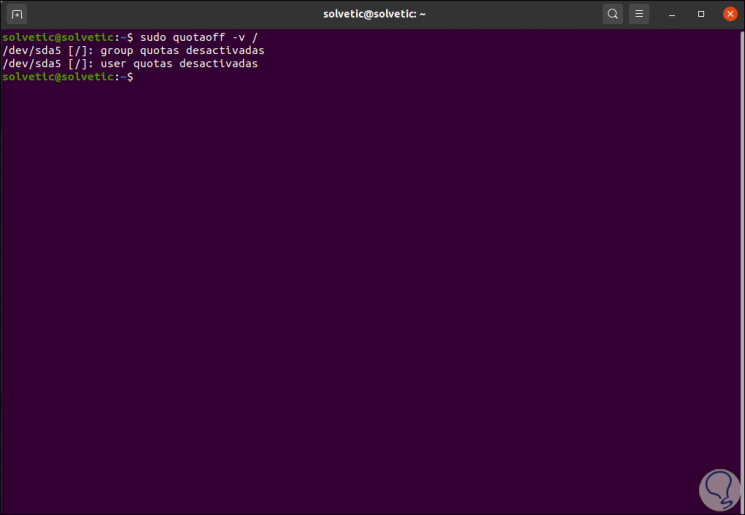
To disable quotas we execute:
sudo quotaoff -v /
Step 4
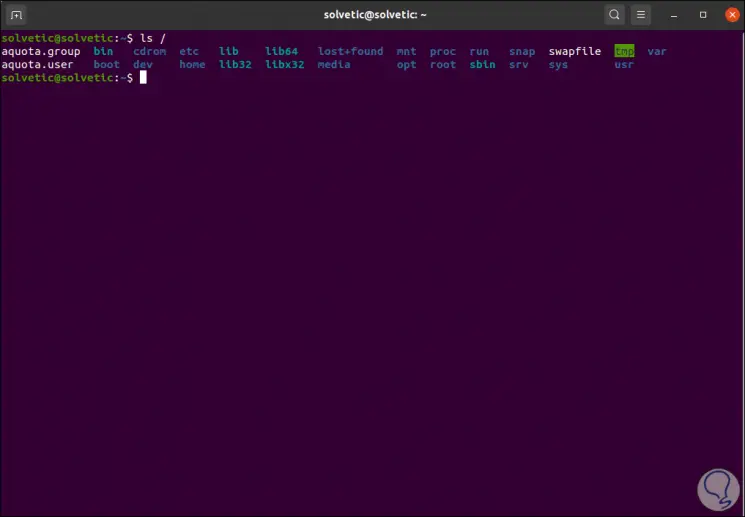
We list the root directory (root) with the following command:
ls /
5. How to use quotas in Ubuntu
Step 1
The first step will be to configure the user quotas, for this we will use the edquota command in the following way:
sudo edquota -u technowikis
The -u parameter indicates that the quota belongs to a user, when pressing Enter we will see the following:
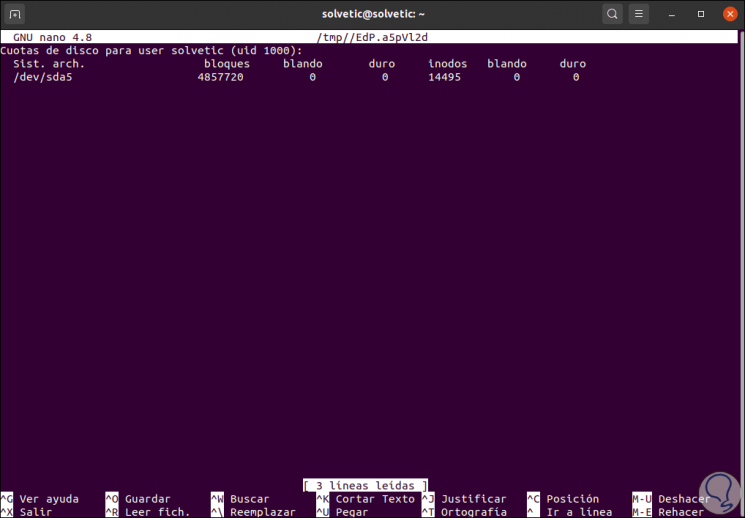
We can see details of location, blocks, types / soft, hard), inodes, etc.
Please note, an inode-based quota is responsible for limiting the number of files and directories that users can create regardless of the size used on the disk.
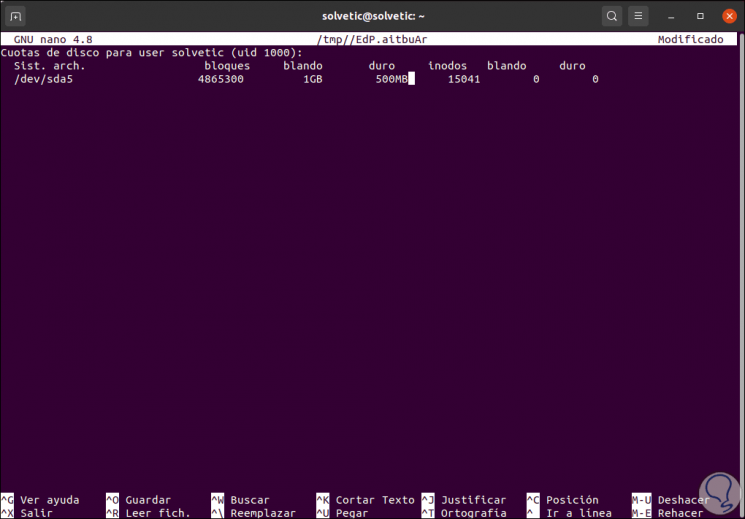
Each set of quotas allows you to set the soft and hard limit on the hard disk quota function.
The soft and hard limits work the same as the inode since they can have a specific limit, with the soft section a user or group can exceed the flexible limit in a period of days which is called a grace period but it is not allowed to exceed it. time with strict limit.
Step 2
There we can enter the limits as necessary:
Step 3
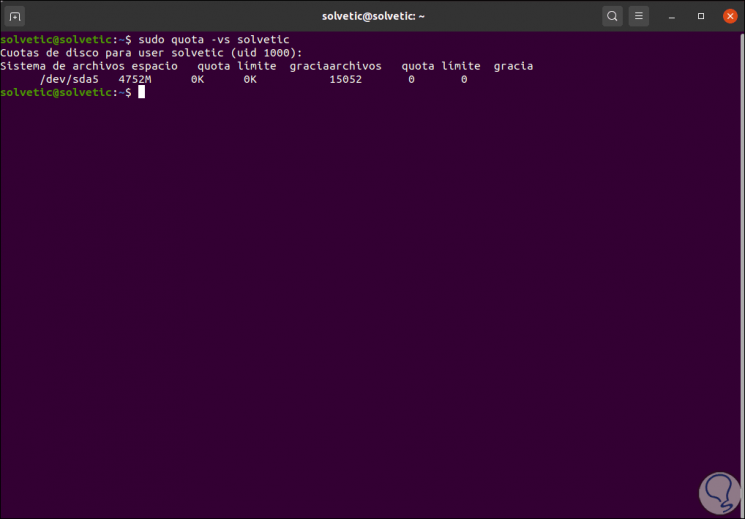
After this it is possible to execute the following command to validate the status of the quotas:
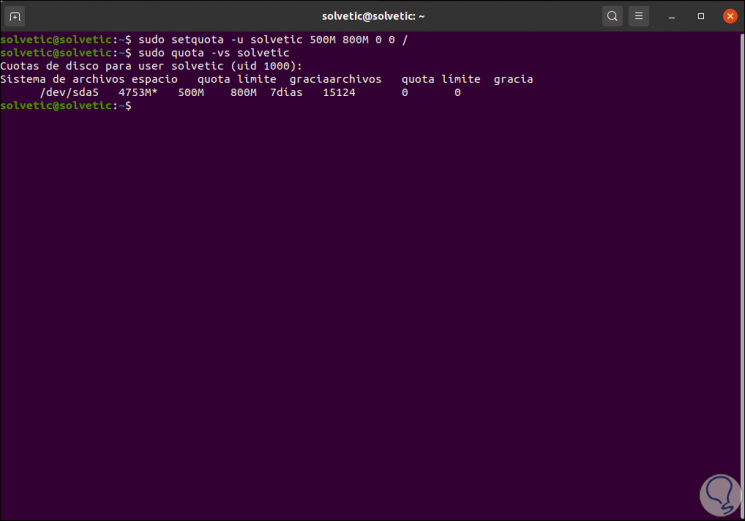
sudo quota -vs "user"
Step 4
Using setquota to define levels
The setquota command will allow us to establish these quota levels in Ubuntu, for this we enter the username, the -u parameter and the quota limits:
sudo setquota -u "user" sizeM 0 0 /
We validate the changes with the command sudo quota -vs "user"
Step 5
Quota report creation in Ubuntu
It is possible to access a report of all users:
sudo repquota -s /
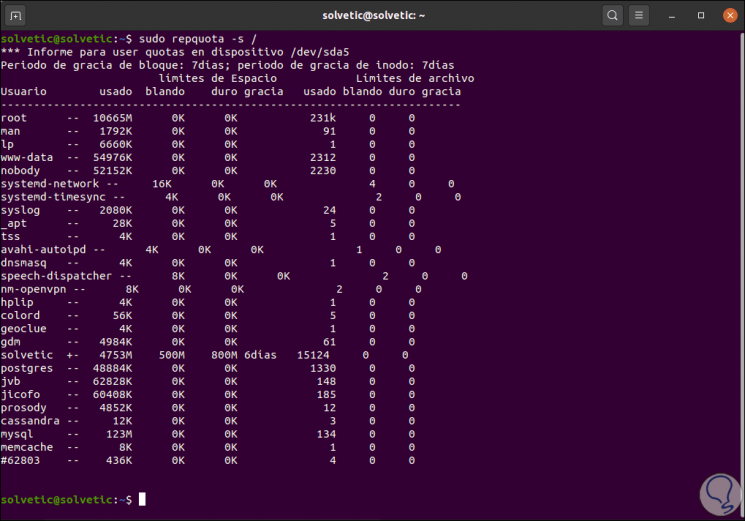
We see each of the quota elements.
Step 6
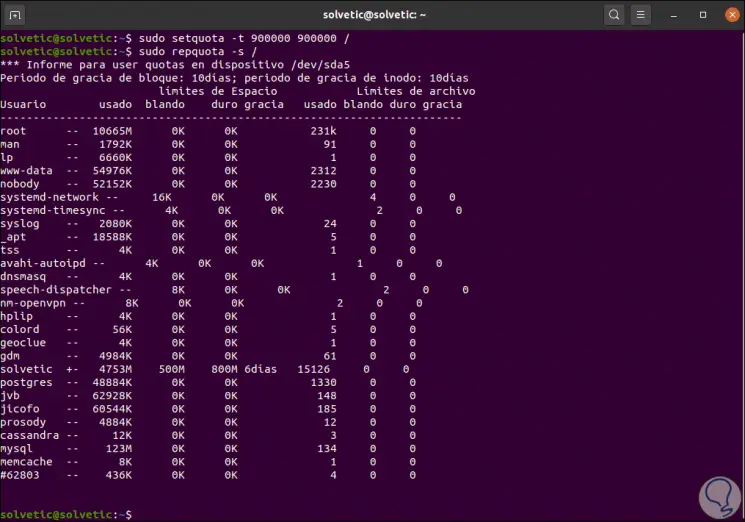
Setting grace periods with quota
The grace period basically allows a user to have permission to work a little beyond the established limit (only applies to the soft section), we will use the grace period with the following command in seconds:
sudo setquota -t 900000 900000 /
Again we run sudo repquota -s / to check:
With quota we have total control of the disk and we can determine not only how much but in what time a user will have space and thus much better manage this essential part on the hard disk.