Nowadays mobile phones have become indispensable devices for most of us since thanks to them we can do a lot of things directly from the palm of our hand. That is why knowing the operating system they offer can be quite interesting. In this aspect, we have Android which is implemented in most of the mobile phone brands that we currently find on the market..
Android is the world's leading mobile operating system which provides us with a wide portfolio of options and functions that are renewed with each new edition, seeking the end user to enjoy the best experience and that is why at the development level it is offered the SDK Manager in order to understand the inner workings of Android a little better.
What is SDK Manager
SDK Manager has been created as a CLI tool with which it is possible to view, install, update and uninstall the packages available for the Android SDK.
The sdkmanager tool is integrated into the Android SDK Toolkit (25.2.3 and higher) and is located in the android_sdk / tools / bin / directory..
1. How to install SDK Manager on Ubuntu 20.04
Step 1
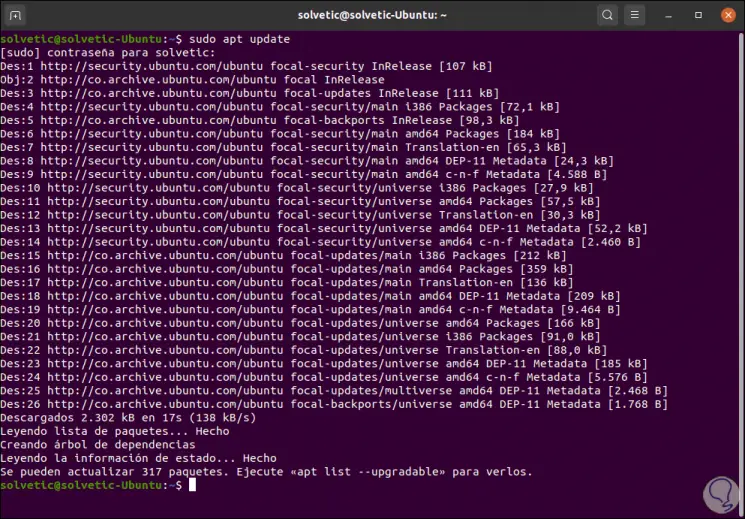
The first process consists of updating the system packages, for this we execute the following:
sudo apt update
Step 2
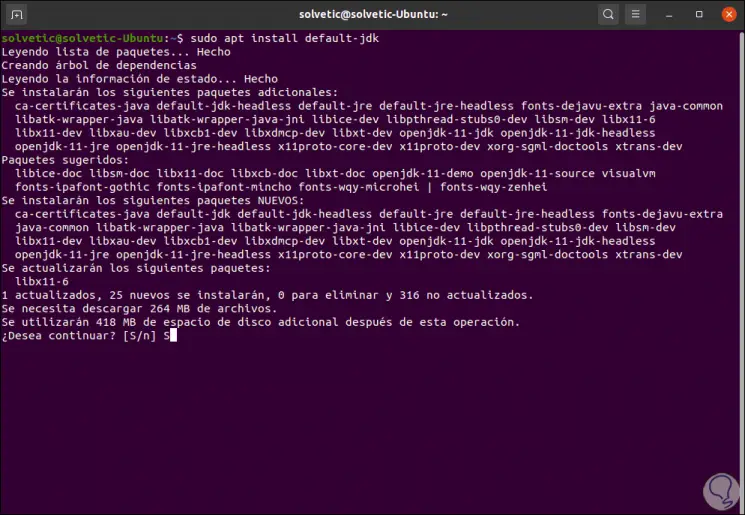
After this we will install the Java JDK with the following command:
sudo apt install default-jdk
Step 3
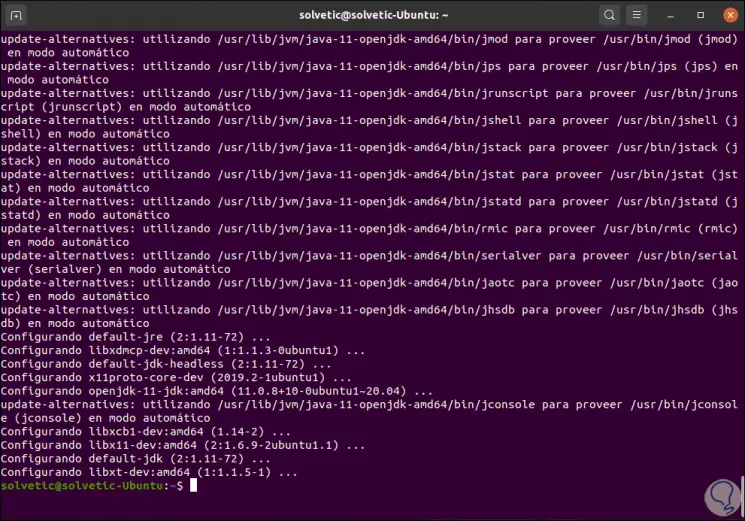
We enter the letter S to confirm the download and installation of JDK:
Step 4
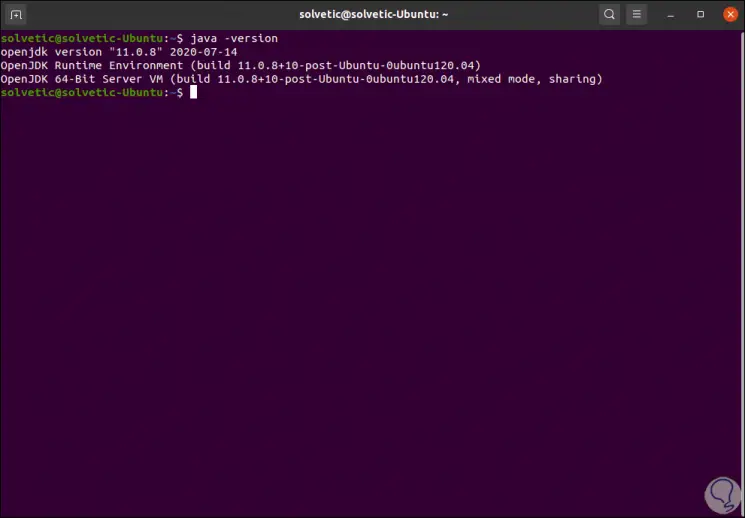
After this we validate the installed java version with the following command:
java –version
Step 5
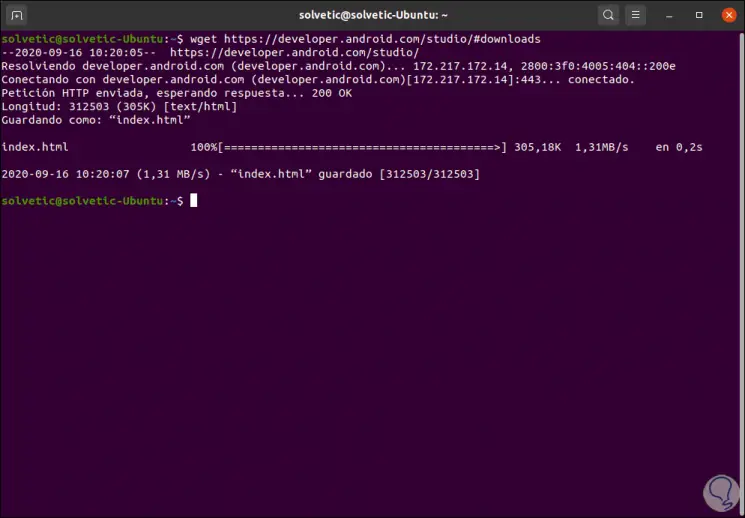
After this we are going to install the Android SDK, for this we are going to download the binaries from the Android developers website, for this we execute the following:
wget https://developer.android.com/studio/#downloads
Step 6
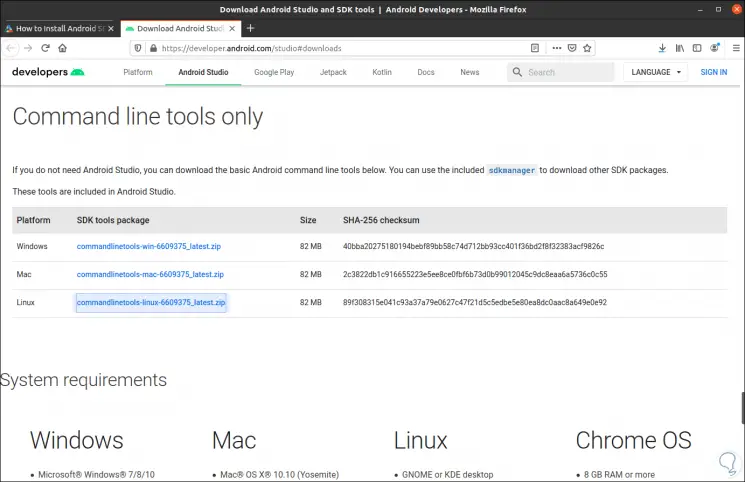
We can validate the latest version of Android Studio in the following link:
Android Studio
We go to the "Command Line Tools only" line and download the file associated with Linux:
Step 7
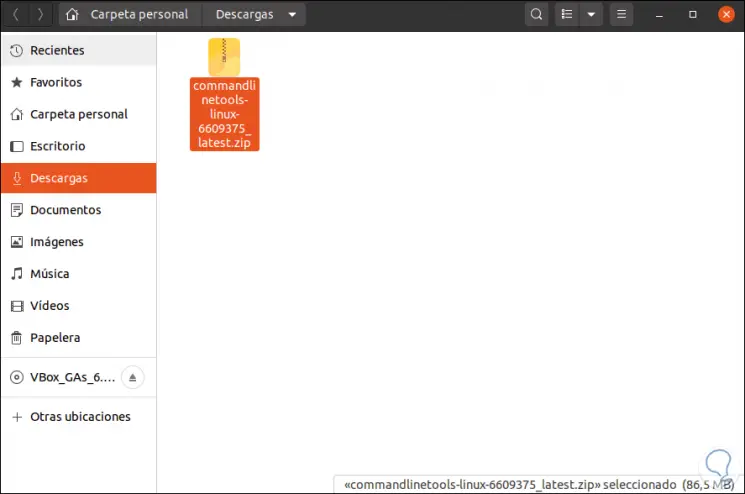
This file can be downloaded locally in Ubuntu 20.04:
Step 8
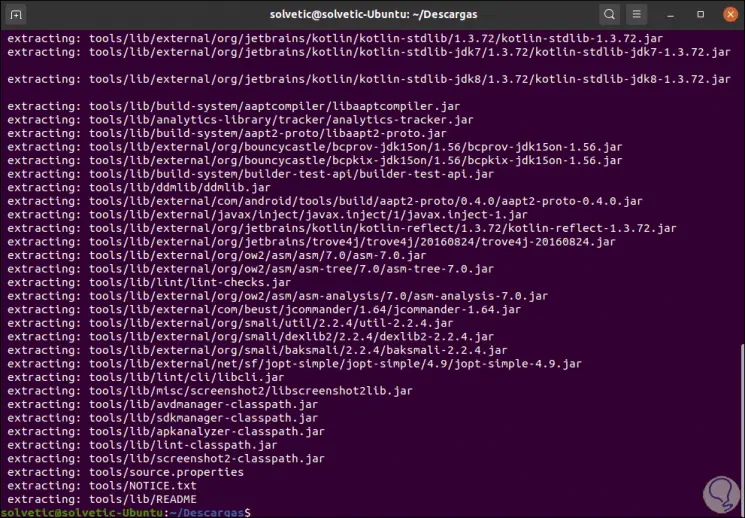
Unzip the file with the command:
unzip commandlinetools-linux-6609375_latest.zip
Step 9
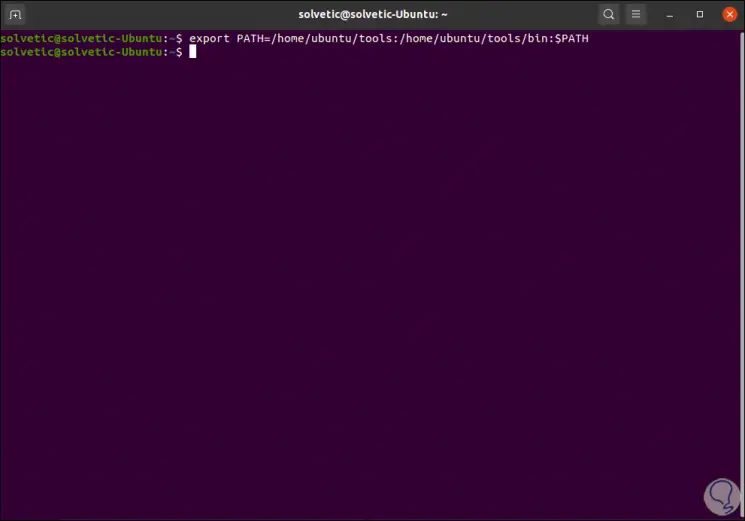
A new directory called Tools will be created, the next step will be to add the following paths to the PATH environment variable, this is possible with the following command:
export PATH = / home / ubuntu / tools: / home / ubuntu / tools / bin: $ PATH
Step 10
To add the directories permanently, we must add the previous line to the ~ / .bashrc files or
~ / .profile. We access the /.bashrc file with some editor: sudo nano ~ / .bashrc We add the following at the end of the file: DEV_TOOLS = "/ home / $ USER / DevTools" JAVA_HOME = "$ DEV_TOOLS / JDK / jdk-11.0.7 + 10" ANDROID_HOME = "$ DEV_TOOLS / Android" export JAVA_HOME export ANDROID_HOME PATH = "$ JAVA_HOME / bin: $ ANDROID_HOME / cmdline-tools / tools / bin: $ ANDROID_HOME / platform-tools: $ PATH"
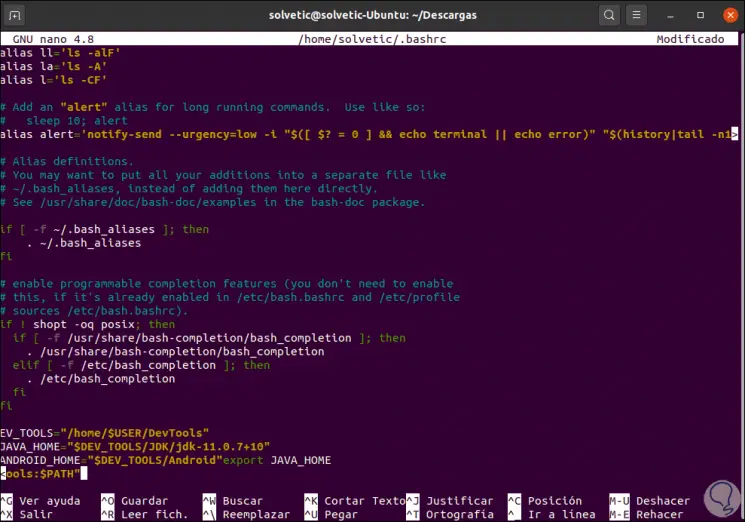
We save the changes with the keys Ctrl + O and exit with Ctrl + X.
Step 11
Once we complete this process, we are going to execute the following command to list the packages available in the Android SDK:
sdkmanager –list
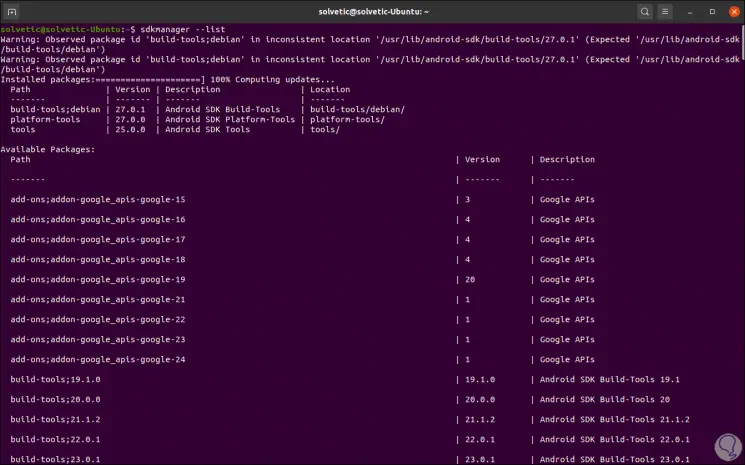
There we find the complete list of options to use in Ubuntu 20.04..
Step 12
In case of finding errors when executing this command, we must create a repositories.cfg file and execute the sdkmanager --list command with the --no_https parameter. As follows:
touch /home/ubuntu/.android/repositories.cfg sdkmanager --no_https –list
Once the SDK Manager works correctly, we can install a package with the following syntax:
sdkmanager --no_https [package]
Or we can run it directly:
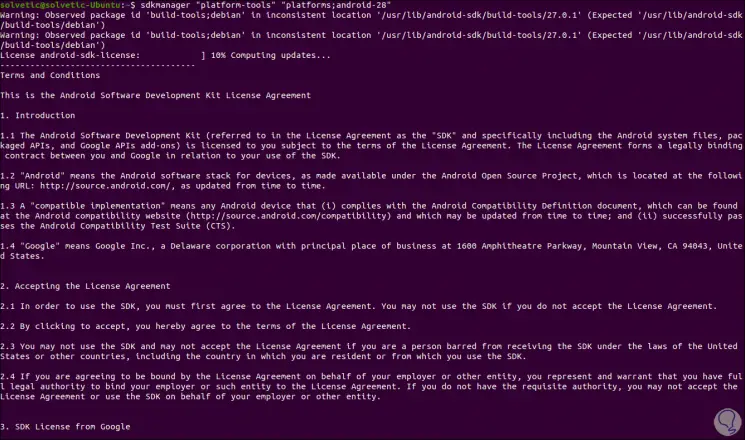
sdkmanager "platform-tools" "platforms; android-28"
Step 13
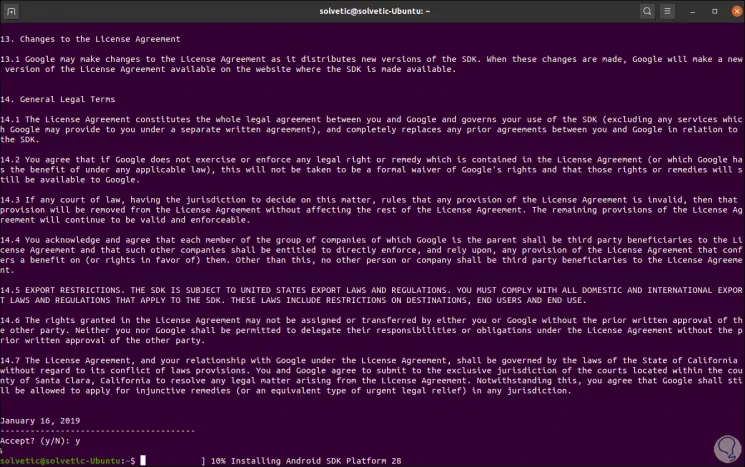
This is the license of use which we must accept to proceed with the download:
Step 14
To update all the packages we execute:
sdkmanager --no_https –update
The moment we want to remove a package we will execute:
sdkmanager --uninstall [package]
With SDK Manager in Ubuntu 20.04 we can manage everything related to Android in a more professional way.