The package management in Linux is one of the main activities as administrators or frequent users carry out and that is why we have a utility that offers us the option to centrally manage all this simply would be helpful for many of U.S. That is why there is Anaconda Individual Edition which we will talk about in detail in this tutorial..
What is Anaconda Individual Edition
Anaconda Individual Edition has been built as a package manager, environment manager and as a totally free Python distribution system with a simple installation in which we find more than 1,500 open source packages which has free support from Anaconda users.
There are other versions of Anaconda but TechnoWikis will focus on this one, which is completely free. Anaconda is fully compatible to be used on Windows, macOS or Linux operating systems without any problem.
This free version of Anaconda has hundreds or thousands of packages and open source libraries so that as users we have access to their content and we strengthen our learning. Anaconda can be used on Windows architectures - 64-bit x86, 32-bit x86; MacOS- 64-bit x86; Linux- 64-bit x86, 64-bit Power8 / Power9..
With the Conda packages, which number around 7,400, which integrate data science and machine learning packages, these can be installed with the conda-install command and are functional with languages from Conda, R, Python and more.
With this utility it will be possible to create, distribute, install, update or manage the software completely regardless of the platform used. Let's see how to install Anaconda Individual Edition on Ubuntu 20.04..
To stay up to date, remember to subscribe to our YouTube channel! SUBSCRIBE
How to install Anaconda on Ubuntu
Step 1
We go to the Anaconda website at the following link:
Anaconda
We will see the following:

Step 2
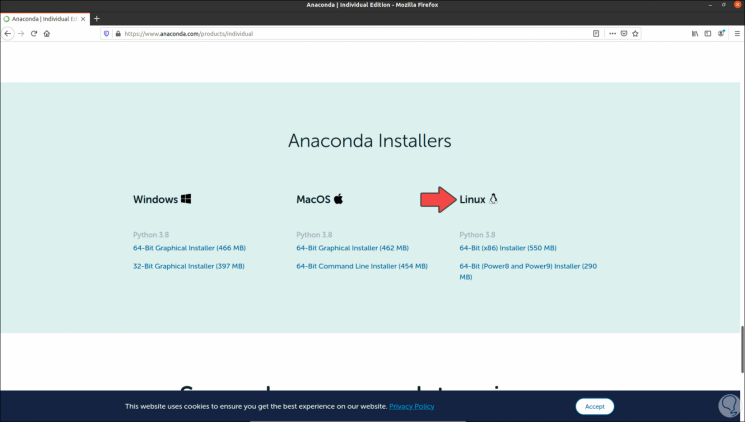
We click on the Download button and then we must click on the installer for Linux:
Step 3
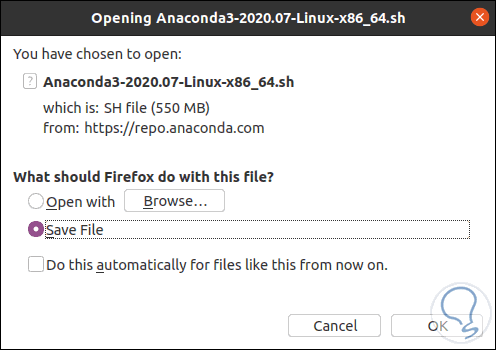
By clicking there we select the option to save it locally in Ubuntu 20.04:
Step 4
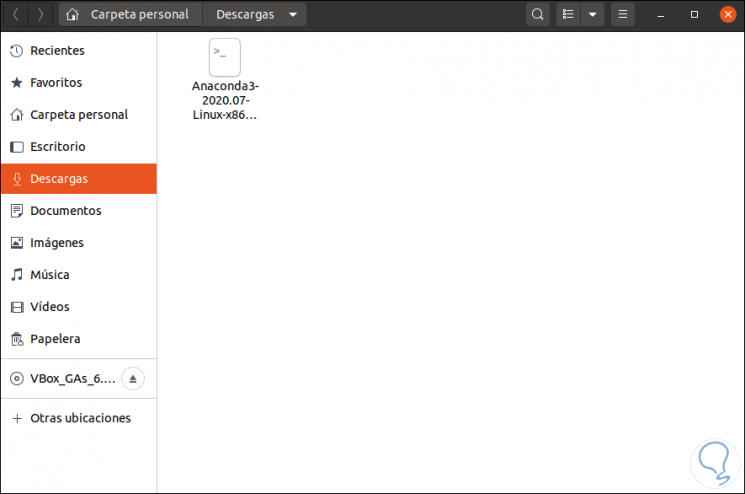
Once downloaded, we check that the latest version of Anaconda has been downloaded:
Step 5
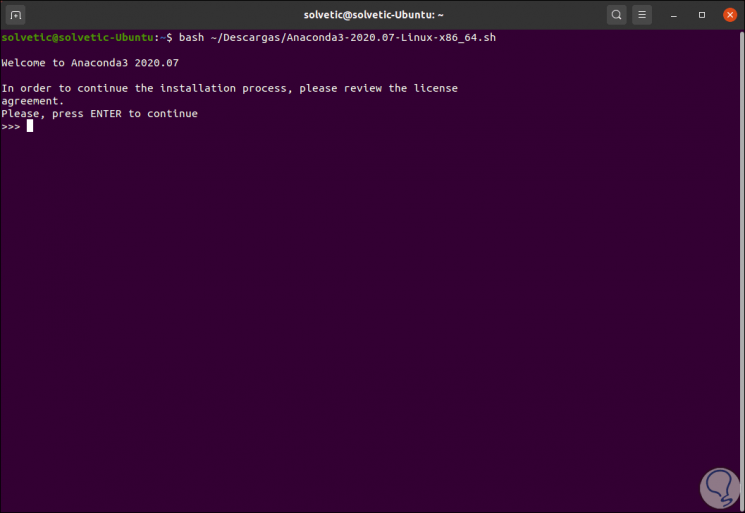
With this installer we are ready to install it in Ubuntu, for this we access the terminal and there we execute the following:
bash ~ / Downloads / Anaconda3-2020.07-Linux-x86_64.sh
Note: the Anaconda3-2020.07 field must be replaced by the latest version that we have downloaded.
Step 6
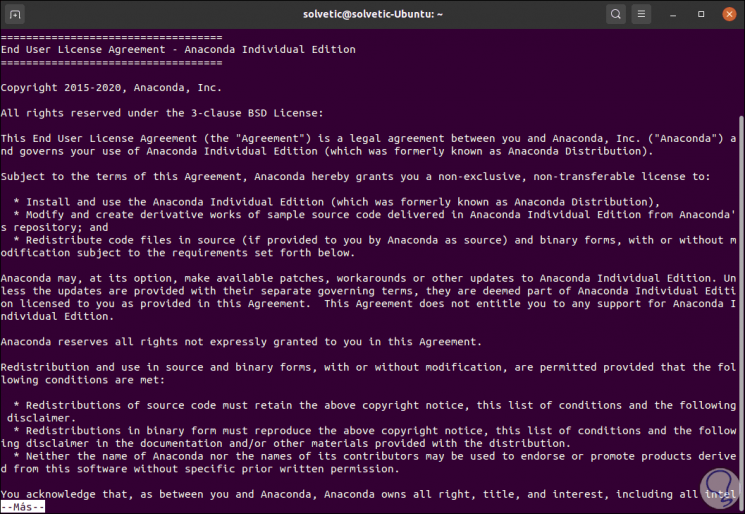
We press the Enter key to continue with the installation of Anaconda and after this we will see the license terms:
Step 7
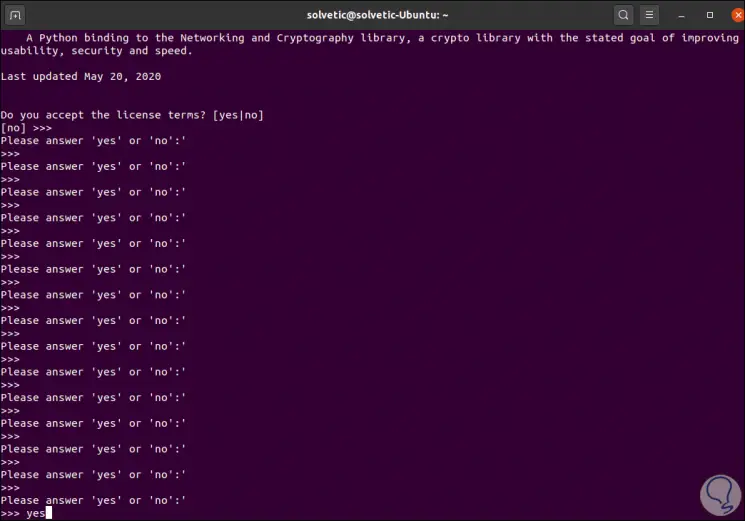
We press Enter to continue going down the license terms and then we enter the word “yes” to confirm it:
Step 8
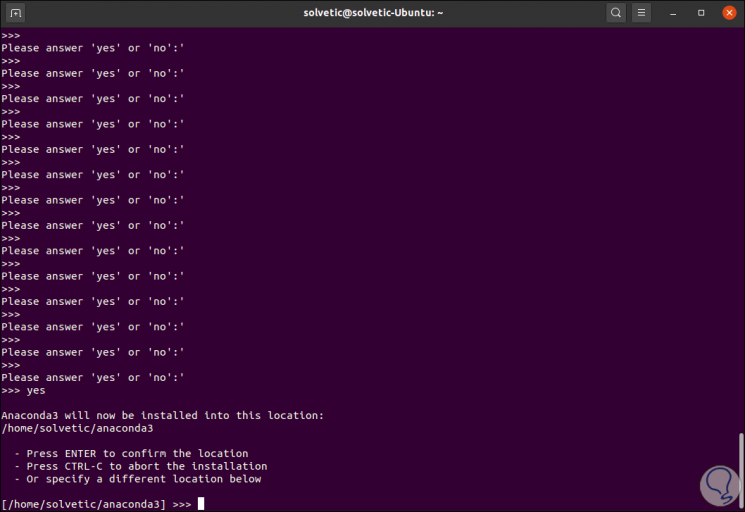
Again we press Enter to finish this process:
Step 9
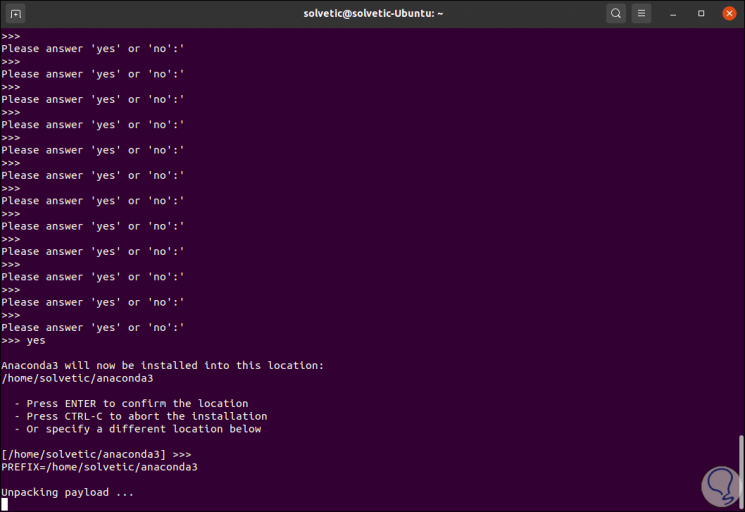
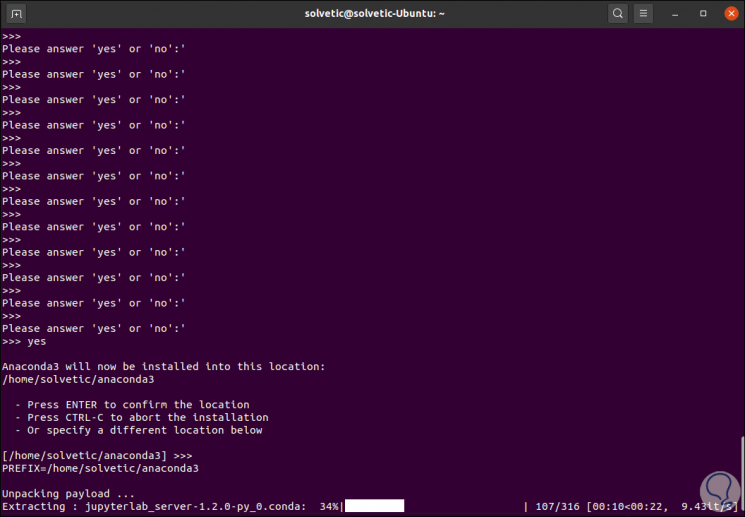
Again we press Enter to start the process of extracting the Anaconda plugins:
Step 10
Then the process of extracting these elements will take place:
Step 11
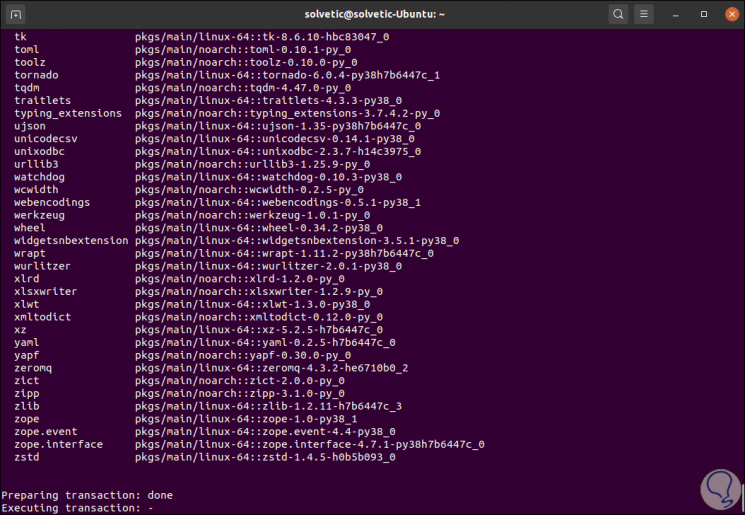
We can see all the extracted content:
Step 12
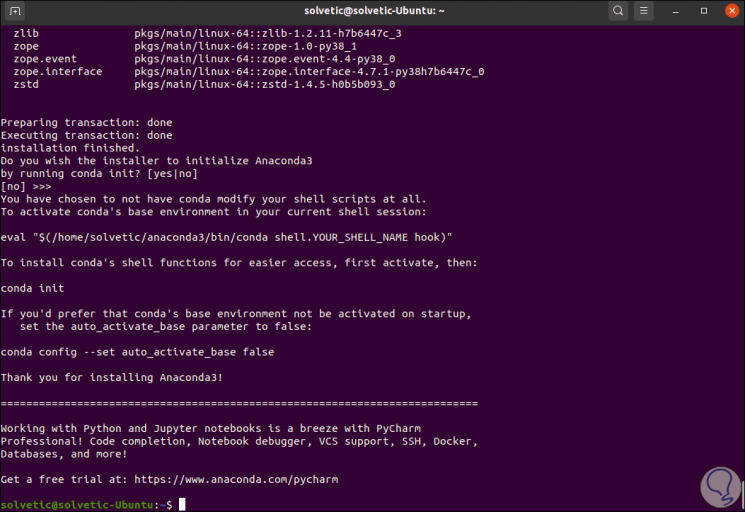
At the end we will see:
Step 13
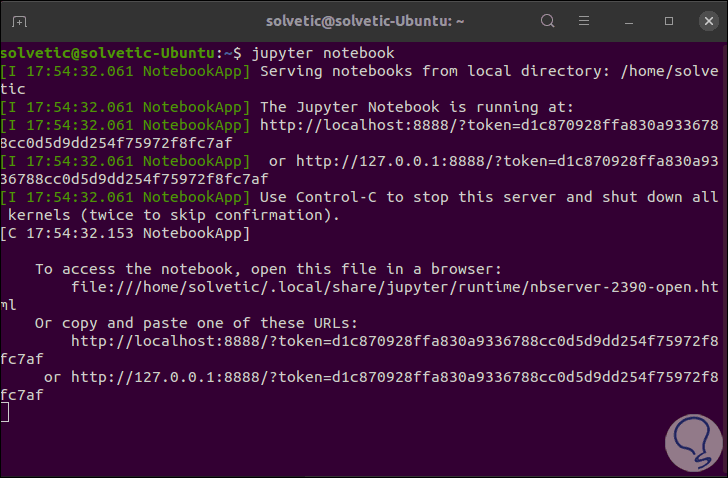
We close the terminal and open it again, now we execute the following:
jupyter notebook
In case of not having Jupyter we can install it with "sudo apt install jupyter".
Step 14
Jupyter Notebook is a totally open source web application with which it is possible to create and share documents with coded content in live session, it also allows sharing equations, visualizations and narrative text, as a result of this command we will see the following:
Step 15
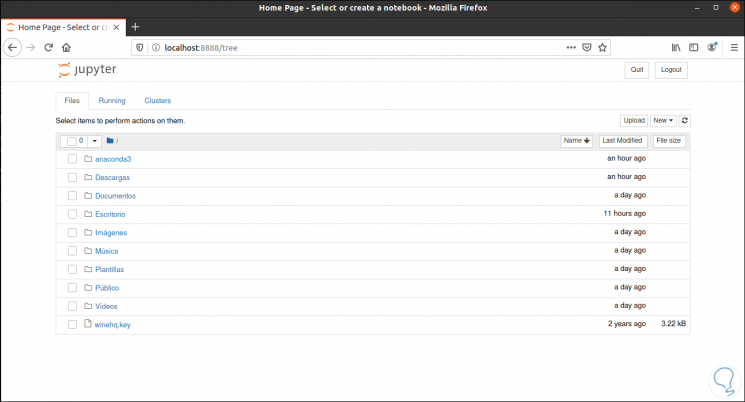
Automatically in the browser the file: // line will open where we can see the Anaconda section that we have installed:
Anaconda is ideal for managing and working with hundreds of Ubuntu packages in a secure and functional way.