SSH (Secure Shell) is a remote administration protocol thanks to which we have the possibility to control, manage and edit variables or processes on remote servers through the Internet using an authentication method. SSH gives us a way with which it is possible to authenticate a remote user, to be able to transfer elements from the client to the host and vice versa..
SSH encryption
The SSH protocol offers us different forms of encryption such as:
SSH syntax
The basic syntax of SSH is as follows:
ssh {user} @ {host}
SSH operation
The mechanism for using SSH is simple, firstly, it tells Ubuntu that we will use a secure shell connection and with the encryption mechanisms (ssh), then we enter the user (user) with which we are going to authenticate and finally we set the destination (host).
Remember that when we use SSH, everything we do in the session (user authentication, commands, file transfers) will always be encrypted in order to protect data from any attack on the network.
With SSH it is possible to make use of SSH keys with which we can automate access to remote servers and computers, optimizing security..
Without further ado, let's see how to install SSH in Ubuntu 20.04.
To stay up to date, remember to subscribe to our YouTube channel! SUBSCRIBE
Install SSH protocol in Ubuntu 20.04
Step 1
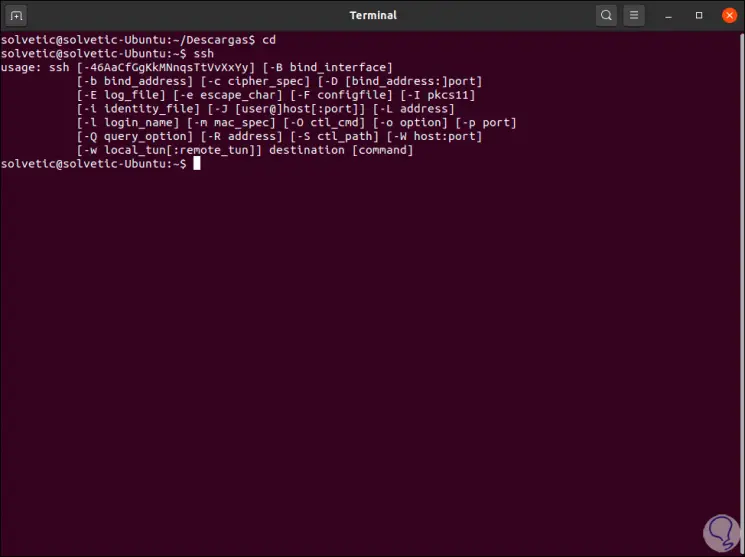
By default, basic SSH is already installed on the system, but with some restrictions, in the Ubuntu 20.04 terminal we execute the following:
Ssh
Step 2
As a result we will see all the options for using the SSH protocol:
Step 3
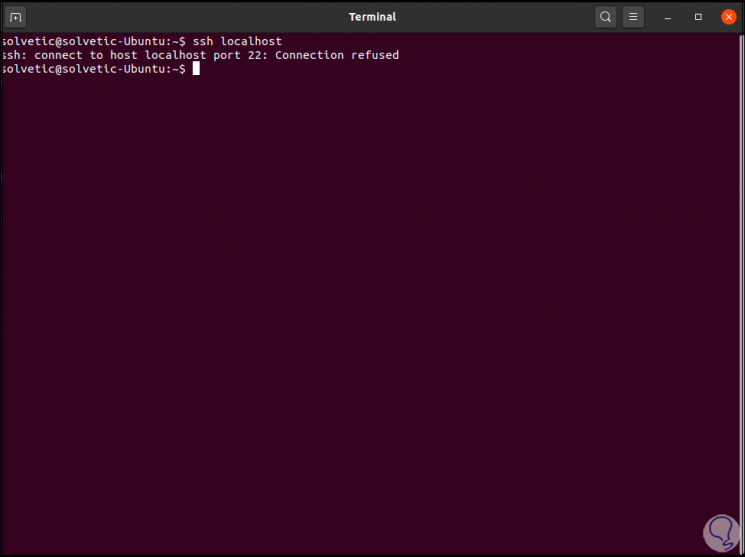
To check its use, we are going to try to establish a local connection, we execute the following:
ssh localhost
Step 4
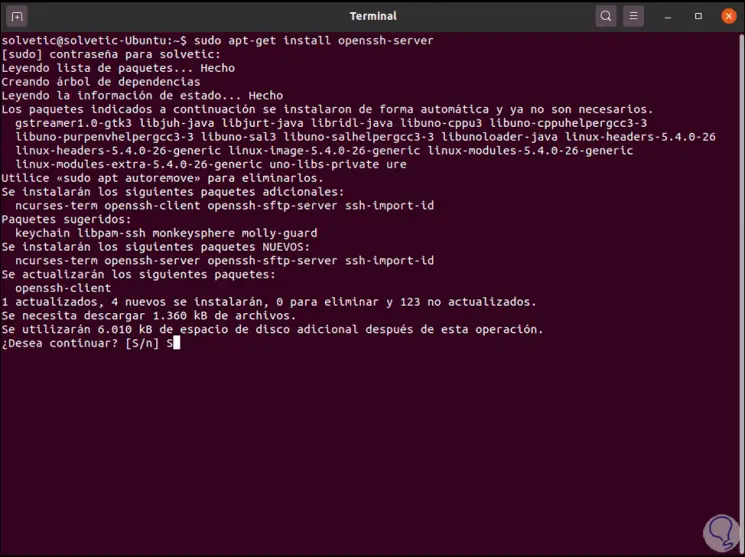
As we can see, by default port 22 (of SSH) rejects the connection, in this case we must install the protocol of the SSH server with the following command:
sudo apt-get install openssh-server
Step 5
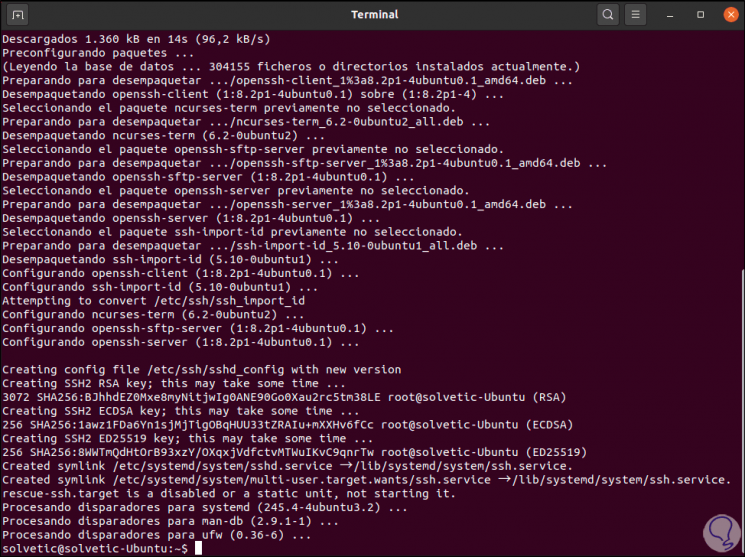
We confirm the installation with the letter S:
Step 6
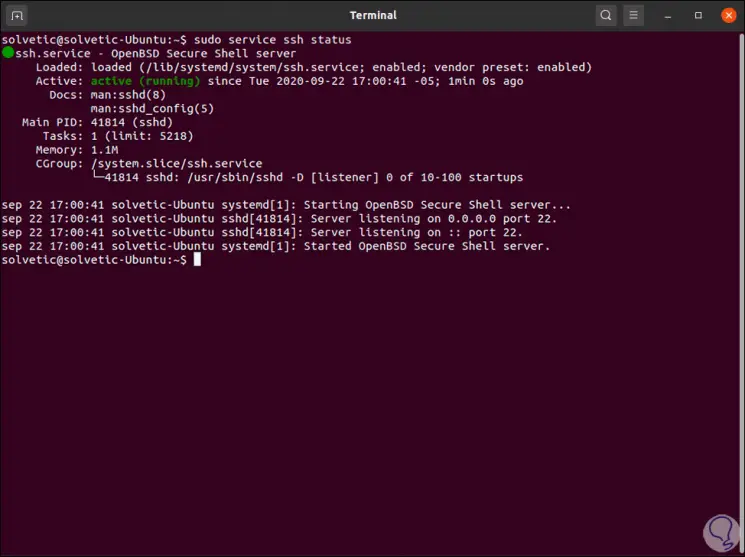
We can check the status of the SSH service in Ubuntu 20.04 with the following command:
sudo service ssh status
Step 7
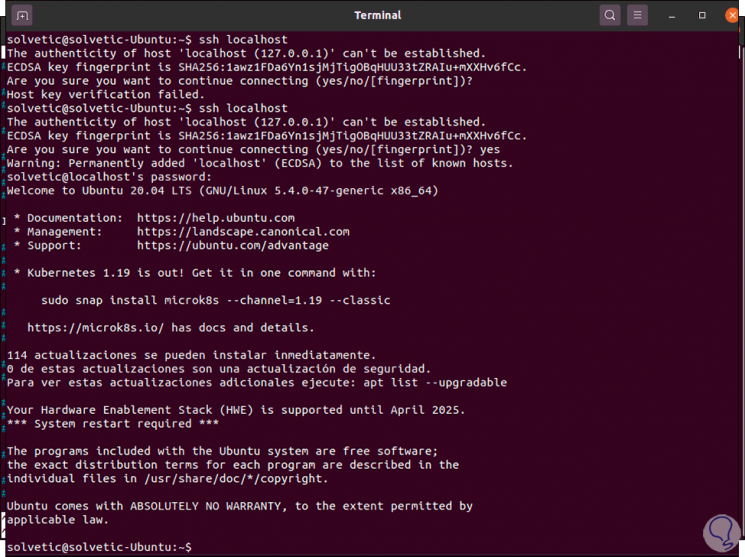
As we can see, its status is active and running, we can check access to the local host again:
ssh localhost
Step 8
If we do not accept the connection, an error will appear, so when executing the command it is required to enter "yes" to access with SSH.
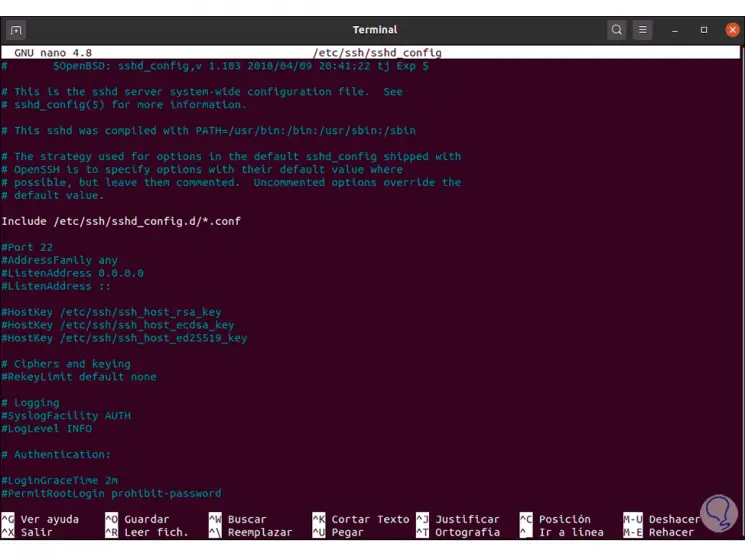
After this we can access the SSH configuration file with an editor: There we can see the default SSH port (22), we can edit it if necessary, but we always recommend leaving the default values..
sudo nano / etc / ssh / sshd_config
With these simple steps we have installed SSH in Ubuntu 20.04.