Apache is one of the platforms that offers us a wide assortment of options to manage various applications and development issues on different operating systems and one of these many options is NetBeans..
What is NetBeans
NetBeans is an application that allows us to work on the source code through a syntactic and semantic structure, this includes a wide set of useful and expandable tools to work on the code.
Apache NetBeans integrates editors, assistants and templates with which we can create applications in Java, PHP, JavaScript, PHP, HTML5, CSS, which shows us its wide versatility of use. To use Apache NetBeans we have all the operating systems that are compatible with Java (Windows, Linux, macOS and BS), in addition systems like Write Once, Run Anywhere are compatible to use NetBeans.
When using NetBeans, it is important to mention that each of the characteristics of an application on the NetBeans platform is offered using a different NetBeans module so as not to fall into code or execution conflicts..
NetBeans Features
Among the characteristics that we can mention of Apache NetBeans we highlight:
- Full support for the latest Java technologies
- Simple but comprehensive code editor
- We can create GUI for Java SE, HTML5, Java EE, PHP, C / C ++ and Java ME applications
- It integrates static analysis tools, using the FindBugs tool which allows us to identify and solve problems in the Java code
- Support for multiple languages
- It has editors and tools for XML, HTML, PHP, Groovy, Javadoc, JavaScript and JSP
Let's see how to install Apache NetBeans on Ubuntu 20.04.
To stay up to date, remember to subscribe to our YouTube channel! SUBSCRIBE
Install Apache NetBeans on Ubuntu 20.04
Step 1
We access the terminal and check that Java is installed by executing "java":
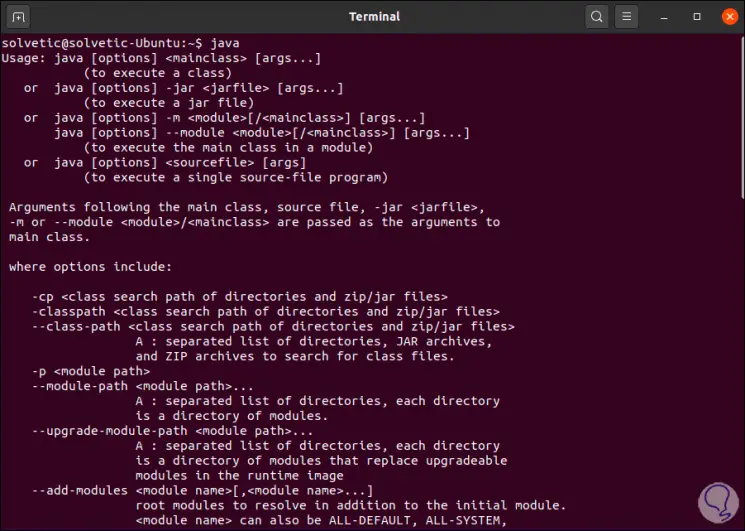
Step 2
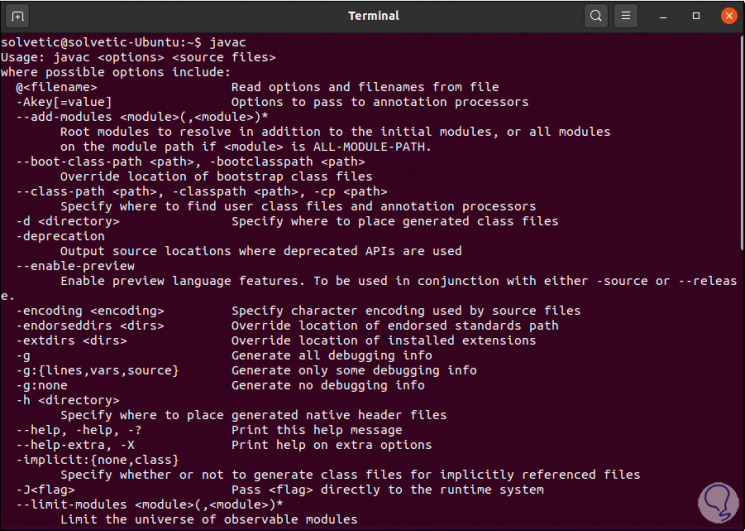
This will launch all the syntax for using it, now we check Javac with the command "javac":
Step 3
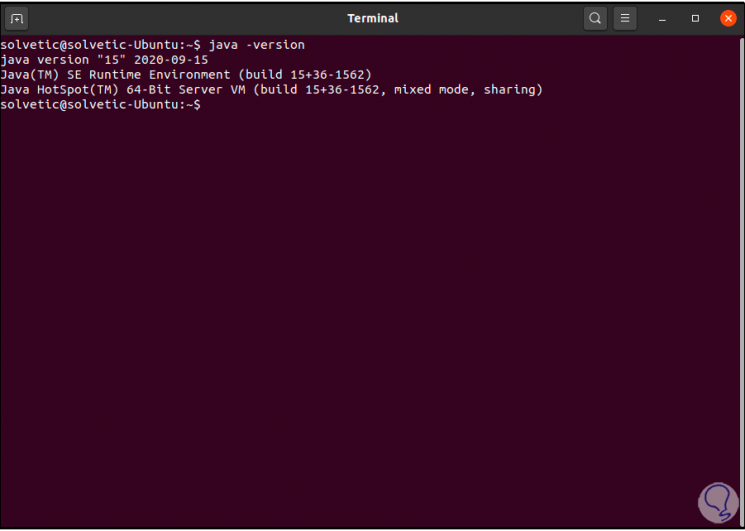
After this we validate the current version of Java in Ubuntu 20.04 with the following command:
java -version
Step 4
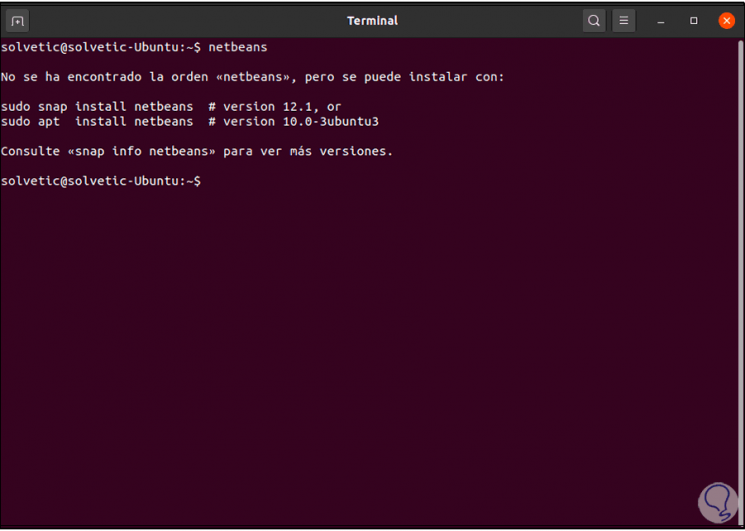
To check that NetBeans is not installed, we execute "netbeans":
Step 5
As we can see, it is not installed and we have two installation options, with the snap package manager and with apt, in the case of Snap this will install the most recent version, therefore, we are going to use that by executing the following:
sudo snap install netbeans
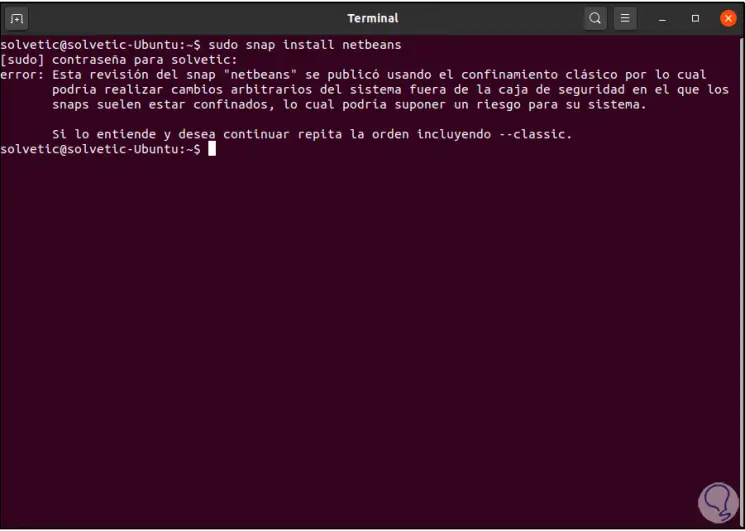
Step 6
We can see that when executing it an error is generated due to the way the NetBeans snap was packaged, in this case to use it correctly we add the line “—classic”:
sudo snap install netbeans –classic
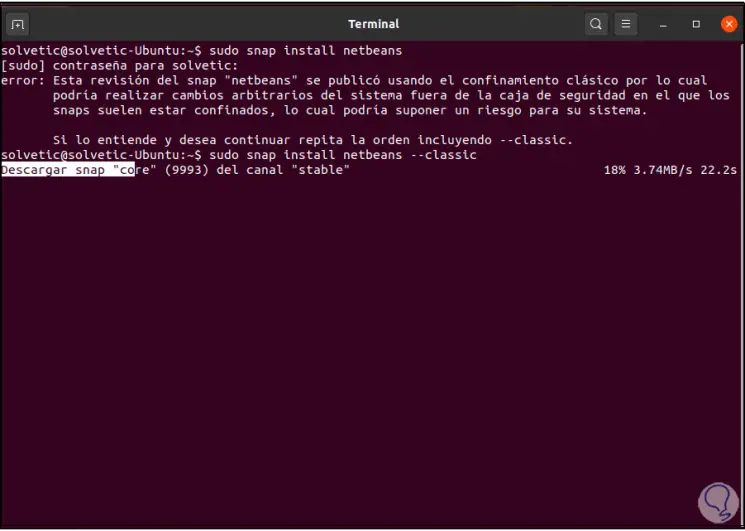
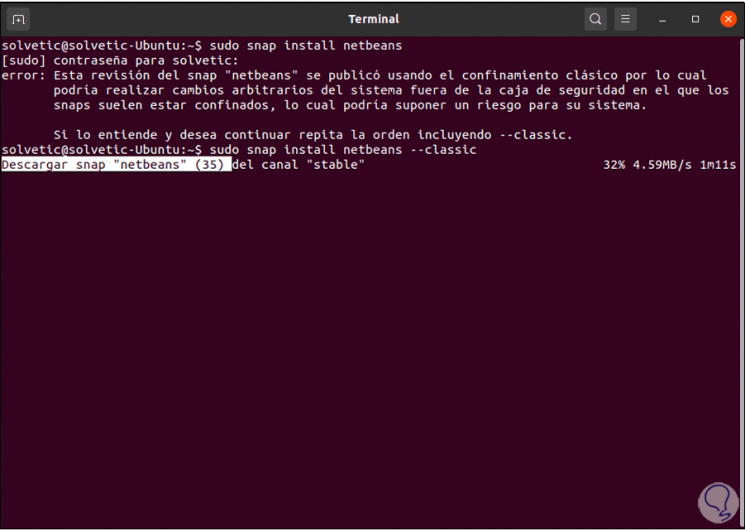
Step 7
This will lead to the process of downloading the components:
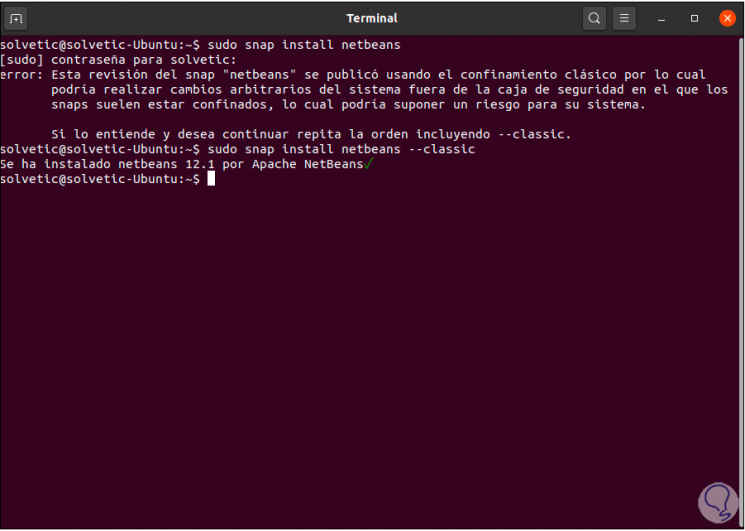
Step 8
When this process has come to an end we will observe the following. We see that Apache NetBeans 12.1 has been installed.
Step 9
We go to Activities and from there we access NetBeans:
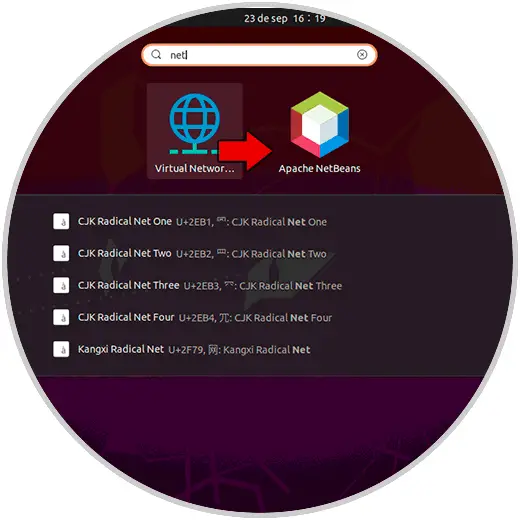
Step 10
Clicking there will launch the Apache NetBeans application:
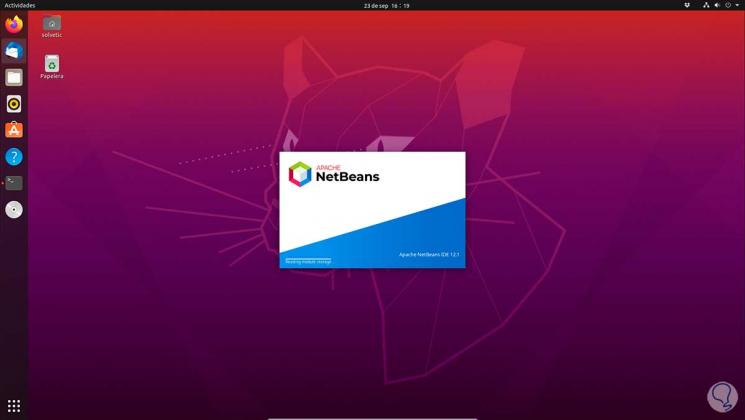
Step 11
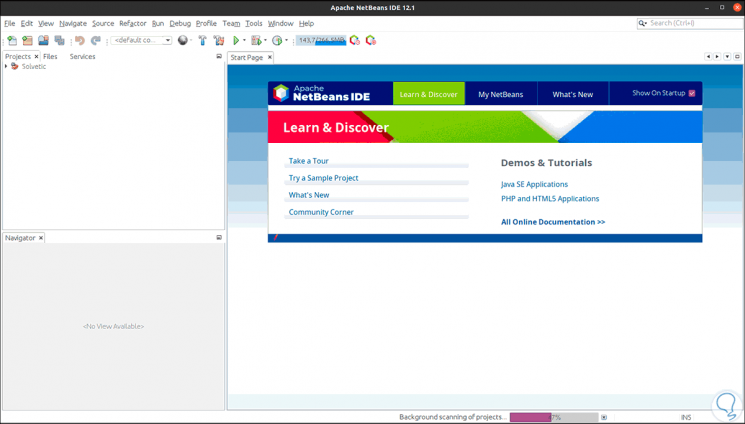
When fully loaded we will see its environment:
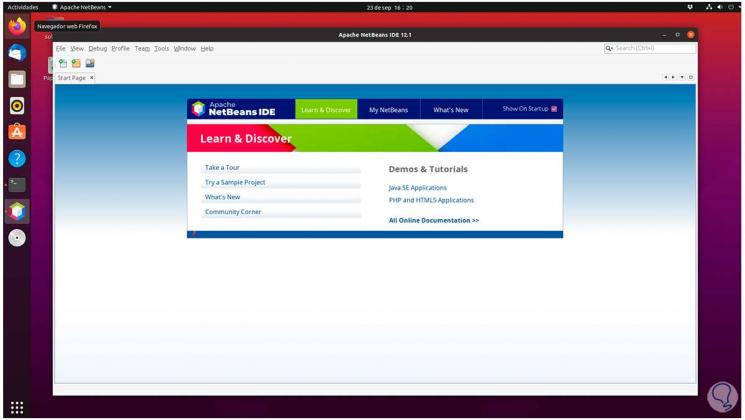
Step 11
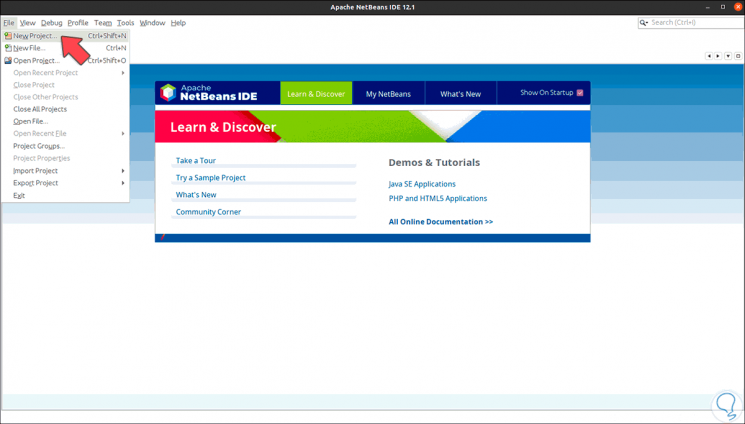
We will create our project from the File - New Project menu or using the following keys:
Ctrl + Shift + N
Step 12
The following will be displayed:
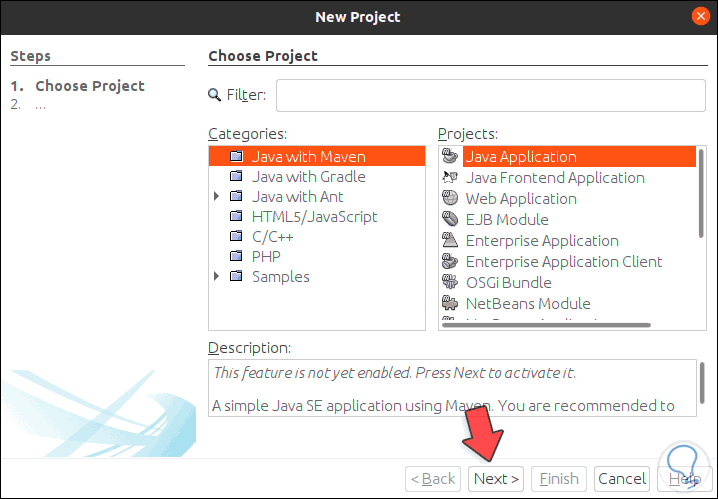
Step 13
We click Next and then we will observe the following:

Step 14
There we must activate Java SE, for this we click on the button "Download and Activate", another pop-up window will open:
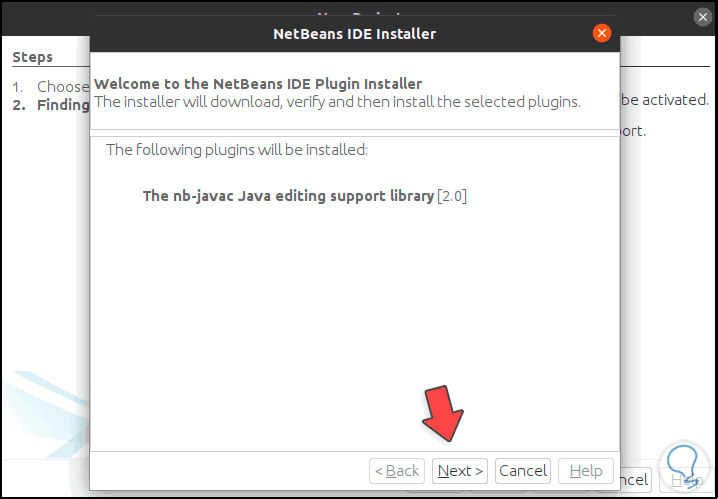
Step 15
We click Next and in this window we must accept the license terms:
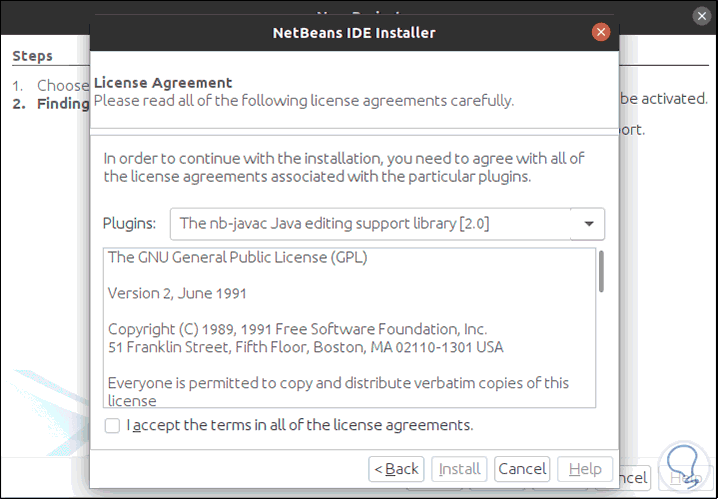
Step 16
After this we click on "Install" to proceed with the activation of Java SE:
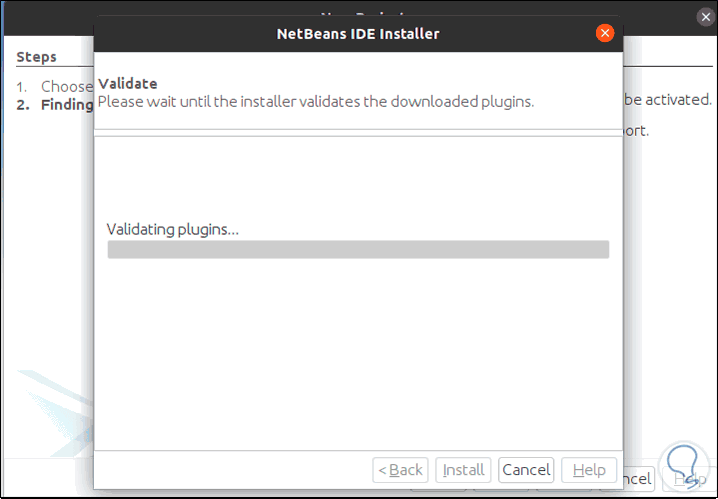
Step 17
At the end we will see the following:
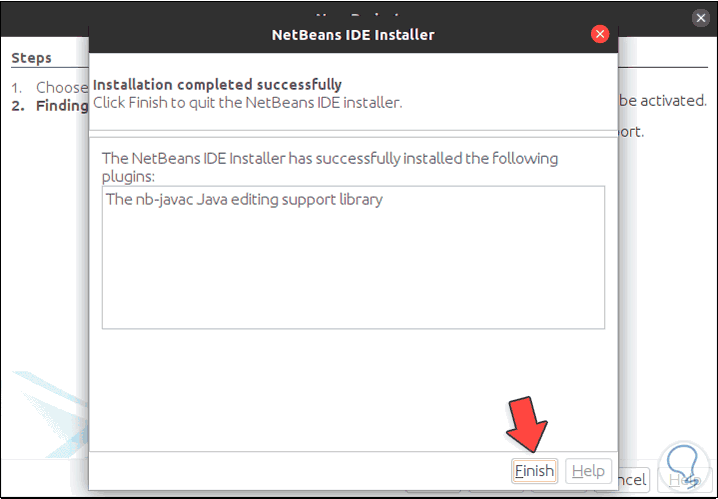
Step 18
We click on Finish and we will be redirected to the NetBeans window:
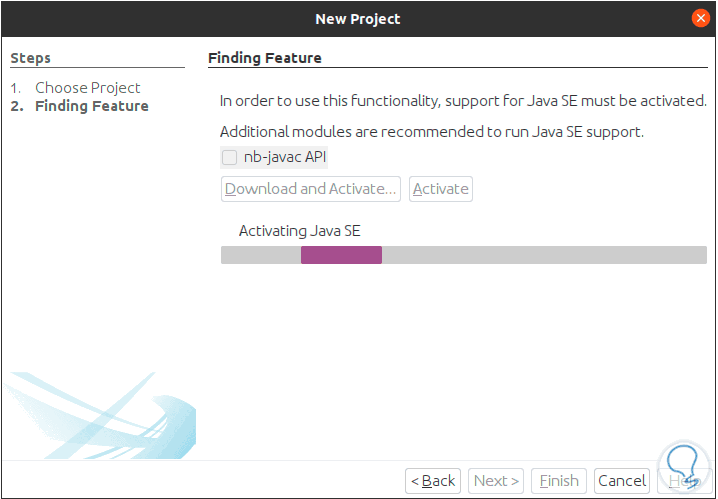
Step 19
This is responsible for activating Java SE and once the process reaches its end we will see the following:
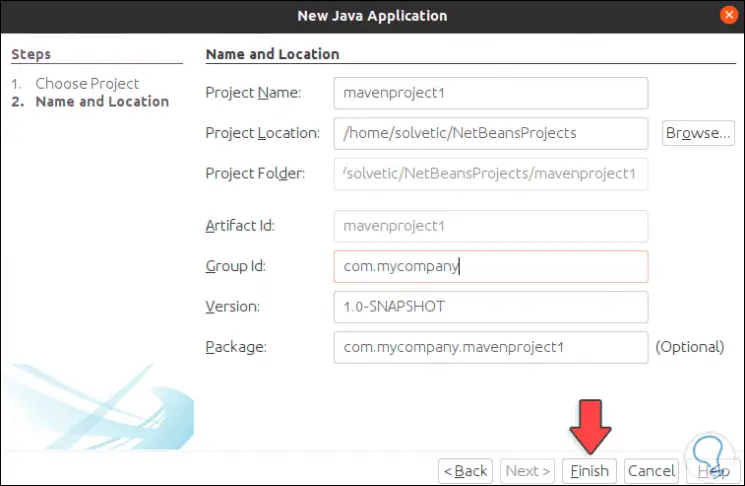
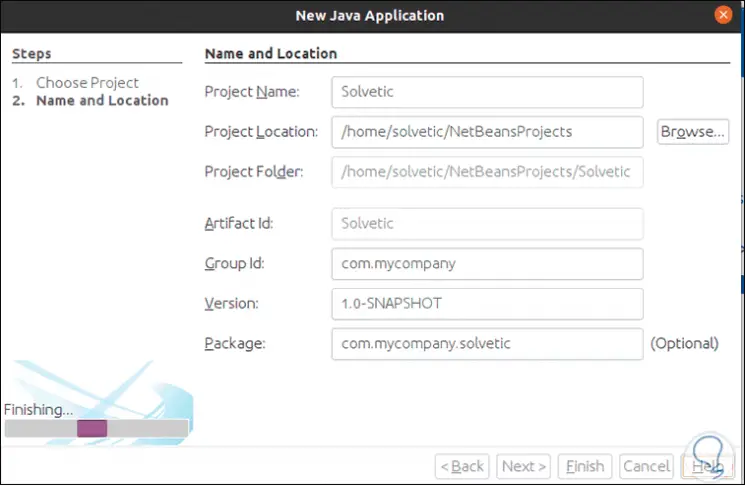
Step 20
There we find details such as:
Step 21
We can change the name of the project as the case may be:
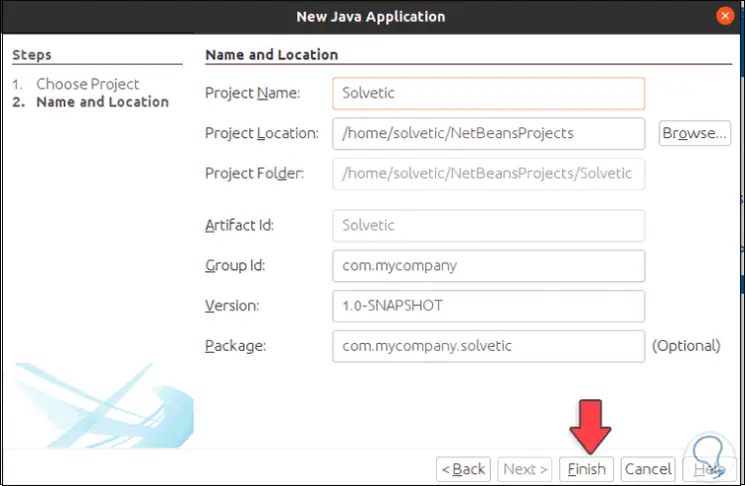
Step 22
We click on Finish to finish creating the project:
Step 23
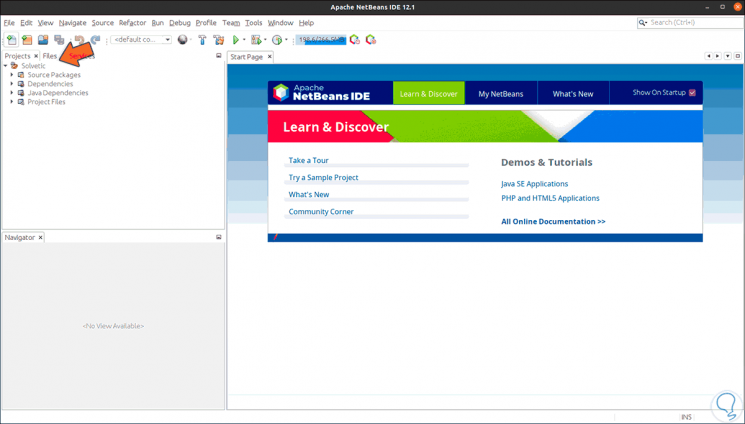
At the end we will see our project created:
Step 24
We can click on the project to see its structure:
Step 25
By right clicking on the project, a series of options will be displayed, such as:
- Rename the project and much more

With Apache NetBeans we have a powerful solution at hand to create projects in various languages in a structured and secure way..