VirtualBox is the leading platform from where it is possible to create numerous virtual machines to test the news of a recently launched system in beta phase, learn how applications can behave with a new system and the best thing about this is that it is not affected the actual work environment. This is a way of being able to test a system without having to install it on our computer at first, and in this way determine if it seems appropriate or not to carry out its installation officially..
The virtual machines are almost a reflection of the physical computer and one of the critical issues for some users lies in the resolution of the screen. We can have if we want a 4K monitor but the default resolution of some systems does not allow the resolution of the screen to be taken to the maximum. This is the case when we install a macOS system in VirtualBox , in this case on a Windows 10 system. This is because the screen does not take the expected resolution and we will see the following:
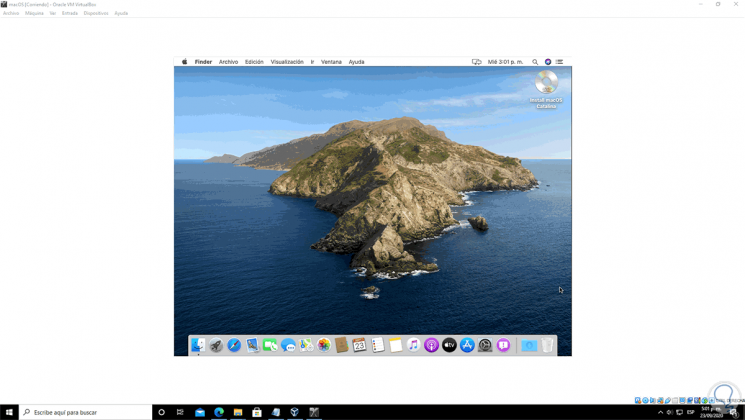
As we can see, the sides are in a standard background and the quality of what we should see in full screen is lost but do not worry that TechnoWikis will give you the instruction to make the screen complete if you use a macOS system in VirtualBox.
To stay up to date, remember to subscribe to our YouTube channel! SUBSCRIBE
1. How to set full screen mode in macOS
Step 1
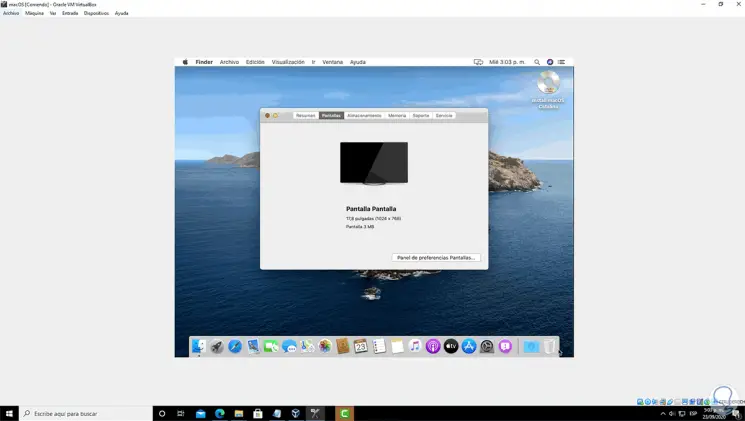
In the virtual machine we go to the menu "Apple - About this Mac", then we go to the Screen section and the default resolution is 1024 x 768:
Step 2
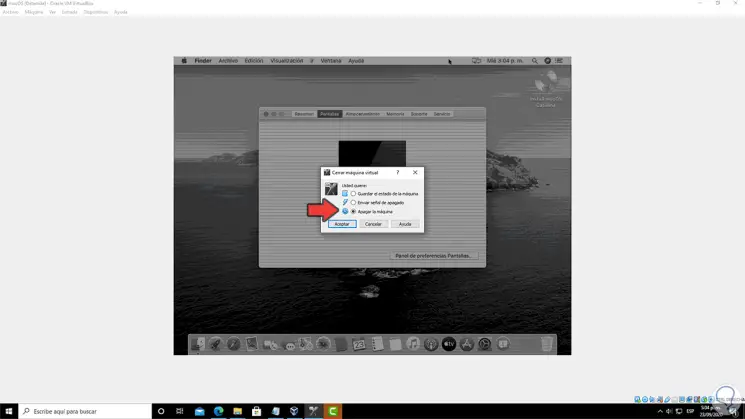
We proceed to turn off the virtual machine by clicking on the X in the upper right corner and we will see the following:
Step 3
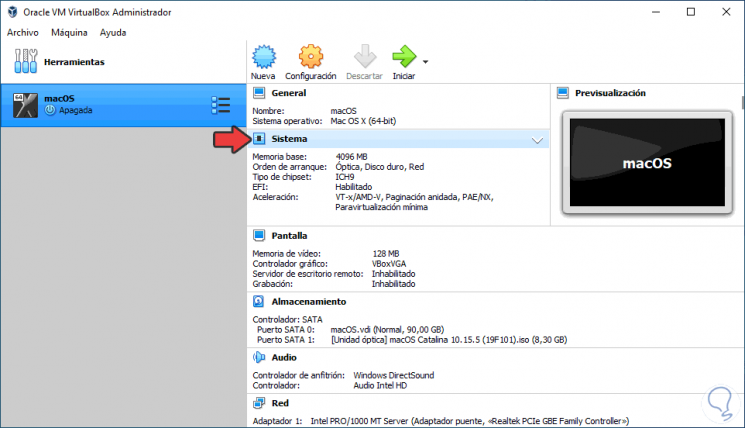
Once the virtual machine is turned off, we access VirtualBox and select the virtual machine:
Step 4
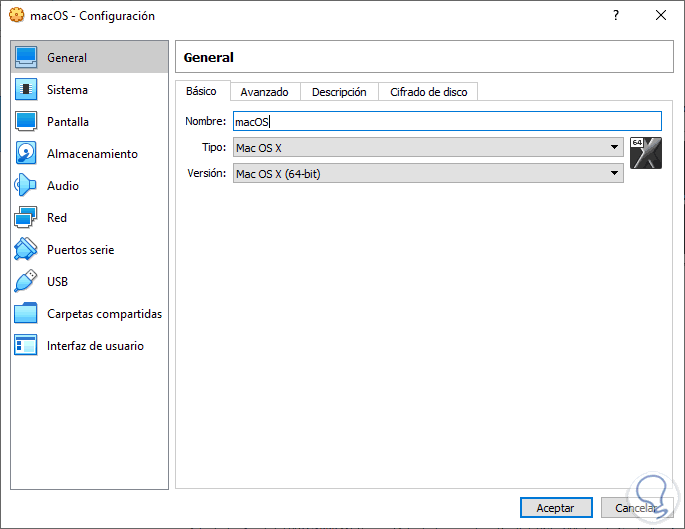
We go to "Configuration" and in the "General" section we go to the "Name" field and we have in mind the name of the macOS virtual machine:
Step 5
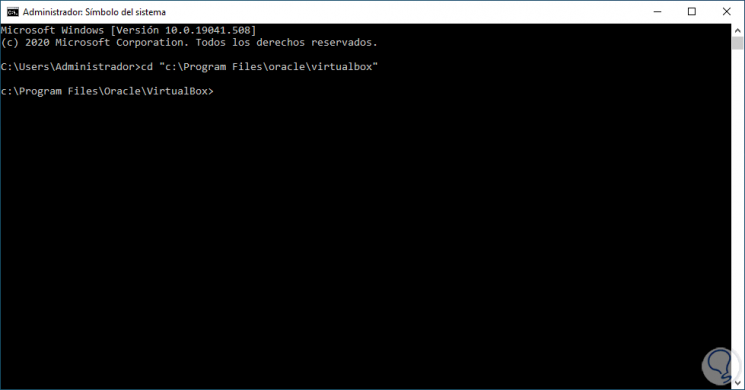
We close VirtualBox and access the command prompt as administrators, there we will go to the path where VirtualBox is installed by default:
cd "C: \ Program Files \ Oracle \ Virtualbox"
Step 6
We right-click on the Windows 10 desktop and in the displayed list we select "Screen configuration", in the "Scale and design" section we see the current resolution of the computer:
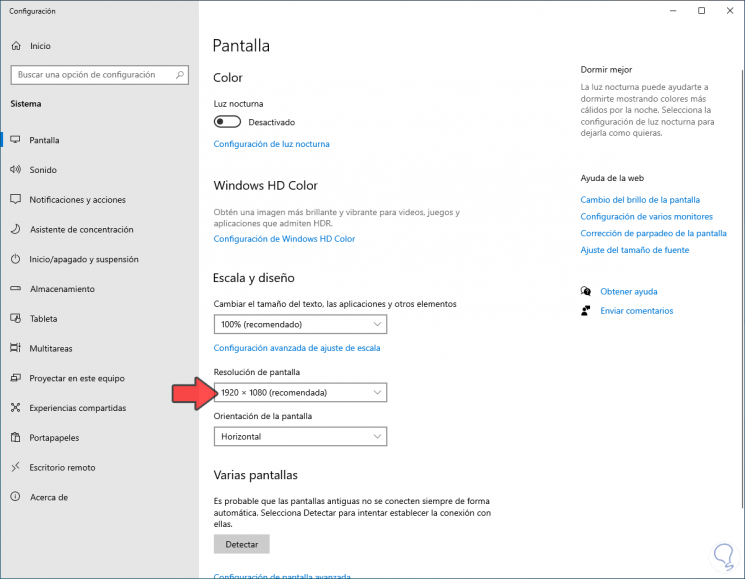
We have this resolution in mind and now in the terminal we execute the following command:
VBoxManage setextradata "Virtual machine name" VBoxInternal2 / EfiGraphicsResolution X
Step 7
Between quotes we enter the name of the macOS virtual machine and in the X we enter the desired resolution.
Some of the available options are
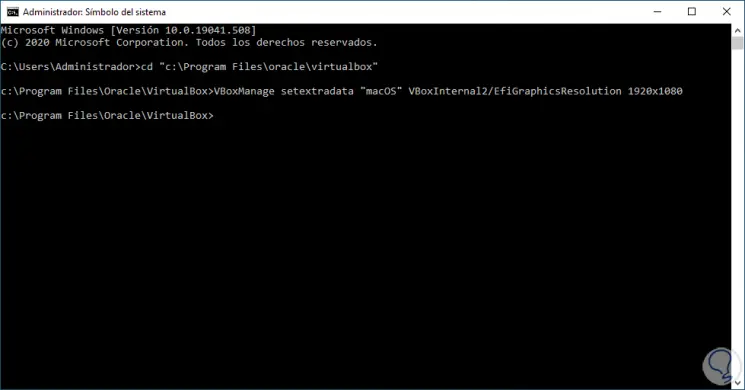
When executing the command we see that the process is carried out internally..
Step 8
We access VirtualBox and when starting the virtual machine it will take all the current resolution of the screen and we can check it if we go back to the Apple menu - About this Mac and in the Screen section we will see the new resolution:
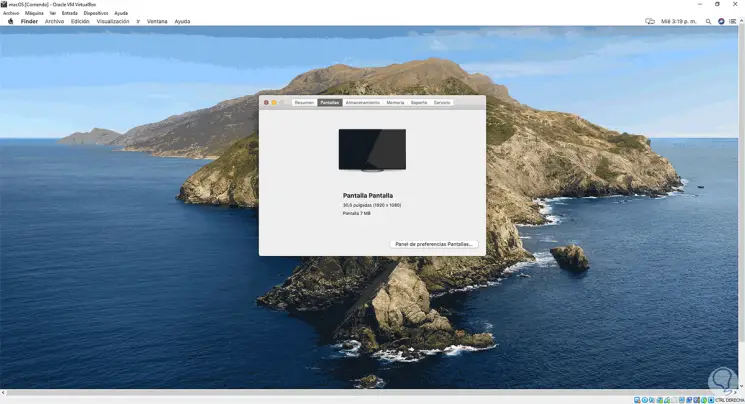
With this process that TechnoWikis has taught you, you can use macOS in VirtualBox in full screen.