The Windows Defender Firewall is one of the security mechanisms built into Windows 10 which is responsible, among many things, for managing the rules for data entry and exit. The Windows Defender Firewall performs a detailed analysis to define whether a network packet, a service or an application is legal and does not contain data that could put the integrity of the system at risk..
One of these sections are the system's output connections which allow us to establish communications with the external world, internet networks, applications, etc., for this reason it is delicate to configure the permissions of these from Windows Defender and if for any support reason or Security requires blocking these connections, TechnoWikis will explain how to block them in Windows 10 through the Firewall.
We also leave you the video tutorial to be able to block outgoing connections with Windows 10 Firewall..
To stay up to date, remember to subscribe to our YouTube channel! SUBSCRIBE
Block outgoing connections Firewall Windows 10
Step 1
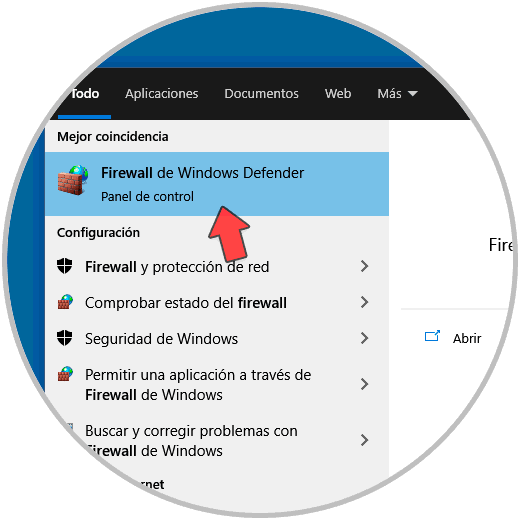
To do this we enter the term "firewall" in the Start search engine and in the displayed results we select "Windows Defender Firewall":
Step 2
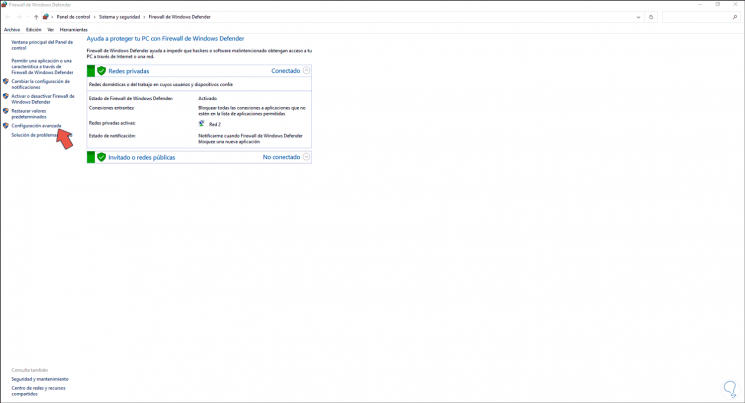
We will see the following:
Step 3
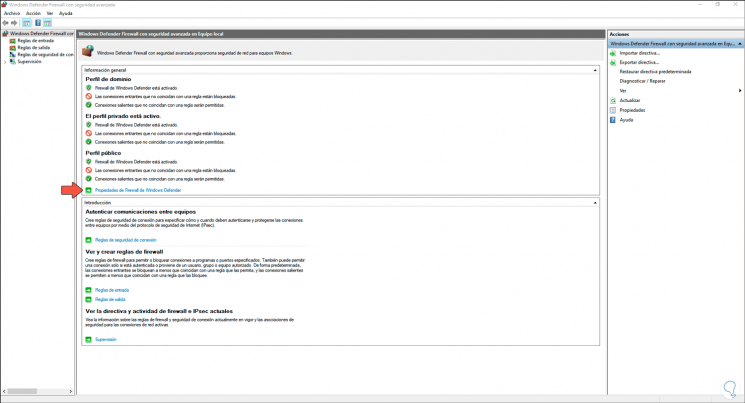
We click on the "Advanced Configuration" line and the following window will be displayed:
Step 4
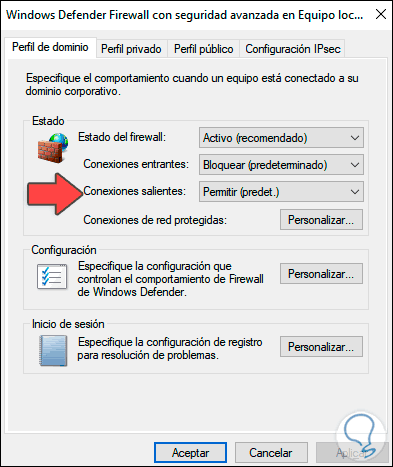
There we click on the line "Windows Defender Firewall Properties" and the following pop-up window will open:
Step 5
There we can see the configuration of each of the current Firewall profiles (Domain, Private or Public).
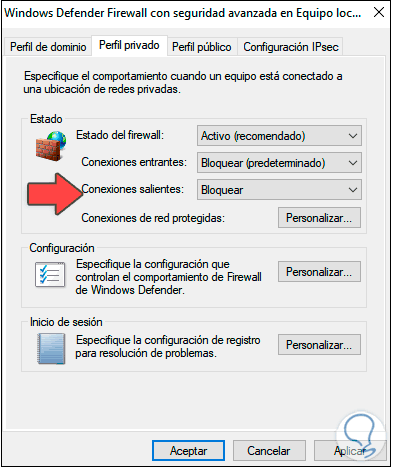
We go to the current profile which is by default the tab "Private profile" and in the field "Outgoing connections" we set the value "Block". We apply the changes and click OK.
Step 6
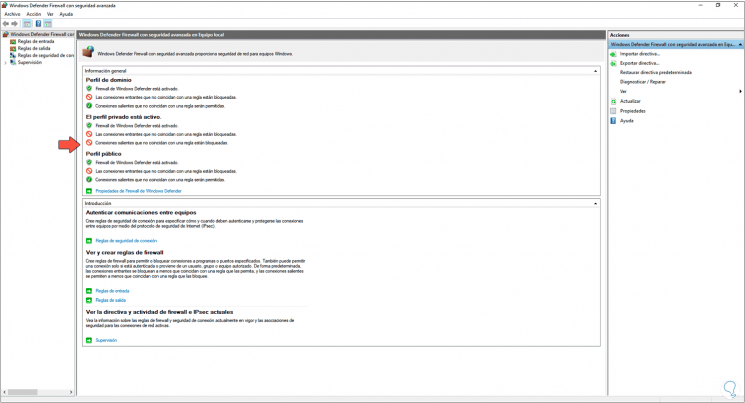
We can see in our profile that outgoing connections have been blocked:
Step 7
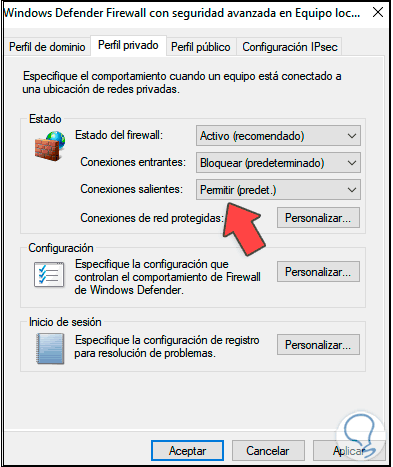
In case of requiring its enablement again, we set the default value in the Outgoing connections field:
With this process we can block these types of connections for greater system security.