We use our computer for many things, but one of the most frequent is the management and storage of files . We usually fill our PC with documents and folders in which we have different information. The problem with this is that in this way we are filling the available storage in our computer and with it the space is decreasing considerably..
The archives compressed in ZIP are one of the most functional mechanisms to save space in the hard disk or in any other storage unit. This dramatically reduces the size of the compressed file, folder, or object. This helps not only save disk space but also other activities such as sharing items through mail or platforms.
The process to create a ZIP file in Windows 10 is simple and with TechnoWikis you will see how it is possible..
To stay up to date, remember to subscribe to our YouTube channel! SUBSCRIBE
Create ZIP files in Windows 10
Step 1
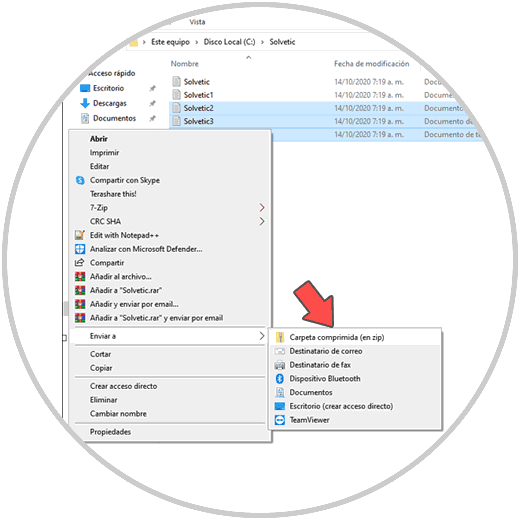
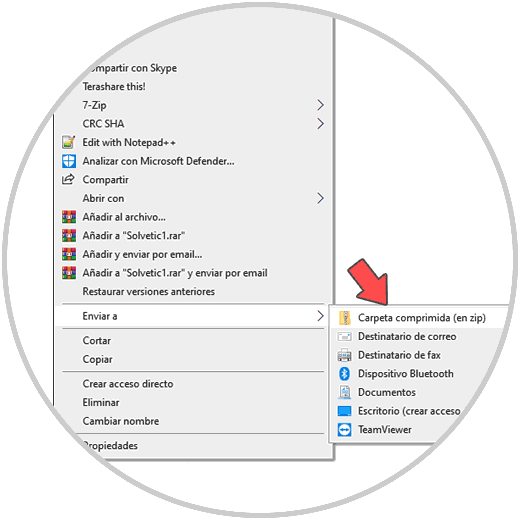
One of the first methods is to select the files to be compressed, right click on them and go to the path "Send to - Compressed folder (in zip)":
Step 2
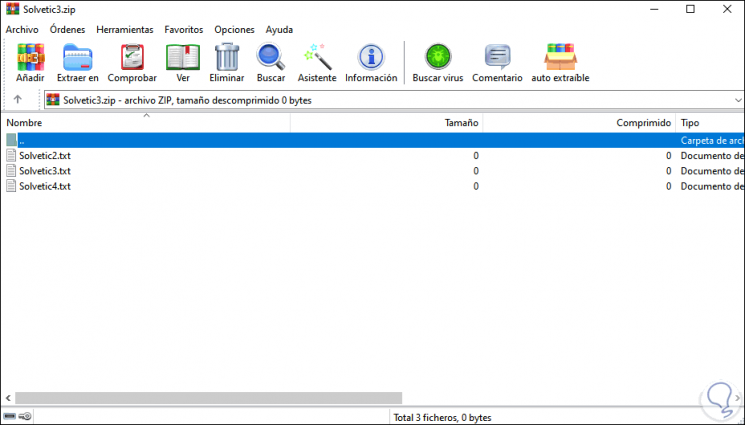
Clicking there will create the compressed file which we can access by double clicking on it, we will see the selected files:
Step 3
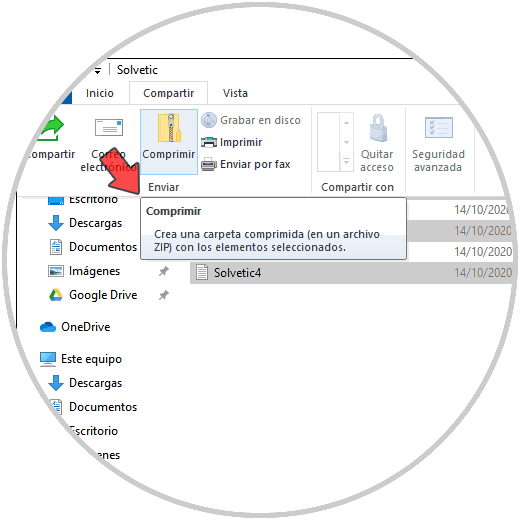
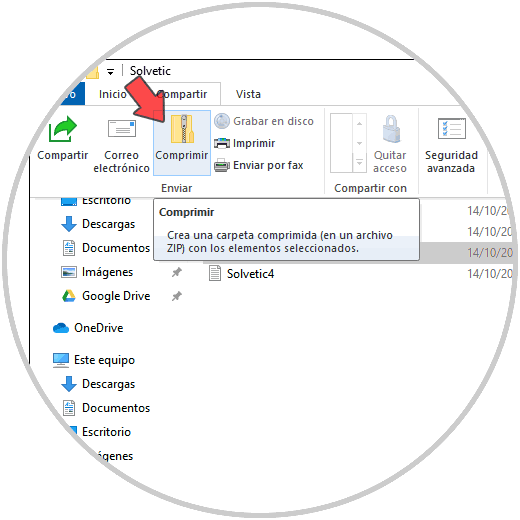
Another method available for this is to select the desired files, and in Explorer go to the "Share" menu, there we select "Compress":
Step 4
We click there and the selected files will be compressed:

Step 5
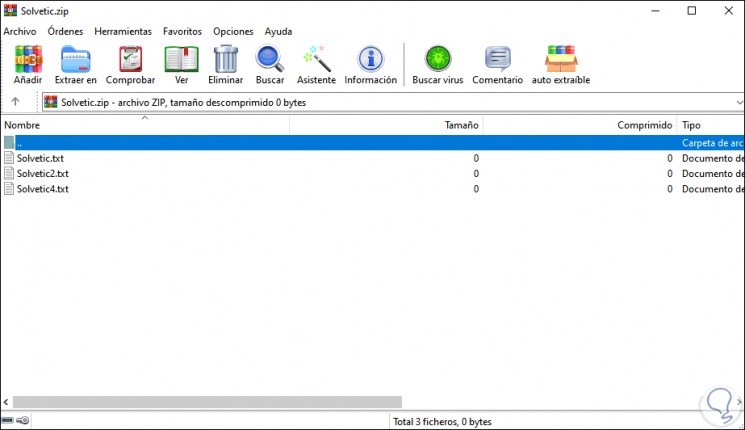
We can double click on the ZIP file to see its content if necessary:
Step 6
We can do this same process with a single file, select it and go to "Share - Compress":
Step 7
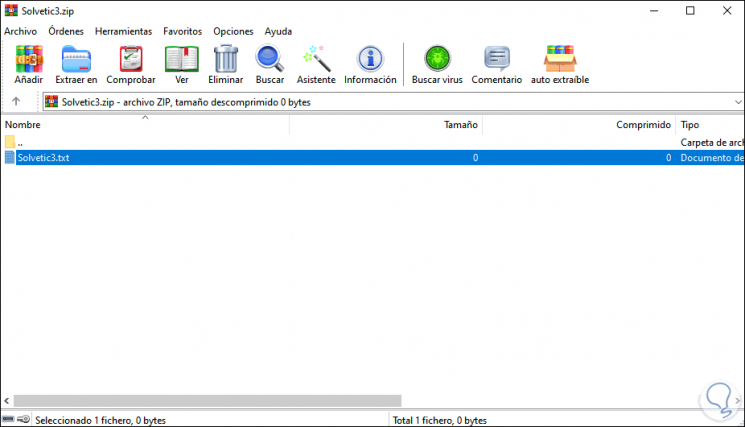
The ZIP of that file will be created:

Step 8
We access it to verify that it is the selected file:
Step 9
With the initial method it is possible to compress a single file, we right click on the desired file and go to "Send to - Compressed folder (in zip)":
Step 10
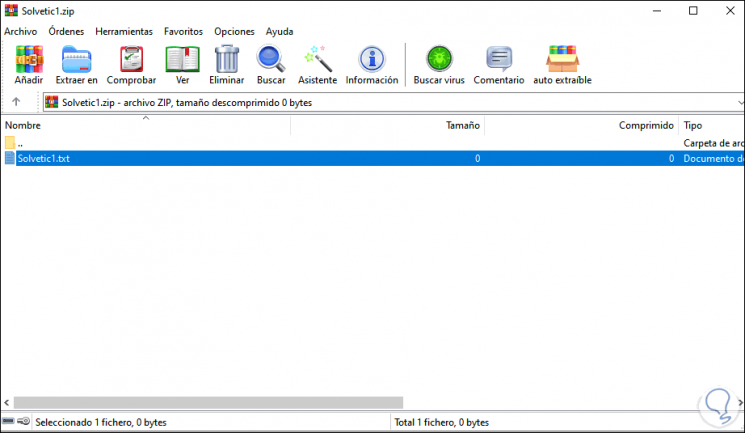
This will create said ZIP file in Windows 10:
With these simple steps we can create ZIP files in Windows 10.