The way we communicate has changed in recent years, since today we do it continuously thanks to instant messaging applications and social networks . Due to this, other applications for group meetings emerged..
Zoom is the application that has positioned itself as one of the favorites by millions of users due to its different characteristics that cover various concepts of security, compatibility and tools to make each meeting special.
Zoom Features
Zoom offers us features such as:
- Ability to mute the microphone
Zoom is free to access, although it has payment options, the free versions are limited to 40 minutes, TechnoWikis will explain how to install Zoom on macOS totally free..
To stay up to date, remember to subscribe to our YouTube channel! SUBSCRIBE
How to install Zoom on macOS for free
Step 1
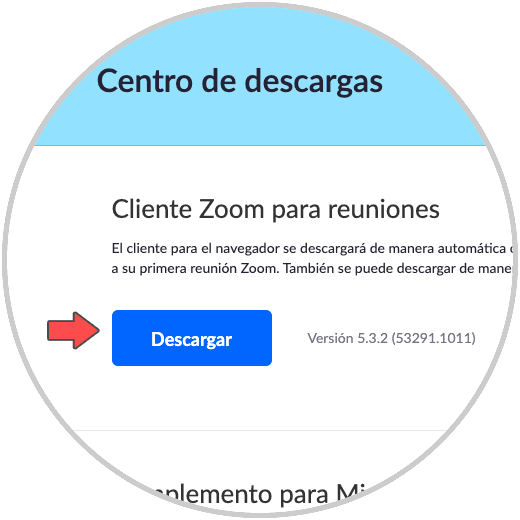
In a browser in macOS we look for "zoom". We click on "Download" or we can go to the following link directly:
Zoom
We will see the following. We click on the "Download" button and the download of the Zoom installer on macOS will begin:
Step 2
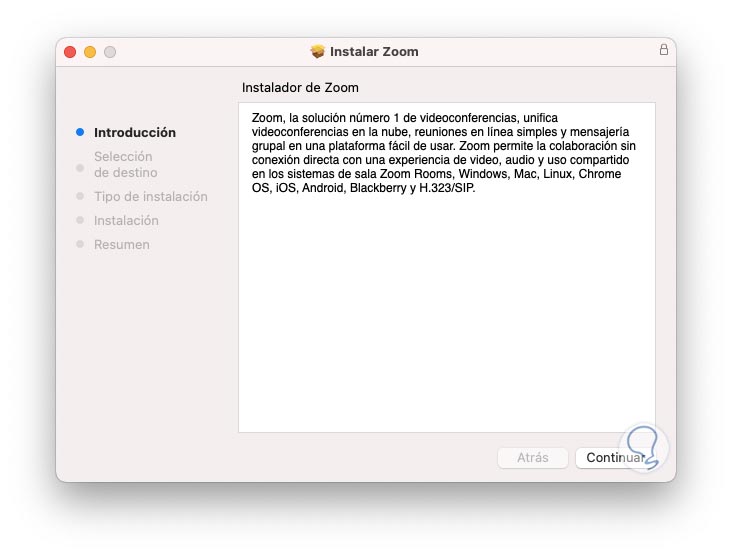
Once downloaded, click on it and the Zoom installation wizard will open:
Step 5
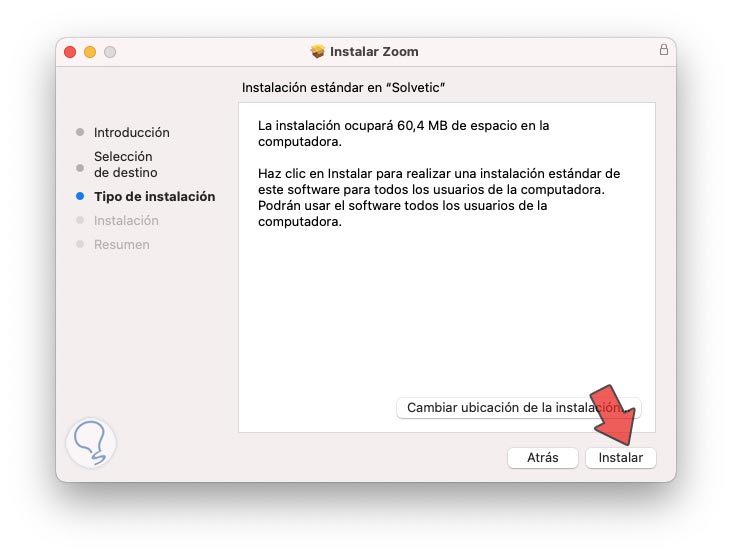
There we find a brief summary about what Zoom is, click on Continue and we will see the disk size to use as well as the installation path:
Step 6
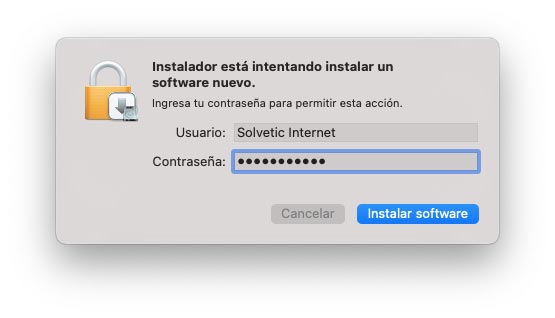
We click on "Install" and we must enter the local administrator password to confirm the process:
Step 7
We click on "Install software" to continue and the installation of Zoom in macOS will take place:
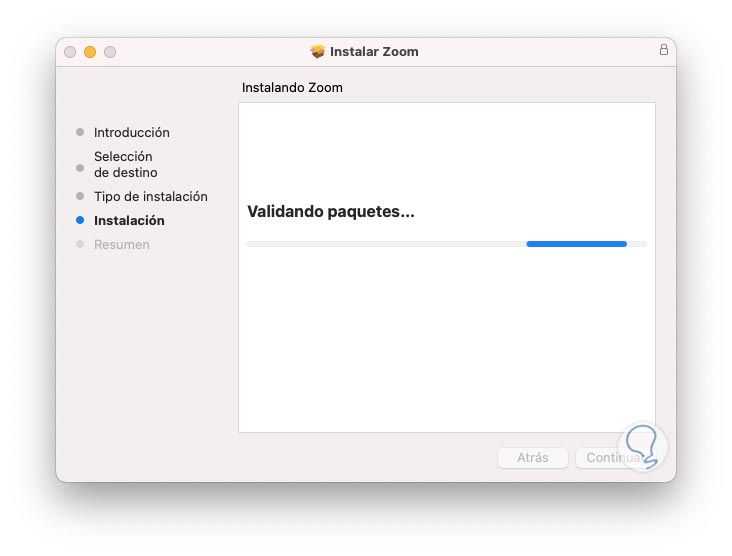
Step 8
At the end we will see the following:
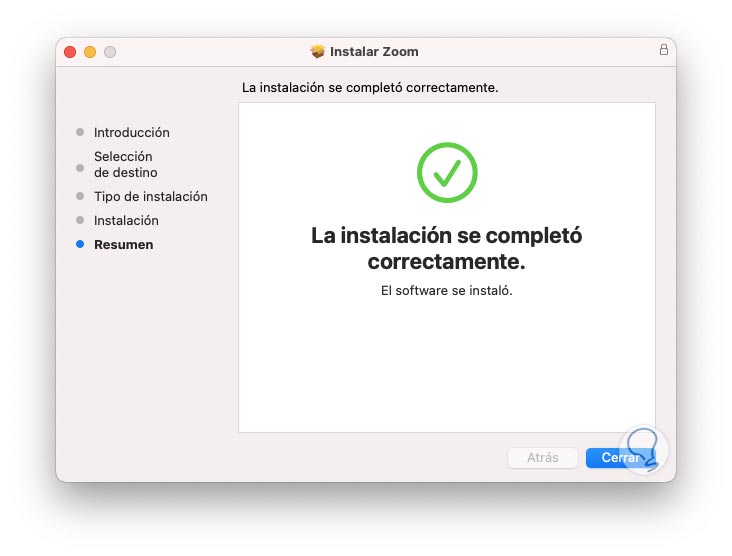
Step 9
We click on Close and then we can move the installer to the garbage can if we wish.
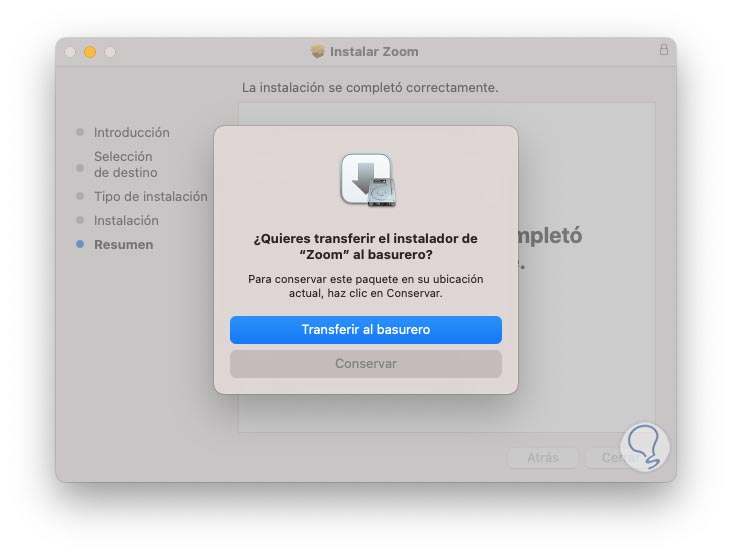
Step 10
After this the Zoom application will open automatically:
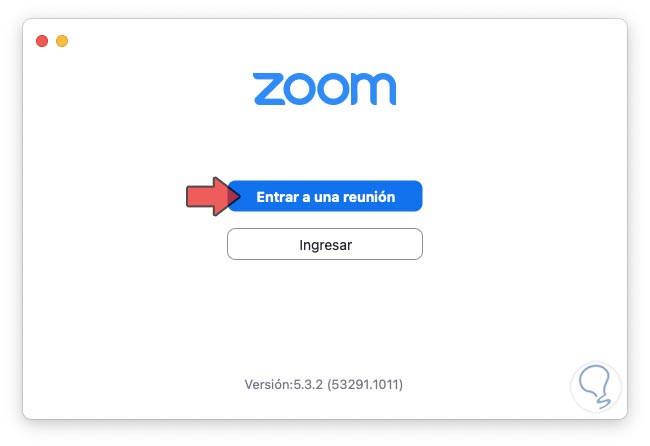
Step 11
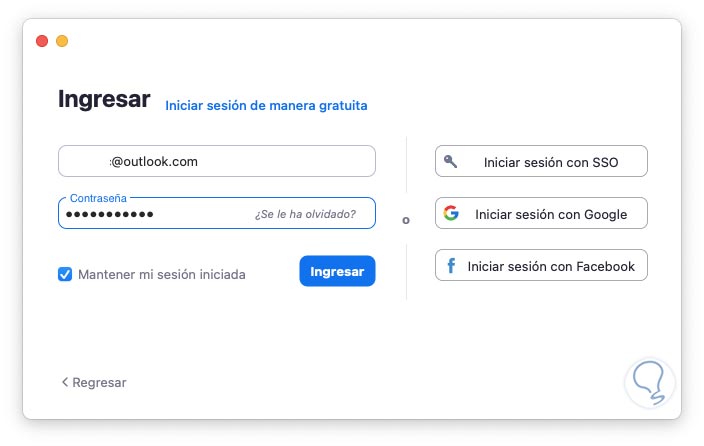
Here it will be possible to access a meeting by entering her ID and password, or in that case by clicking on "Enter" we can enter the credentials to have a more complete Zoom configuration:
With this mechanism we can install Zoom in macOS and know in detail its options for use and management in each meeting.