The updates of the operating systems are generally always well received by the users who are looking forward to the improvements and news included in them. However, these updates can influence the functions or ways of performing tasks on the computer, so it is advisable to always be up to date ..
When using a new operating system we are always waiting for news to be present or that new features have been added, in the case of macOS Mojave or the new macOS Catalina version we can see how various features are introduced that will make the experience of I use something really innovative, if we want to know in detail how to install and use macOS Catalina we can visit the following link.
One of the most common elements in macOS is the terminal , for many it may seem somewhat of little use, but really the terminal is far beyond a simple console where commands are executed since through this tutorial we will learn not only the various ways to access this but what is its real and advanced use in macOS..
The first thing we leave you is to be able to see on video all the possible ways of being able to open the terminal on Mac systems. Below you have them in detail in text and also some suggestions on commands that will come in handy.
To keep up, remember to subscribe to our YouTube channel! SUBSCRIBE
1. How to open Mac OS terminal from Finder
The Finder or macOS Finder is one of the most practical methods to access the terminal and execute its multiple tasks.
By default the terminal is preinstalled in the "Utilities" folder so that to access it we have the following options:
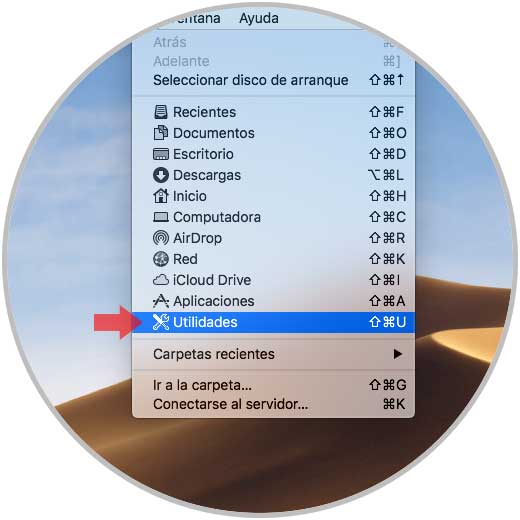
Access using the Go menu
For this, we select "Finder" and go to the "Go" menu and there we select the "Utilities" route:
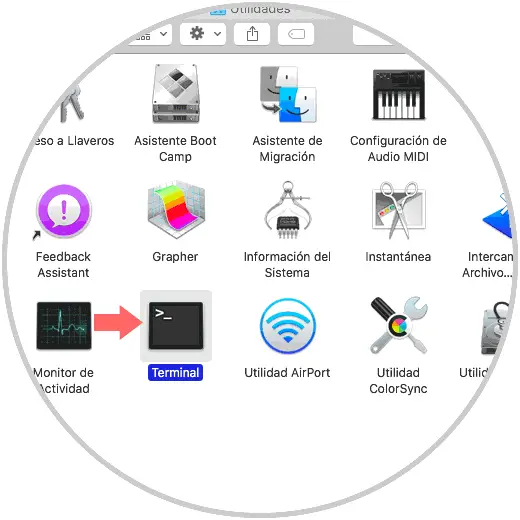
The following window will be displayed where we will locate the terminal and from there we can execute it:
Note
To directly access the Utilities window we can use the key combination:
+ Comando + U Shift + Command + U
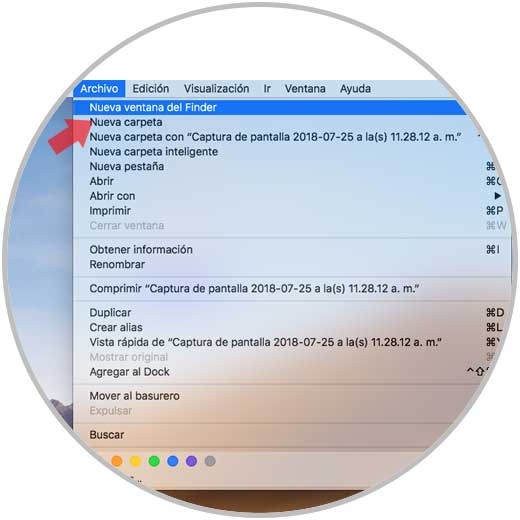
Access using the File menu
In some cases it is possible that the terminal of the Utilities folder has been moved to the Applications library, if this is the case, we select the Finder and go to the File menu and there we choose the New Finder window line or we can use the key combination Command + N:
+ N ⌘ + N
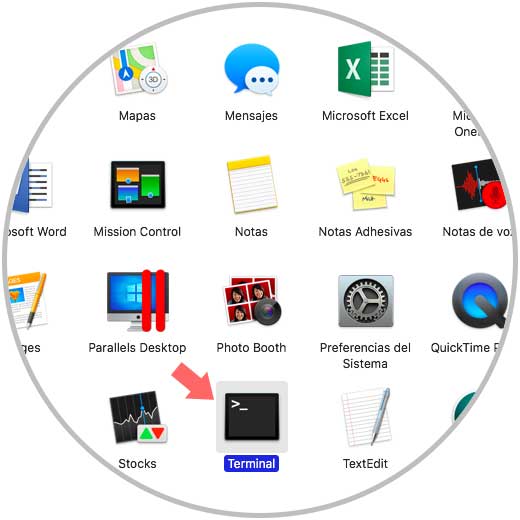
In the displayed window we select the Applications category on the left side side and there we locate the terminal:
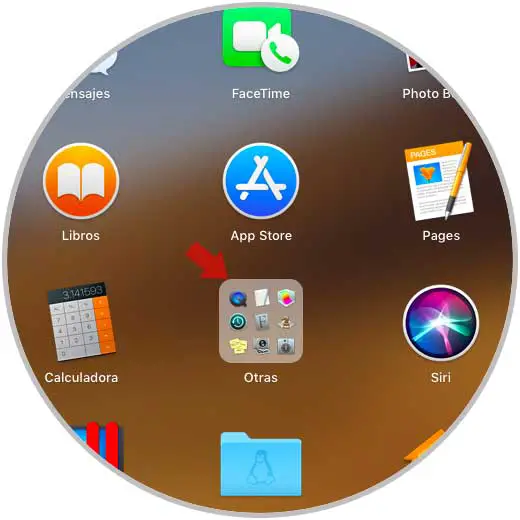
2. How to open terminal on Mac OS from Launchpad
The launchpad is a macOS launcher through which you have access to all the elements of the Applications library, its icon is represented by a rocket in the dock, just click on it and in the reflected window locate the folder Others:
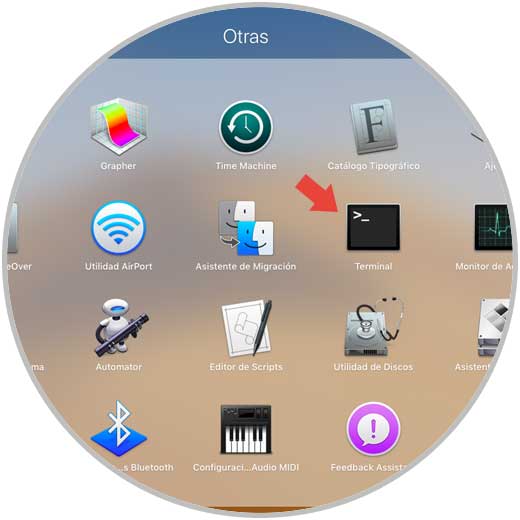
Clicking on it will display the following where we will locate the terminal and click on it for its execution:
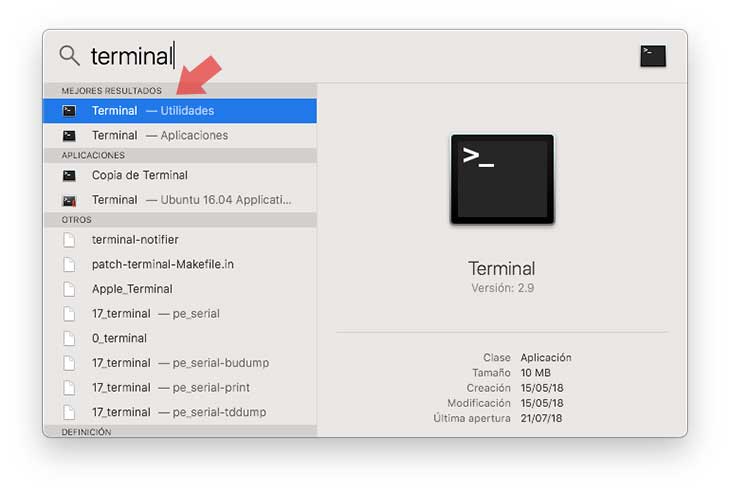
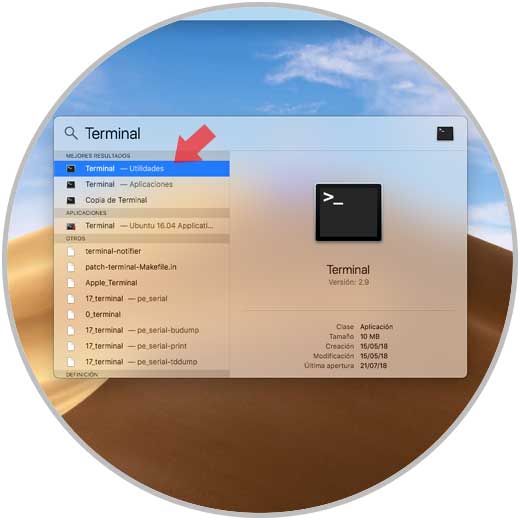
3. How to open terminal on Mac OS from Spotlight
Spotlight has been developed as a universal search engine for macOS systems because thanks to it, simply enter the desired text and start launching suggestions for both applications and files.
To use Spotlight in macOS, we will click on the magnifying glass icon located in the upper right corner and in the pop-up window we will enter terminal and there we select the respective utility:
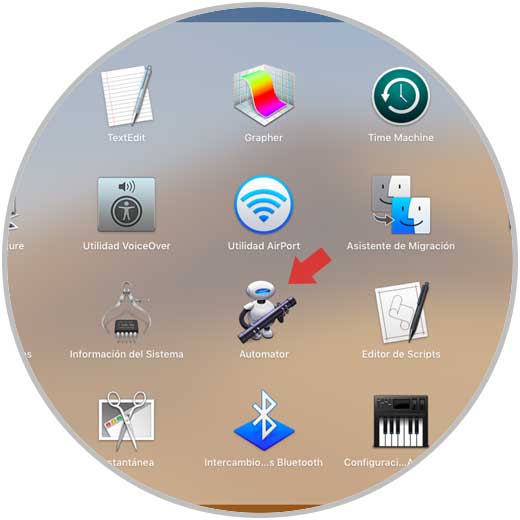
4. How to open terminal on Mac OS from Automator
Automator is a task automation application in macOS with which we can create numerous actions to facilitate the life and management tasks on the equipment and its components.
Step 1
To access Automator we can use one of the following alternatives:
- On the route Go / Applications / Automator
- Using the key combination Shift + Command + A and there select Automator
- From the launchpad in the Other folder select Automator
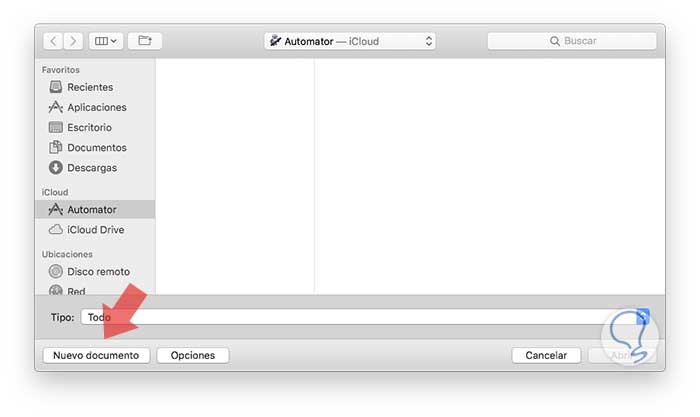
Step 2
The following window will be displayed where we will click on the New Document button:
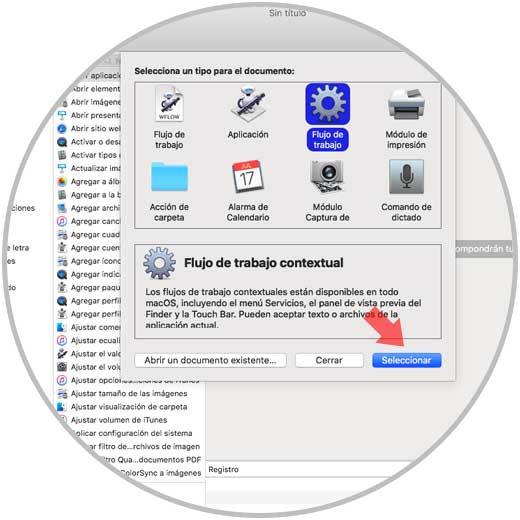
Step 3
The following wizard will be displayed where we will activate the Workflow option and click on the Select button:
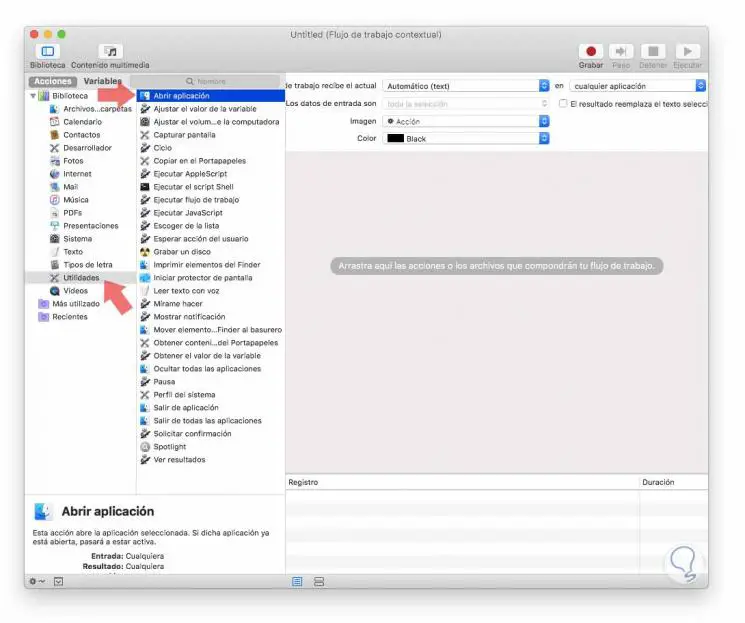
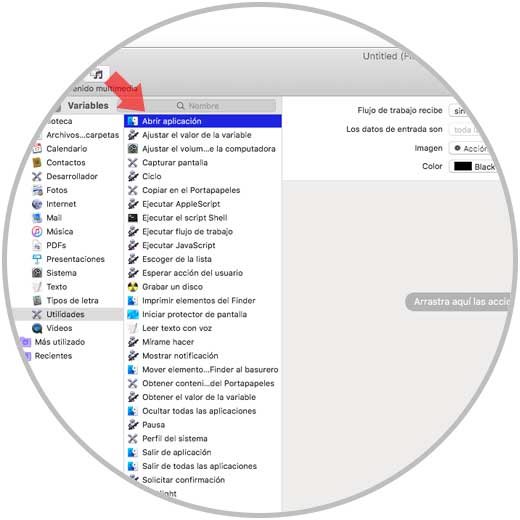
Step 4
By clicking there, we now go to the left side column and in the Libraries section we click on Utilities and in the central panel we select the Open application line:
Step 5
First, click on the field Workflow receives in the upper right and in the available options select No input data:
Step 6
Now, we drag the option Open application to the right side and click on the drop-down field to select Terminal:

Step 7
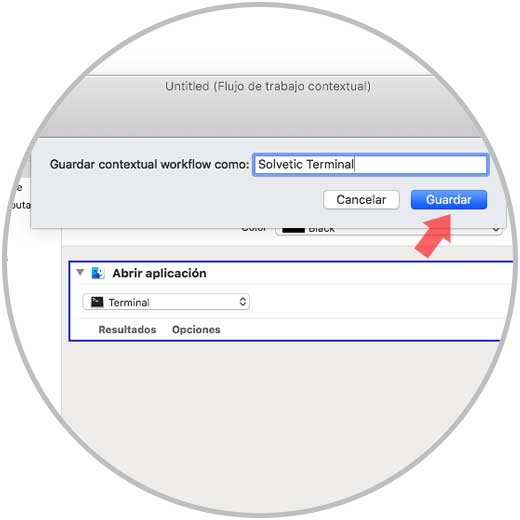
Once this is done, we go to the File / Save menu and assign the desired name to the created workflow. Click on the Save button to apply the changes.
Step 8
The next step is to access System Preferences where we will see the following:
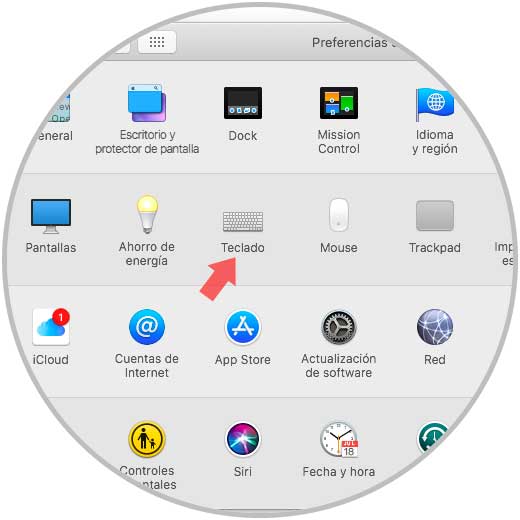
Step 9
There we select the Keyboard category and we will go to the Quick Functions tab, there we select the Services category and we will locate our created flow:
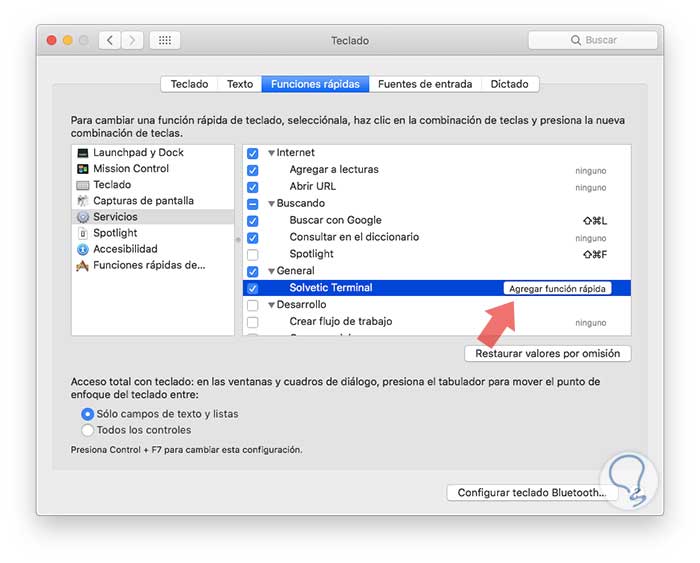
Step 10
When selecting it, it will be possible to add some keyboard shortcut and for this we click on the Add Quick Function field and press the desired keys to be assigned:
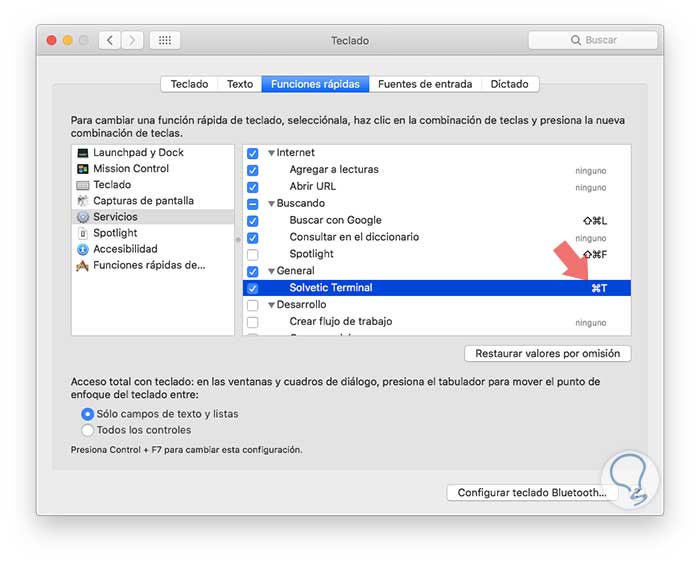
From now on, we can use this combination to access and open the terminal in macOS..
5. How to open terminal with keyboard in Mac OS
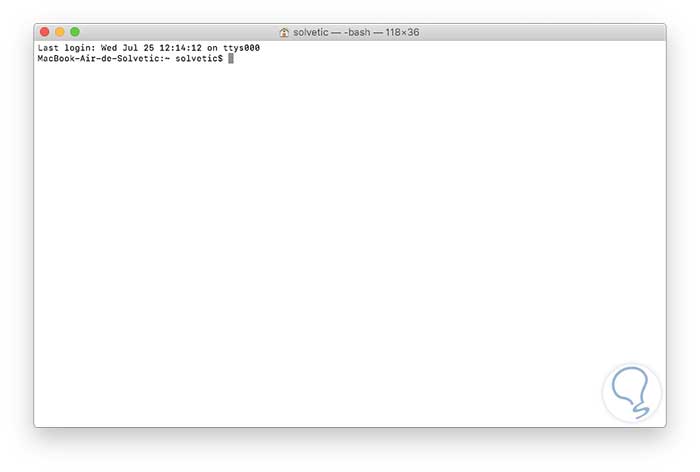
For this option, in the first place, we have used Automator which creates the own combination of keys, but if we do not want to use this option, we can use the Command + Space keys so that the Spotlight utility is deployed and there look for the terminal:
Now, when we access the terminal it will be possible to manage and administer various services and system parameters from there.
An example that the terminal is much more than just orders, just run the following line:
ruby -e 'C = `stty size`.scan (/ \ d + /) [1] .to_i; S = [" 2743 ".to_i (16)]. pack (" U * "); a = {}; puts "\ 033 [2J"; loop {a [rand (C)] = 0; a.each {| x, or |; a [x] + = 1; print "\ 033 [# {o}; # { x} H \ 033 [# {a [x]}; # {x} H # {S} \ 033 [0; 0H "}; $ stdout.flush; sleep 0.1} ' Pressing Enter we will see snow effect on our console:

Now that we have seen how to access the console in macOS, we will analyze its context a bit.
6. Terminal analysis in Mac OS
The terminal console is made up of certain elements that are:
Command line
It refers to the real line where the command or order to execute is written
Console
It covers both the command line and the output of the previous commands that have been executed
Terminal
It is a real interface of the console itself, it has been developed as a program through which it interacts with the console.
Prompt
It is the beginning of the command line and by default it ends at the $ sign
Through the terminal commands are executed that display information of something specific or an order is executed. We must be careful with the commands executed as we can affect other system values ​​and cause instability.
Available libraries
A practical way to know the available libraries, as well as their permissions is to execute the following:
ls -l ~
The result will be as follows:

We can see the details of each macOS library, in this case the ls command allows us to list a series of attributes as the command is executed, the -l (long) parameter, is responsible for listing the names of the files and the ~ parameter is an abbreviated name to select the home folder of the current user.
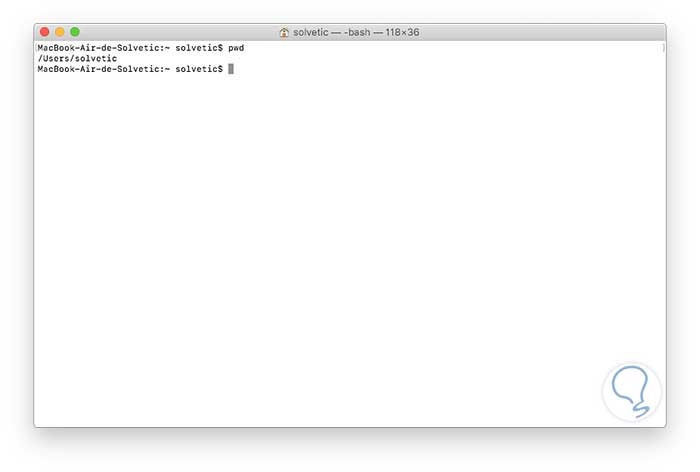
In macOS we always work in a working directory, so if we do not know with certainty in which directory we are, we can use the pwd (print working directory) command to display this information:
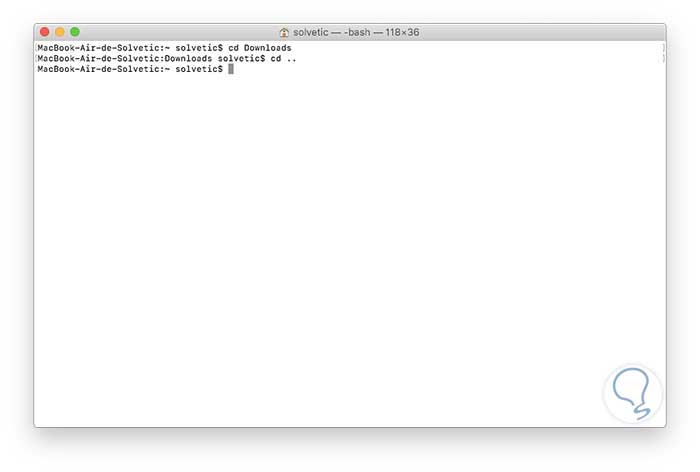
Browse between directories
Another of the practical tasks to be carried out from the terminal is to navigate between directories, for this it is enough to use the cd command and enter the desired library like this:
cd Documents (Access to Documents) cd Downloads (Access to Downloads) cd Movies (Access to Movies)
To return to the home directory we execute:
cd ..
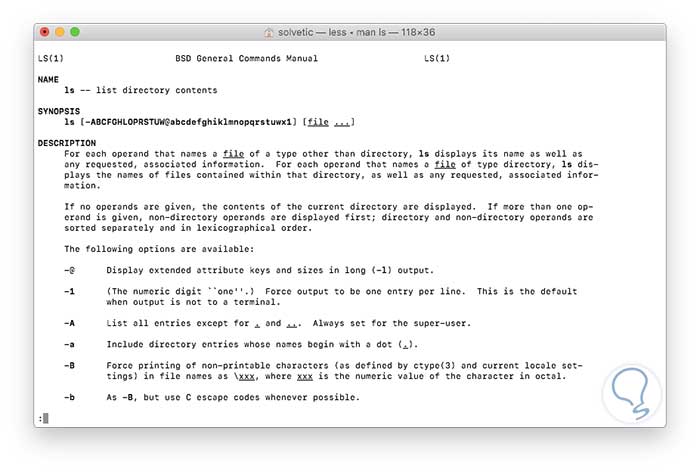
Help tools
The console has help tools that will be useful when we are not clear about the execution of any command, for this purpose the man parameter followed by the command will be useful and thus display both its description and its use options:
man ls
Useful terminal options
Mkdir
Create a new directory
Touch
Create a new empty file
rm
Delete a file or directory
less
Display the contents of a file in a scroll buffer
Some other useful commands, either administration or are not:
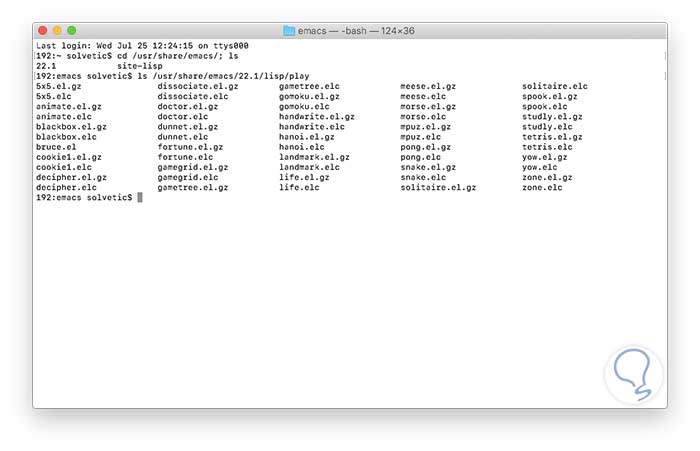
Play in the end
To do this we must first know the version of emacs running:
cd / usr / share / emacs /; ls
Based on the result obtained, we display the available games with the following command:
ls / usr / share / emacs / â€version_emacs†/ lisp / play
Get a folder with recently used applications
To do this we must execute the following:
defaults write com.apple.dock persistent-others -array-add '{"tile-data" = {"list-type" = 1; }; "tile-type" = "recents-tile"; } '; killall dock Show hidden files
For security, many elements are hidden from the user, if we wish to have access to them we execute:
defaults write com.apple.finder AppleShowAll Files TRUE; killall finder
See the resource consumption of our apps
Ideal for a control over the hardware, for this we execute:
sudo fs_usage
We have been able to verify that we can open the Mac terminal in several ways. We can also see that the macOS terminal is much more of a simple utility to execute orders, since with it we can perform various administrative tasks in a simple, practical and with the best results. Knowing all the forms will make it more than simple to be able to open the terminal window in multiple ways on your Mac computer.
Remember that you can learn many more ways to use commands in Mac terminal very useful as we put below.