Working with applications in Windows 10 is a task that we do frequently, but there are applications that are more delicate than others, such as native applications. These cannot be managed in the traditional way and for this we have an application called MinGW (Minimalist GNU for Windows), which is basically a minimalist development environment for native applications of Windows operating systems..
By installing MinGW, we are installing a set of totally open source programming tools which we can use to implement or develop native Windows applications which do not depend on any C-Runtime DLL that has been developed by third parties.
MinGW is linked to some DLLs developed by Microsoft, MSVCRT.DLL being one of the most important. All MinGW compilers offer access to the Microsoft C runtime functions, as well as some specific runtimes of the language in which we are working..
MinGW Features
We highlight the following in MinGW:
- It has a command line installer, as well as an optional graphical user interface (mingw-get) which is ideal for the implementation of MinGW and MSYS on the system.
- It has a port of the GNU Compiler Collection (GCC), including the C, C ++, ADA and Fortran compilers.
- GNU Binutils for Windows.
- Integrate a GUI configuration tool for the first time (mingw-get-setup).
Without further ado, let's see how to install MinGW in Windows 10.
To stay up to date, remember to subscribe to our YouTube channel! SUBSCRIBE
How to install MinGW on Windows 10
Step 1
Let's go to the official MinGW download link:
MinGW
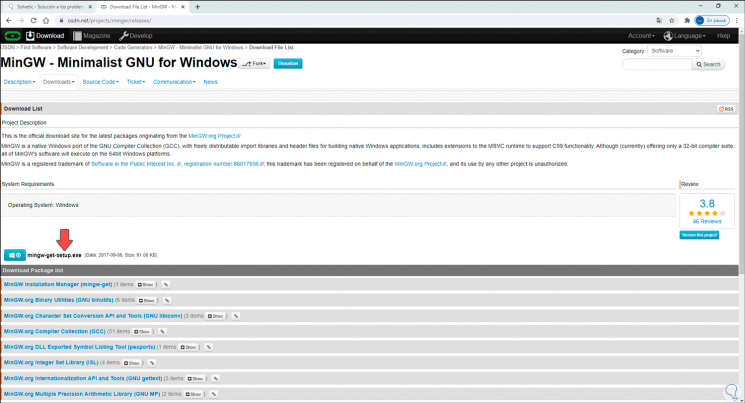
Step 2
Click on the "Windows" option:
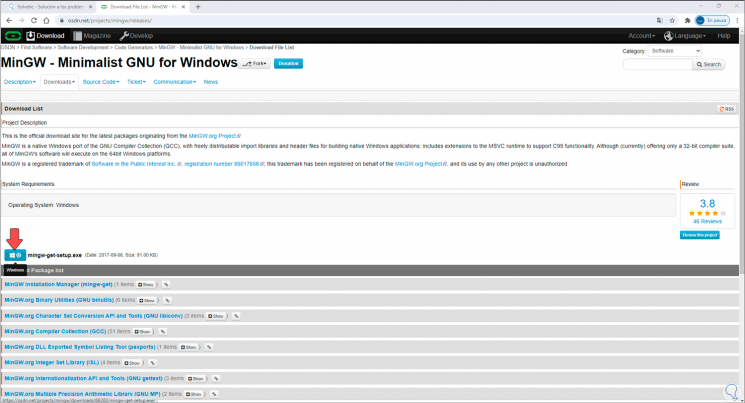
Step 3
By clicking there it will be possible to save the MinGW executable:
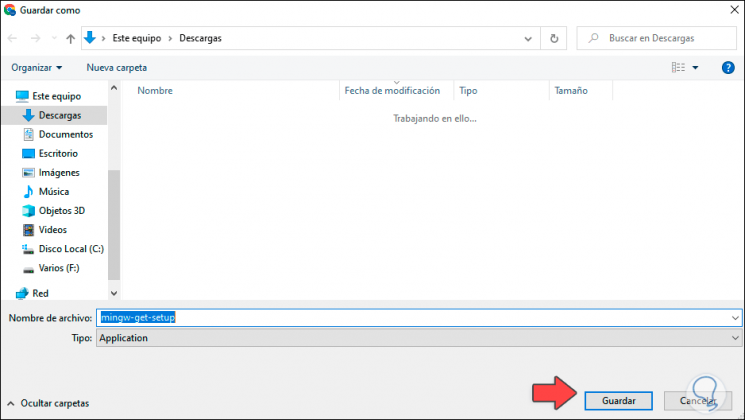
Step 4
We save the file locally:
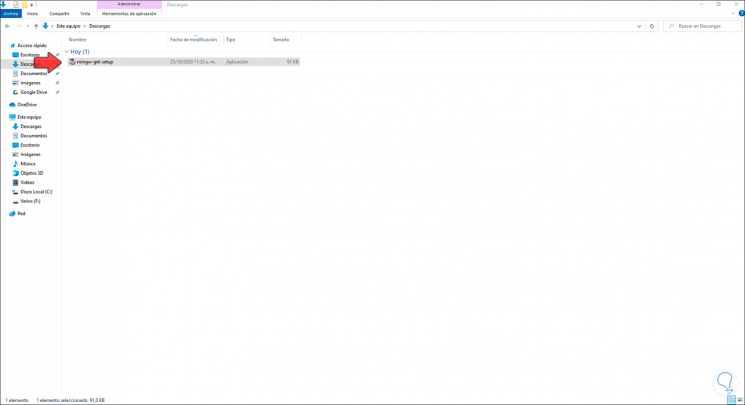
Step 5
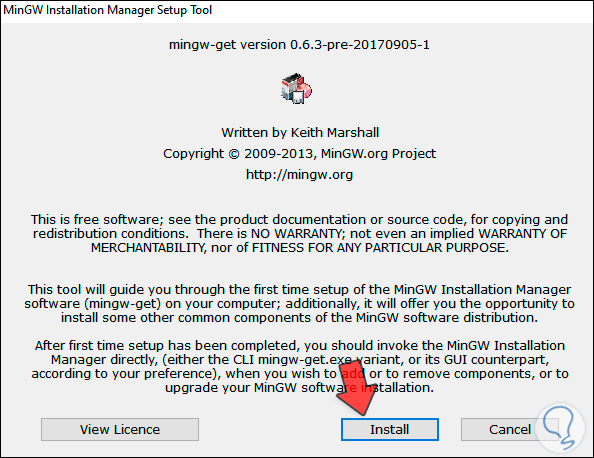
Once downloaded, double-click on this executable to launch the MinGW installation wizard in Windows 10:
Step 6
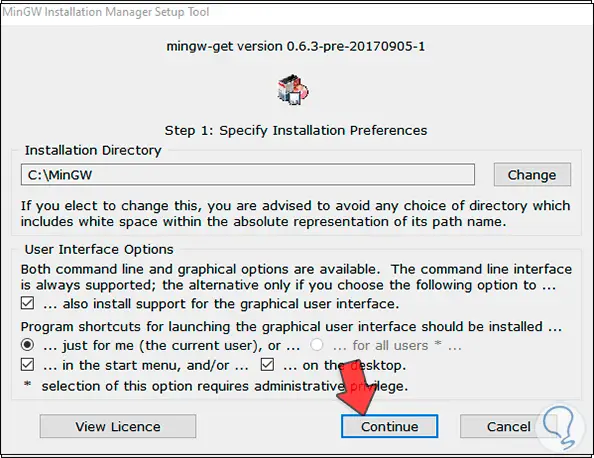
We click on "Install" and in the next window we define:
- Option to add graphical interface
- Adding or not the shortcuts
Step 7
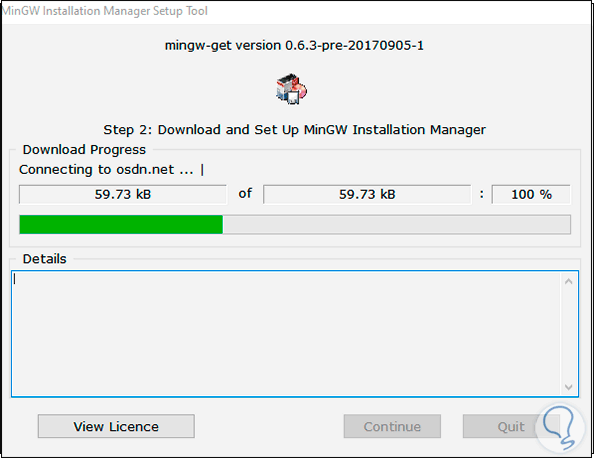
We click "Continue" to start the download and installation process of MinGW in Windows 10:
Step 8
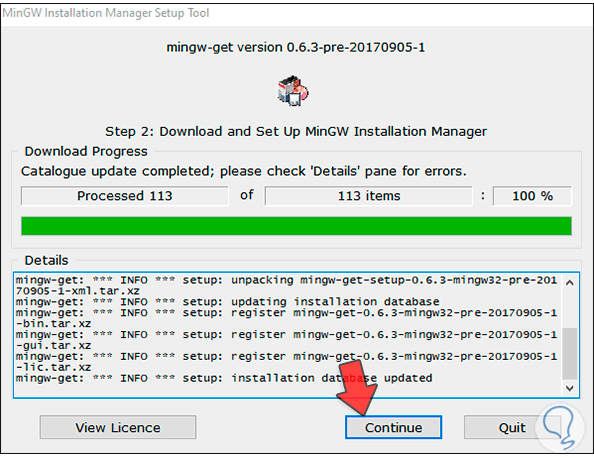
When the download has finished we will see the following:
Step 9
Again we click on “Continue” to access the MinGW graphic console:
Step 10
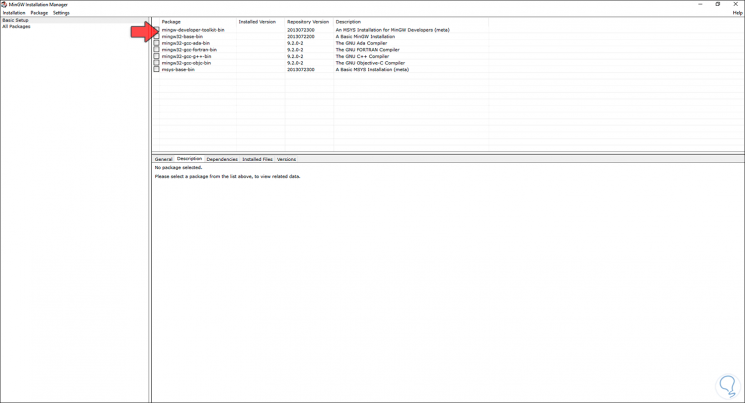
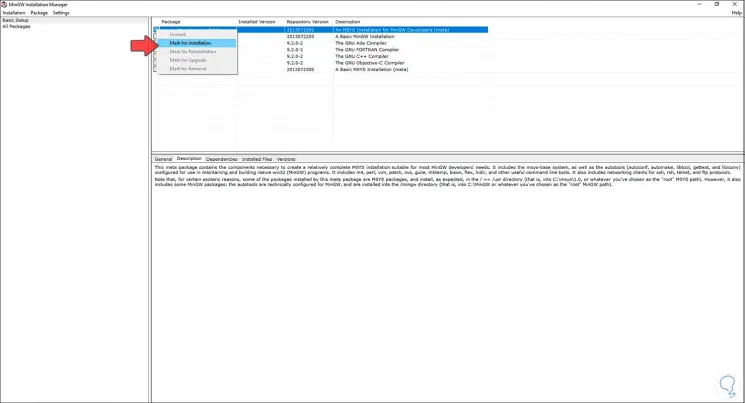
In the upper right part we find the components that we must install, we right click on the first one and select “Mark for installation”:
Step 11
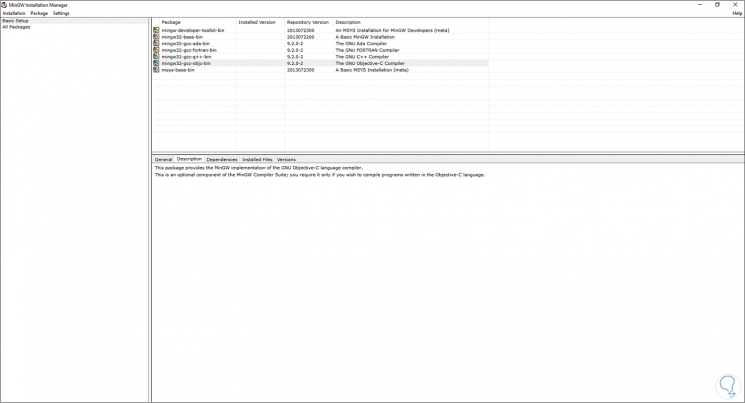
We repeat this process with each of the components:
Step 12
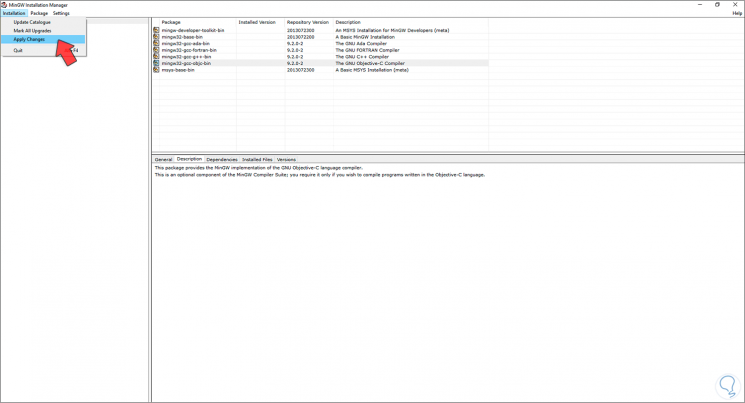
After this we go to the menu "Installation - Apply Changes":
Step 13
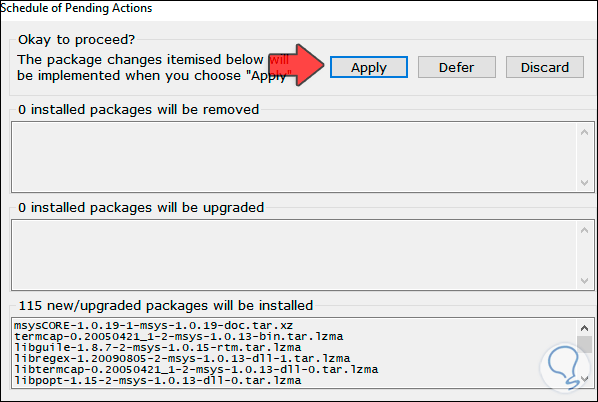
The following window will be displayed:
Step 14
To start the process we click on "Apply":
Step 15
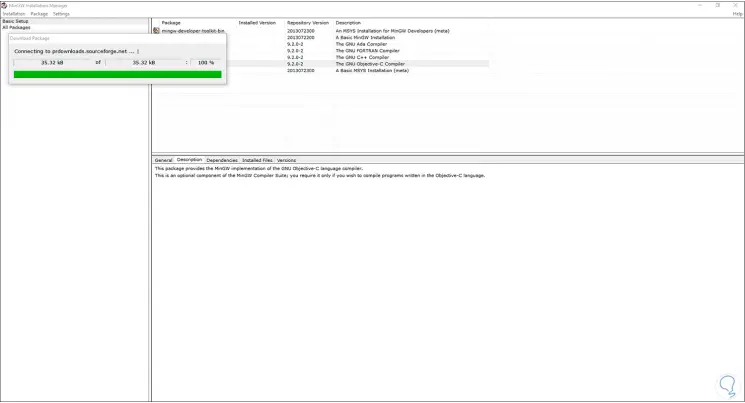
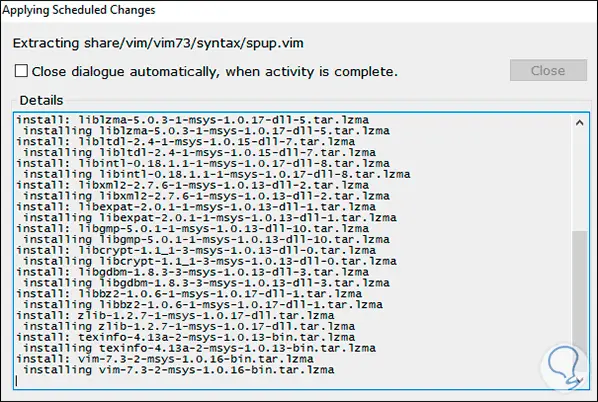
This leads to the download, extraction and installation of each of them:
Step 16
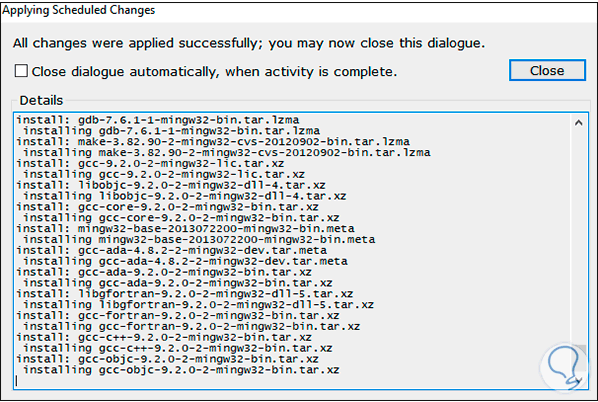
Upon completing the process we will see the following. We click Close to exit the wizard.
Step 17
Now we go to the following path in Explorer:
C: \ MinGW
Step 18
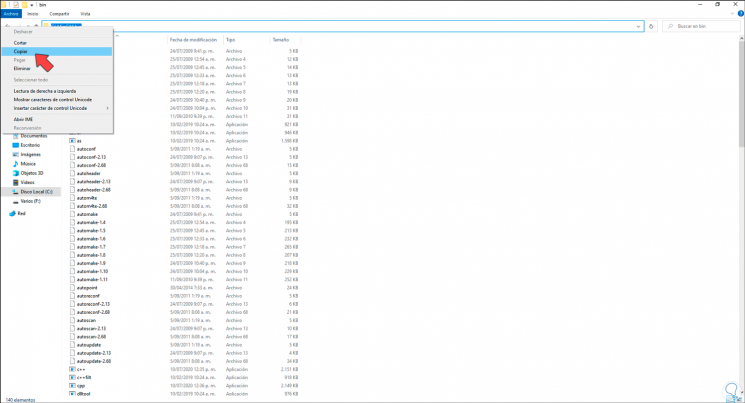
We copy this path:
Step 19
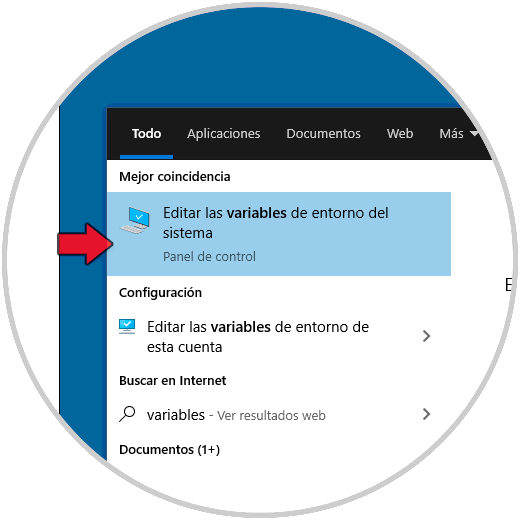
In the Start search engine we enter the word "edit" and in the displayed results we select "Edit the system environment variables":
Step 20
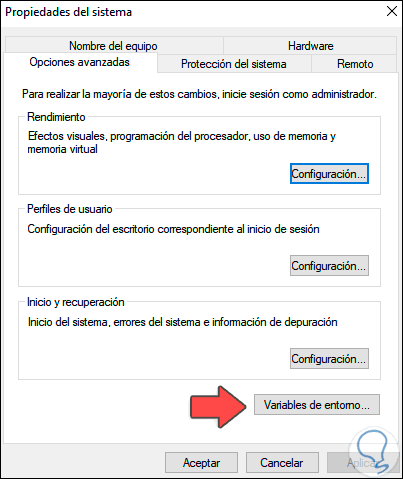
In the pop-up window we click on "Environment variables":
Step 21
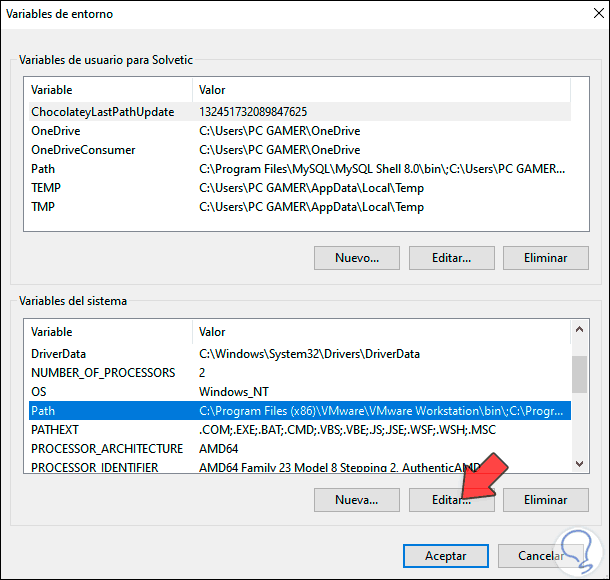
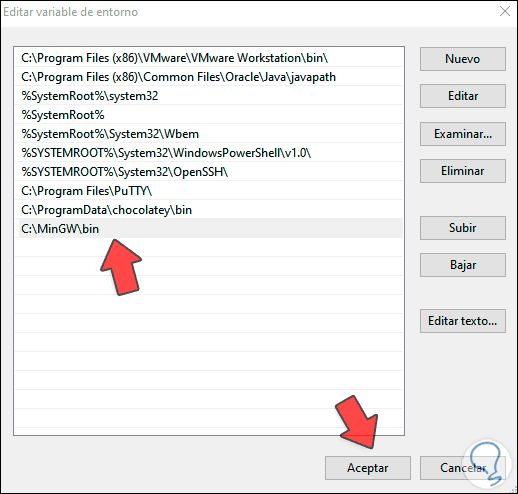
In the next window we go to the "System variables" section, select "Path" and click Edit:
Step 22
In the new window we paste the path that we have copied to be created as a new variable. We click OK to save the changes.
Step 23
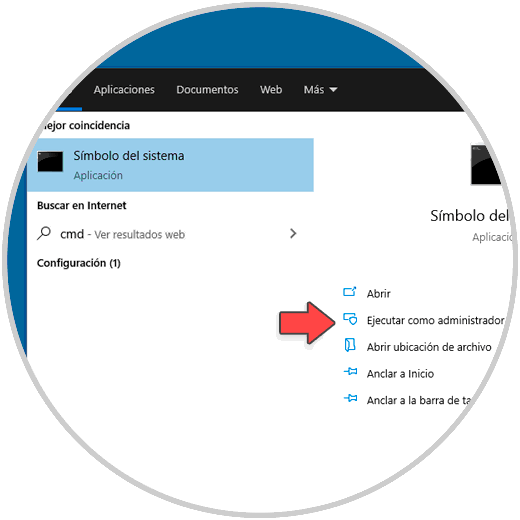
We access the command prompt console as administrators:
Step 24
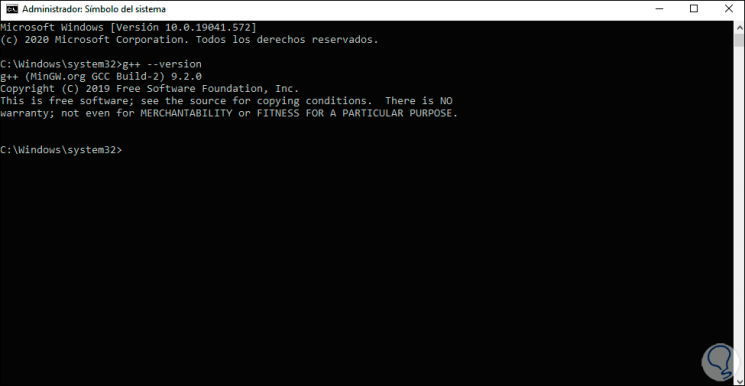
In the terminal we are going to verify the version of MinGW with the following command:
g ++ --version
TechnoWikis has explained to you in a simple way how to install MinGW in Windows 10 in a complete way to manage native Windows 10 applications..