Internet speed is based on a series of parameters and functions such as network equipment (modem, router) as well as the plans that are acquired with the ISO, but even more importantly, on the internet speed it has a fundamental impact on what that we do on the computer, downloads, open programs, etc., where network consumption is high, the natural speed of the Internet can be affected ..
Against high speeds is key for optimal work especially if our activities are based on the network, for all this in TechnoWikis we will explain how to see Internet speed in real time using two functional methods.
To stay up to date, remember to subscribe to our YouTube channel! SUBSCRIBE
1. See internet speed on my Windows 10 PC from Task Manager
Step 1
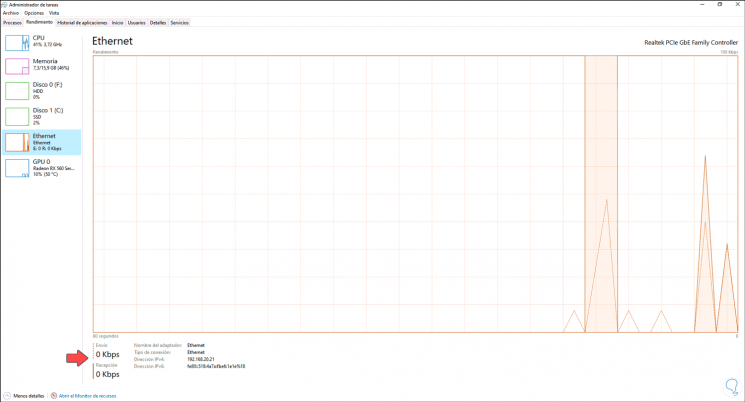
For this method, simply access the Task Manager from the task bar and in the "Performance" tab go to the "Ethernet" section:
Step 2
There, at the bottom, we find details like. This is a graphical and functional way to access these details.
- Upload and download speed
2. See internet speed on my Windows 10 PC with NetSpeedMonitor
Today there are several special applications for this type of segment and NetSpeedMonitor is one of them. NetSpeedMonitor has been developed as a network monitoring toolbar which is anchored in the Windows task bar, its job is to monitor the speed of the network in real time over a selected network interface.
Step 1
The download of this tool is available at the following link:
NetSpeedMonitor

Step 2
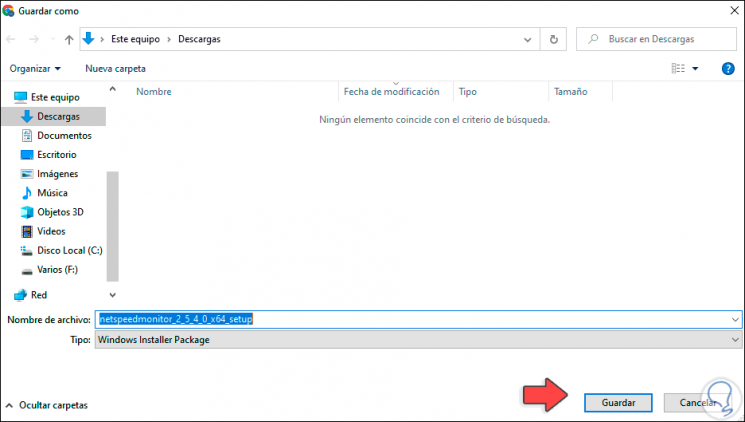
There we download the utility and save it locally in Windows 10:
Step 3
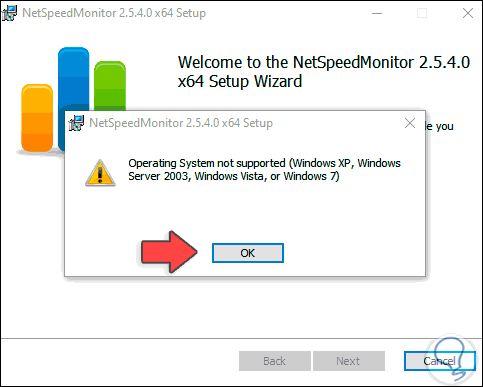
We click Save and when we execute this file we will see the following:
Step 4
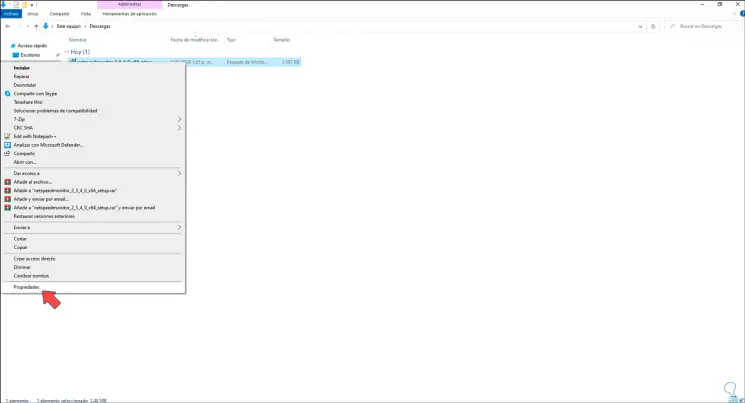
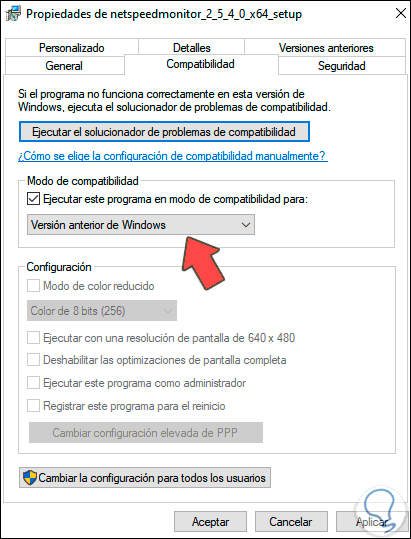
As we can see, it is a version that is available up to Windows Vista, but this does not mean that it is not possible to use it, so that it runs well in Windows 10 we must right click on the executable and select "Properties":
Step 5
In the displayed window we go to the "Compatibility" tab and there we must activate the box "Run this program in compatibility mode for". The only option available is “Previous version of Windows”. We apply the changes.
Step 6
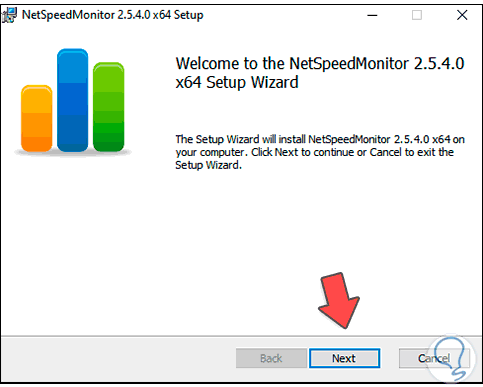
We run the file again and we can see that the utility's installation wizard is launched:
Step 7
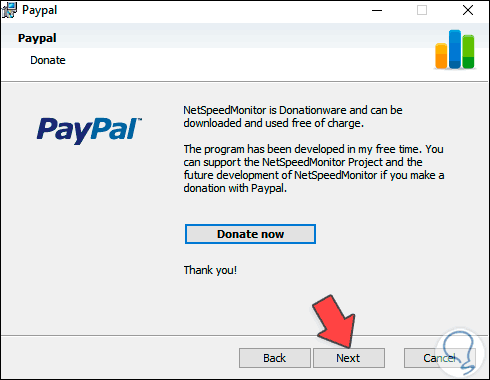
We click Next and then it is possible to make a donation for the project:
Step 8
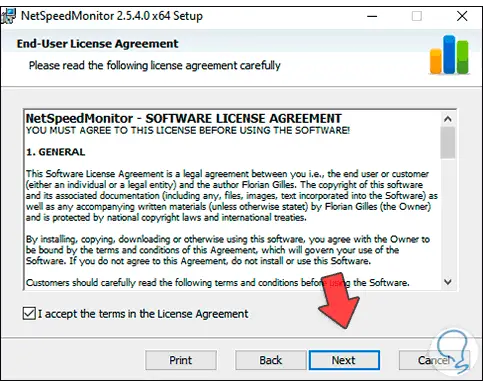
We click Next and we must accept the license terms of the application:
Step 9
In the next window we define the path where NetSpeedMonitor will be installed:
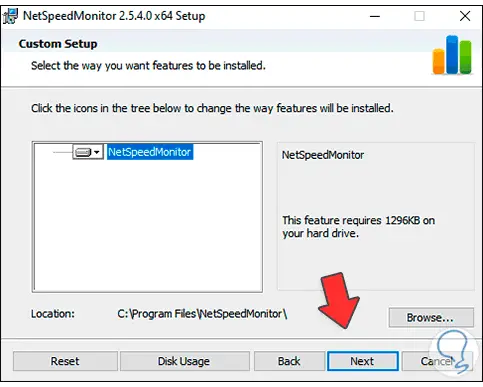
Step 10
Again we click on Next and we will be ready for the installation:
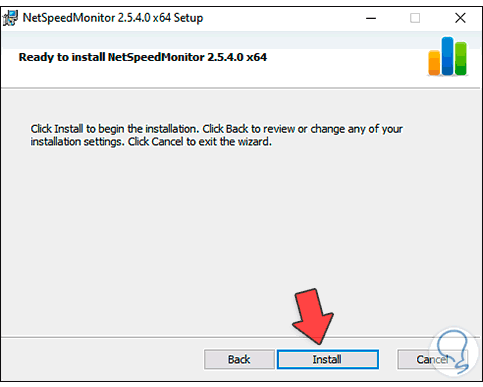
Step 11
Click on "Install" to start the process:
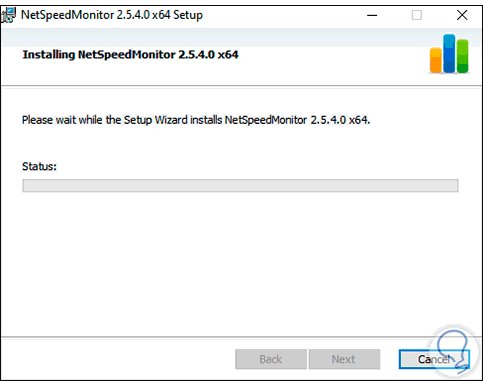
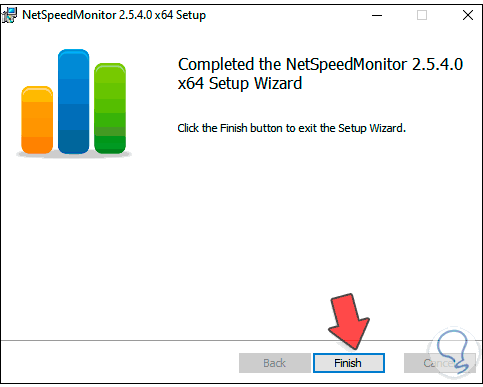
Step 12
At the end of the process we will see the following. We click Finish to exit the wizard.
Step 13
After this we go to the following route:
C: \ Program Files \ NetSpeedMonitor
Step 14
There we double click on the executable and the following window will be launched:
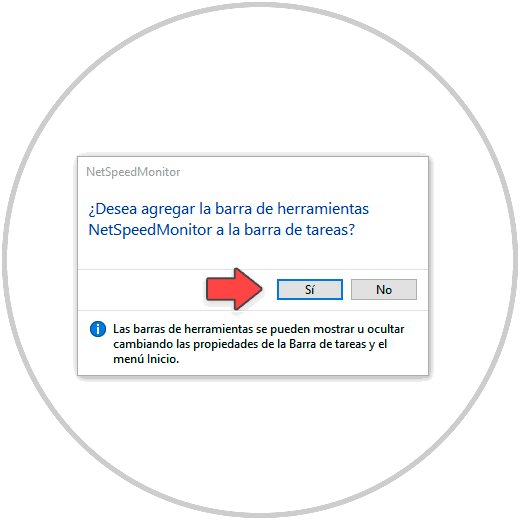
Step 15
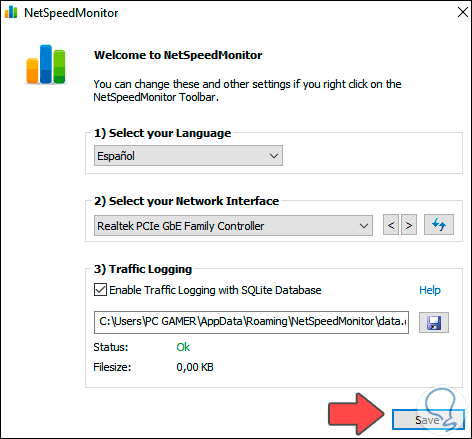
There we click on Yes so that the monitoring is integrated into the Windows 10 taskbar, the following window will be displayed where we define:
- Network card on which the analysis will be done
- Option to log the event in SQL format
Step 16
In this case we deactivate the SQL option:
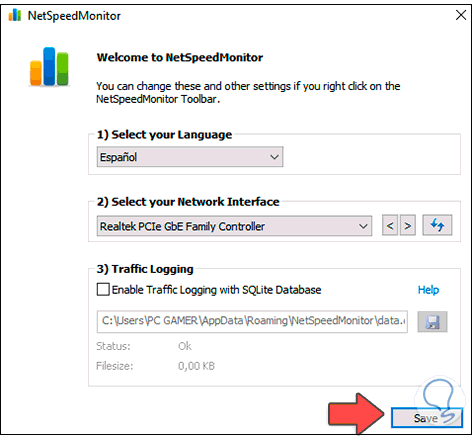
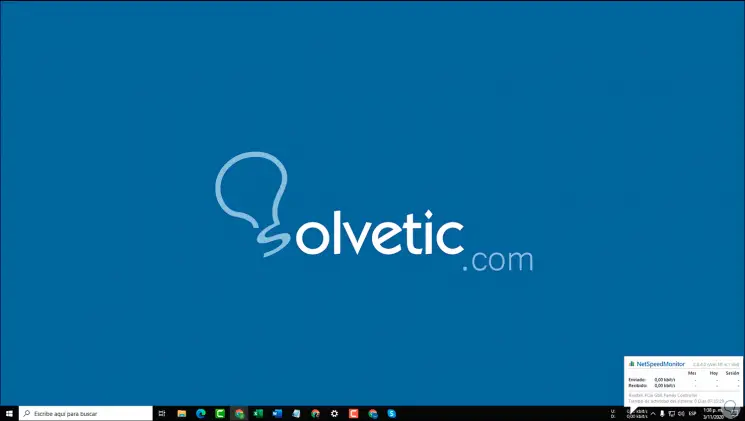
Step 17
We click on Save to save the changes, we will immediately see in the task bar the status of the Internet speed in Kb / s:

Step 18
When hovering the mouse over these data, we see graphic information about them:
Step 19
We right click on the data and select "Settings":
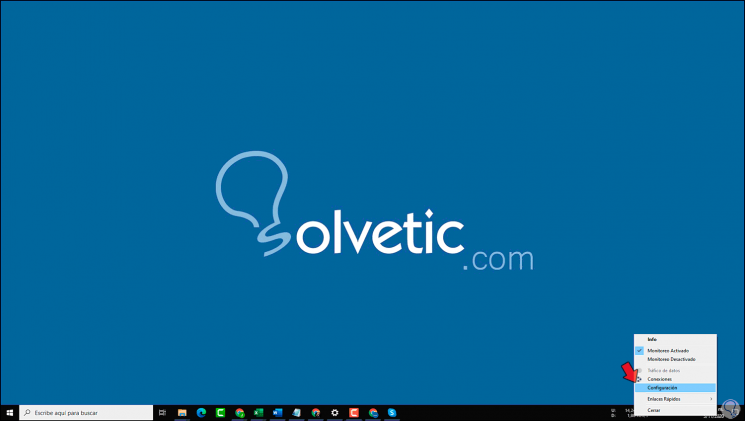
Step 20
We find different tabs where it is possible to make changes such as:
- Change in unit of measurement
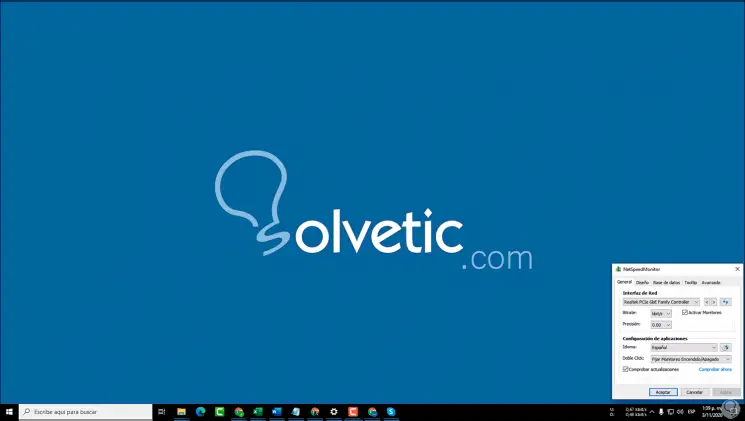
Step 21
In this case we change the data so that it is represented in MB / s:
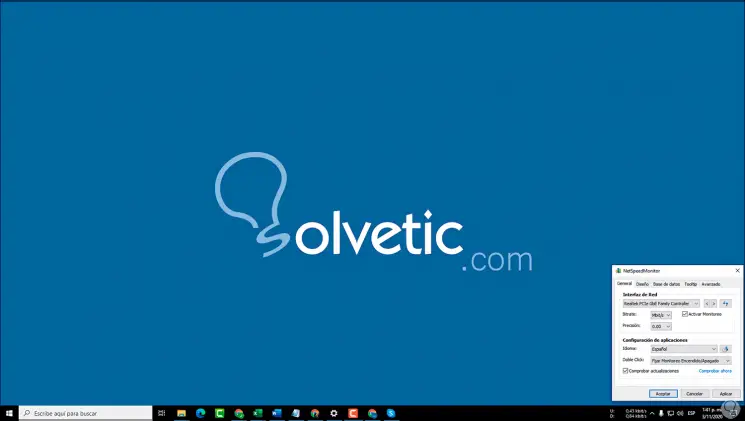
Step 22
We click on Apply and OK to confirm the changes.

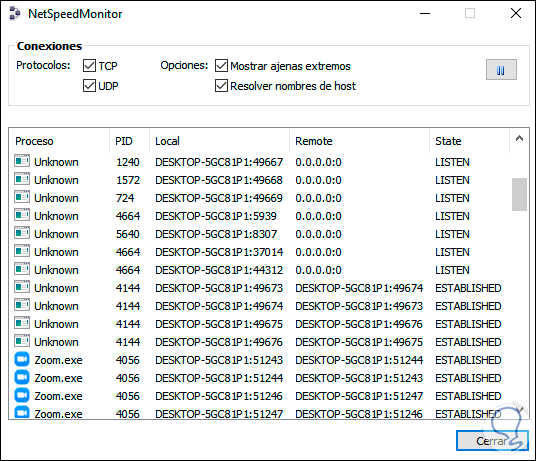
Step 23
Now we right click and select "Connections":

Step 24
As a result we can see all the active protocol connections in real time in the system. There we can apply filters if we wish.
With these two options it is possible to know the speed in real time of the Internet in Windows 10..