When we buy a computer, it comes with an integrated operating system. However, we may want to try another, and the best way to do this is through a virtualization platform . In this way we can test both systems on the same computer..
VirtualBox is one of the most popular applications for everything related to the world of virtualization. This is thanks to the fact that VirtualBox integrates hundreds of features that differentiate it from the others. VirtualBox is available for x86 (32-bit) and AMD64 / Intel64 architectures for both business and personal use.
Some of its features are
- Extensible RDP authentication
- Hardware support for IDE, SCSI, and SATA hard drive controllers
- Integrate Guest Additions to increase virtual machine productivity
- Supports PXE network boot
As VirtualBox is an open source application, it is possible to install it in Ubuntu 21.04 in a practical way and TechnoWikis will explain how to achieve it..
To stay up to date, remember to subscribe to our YouTube channel! SUBSCRIBE
1. How to install VirtualBox on Ubuntu 21.04
Step 1
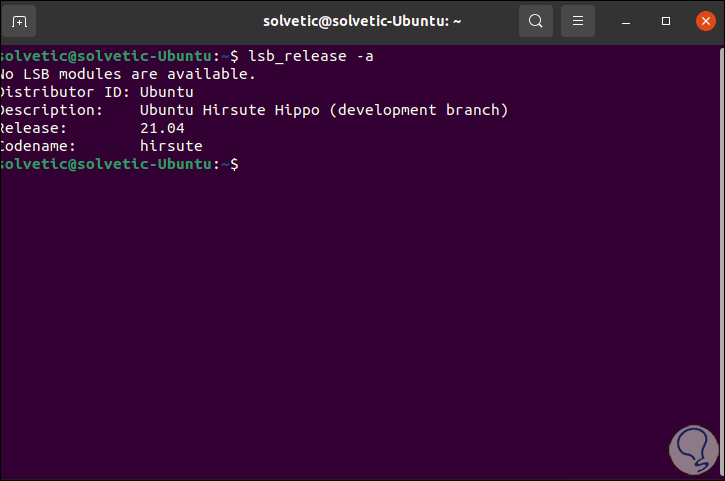
To start we validate that we are using Ubuntu 21.04 with the command:
lsb_release -a
Step 2
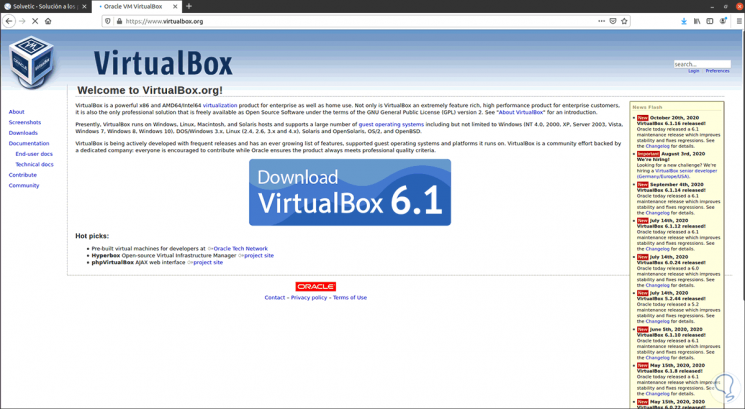
Now we go to the following official VirtualBox link:
VirtualBox
Step 3
There we click on Download and we will see the following:
Step 4
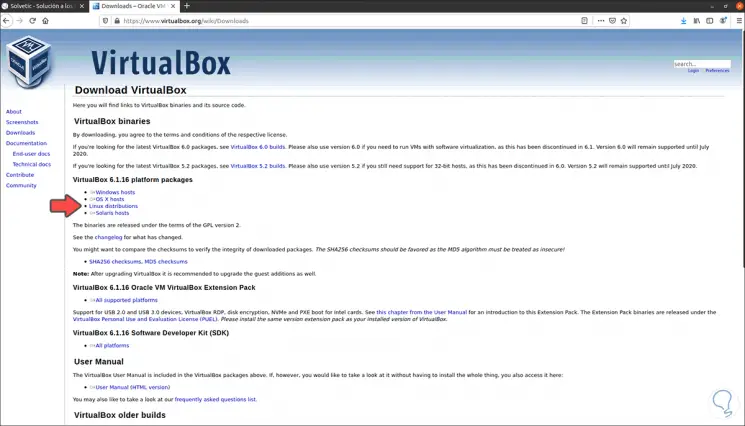
We click on the line "Linux distributions" to see the list of compatible distributions:
Step 5
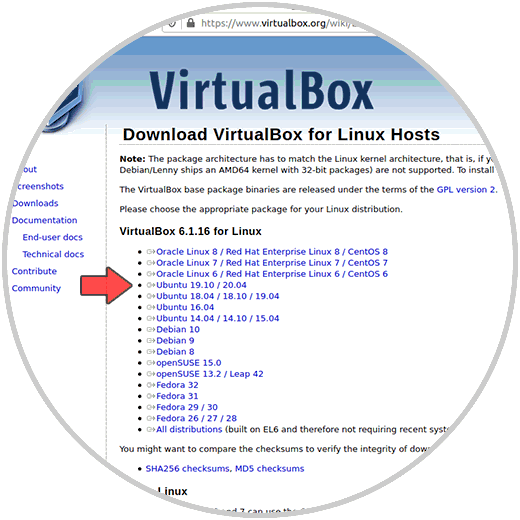
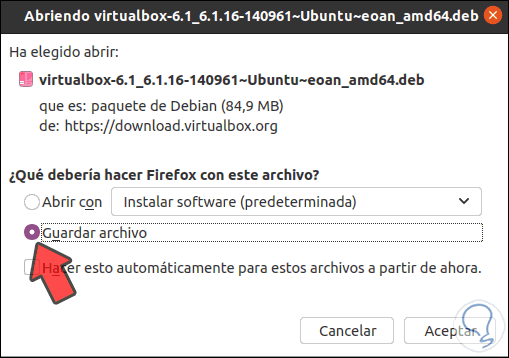
As Ubuntu 21.04 is in beta, we click on the line "Ubuntu 19.010 / 20.04" and the .deb file needs to be saved locally in Ubuntu 21.04:
Step 6
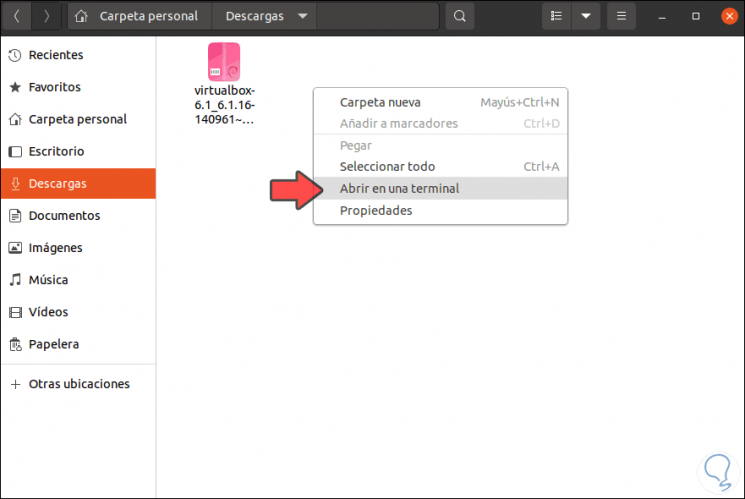
When the download is finished, we go to the Downloads folder, right-click somewhere free and select "Open in a terminal":
Step 7
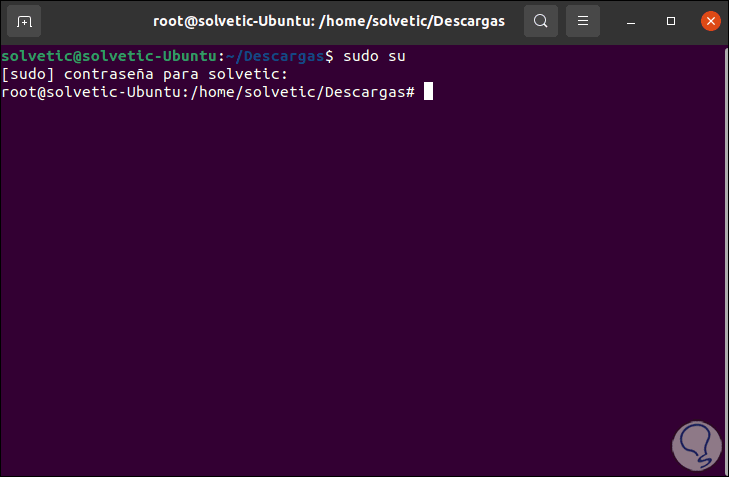
In the terminal we change to be root users with the following command:
sudo su
Step 8
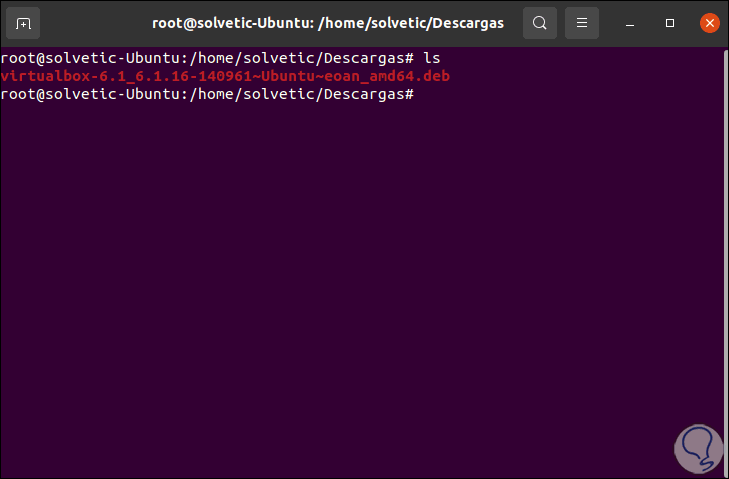
Now, we list the content with "ls":
Step 9
We install VirtualBox with the following command:
dpkg -i file.deb
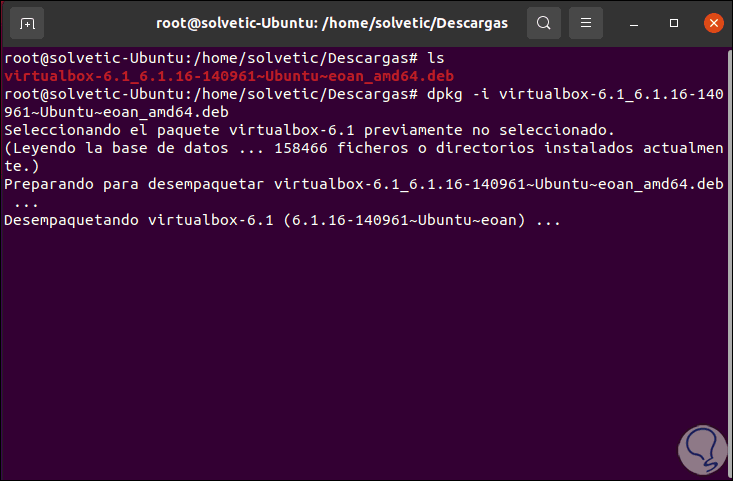
Step 10
There the VirtualBox installation process will take place and at the end we will see some installation errors:
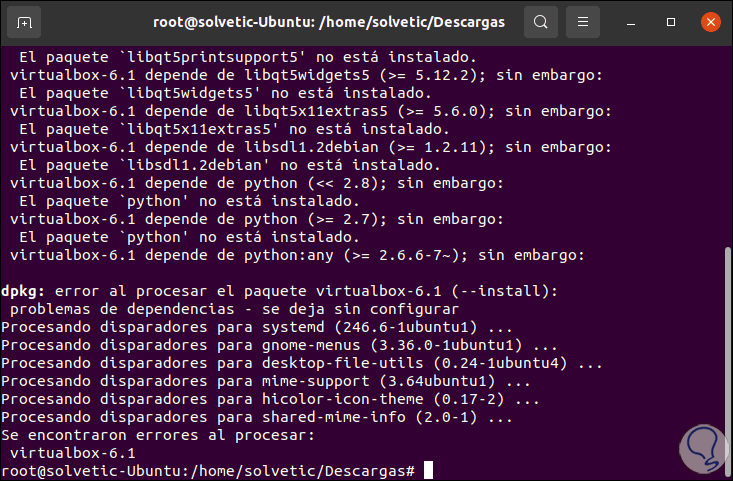
Step 11
We should not worry about them, to correct them we are going to execute the following:
apt-get -f install
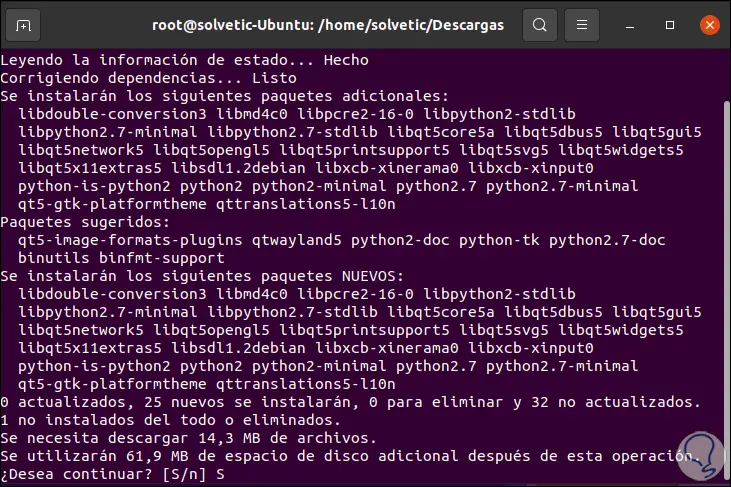
Step 12
We enter the letter S to continue with the download of the packages and the installation of them in Ubuntu 21.04:
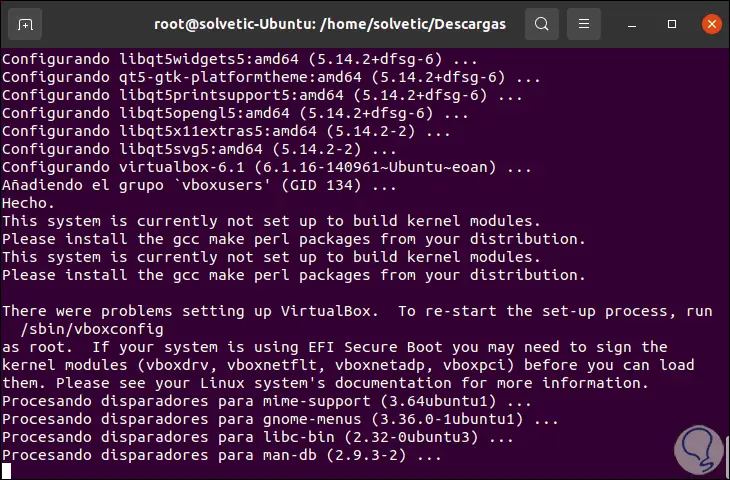
Step 13
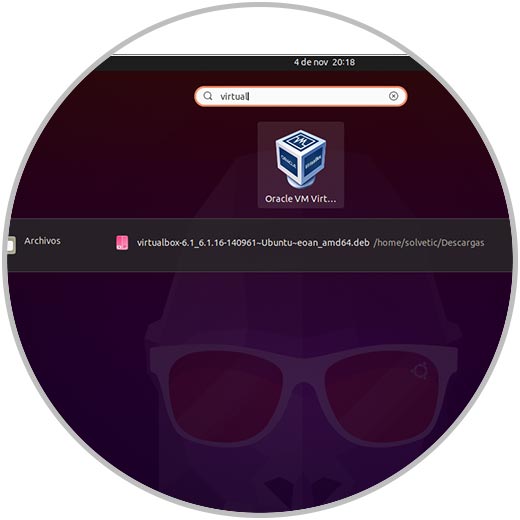
When the process has reached its end, we go to Activities and from there we look for VirtualBox:
Step 14
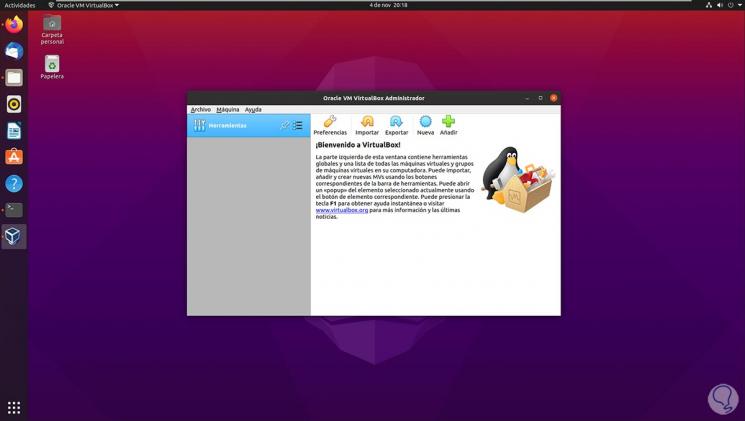
Opening it will launch the traditional VirtualBox console:
Step 15
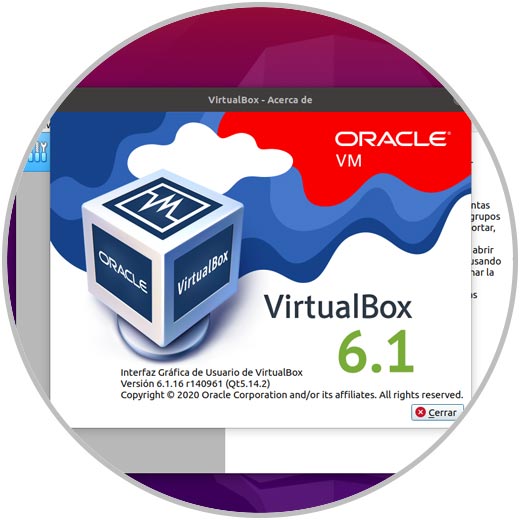
We can go to Help - About to see the version of VirtualBox that has been installed:
Step 16
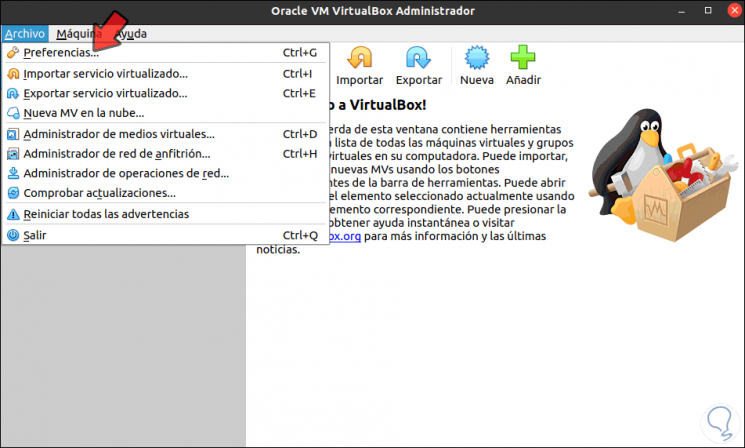
We go to the menu "File - Preferences":
Step 17
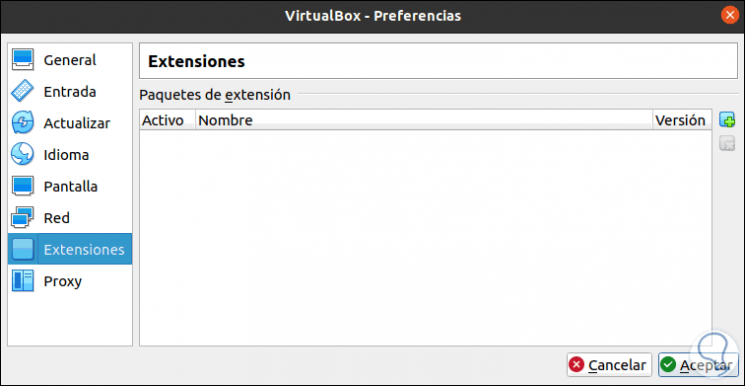
Then we go to the Extensions section and see that this VirtualBox functionality is not installed:
Step 18
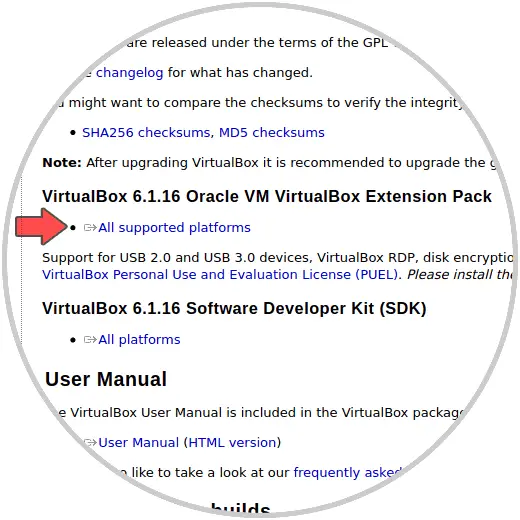
To install them, we go back to the VirtualBox website and in the Downloads section we go to the "VirtualBox Extension Pack" field:
Step 19
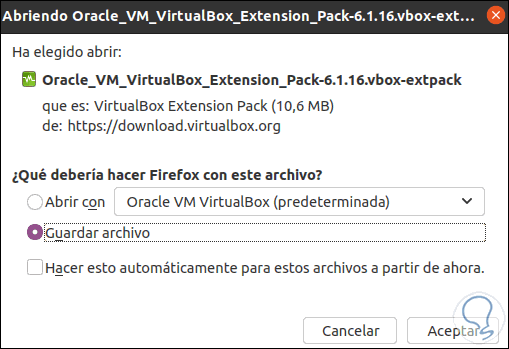
We click on the available line to download this file:
Step 20
The VirtualBox Extension Pack is a binary package that improves the usability of VirtualBox in functions such as:
- Support for USB 2.0 and USB 3.0 devices
- VirtualBox Remote Desktop Protocol (VRDP) function
- Image encryption with the AES algorithm
- Webcam support and many more
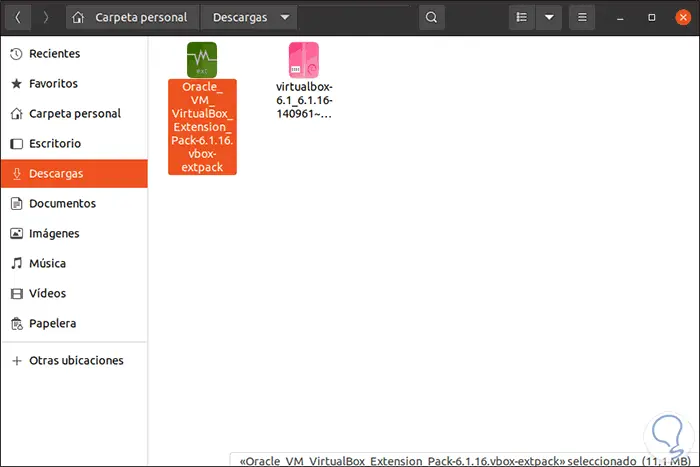
We check the download of the VirtualBox Extension pack file:
Step 21
Now, we open VirtualBox again and go to "File - Preferences - Extensions", there we click on add and go to the path where they have been downloaded:
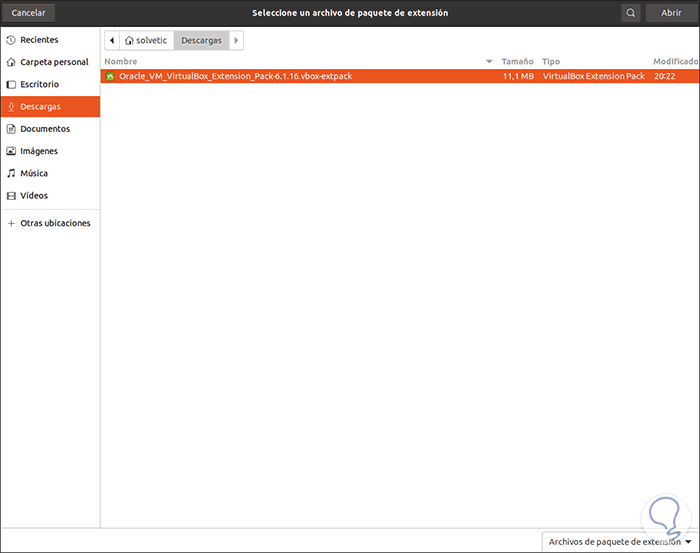
Step 22
We click Open and we will see the following:
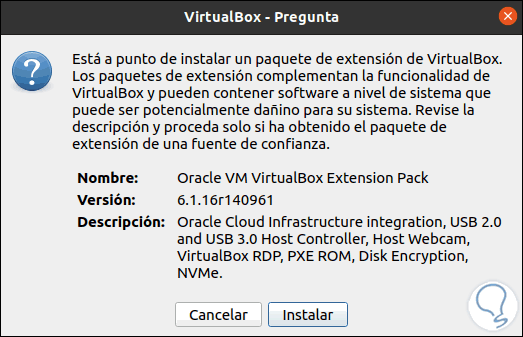
Step 23
We click on Install and we must accept the license terms:
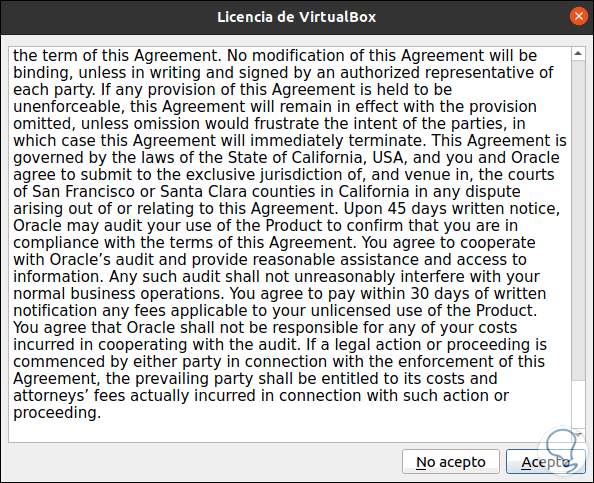
Step 24
We click I accept and we will see that they have been installed correctly:
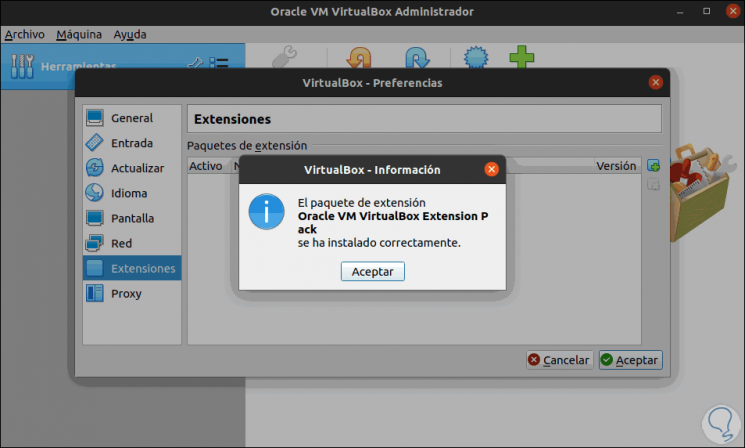
Step 25
Click OK to see the Extension Packs built into VirtualBox in Ubuntu 21.04:
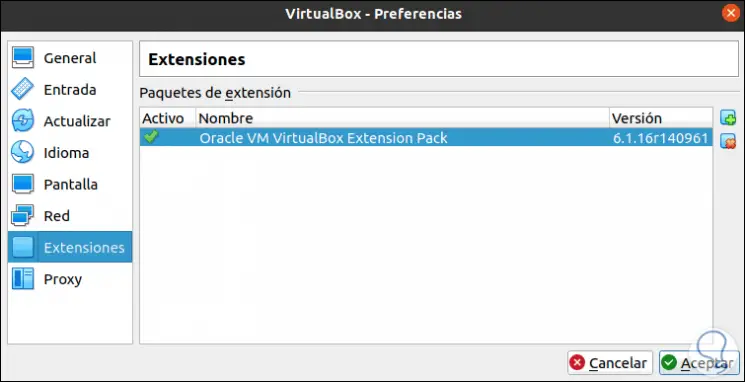
From this moment on we can take full advantage of everything VirtualBox offers us for Ubuntu 21.04.