The development has had an exponential increase opportunities for the millions of modern systems, applications, websites, modules, etc., every day take stronger in small, medium and large enterprises. To help manage, control and administer everything related to web media, we have the most popular application for this, Apache.
Apache helps us create a robust, commercial-grade source code implementation with the best features of an HTTP (Web) server.
Apache functions
It is not for nothing that some of Apache's functions are:
- Powerful, flexible, and HTTP / 1.1 compliant
- Can be used in most versions of Unix
- It is possible to customize your environment by writing modules through the Apache module API
- Allows to be configured and extensible using third party modules
- Integrates the latest protocols, including HTTP / 1.1
- It has DBM databases, relational databases and LDAP for authentication
- It allows to configure pages protected by password and in which large numbers of authorized users are handled
- It is possible to configure files, also CGI scripts, which are returned by the server in response to errors and problems
- Integrates DirectoryIndex directives
- Content negotiation functions with which it is possible to automatically serve customers by complying with HTML level
- Ease of creating virtual hosts thanks to which the server can differentiate between requests made to different IP addresses or computer names
TechnoWikis will explain the step by step to install Apache in Ubuntu 21.04
1. How to install Apache on Ubuntu 21.04 Hirsute Hippo
Step 1
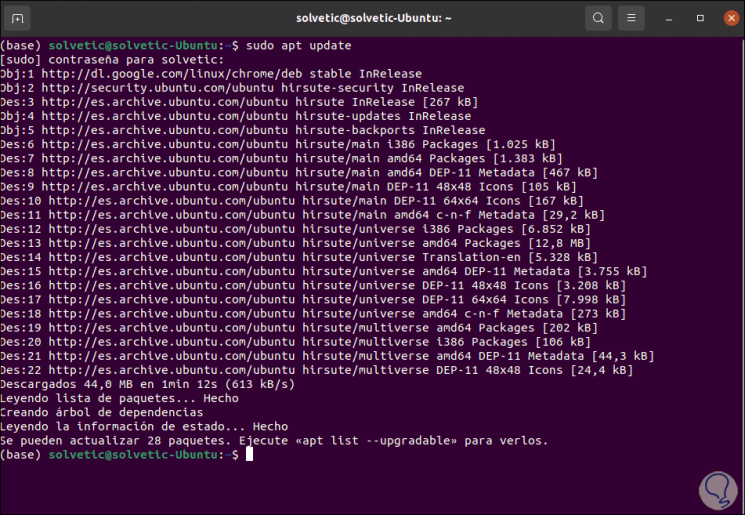
The first thing will be to update the system and its packages with the command:
sudo apt update
Step 2
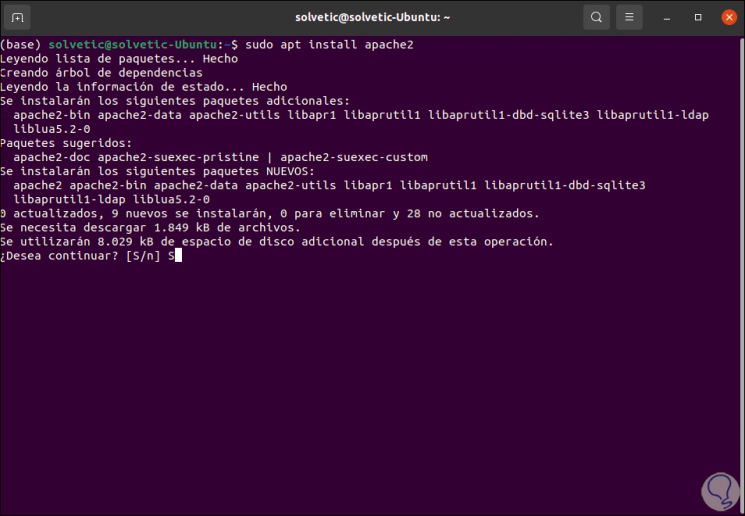
Once Ubuntu 21.04 has been updated, we are going to install Apache with the following command:
sudo apt install apache2
Step 3
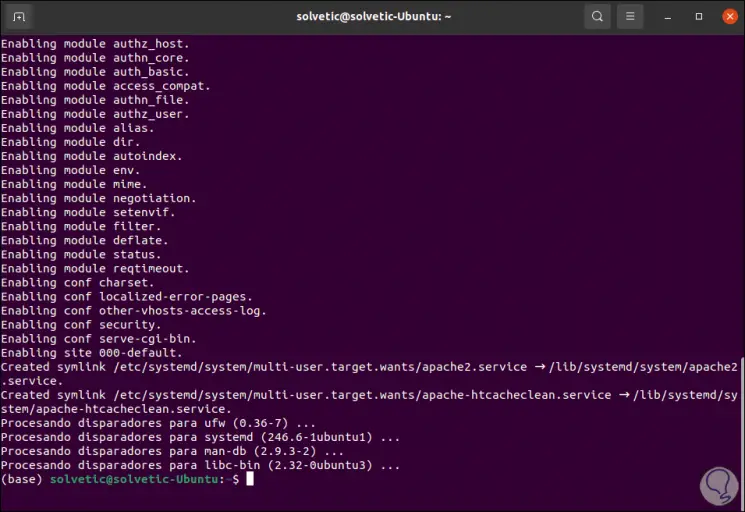
We enter the letter S to confirm the download and installation of Apache and their respective dependencies:
Step 4
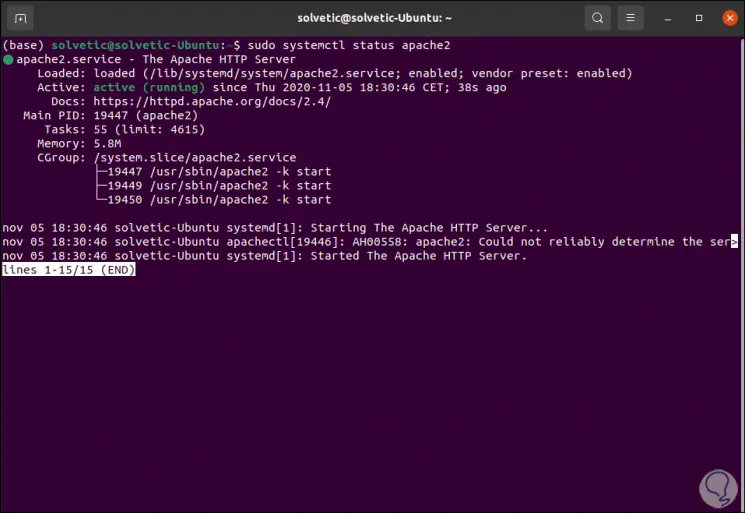
We are going to check the Apache status in Ubuntu 21.04 with the following command:
systemctl status apache2
Step 5
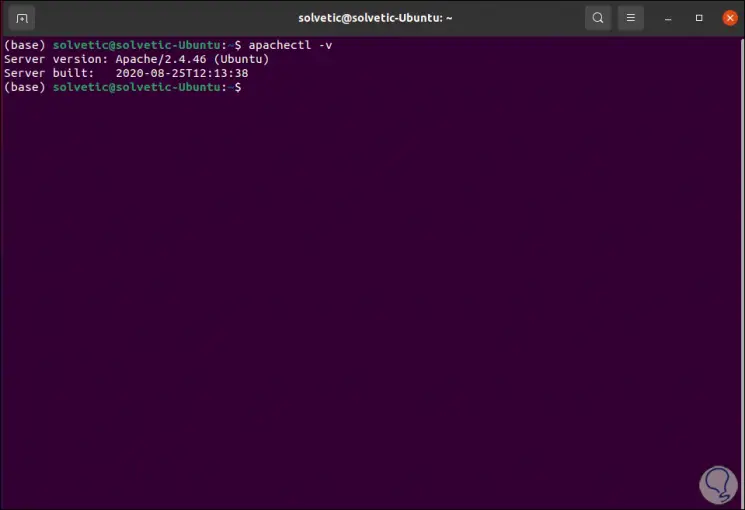
We can see that its status is active and running, after this we validate which is the version of Apache that we have installed with the command:
apachectl -v
Step 6
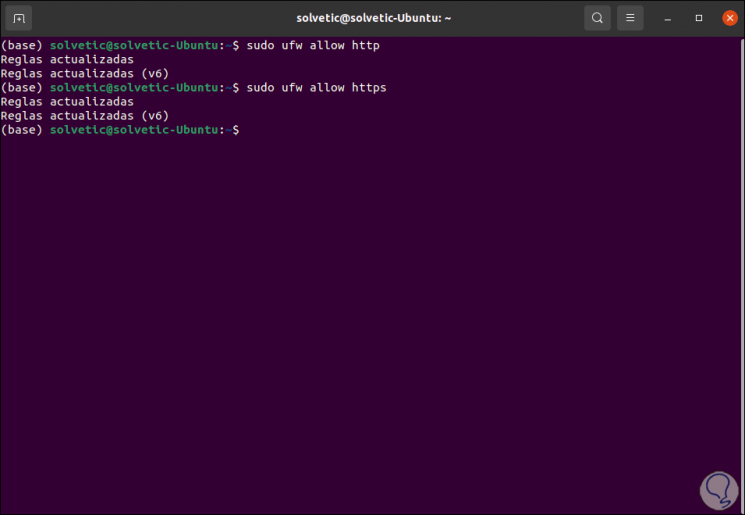
The next step is to configure the UFW firewall of the system, this is an essential step for external connections to the equipment, to enable these connections we run for the HTTP and HTTPS protocols:
sudo ufw allow http sudo ufw allow https
Step 7
To check that Apache has been installed correctly in Ubuntu 21.04 we go to the browser and there we can use the IP of the computer or "localhost":
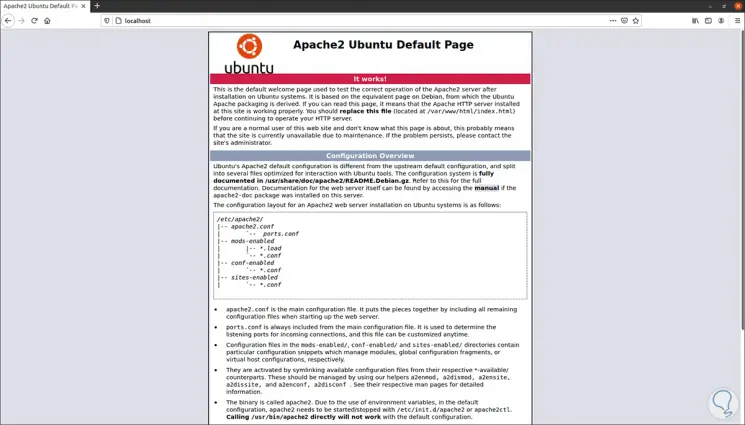
As we can see, the Apache file is seen.
2. How to configure Apache on Ubuntu 21.04
Step 1
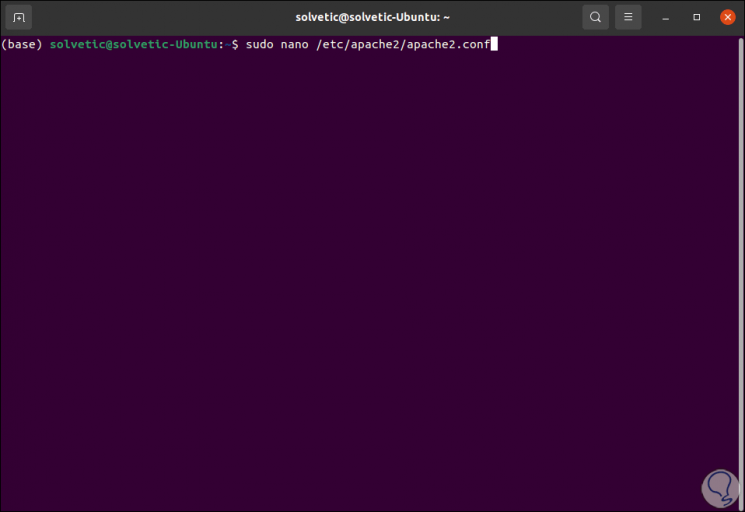
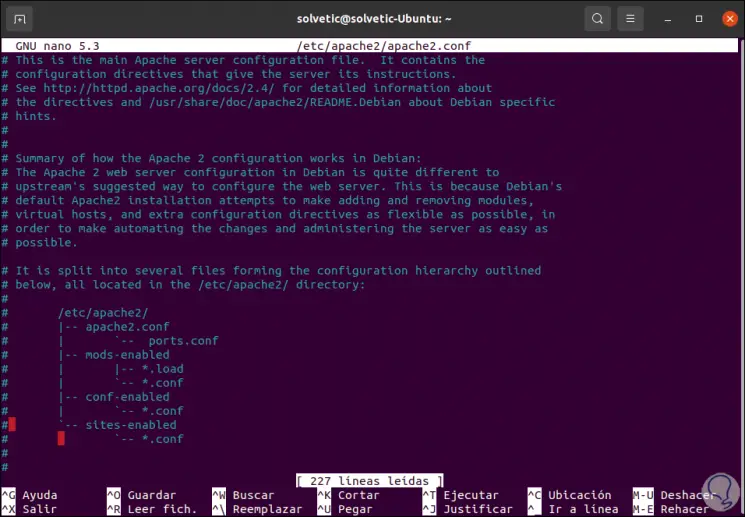
Apache configuration files are housed in the / etc / apache2 directory, to edit Apache we enter the following with the desired editor:
sudo nano /etc/apache2/apache2.conf
Step 2
When accessing this file we will see the following:
Step 3
There we are going to add a new directive called ServerName with the name of the computer:
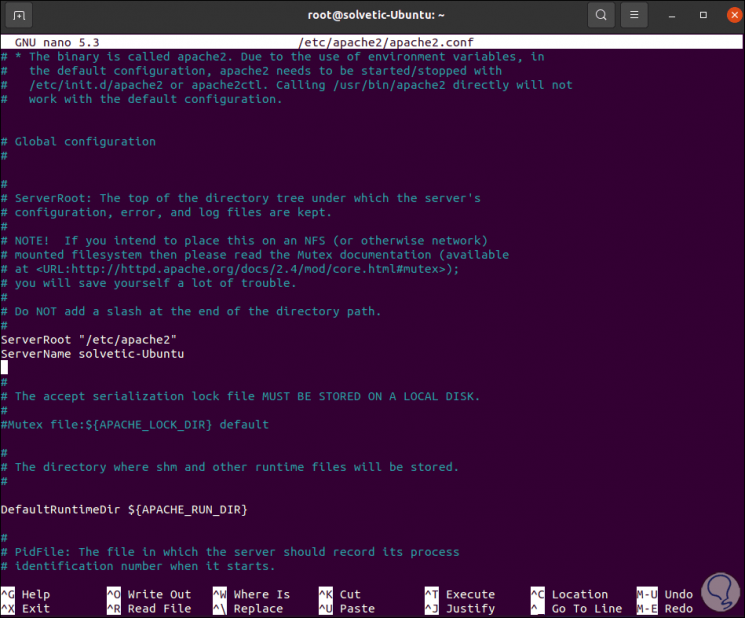
Note
This directive should not have the # sign at the beginning as it would affect its behavior.
We save the changes with the Ctrl + O keys and exit with the Ctrl + X keys.
Step 4
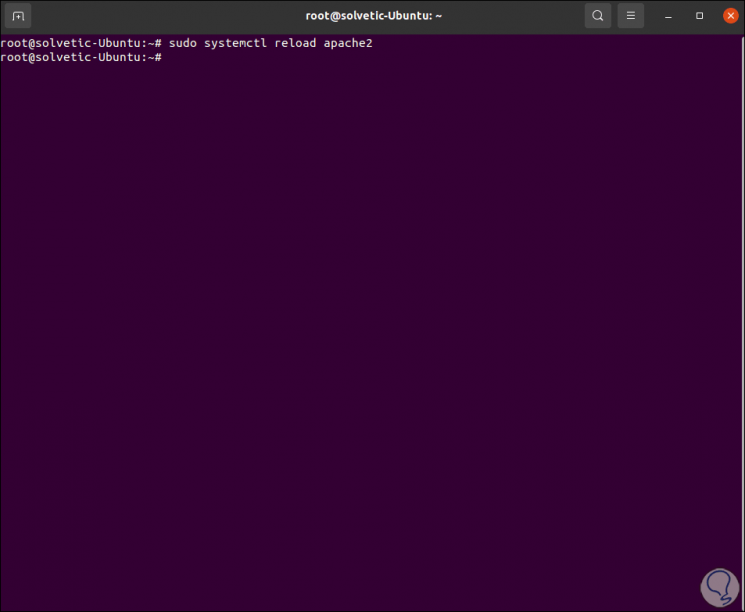
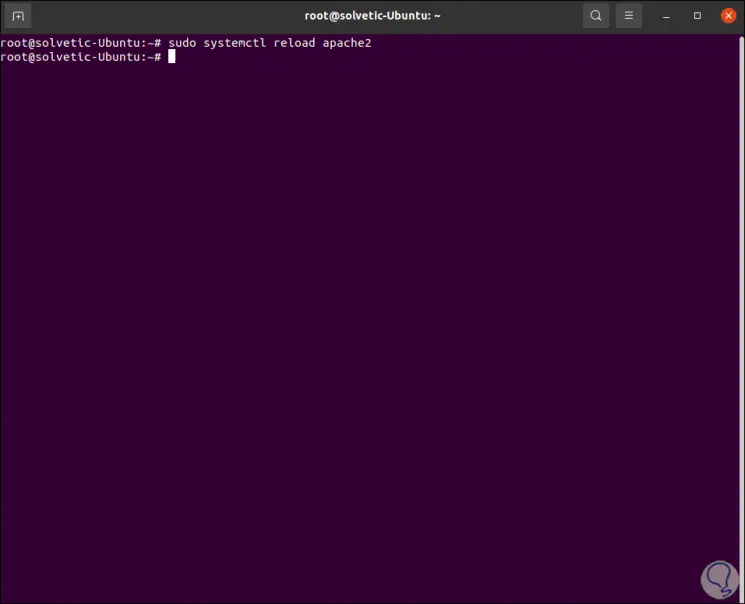
We reload the Apache configuration with the following command:
sudo systemctl reload apache2
Apache has a series of utilities such as a2enconf, a2enmod and a2ensite to activate configurations, and a2disconf, a2dismod and a2dissite to manage its files but they are work issues over time.
3. How to use virtual servers in Ubuntu 21.04 with Apache
One of Apache's main functions is the use of virtual servers for the web connection, these servers are hosted in the sites-available / and sites-enabled / routes and Apache's default server is in the sites-available / 000 route -default.conf.
Step 1
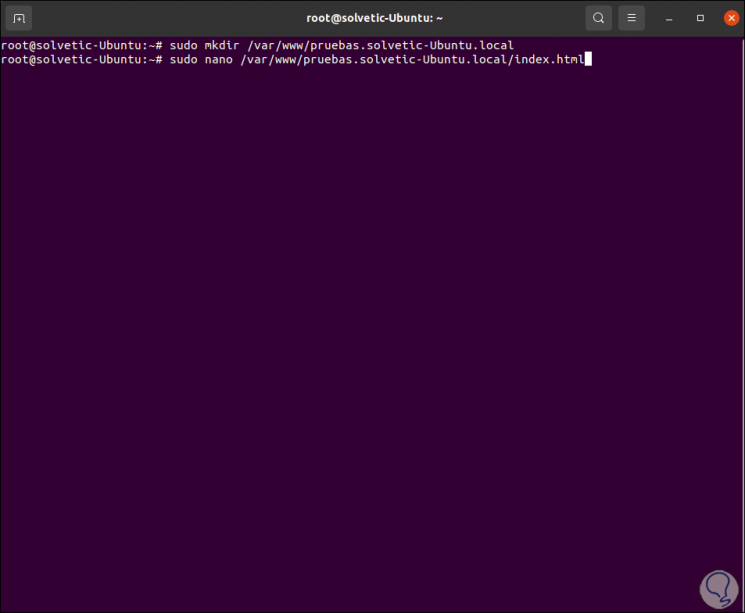
We are going to create a virtual server with mkdir in / var / www:
sudo mkdir /var/www/tests.technowikis-Ubuntu.local
Then we create the HTML file for adding content:
sudo nano / var / www / testing.technowikis-Ubuntu.local /index.html
Step 2
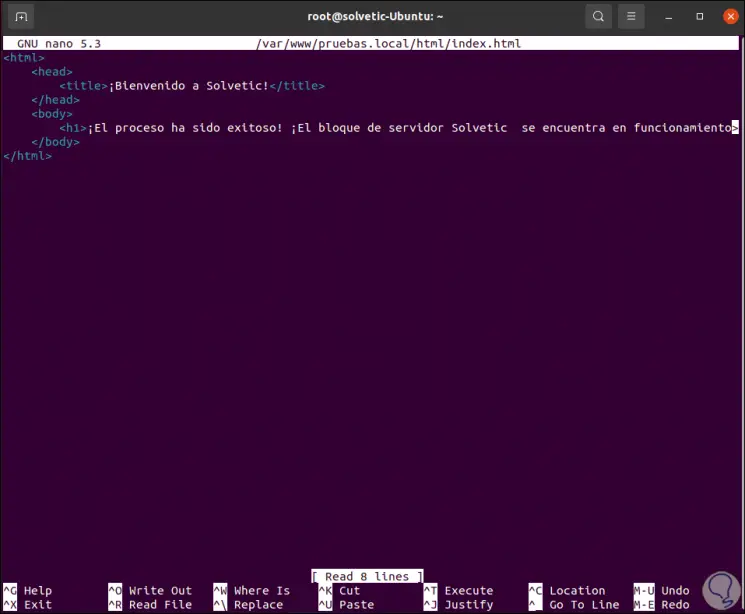
In this file we enter the following:
<html> <head> <title> Welcome to TechnoWikis! </title> </head> <body> <h1> The process has been successful! The TechnoWikis server forest is up and running! </body> </html>
We save the changes with the Ctrl + O keys and exit with the Ctrl + X keys.
Step 3
Now we are going to create the virtual server configuration file:
sudo nano /etc/apache2/sites-available/pruebas.technowikis-Ubuntu.local.conf
There we enter:
<VirtualHost *: 80> ServerName tests.technowikis-Ubuntu.local DocumentRoot / var / www / tests.technowikis-Ubuntu.local <Directory / var / www / tests.technowikis-Ubuntu.local> </Directory> CustomLog $ {APACHE_LOG_DIR} /access-pruebas.technowikis-Ubuntu.local.log combined ErrorLog $ {APACHE_LOG_DIR} /error-pruebas.technowikis-Ubuntu.local.log </VirtualHost>
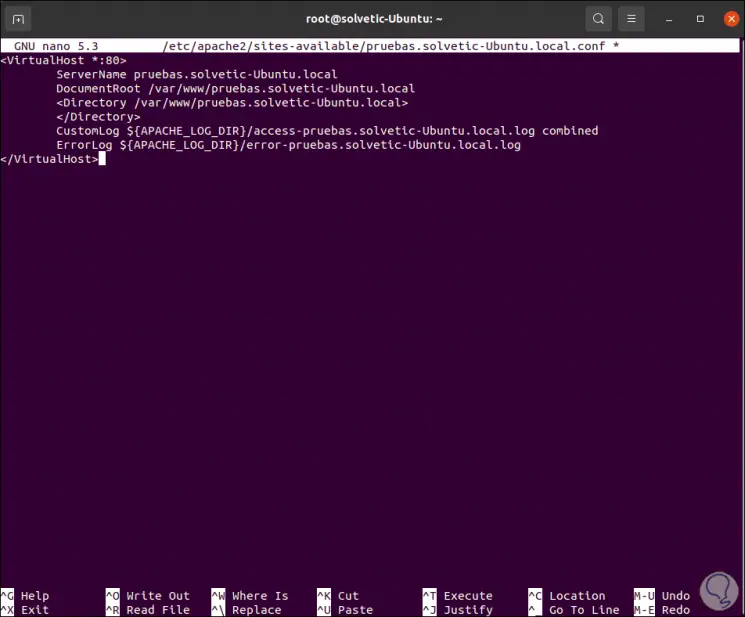
In this file we have specified:
- VirtualHost is where we edit the settings.
- ServerName refers to the domain for the virtual server.
- DocumentRoot is the website's file folder.
- The Directory block allows you to set custom settings for the selected directory.
- CustomLog is the access log.
- ErrorLog is Apache's error log.
We save the changes and exit the file.
Step 4
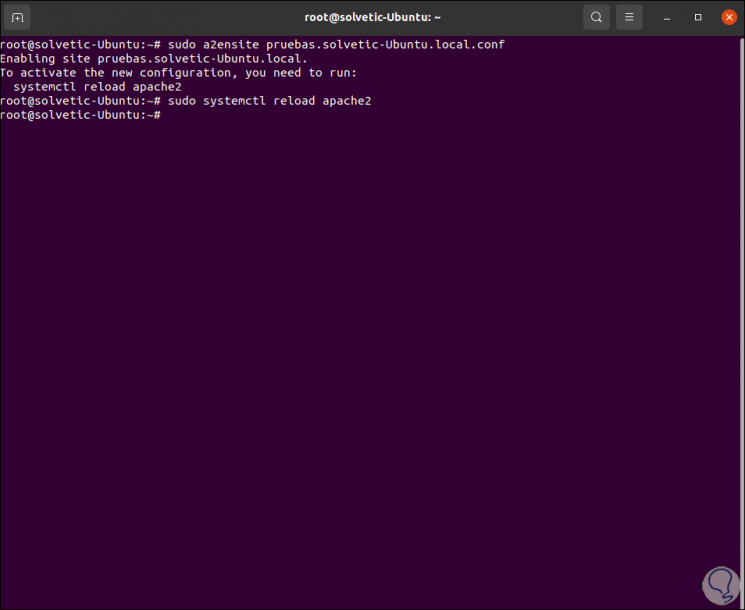
Now, we will activate the virtual server with the following command:
sudo a2ensite tests.technowikis-Ubuntu.local.conf
We reload the Apache configuration:
sudo systemctl reload apache2
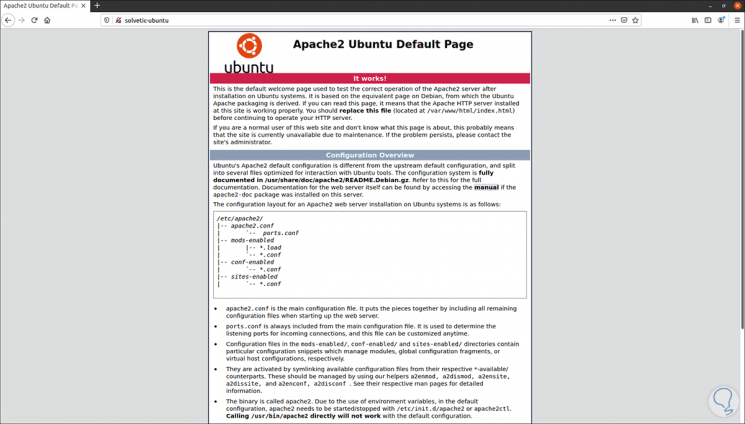
Step 5
We can go to the browser, if we enter the only name of the team we see the Apache page:
Step 6
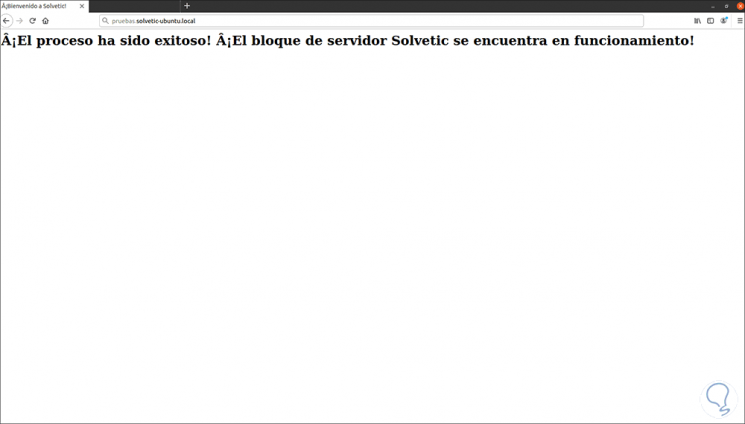
But if we enter tests.technowikis-Ubuntu.local.conf we can see the content that we recorded in the HTML file:
4. HTTPS integration in Apache on Ubuntu 21.04
Step 1
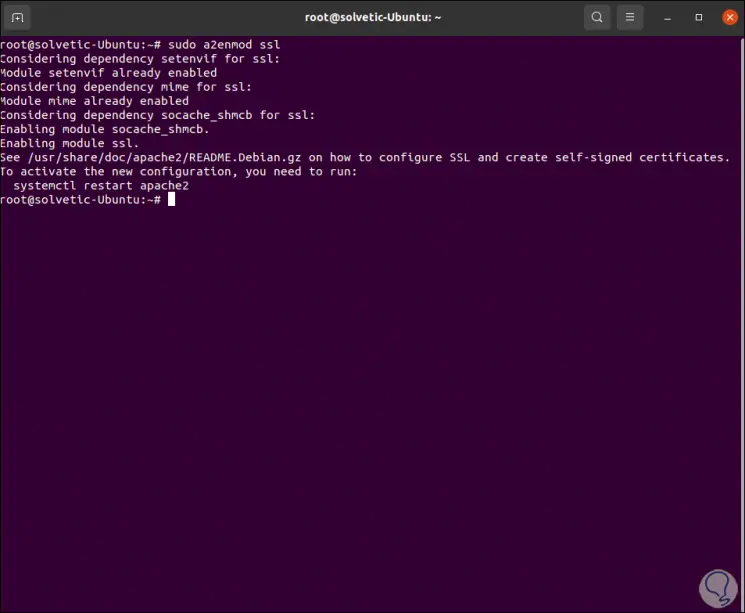
It is possible to configure the Apache HTTPS protocol to improve the security of access to the virtual server, for this we first activate the SSL module which is disabled by default:
sudo a2enmod ssl
Step 2
We restart the Apache service:
sudo systemctl restart apache2
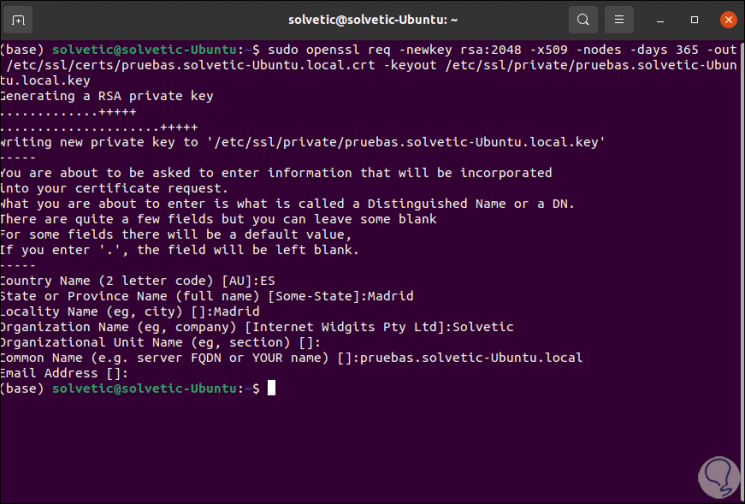
Next we are going to execute the following line to integrate a security certificate:
sudo openssl req -newkey rsa: 2048 -x509 -nodes -days 365 -out / etc / ssl / certs / tests.technowikis-Ubuntu.local.crt -keyout / etc / ssl / private / tests.technowikis-Ubuntu.local. key
Step 3
When pressing Enter we fill in some required fields but in "Common Name" mandatory must go the name of the virtual server:
It is time to adjust the settings for the virtual server in the sites-available / subdirectory with the following command:
sudo nano /etc/apache2/sites-available/TechnoWikis-Ubuntu.local
Step 4
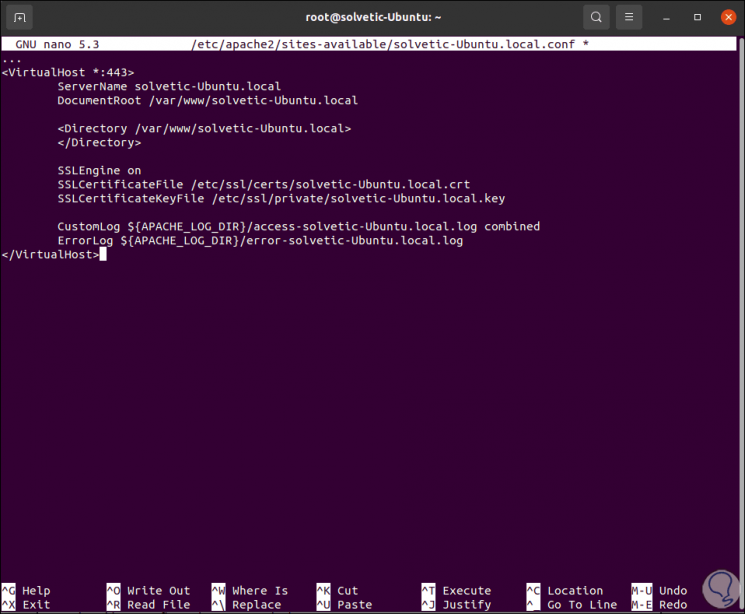
There we enter the following:
... <VirtualHost *: 443> ServerName technowikis-Ubuntu.local DocumentRoot /var/www/technowikis-Ubuntu.local <Directory /var/www/technowikis-Ubuntu.local> </Directory> SSLEngine on SSLCertificateFile / etc / ssl / certs / technowikis-Ubuntu.local.crt SSLCertificateKeyFile / etc / ssl / private / technowikis-Ubuntu.local.key CustomLog $ {APACHE_LOG_DIR} /access-technowikis-Ubuntu.local.log combined ErrorLog $ {APACHE_LOG_DIR} /error-technowikis-Ubuntu.local.log </VirtualHost>
We save the changes.
Step 5
The values created are:
- VirtualHost allows you to indicate the connection port, 443 is the standard port for HTTPS connections.
- SSLEngine enables SSL encryption
- SSLCertificateFile indicates the path to the public certificate.
- SSLCertificateKeyFile indicates the private key with which the connection is encrypted
We reload Apache:
sudo systemctl reload apache2
Step 6
When someone tries to connect without certificates they will see the following:
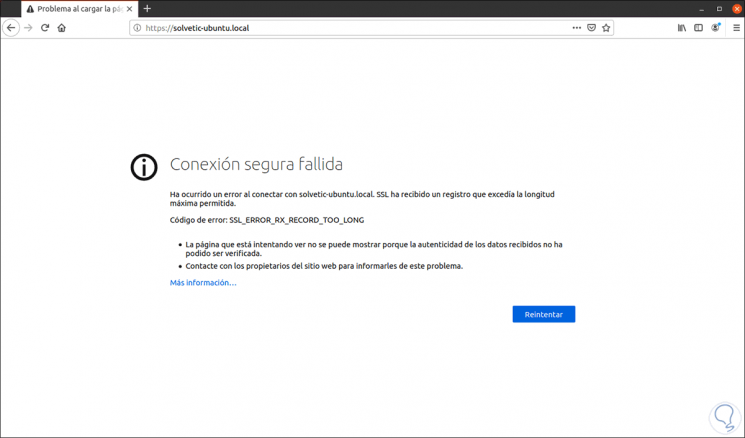
Step 7
If you are a trusted user, you must accept the use of the certificate.
Apache configuration files
Here are some Apache configuration files:
- / etc / apache2: is the Apache configuration directory where we find all the configuration files
- /etc/apache2/apache2.conf: is the main Apache configuration file which allows making changes to Apache's global configuration
- /etc/apache2/ports.conf: it is in this file where the ports on which Apache will listen are indicated, by default Apache listens on port 80 and extra listens on port 443 only if a module with SSL capabilities is enabled
- / etc / apache2 / sites-available /: is the directory where virtual hosts can be stored per site
- / etc / apache2 / sites-enabled /: virtual hosts that are in the directory of sites available with a2ensite are hosted there
- / etc / apache2 / conf-available /, / etc / apache2 / conf-enabled /: these are directories in which configuration fragments are stored which do not belong to a virtual host
- / etc / apache2 / mods-available /, / etc / apache2 / mods-enabled /: in these directories are the available and enabled modules, the files ending in .load contain fragments to load specific modules and the files ending in. conf will contain the configuration of those modules.
TechnoWikis has explained how to install Apache on Ubuntu 21.04 Hirsute Hippo and thus have one of the best options for managing web data.