VMware is one of the best options we have to virtualize various operating systems with the best performance, security, and performance capabilities. VMware offers us a trial or free version (depending on the version) at the following link:
VMware
Being one of the most ideal platforms to test new operating systems or see the behavior of an application, it is the ideal tool to test Ubuntu Server 21.04 which will be officially launched in April 2021 but from now on we can get to know its performance, Ubuntu Server 21.04 is available at the following link:
Ubuntu Server 21.04
TechnoWikis will explain the process from start to finish to install Ubuntu Server 21.04 on VMware..
To stay up to date, remember to subscribe to our YouTube channel! SUBSCRIBE
How to install Ubuntu Server 21.04 on VMware
Step 1
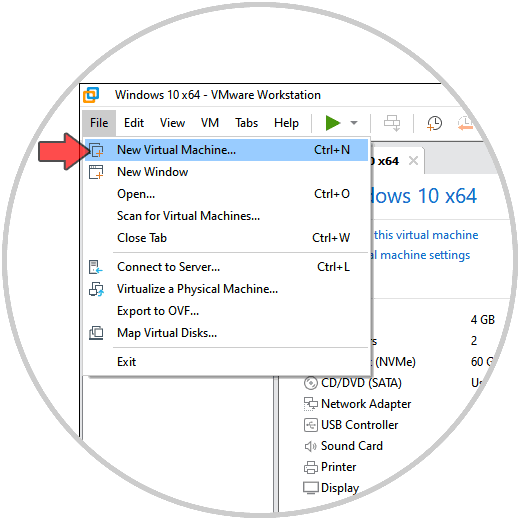
The first step is to open VMware and create our virtual machine using one of the following options:
- From the File - New Virtual Machine menu
Step 2
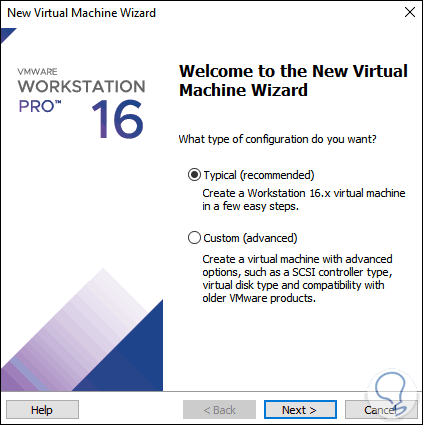
The following will be displayed:
Step 3
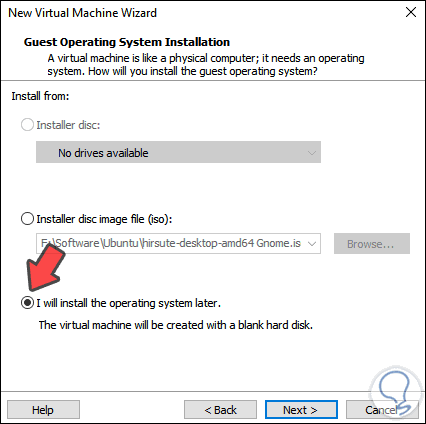
We leave the default option and click on “Next”, in the next window we activate the box “I will install the operating system later”:
Step 4
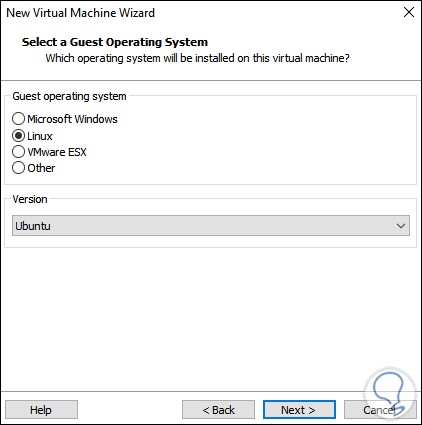
Click on Next and now we select as Linux system and Ubuntu version:
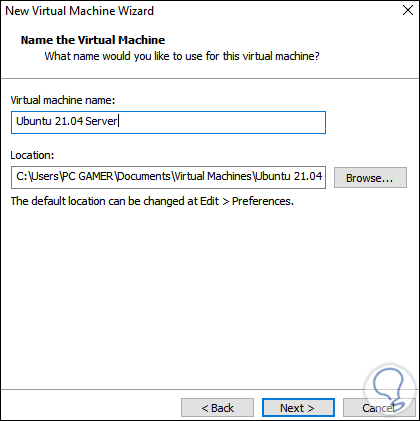
Step 5
In the next window we assign the following:
- Route where it will be hosted
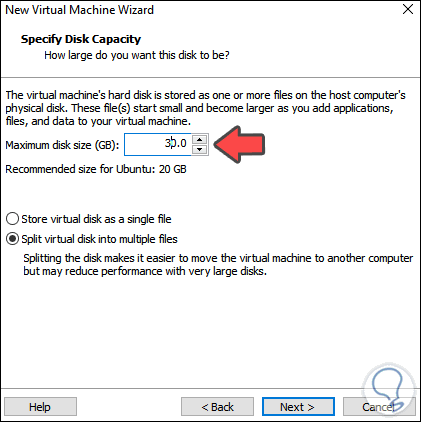
Step 6
We click Next and define the size of the disk and its path:
Step 7
Click Next again to see a summary of the virtual machine to create:

Step 8
We click on “Finish” and we see our Ubuntu Server 21.04 virtual machine created:
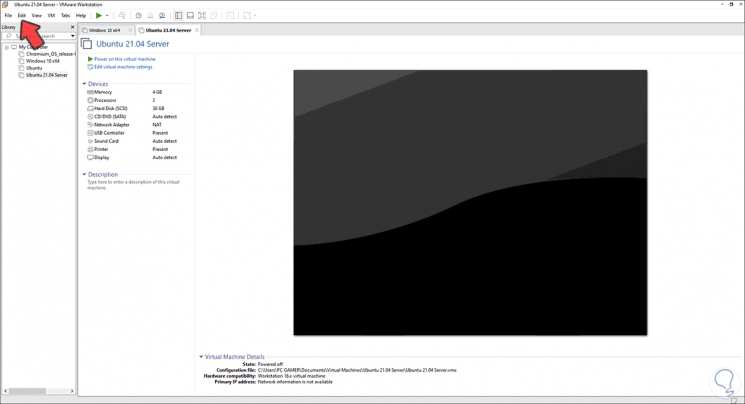
Step 9
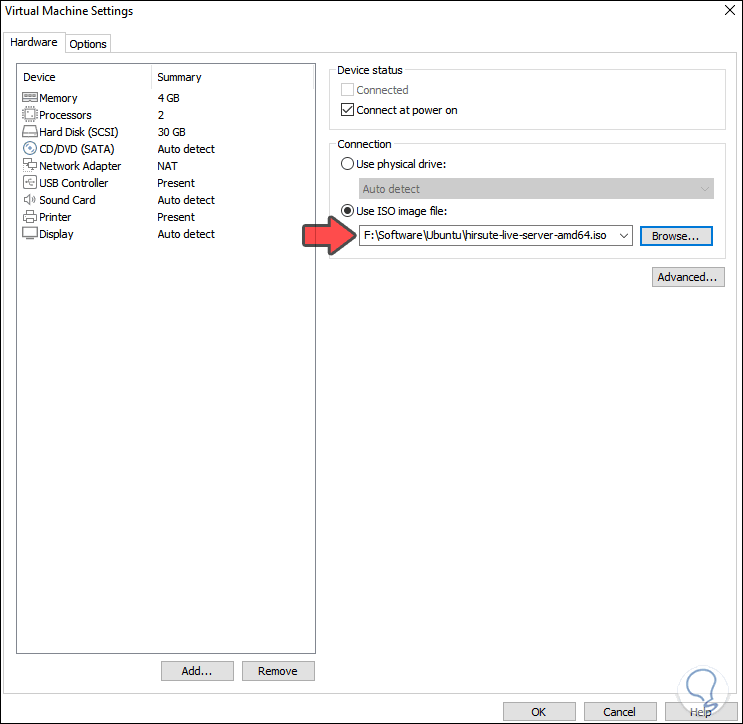
We click on the "Edit virtual machine settings" line and in the CD / DVD (SATA) section we activate the "Use ISO image file" box and select the ISO image that we have previously downloaded:
Step 10
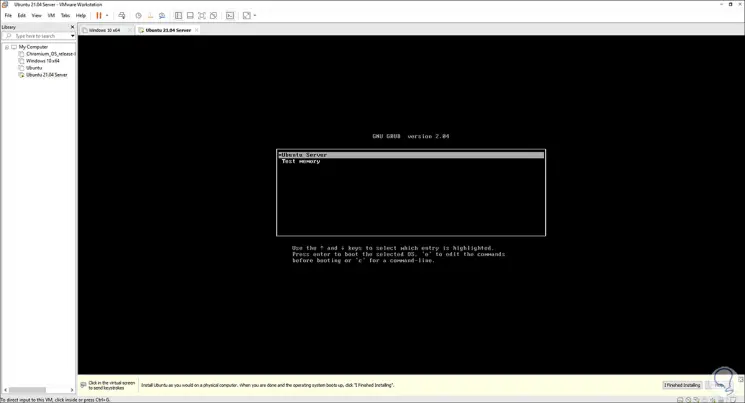
We click Ok to save the changes, we start the virtual machine and select Ubuntu Server:
Step 11
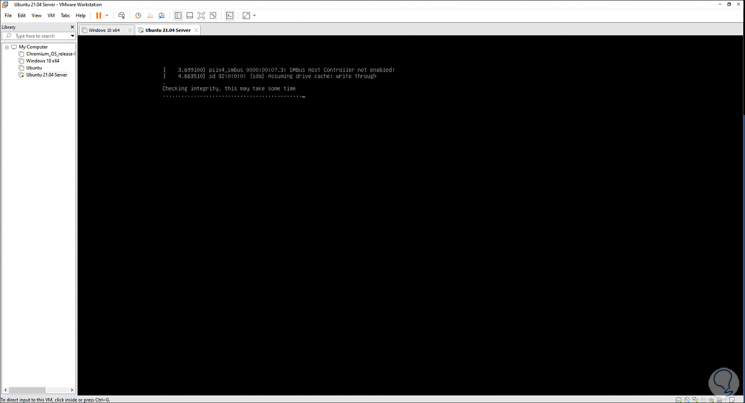
The operating system will scan the hard drive to verify its integrity:
Step 12
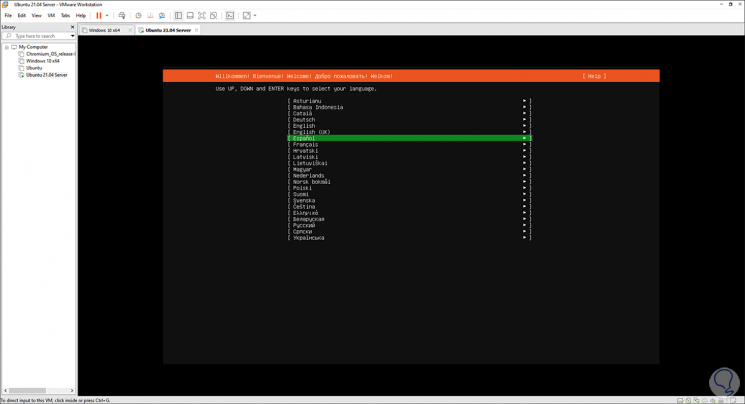
At the end we configure the system language:
Step 13
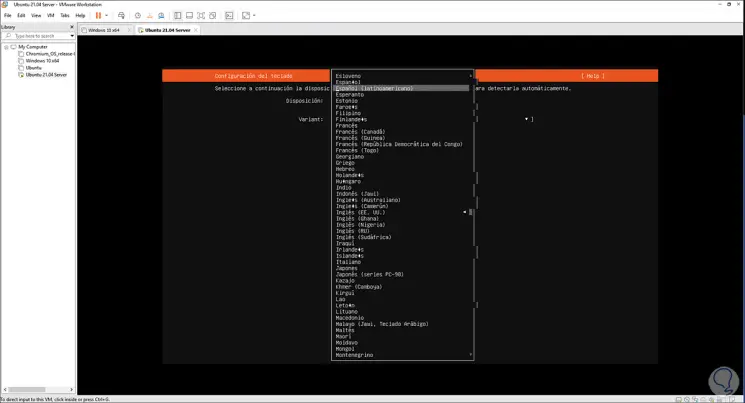
Then we go to the keyboard section and by pressing Enter on the language we can choose the language to use on the keyboard:
Step 14
We see the new language selected:

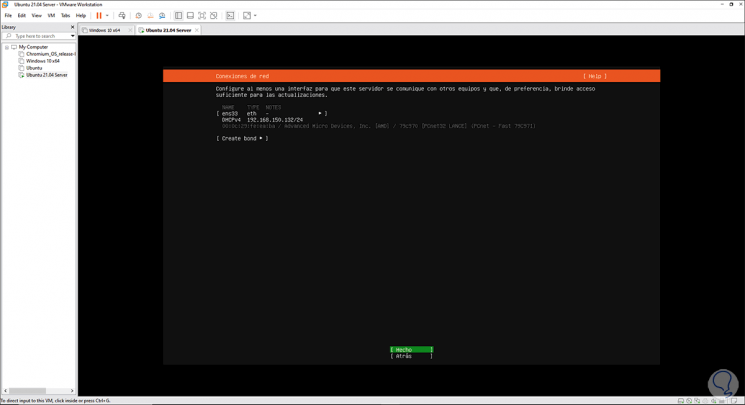
Step 15
Click on Done and then we see that the network is configured with DHCP automatically:
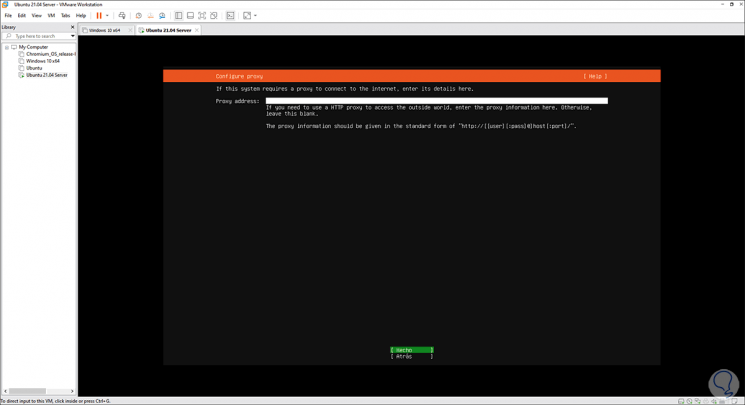
Step 16
Click on Done and now it is possible to assign a proxy server if we handle one:
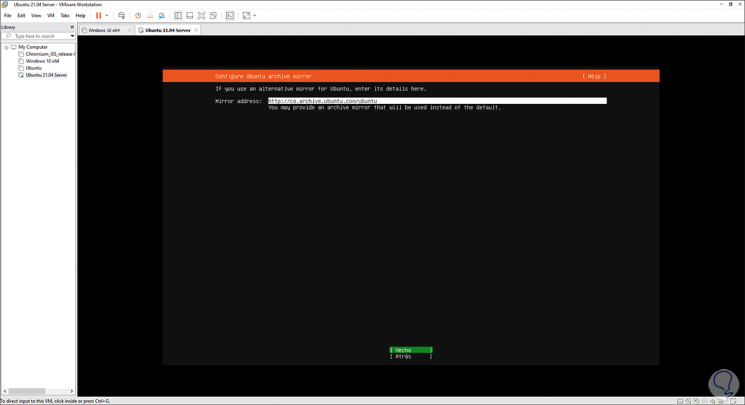
Step 17
In the next window we select the system mirror:
Step 18
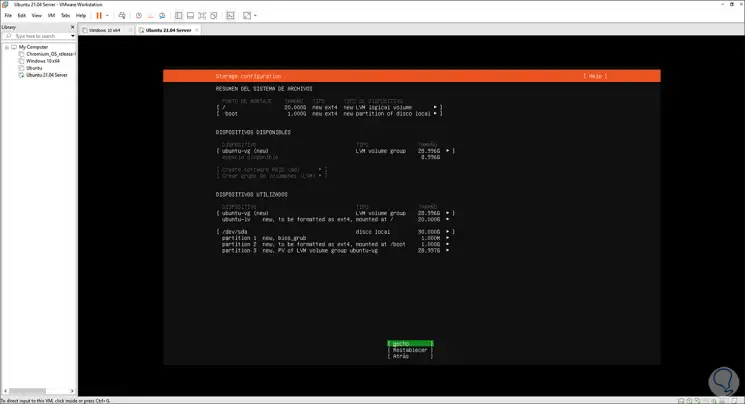
Then we enter the hard drive section:
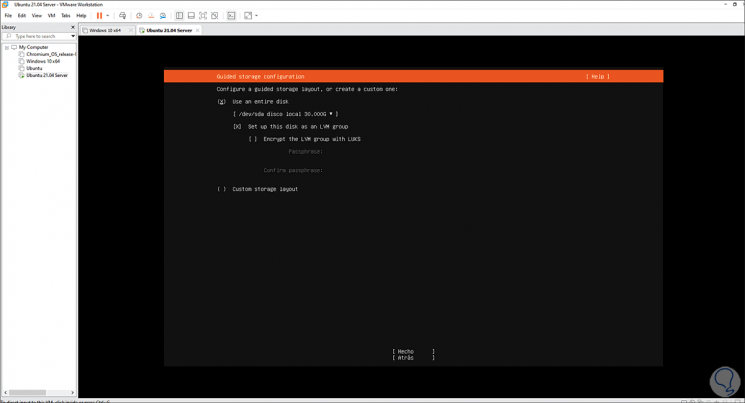
Step 19
There we can select the complete disk or partition it as the case may be. In this example we have left the default values and when selecting Done we see the structure created:
Step 20
We confirm by clicking on Done and we will see the following message:
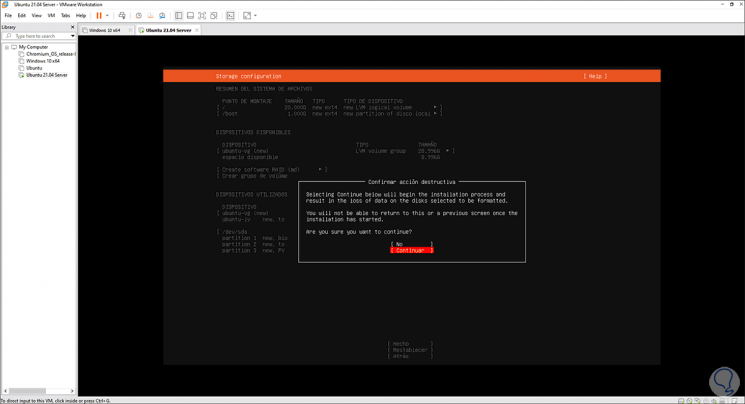
Step 21
We click on Continue and now we are going to assign the computer name and the Ubuntu Server 21.04 administrator user data:
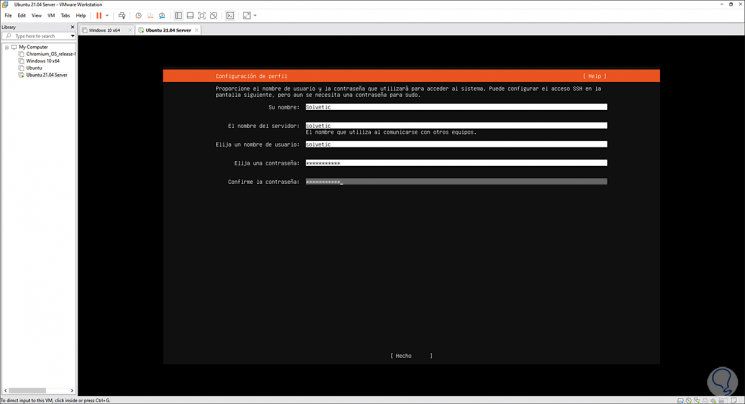
Step 22
In the following window it will be possible to activate the OpenSSH server:
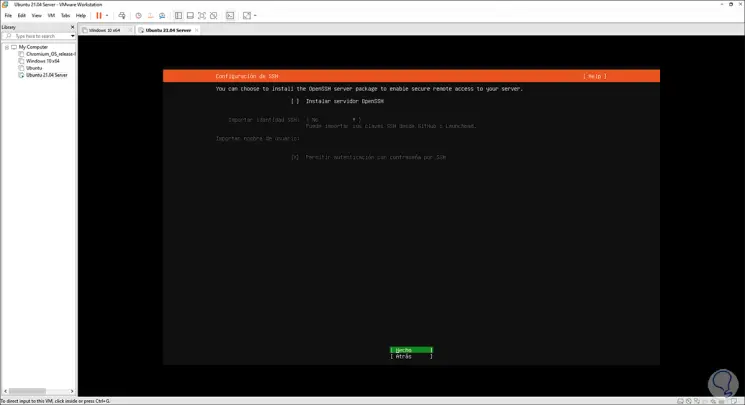
Step 23
Click on done and we will have different features to install:
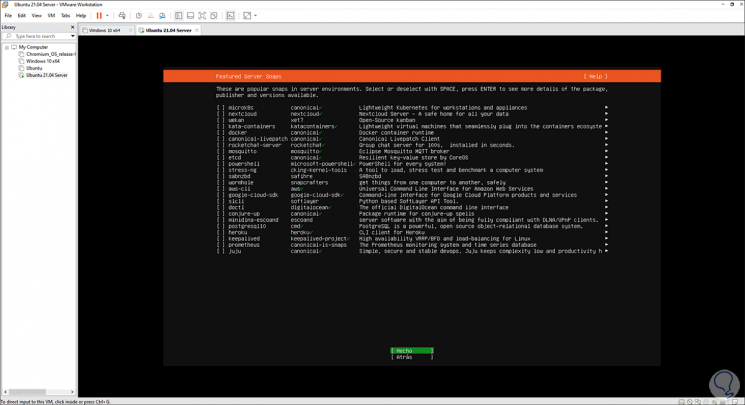
Step 24
We activate the desired ones and click on Done, the Ubuntu Server 21.04 installation process will start:

Step 25
At the end of the process we will see the following:
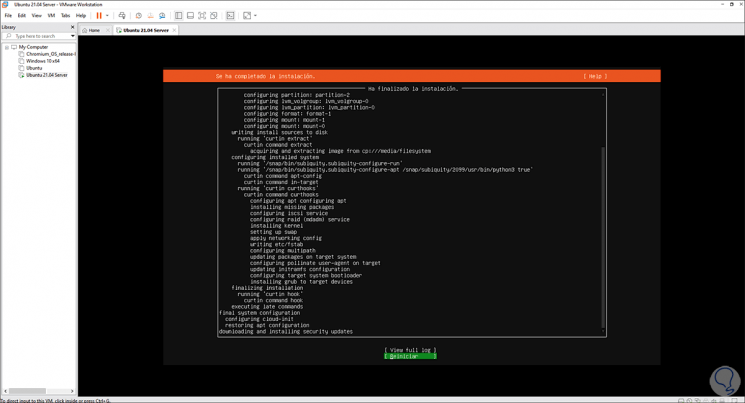
Step 26
We click Restart and we will see the following message:

Step 27
This is an error associated with the virtual drive, we simply go to "VM - Power - Restart Guest":
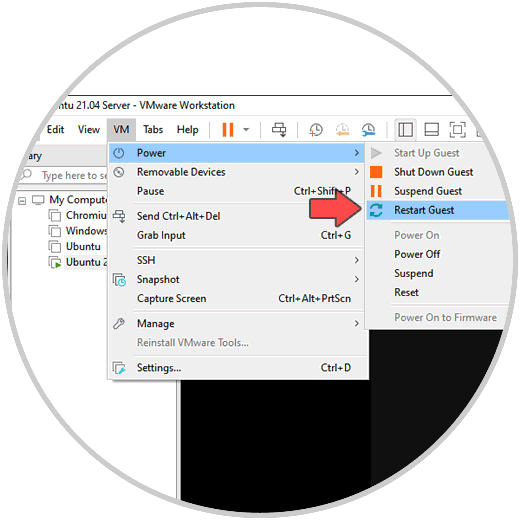
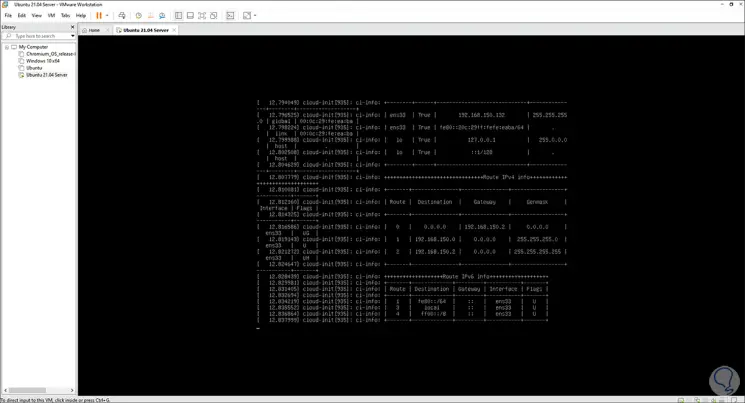
Step 28
After this the normal Ubuntu Server 21.04 will start:
Step 29
We log in with the created user:
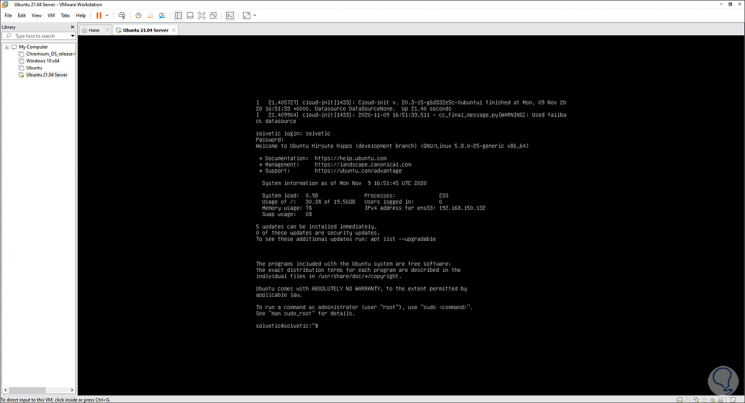
Step 30
We check the installed version with the command:
lsb_release -a
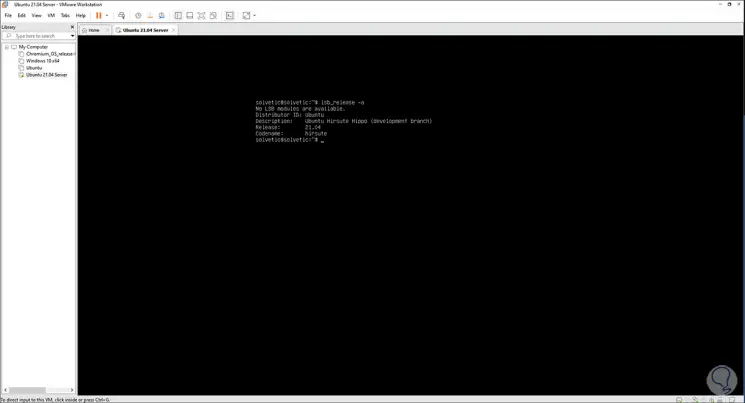
This is the process to install Ubuntu Server 21.04 on VMware.