Microsoft Word integrates a wide set of tools to manage the information registered in the files and one of the best ways available to work the data in a more logical way is by using the sections of Word..
In Word, the sections give us the opportunity to apply different page layout and formatting options as the case may be with options such as line numbering, columns or headers and footers in the place we want within the file, we must take into account Each section break manages the layout and formatting of the previous section in the document.
TechnoWikis will explain how to create sections in Word 2019 and have better control of the information..
To stay up to date, remember to subscribe to our YouTube channel! SUBSCRIBE
How to create sections in Word 2019
Step 1
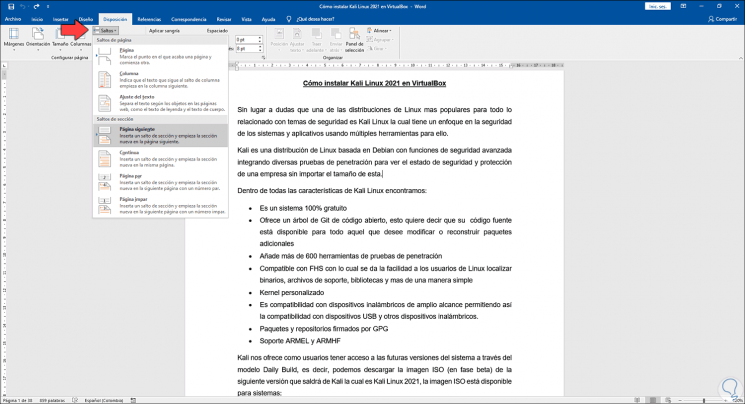
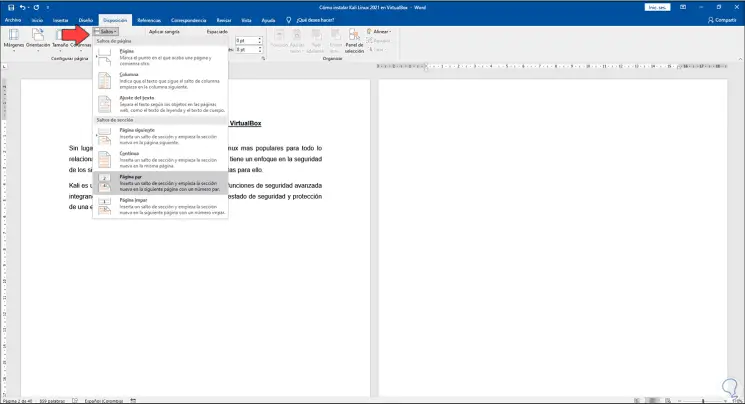
To insert a section go to the "Layout" menu and in "Jumps" choose the type of section to use:
Step 2
The options to use are:
- Next page: as its name implies, this starts the new section on the next page available in the document
- Continuous: in this case the new section starts on the same page, it is ideal if the document has columns
- Even page: this option will start the new section on the next even page of the document
- Odd page: this option will start the new section on the next odd page of the document
Step 3
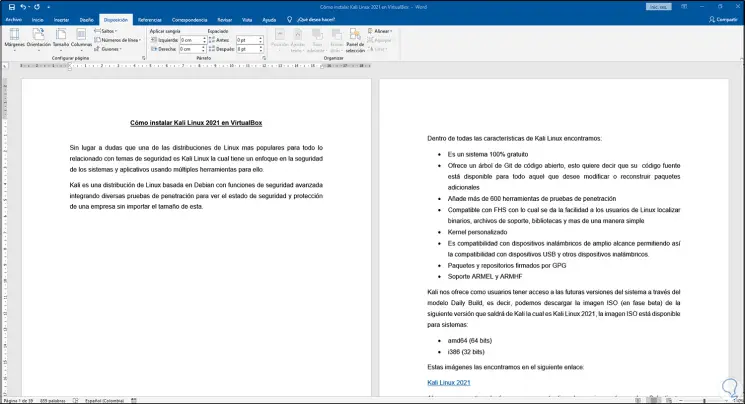
When selecting the type of jump we will see the change applied:
Step 4
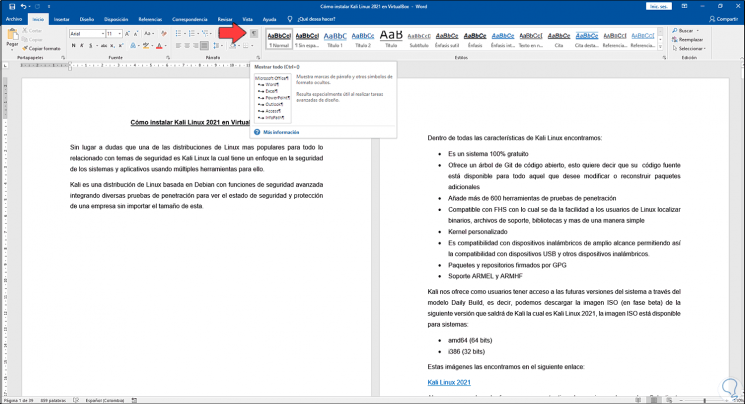
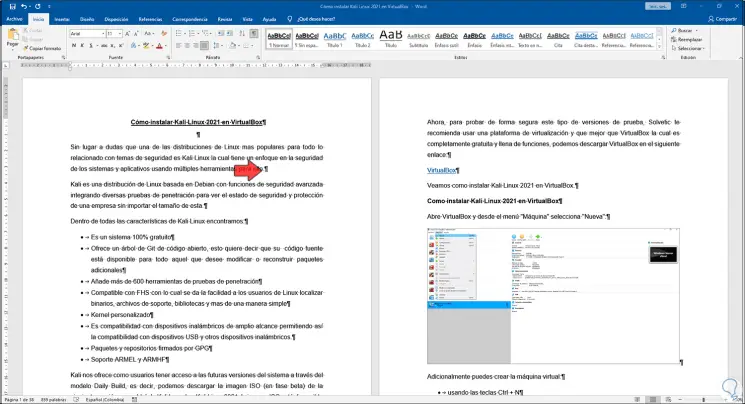
We show the content by clicking on "Show all" in the Start menu:
Step 5
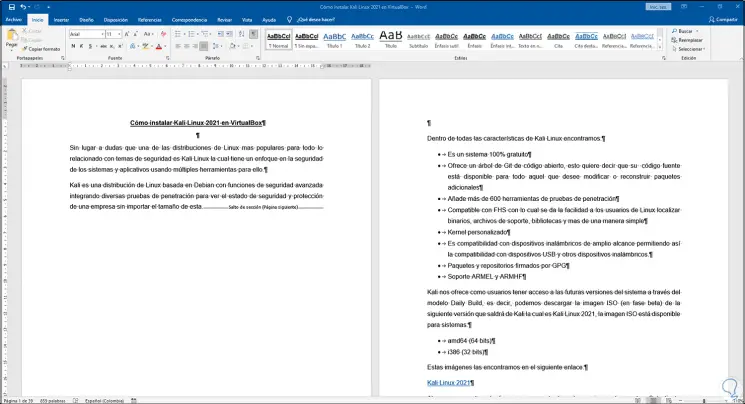
By clicking there we will see the following:
Step 6
We can delete any of the sections if it is the case, for this we place the cursor next to the section and press the Delete key, the change is immediate:
Step 7
We can change the type of section if we see the need in the file. For this we place the cursor next to the section that we want to modify, then we go back to the menu "Layout - Jump" to list the available options:
Step 8
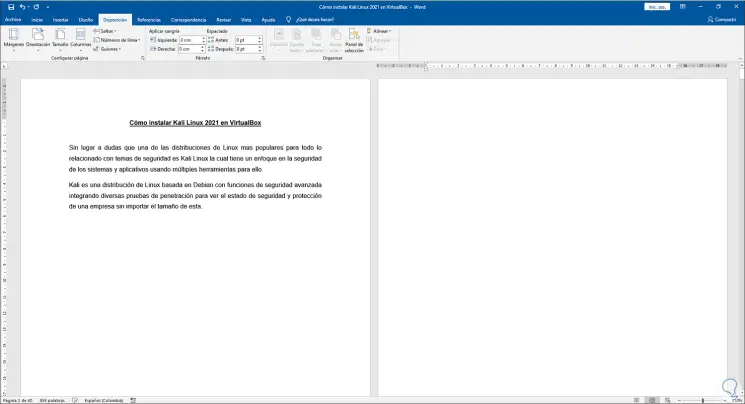
When choosing the new type of jump, it will be applied immediately in the selected section:
We can see that it is a simple process but that it helps to manage the information in Word 2019.