Undoubtedly, millions of people like to make a correct order of their daily activities and this involves not only work or study tasks, but also covers special dates such as meetings, birthdays, anniversaries and others. With the day to day we quite possibly miss the occasional date or event that may result or be of high relevance to us. Since ancient times man has tried to organize his activities based on calendars, remember that the oldest was found in a Mesolithic monument in Aberdeenshire (Scotland). That is why we understand the need to use tools that help you manage your day much more correctly. Today, far from the Mesolithic, we have technological tools that allow you to create and manage calendars of various shapes, styles, colors and even materials..
TechnoWikis wants to explain through this tutorial how we can create a dynamic calendar in two of the most used office applications today such as Microsoft Word and Microsoft Excel . In this way, we have already started organizing our ideas for the new year that comes with giant steps.
Note
This process applies in the same way for Word and Excel 2016 and 2019.
1. Create the 2019 year calendar automatically in Microsoft Word 2019, 2016
Step 1
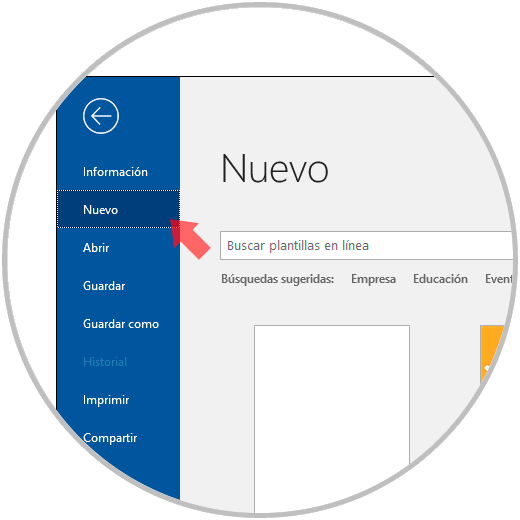
To start the creation of our calendar of the year 2019 in Microsoft Word, we must open or create a new document from the “File / New†menu where we will see the following:
Step 2
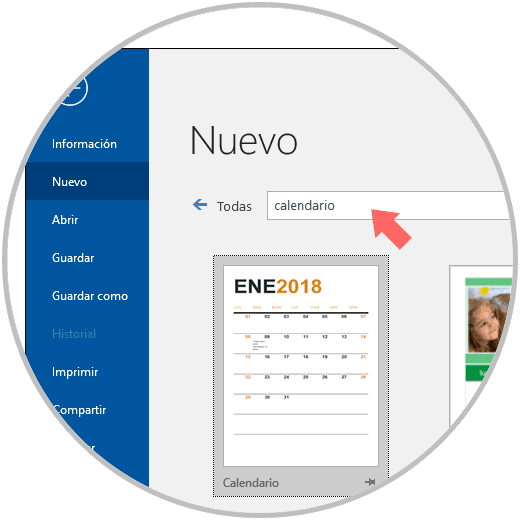
There we have a series of predefined Word templates. For this case, in the search field located at the top we will enter the term “calendar†and we must click on the magnifying glass icon to see that the various alternatives to be used are displayed. In addition, on the right side we can see the various existing categories with their number of available templates.
Step 2
To facilitate the selection we click on the “Calendars†category and in the various options, just click on the calendar we want to create and the following is displayed:
Step 3
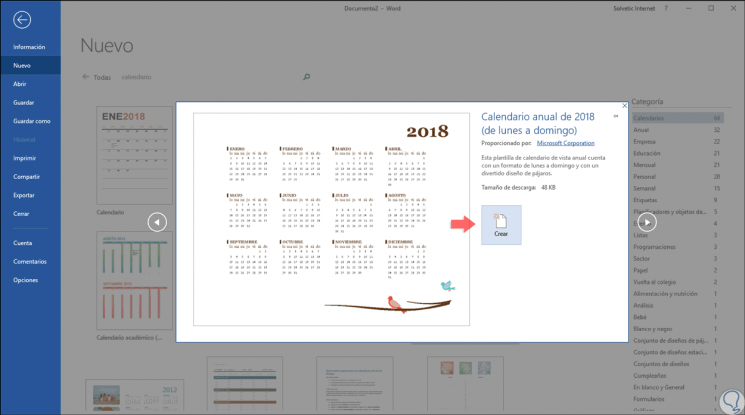
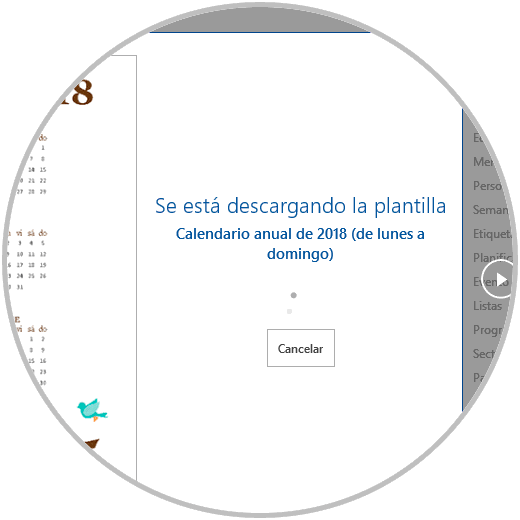
There we must click on the “Create†button to apply the changes and start downloading the template of this calendar:
Step 4
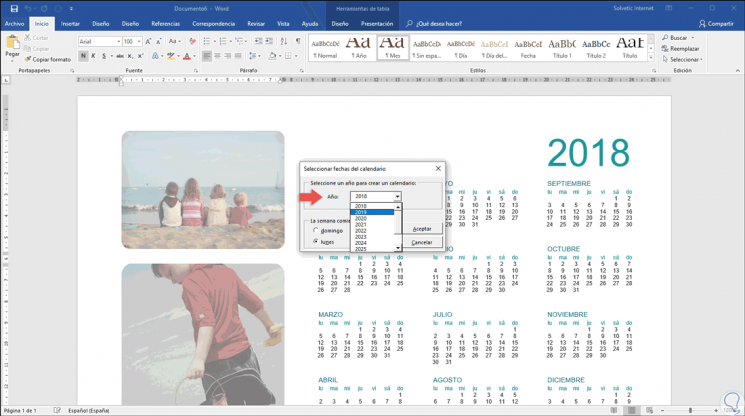
Based on the selected calendar we can see that a small pop-up window is displayed where it will be possible to select the desired year:
Step 5
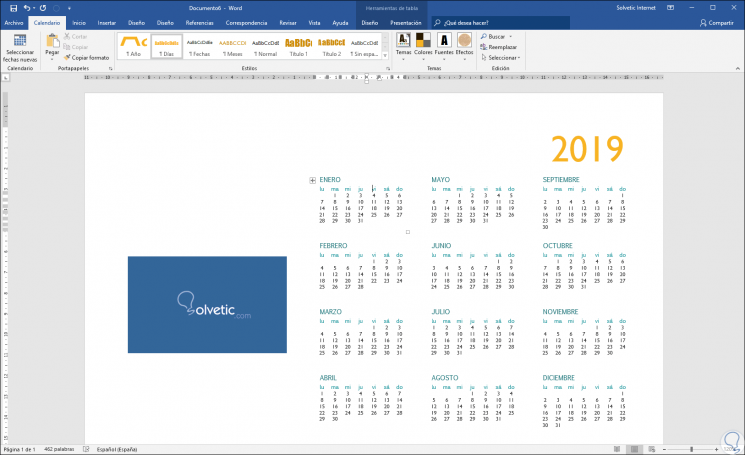
Selected the year 2019, click on accept and the changes will be applied automatically, it is important that in this case a new menu called “Calendar†will be displayed from where it will be possible to carry out actions such as:
- Select new dates for the calendar
- Define themes, colors, fonts and effects for the calendar to create
- Modify calendar style and more
Step 6
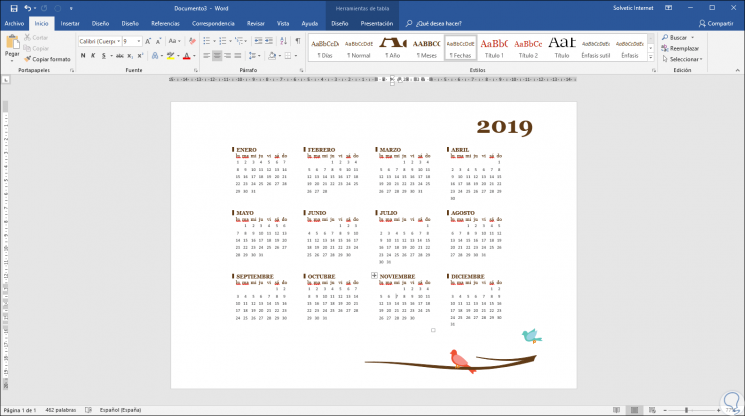
Remember that we have several templates to select the calendar that best suits our needs:
2. Create the 2019 year calendar automatically in Microsoft Word 2019, 2016
Now, as an additional point, we will explain how to create a calendar manually in Microsoft Word 2016 and 2019.
Step 1
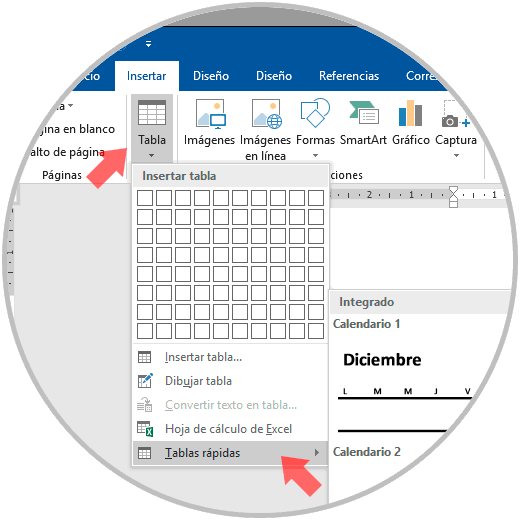
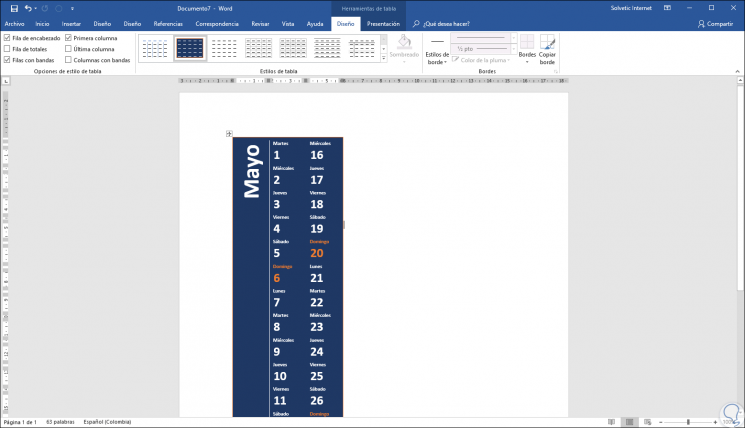
To do this, we must go to the “Insert†menu and there we go to the “Tables†group and select the “Quick Tables†option and we must select the desired style:
Step 2
When selecting the calendar, the new “Table Tools†menu will be displayed from where it will be possible to access numerous presentation options to modify said calendar:
Step 3
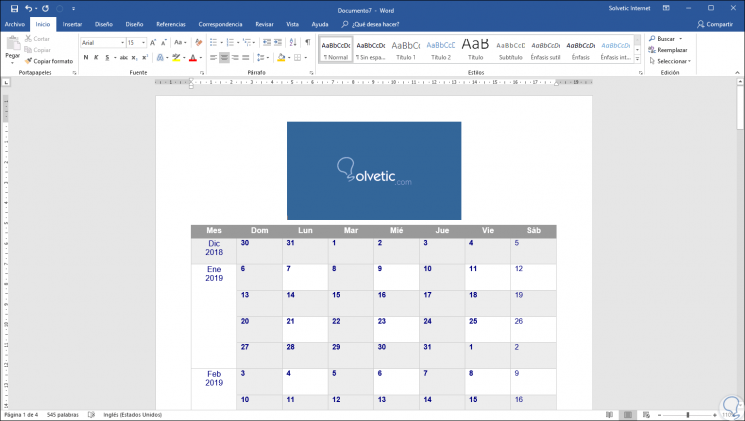
It will be possible to apply styles, borders, themes and more:
3. Create the 2019 year calendar in Microsoft Excel 2019, 2016
Excel is one of the most used applications for managing big data and offers formulas, functions and tools for total control of these, but it is also possible to create a calendar in a simple way there and thus better manage each day of the new year.
Step 1
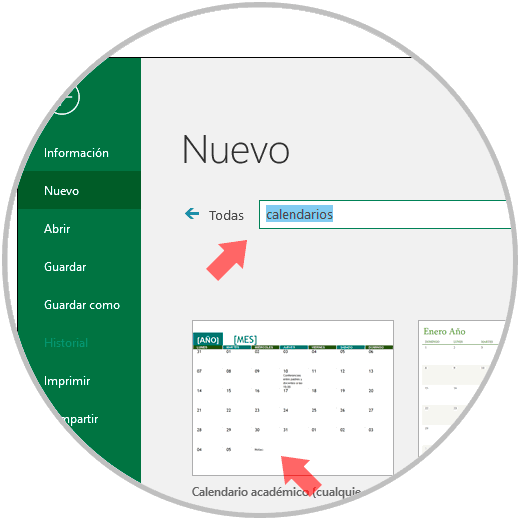
Like Microsoft Word, we must create a new document and in the search field enter the term "calendar" and select the respective category where we will see the various options to use:
Step 2
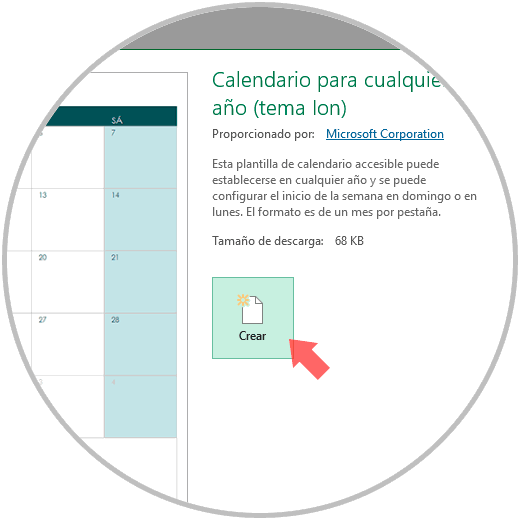
We select the desired calendar and the following will be displayed:
Step 3
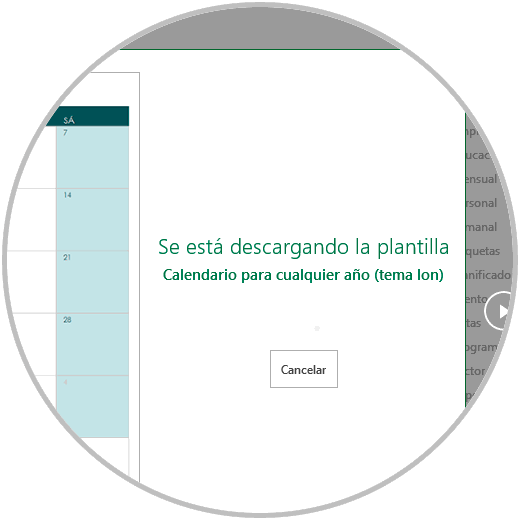
Click on the "Create" button to start downloading the respective template:
Step 4
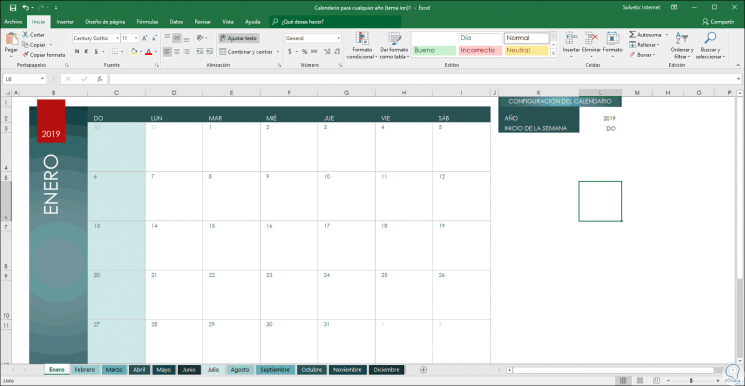
Once the calendar has been downloaded, it will be applied and, in this example, just enter the year 2019 in the corresponding field and we can select the day (Sunday or Monday) to be the beginning of the week and when making this the changes will be applied automatically. At the bottom we find each sheet with its respective month.
Step 5
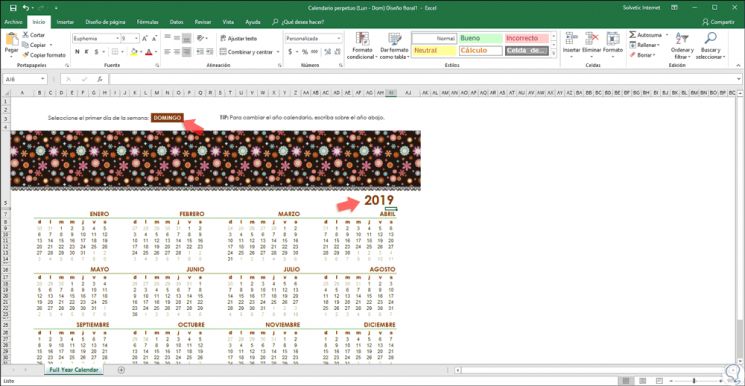
Based on the selected calendar it will be possible to modify its style and the way in which both the year and the first day of the week are selected.
Thus, we have seen how we can create a calendar for the new year that is about a simple, functional and fully customizable way as necessary and always have the option to better manage our tasks..