PowerPoint is one of the available applications that allows us to make professional presentations by having numerous tools for both image, sound and transitions allowing each slide to stand out in a special way and thus create impact presentations. Undoubtedly, with each new edition of PowerPoint new functions and features are integrated that will make the life of each user easier and we can use these features to create an element that has been present since ancient times for man as are the Calendars
Basically, the mission of a calendar is to provide us with the way to organize and control our daily activities better, either professionally or personally, with new technologies that will keep us informed about each event to occur . TechnoWikis will explain through this tutorial how we can create a calendar both in Microsoft PowerPoint 2016 and 2019 and in the online PowerPoint application. The process to use is the same for PowerPoint 2016 and 2019..
1. Create the calendar of the year 2019 in PowerPoint Online 2019, 2016
PowerPoint Online has been developed with the aim of having the ability and ease of working with presentations directly on the website where the presentation is stored without taking up space locally and being accessible from anywhere in the world.
Step 1
The PowerPoint Online Editor is a front-end web component that creates a browser-based editing surface facilitating all creation and editing tasks without losing data integrity. Some of the tasks we can perform in PowerPoint Online are:
- Apply transitions and animations
- Add bullets, numbering and alignment
- Apply themes and their variants
- Apply font formatting and more.
Step 2
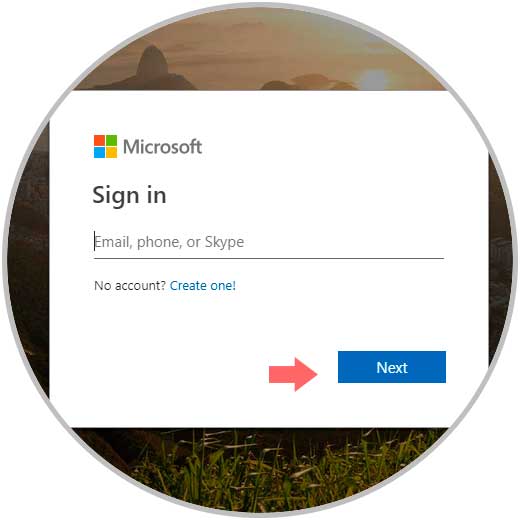
To access PowerPoint Online we must go to the following link. There we must log in with a Hotmail or Outlook email account to access the features of PowerPoint Online.
PowerPoint Online
Step 3
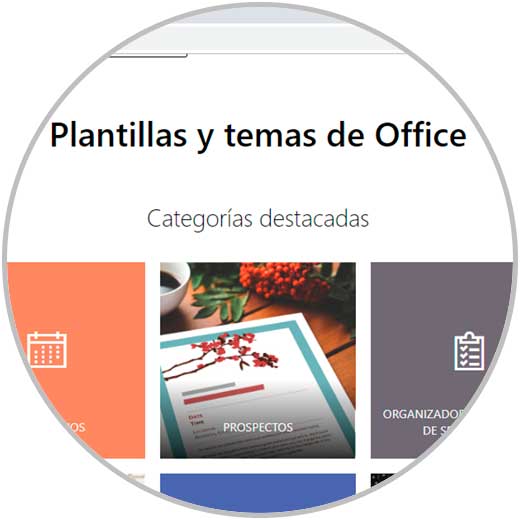
Now, it will be necessary to go to the following Office link where there are several templates to use:
Office templates
Step 4
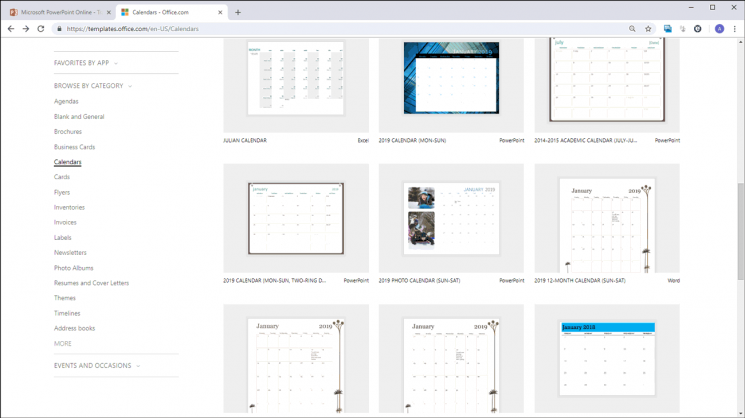
There we click on the category "Calendars" and we can see all the calendar options to use:
Note
When changing the language to Spanish it is possible that all calendars are not available, so it is advisable to manage it in the default language (English).
Step 4
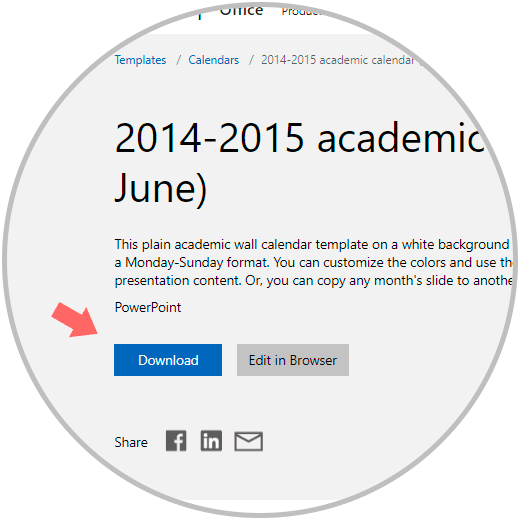
Note that each calendar indicates which Office Online application is compatible, there we must locate the calendars with the PowerPoint legend. When selecting the desired calendar we will have two options that are:
- Download: This option downloads the template locally to the team.
- Edit in Browser: This is the option we will select to edit the template directly in PowerPoint Online.
Step 5
By clicking on the "Edit in Browser" button we will see the following:
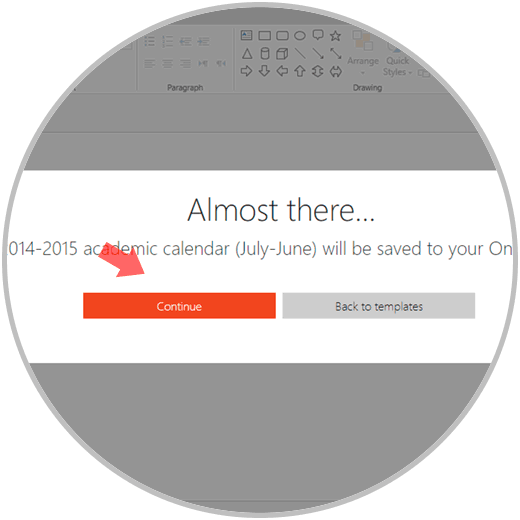
Step 6
There we click on the "Continue" button to continue the process of loading this template to PowerPoint Online. Upon completion of the process the template will be uploaded to PowerPoint Online. Something important to keep in mind is that the Office templates are already preconfigured with the year 2019. From this point we can add various notes or edit the calendar as necessary.
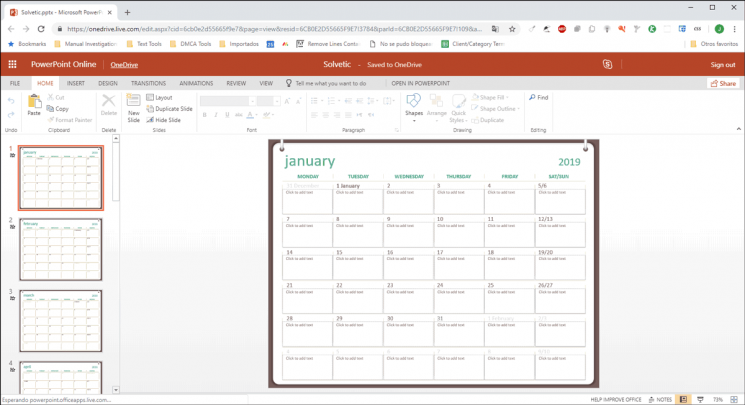
2. Edit calendar 2019 in PowerPoint Online 2019, 2016
Now, if we have selected a calendar that integrates images or other elements, it will be possible to apply editing values ​​on it.
Step 1
For example, if the template has images, we can right click on it to select the “Change Picture†option:
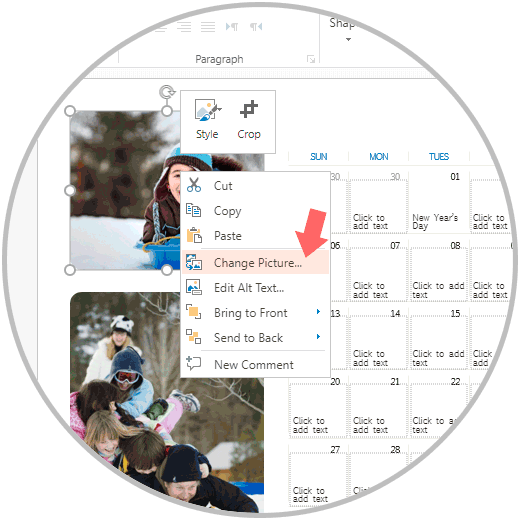
Step 2
Then we must look for the desired image either from a local file or online to be applied to the calendar of the year 2019, we note that we have many more options to apply in the images such as:
- Send the fund or to the front
- Apply formats to the image
Step 3
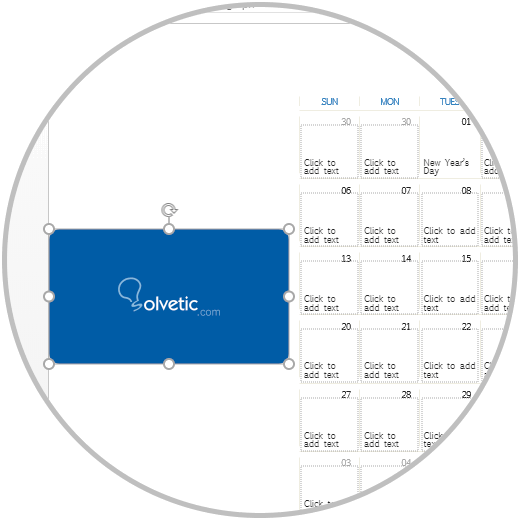
By inserting the new image it will be possible to edit its size either to be as a background for the calendar or simply as a decoration for it.
3. Create events in the 2019 calendar in PowerPoint Online 2019, 2016
Step 1
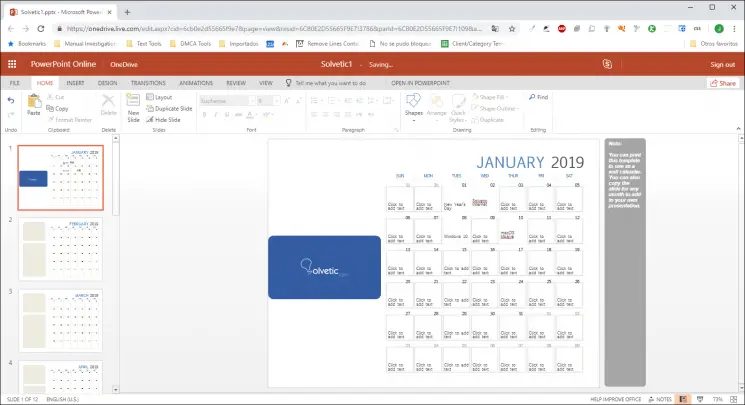
One of the fundamental tasks to perform in the calendar of the year 2019 is the addition of tasks, special dates or events, to achieve this it is enough to click on the respective day and we can see that where a date or event is created its edges will disappear:
Step 2
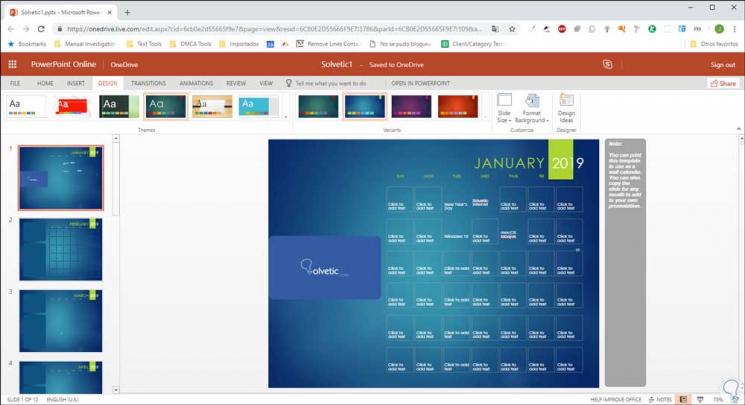
It is possible to go to the “Design†menu and there apply a new style to the PowerPoint Online calendar from the Themes field:
Step 3
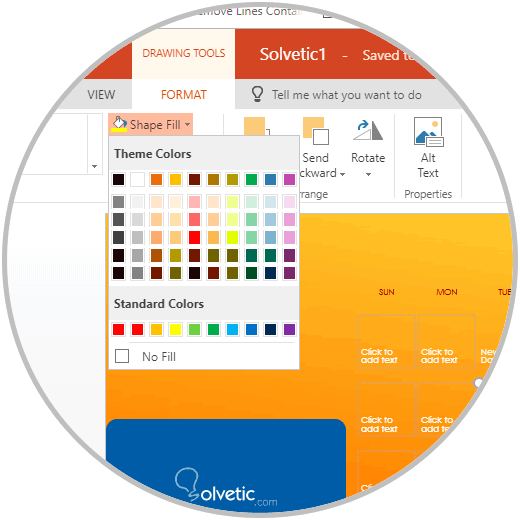
To further highlight the events in the calendar of the year 2019 in PowerPoint Online, simply select the day where the event is and automatically open the “Format†menu where we can apply a fill background in the option “Shape Fill (Color of filling)". This will make special dates or days highlighted in the calendar.
4. Print or export calendar 2019 in PowerPoint Online 2019, 2016
Step 1
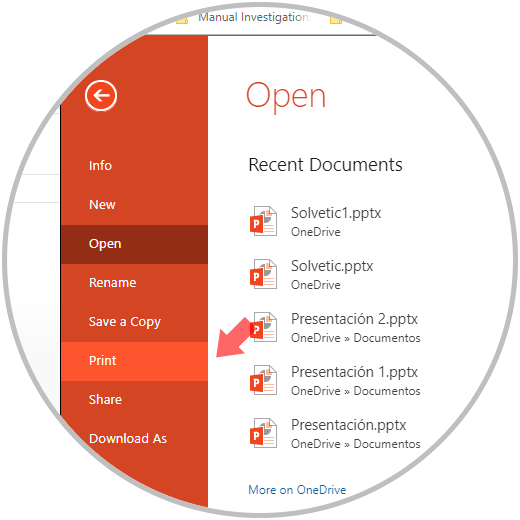
If we want to import into a different format or simply print the calendar created to have them on hand we must go to the "File / Print" menu:
Step 2
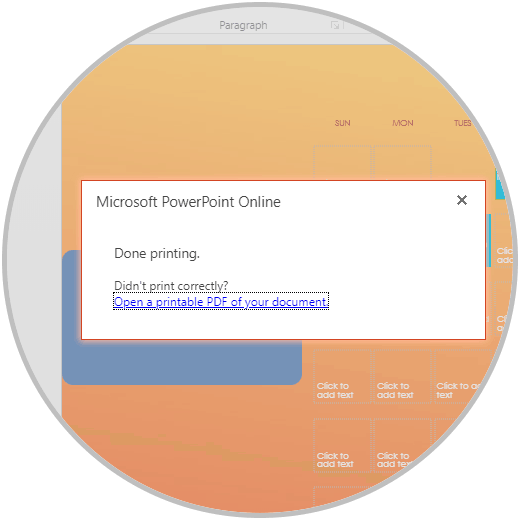
Then click on the Print button and the following message will be displayed. This will print our calendar in PDF.
5. Create calendar 2019 in PowerPoint 2019, 2016
Step 1
Now, the next option available is to create our calendar next year directly in the PowerPoint application, for this case the process is identical to the previous one, first, we will go to the following link to access the Office templates for PowerPoint:
Office templates
Step 2
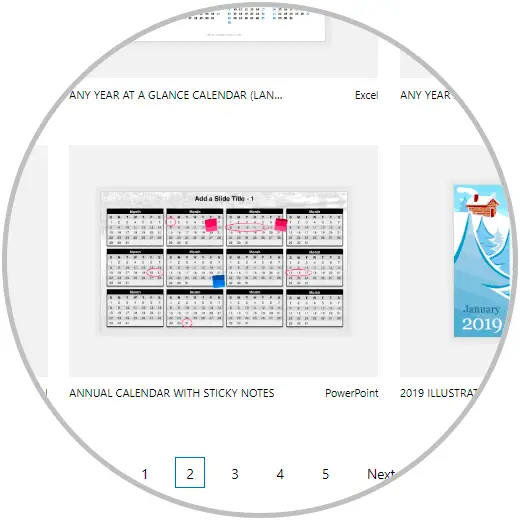
There we will locate the templates associated with PowerPoint:
Step 3
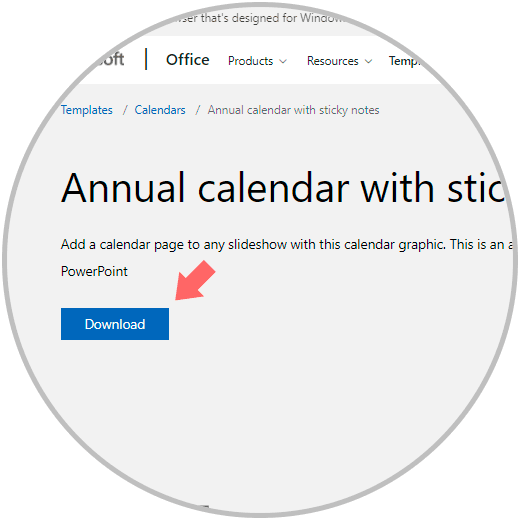
We click on the desired template and the following will be displayed:
Step 4
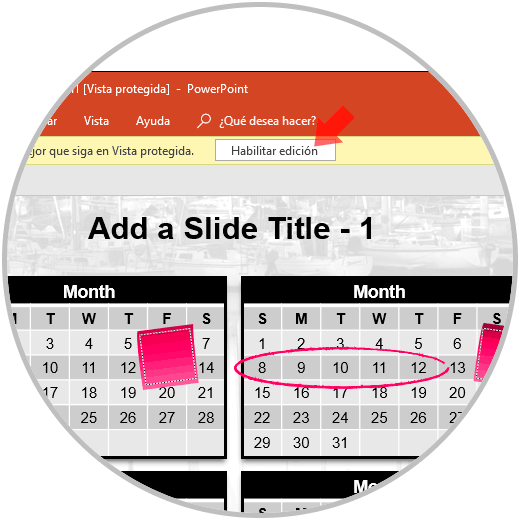
In this case we will click on the "Download" button to download this template locally. The template will be downloaded in protected view so that when we open it you will have the following message. There we must click on the “Enable edition†button in order to apply the changes to that calendar.
6. Edit calendar template 2019 in PowerPoint 2019, 2016
Step 1
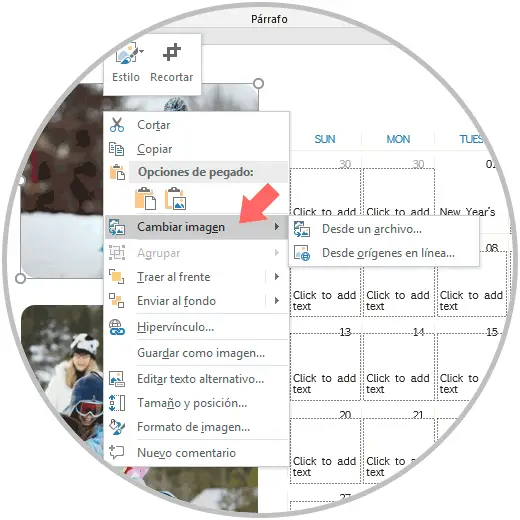
Based on the type of template downloaded, it is possible that it integrates images that we can edit as necessary, for this, we must right click on the image and there select the option “Change imageâ€:
Step 2
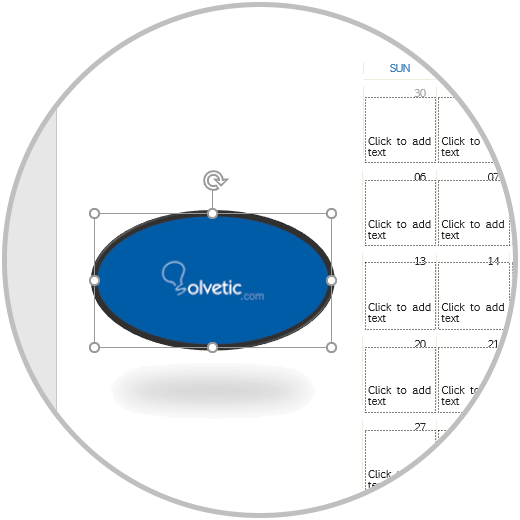
It will be possible to change the image online or with a local image, adding the image will display the "Image Tools" menu with the "Format" menu from which it will be possible to apply changes such as:
- Edges to apply to the image
- Move the image forward or backward of the template content
Step 3
"
To edit our PowerPoint template globally we can go to the “Design†menu and there apply some of the available themes, remember that to add an event just click on the respective day and add the respective information, by selecting these boxes you The "Drawing Tools" menu will open and from the "Format" option we can apply a form fill to highlight that day. Also, we can make use of the different editing alternatives available in PowerPoint to edit this calendar and finally we can print it or export it to PDF to have it physically.
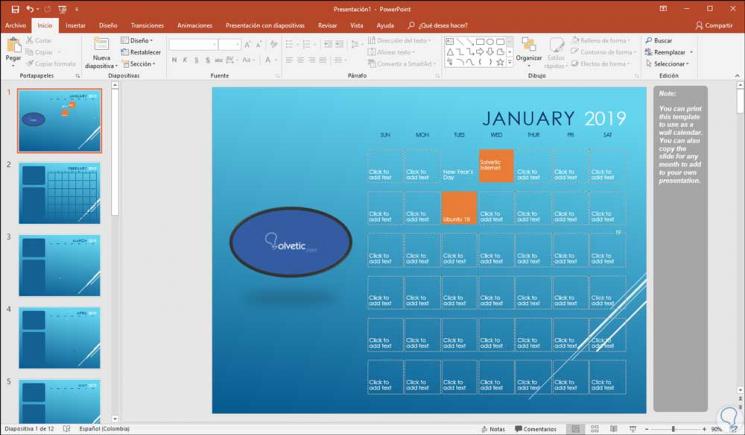
We see how both PowerPoint Online and PowerPoint give us the necessary tools to create high-level calendars and thus manage our day to day much better.