One of the main tools for the preparation of professional documents is Microsoft Word which is currently in its 2016 version but that the Office development group has already launched the Office 2019 beta including Word, to know how to download and use this new edition From Microsoft we can visit the following link:
Microsoft Word includes a wide range of options to customize the document so that it has the best design and presentation options. TechnoWikis will explain how to use the integrated drawing tools of Microsoft Word to improve these designs, this process applies to both Microsoft Word 2016 and 2019..
1. How to draw basic arrow shape Word 2019, 2016
Word has a wide range of design options that facilitate the interaction of the ideas of the document, to see what options we have available, we will go to the Insert menu and in the Illustrations group click on the Forms option and the various options to be used will be displayed:
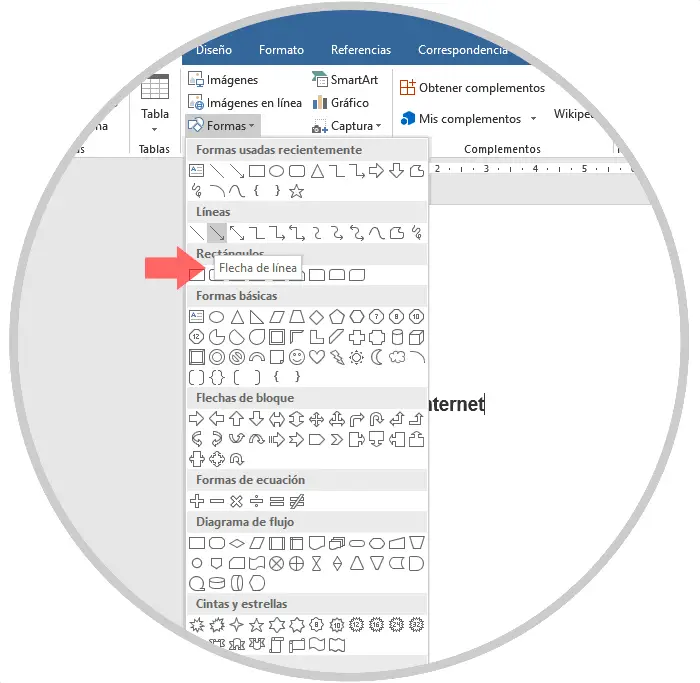
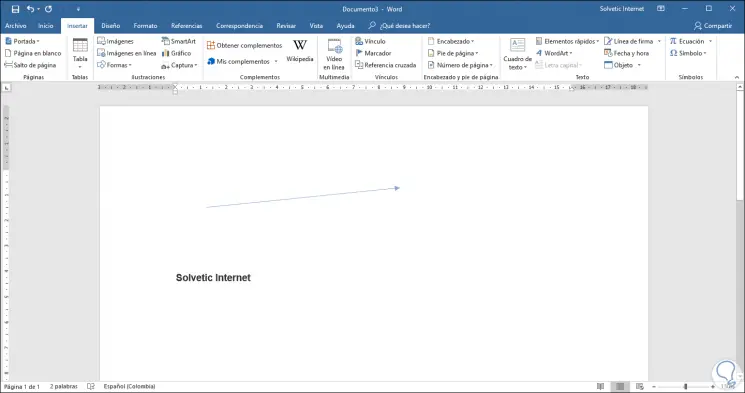
For this example we click on the Line arrow option and a cross symbol will be displayed which we must keep pressed with the mouse button and then drag it to draw the arrow. After this, we must release the mouse button to finish drawing the arrow according to the criteria to be used:
2. How to resize, rotate and change color of created arrows Word 2019, 2016
By default Microsoft Word leaves the arrow with a basic format, but it will be possible to apply certain attributes to these arrows to make them stand out even more, to accomplish this.
Step 1
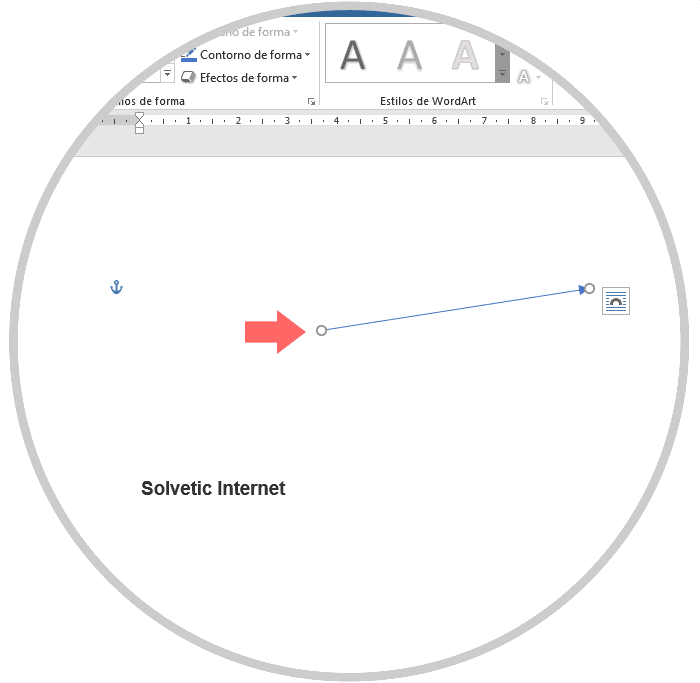
If we want to resize the arrow size in Word, we must hover over the arrowhead in order to see the double arrow symbol:
Step 2
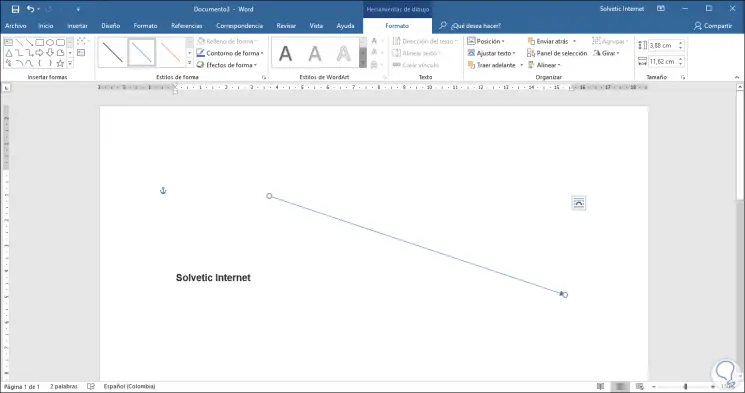
There we will click and then drag the mouse to define the new size of the arrow, be it longer or shorter. It will also be possible to move it to a new direction if the objective is only to shorten or lengthen the arrow without affecting the orientation, we must press the Shift key during the click and then drag the arrow:
Step 3
By selecting the arrow in Microsoft Word, we can see that a new menu called "Drawing Tools" is displayed. There we can click on the Format Format option (icon located in the lower right corner in the Shape Styles group) to be displayed The following sidebar:
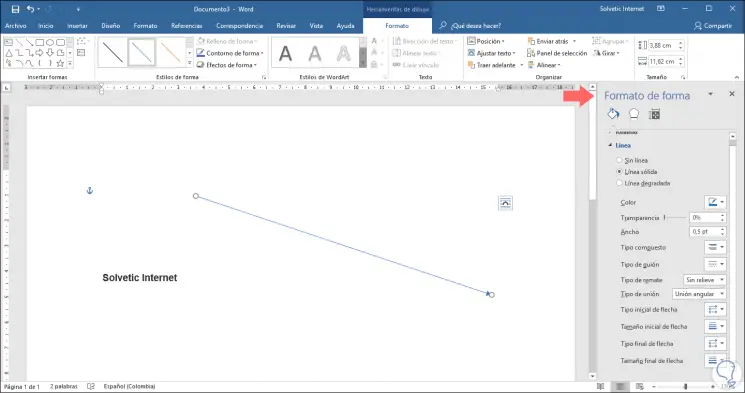
There we can define additional parameters for the selected arrow or it is also possible to use the options available at the top of the shape styles.
3. How to modify color and thickness of an arrow Word 2019, 2016
Step 1
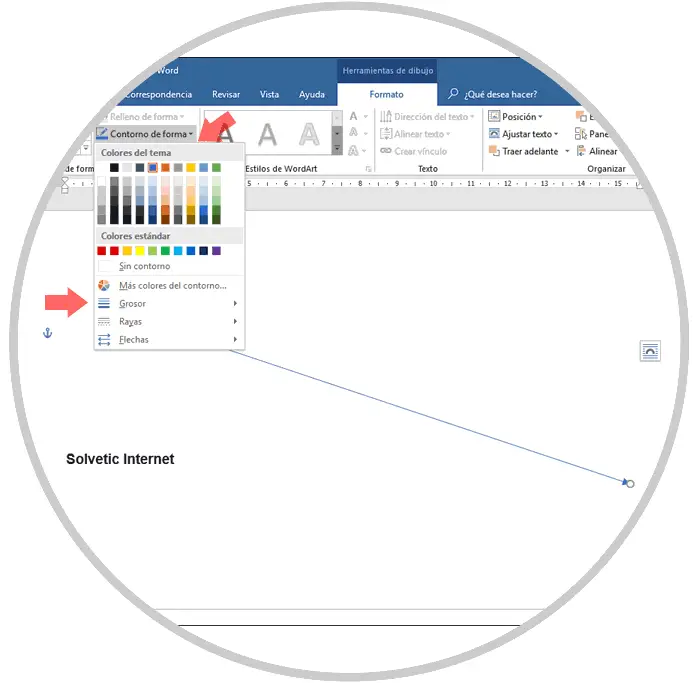
If we want to modify the default color assigned to the arrows in Word, just go to the Shape Styles group and click on the "Shape Outline" option and in the pop-up window select options such as:
Step 2
We can click on the option More colors of the contour to apply the custom colors using the integrated color palette of Microsoft Word.
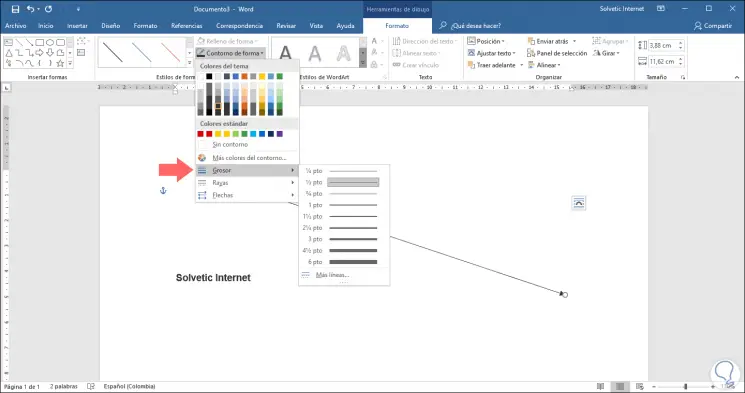
To edit its thickness, we click on the "Thickness" option and there we will select the desired option:
Step 3
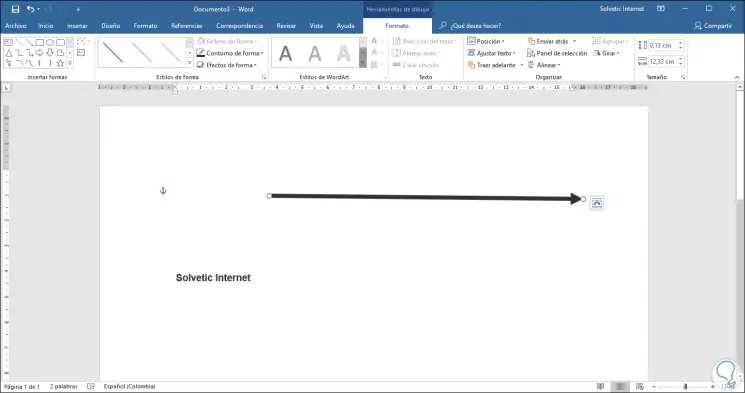
Based on the defined thickness and color, the arrow will have a greater impact on the document to be made:
4. How to rotate an arrow in Word 2019, 2016
Step 1
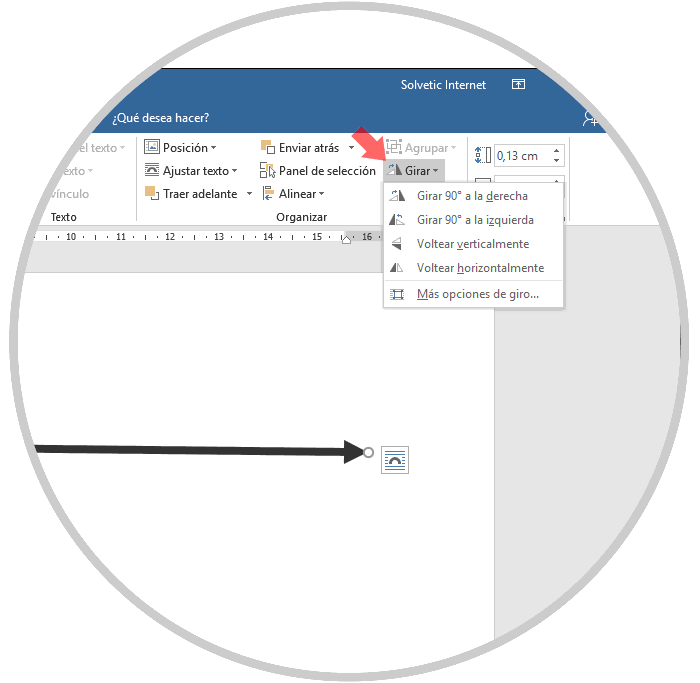
Microsoft Word gives us the facility to rotate some of the arrows that we have created based on the orientation of the text or according to the criteria for using it, to see the available options. We go to the Organize group and there we click on the "Turn" option, the following options will be displayed:
Step 2
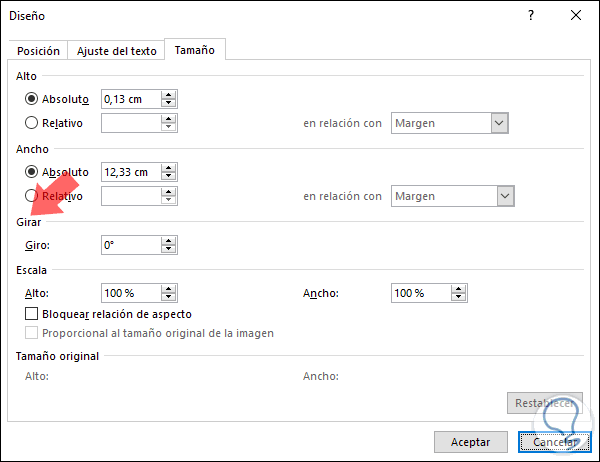
If any of the available options is not to our liking, we can click on the "More turning options" line and there it will be possible to define in how many degrees the selected arrow will be rotated by entering the desired value in the Rotate field:
5. How to use block arrow in Word 2019, 2016
Microsoft Word has several options in the section of elements to insert in order to make the arrows look professional, for this we have options of connectors, blocks or curves.
Step 1
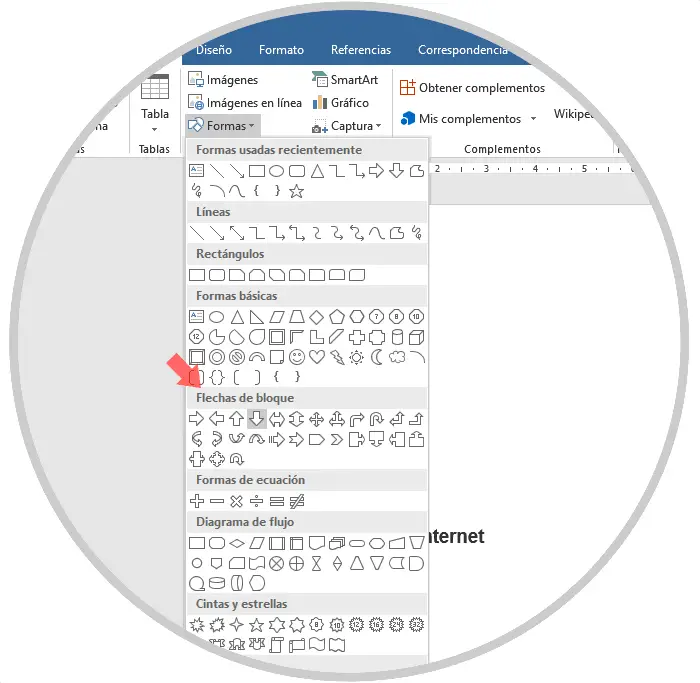
To see the different options to use at the level of block arrows, we must go to the "Insert" menu "Illustrations group" and there select the option "Shapes" and locate the category "Block arrows"
Step 2
As in the basic arrow, we must drag the cross icon to define the size of the selected block arrow:
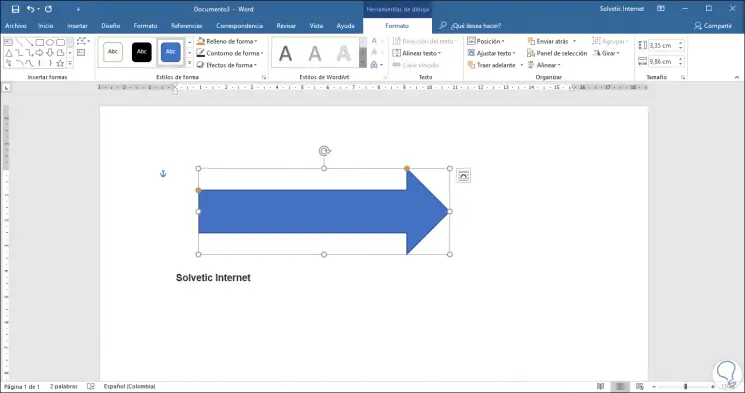
When selecting this arrow we will have the same options indicated above to edit the color, size, rotation and more parameters of the selected arrow..
6 . How to make curved arrow in Word 2019, 2016
Curved shapes are ideal for joining ideas or objectives into a document and Microsoft Word gives us a series of useful options for this task.
Step 1
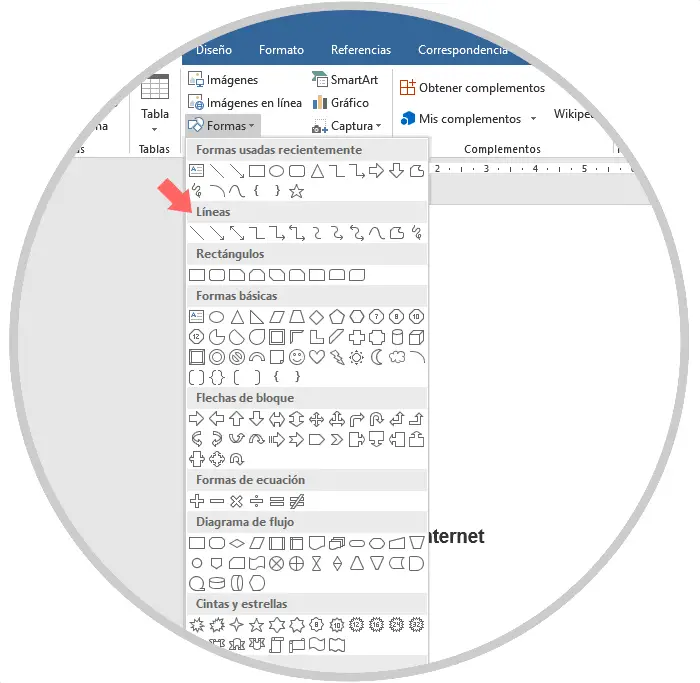
To see the different options to use at the level of block arrows, we must go to the "Insert" menu "Illustrations group" and there select the option "Shapes" and locate the category "Block arrows"
Step 2
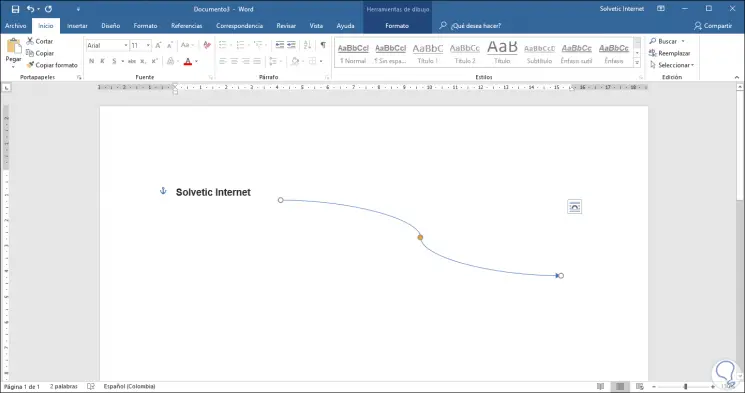
When selecting the desired curve, we must drag the mouse to define its length and position within the document:
Step 3
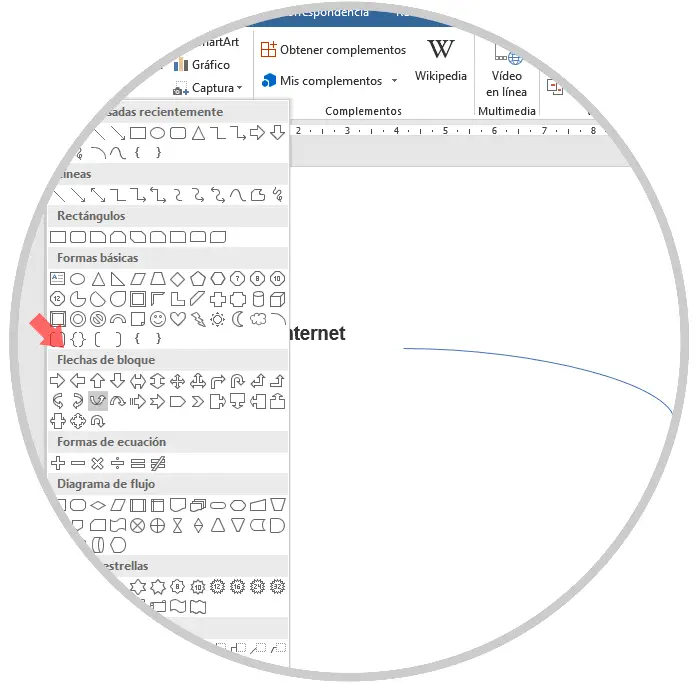
In the section "Block arrows" we also find some possibilities of curved lines to add:
Step 4
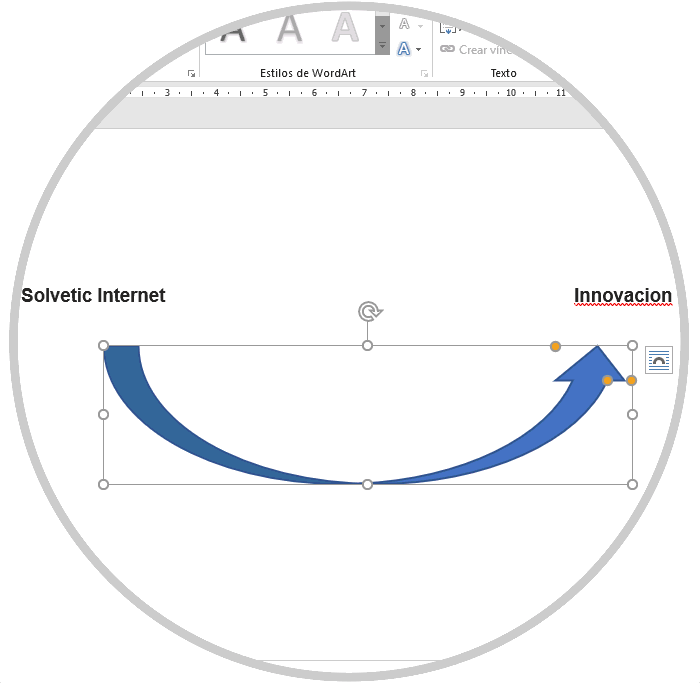
Based on the selection, we can apply the desired formats:
7 . How to use connector in Word 2019, 2016
Step 1
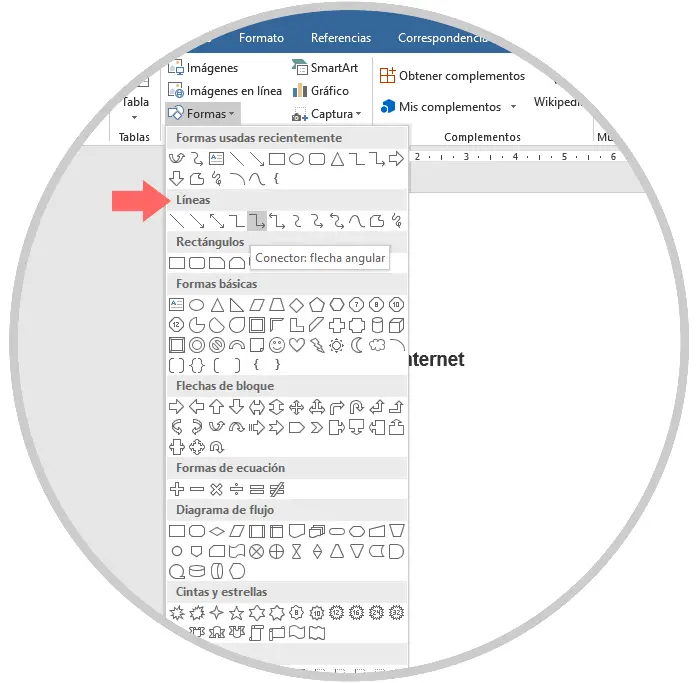
These connectors are ideal for use in flowcharts or organizational diagrams, to see what options Microsoft Word gives us we must go to the "Lines" section and there we will see the different connector options:
Step 2
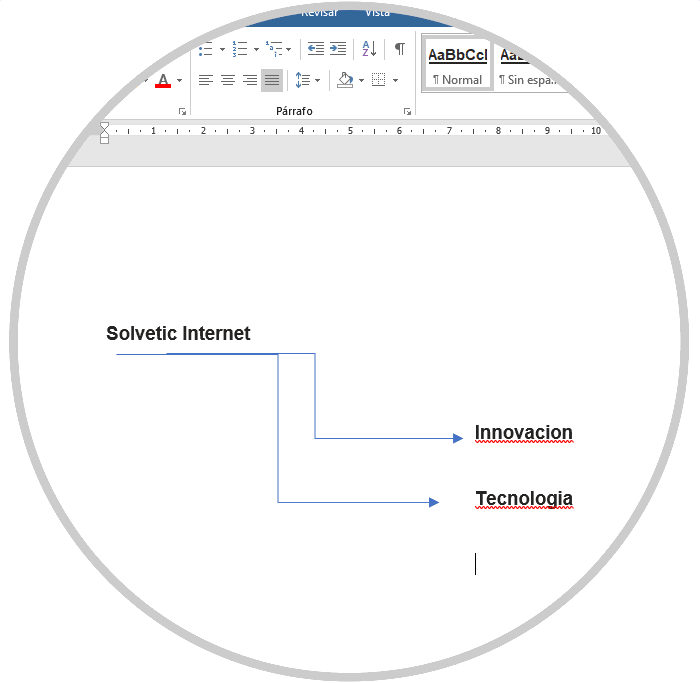
By using these connectors it will be possible to join ideas or main points in the document:
In this way, both Word 2016 and 2019 give us the possibility and the vital tools to create high-impact documents.