Nowadays, having a good browser is essential to feel comfortable when searching the web and accessing its services, whether to search for information or access different services in the best possible way..
Google Chrome is the most used browser worldwide for all its functions, security measures and dynamism for users, but this does not mean that errors do not appear and one of them is an error that prevents us from accessing a website, This is because the DNS lookup fails and the web page is not available to access it and this error may be due to a bad configuration in the network, protection rules in the Firewall or errors in the DNS server.
TechnoWikis will explain how to correct this error and thereby access the websites in Google Chrome..
To stay up to date, remember to subscribe to our YouTube channel! SUBSCRIBE
Fix “no access” error to sites in Chrome
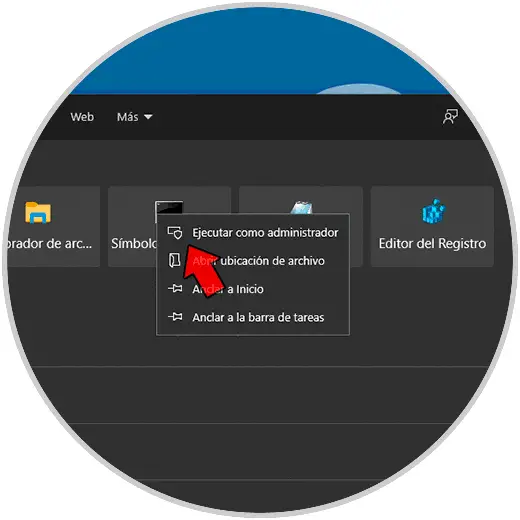
Step 1
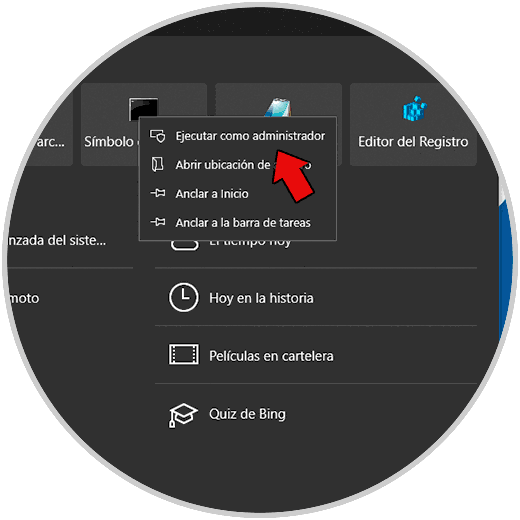
Access the command prompt as administrators:
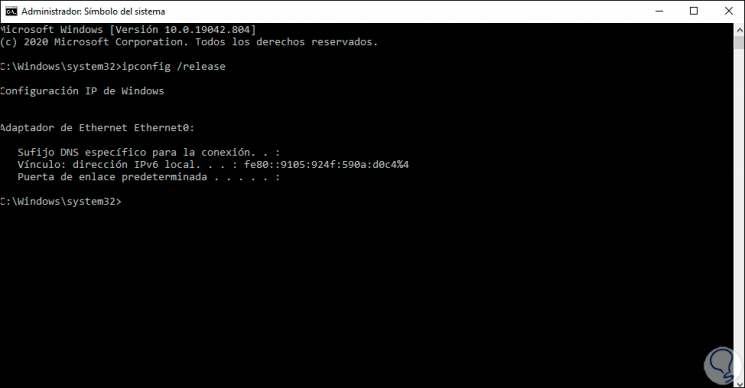
Step 2
In the console, we are going to release the current IP address by executing "ipconfig / release":
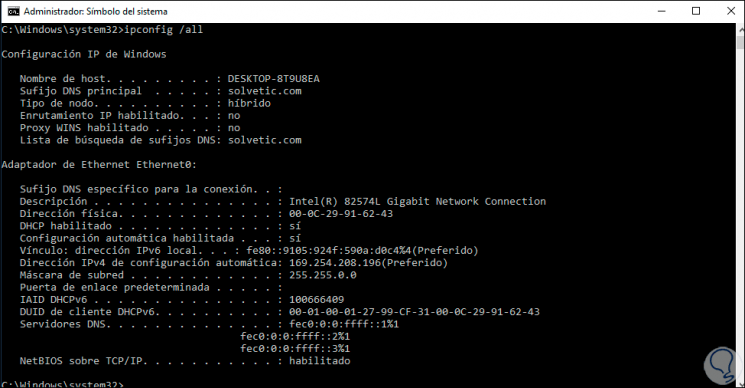
Step 3
Now we run "ipconfig / all" to list the IP configuration:
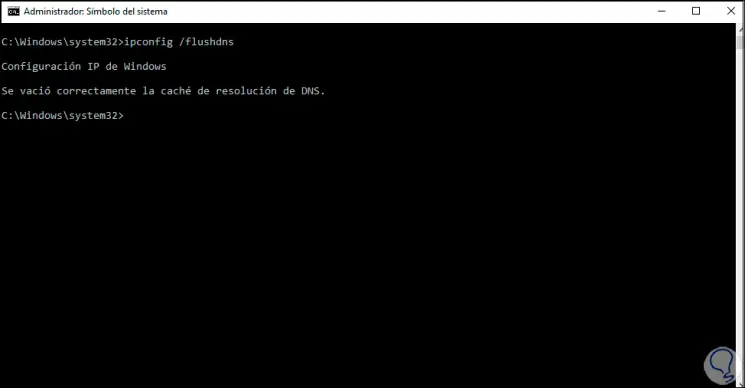
Step 4
We release the DNS cache with the command "ipconfig / flushdns":
Step 5
It is time to renew the IP address in Windows 10, to do this, execute "ipconfig / renew":
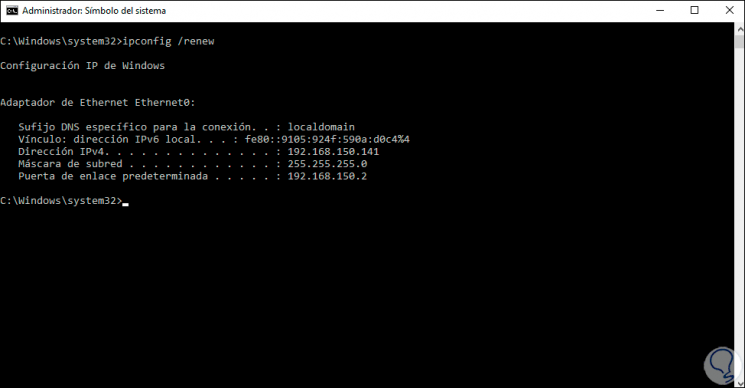
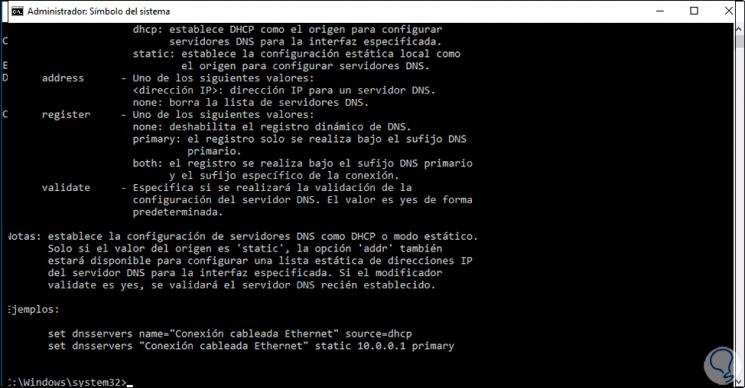
Step 6
We can see that a new IP has been assigned, now run "netsh int ip set dns" to establish a DNS:
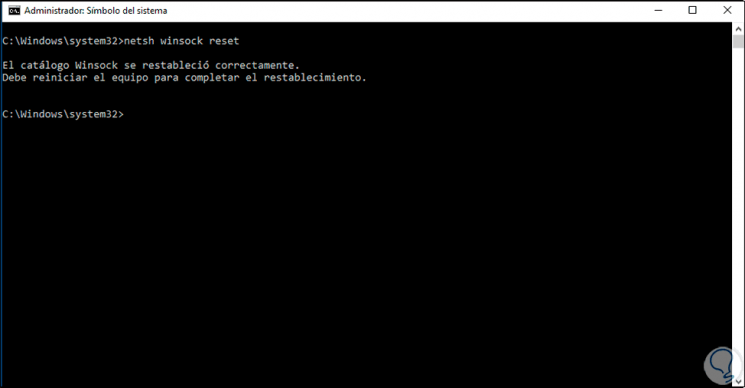
Step 7
After this we are going to reset Winsock with the command "netsh winsock reset":
Step 8
Access the Control Panel:
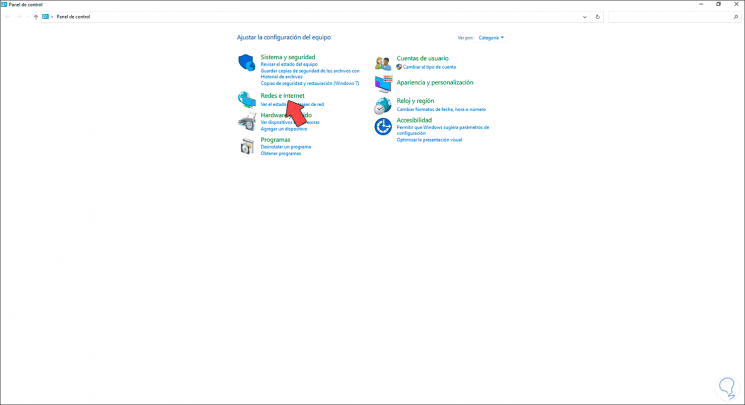
Step 9
Click on "Networks and Internet" to see the following:
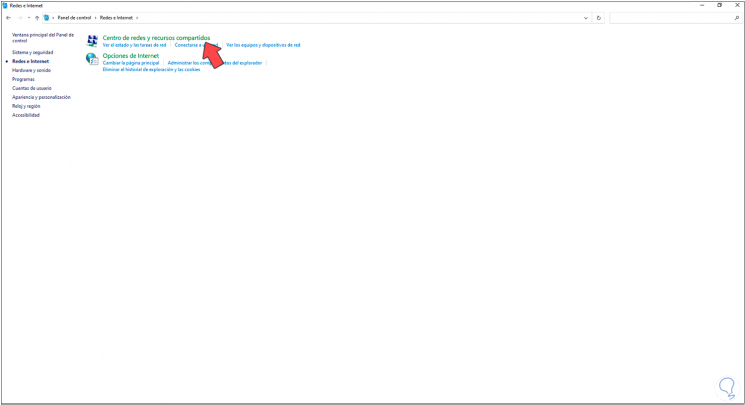
Step 10
We click on the line "Center of networks and shared resources" and the following will be displayed:
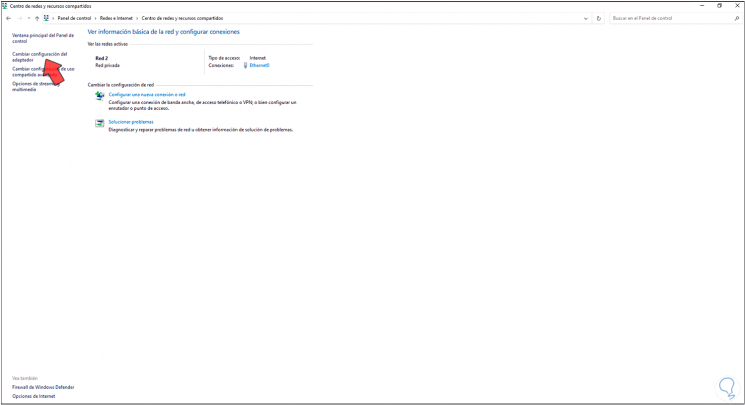
Step 11
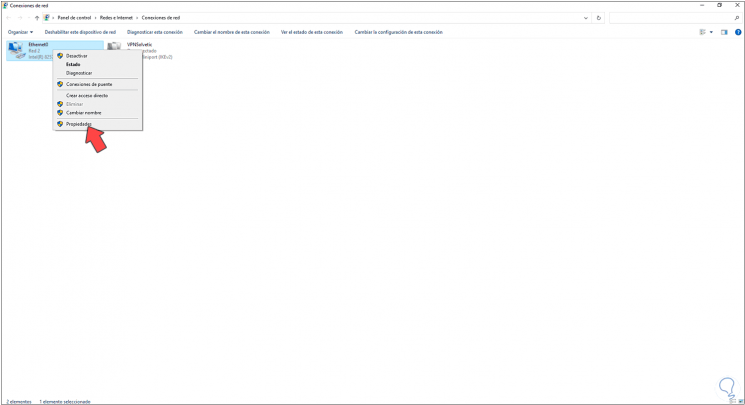
We click on "Change adapter settings", after that we right click on the adapter and select the "Properties" option:
Step 12
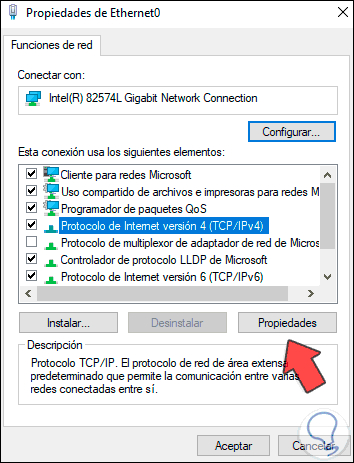
In the pop-up window we select the IPv4 protocol and click on "Properties":
Step 13
We will see the following:
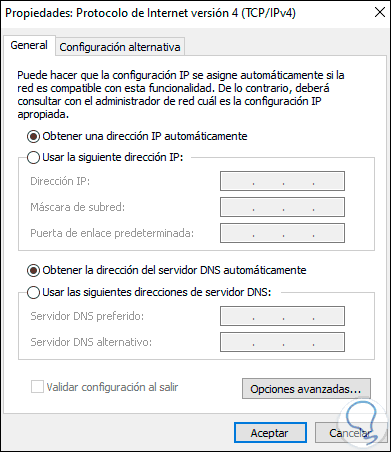
Step 14
We activate the box "Use the following DNS server addresses" and enter Google's public IP for DNS like this:
- Preferred DNS server: 8.8.8.8
- Alternate DNS server: 4.4.4.4
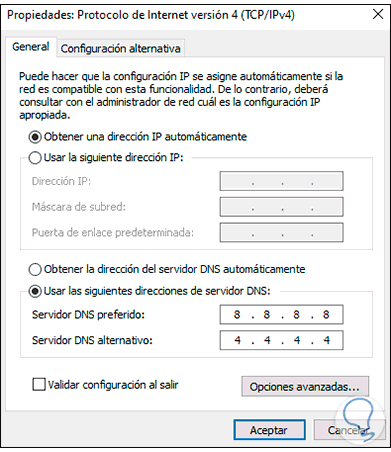
Apply the changes.
Step 15
After this access the command prompt as administrator:
Step 16
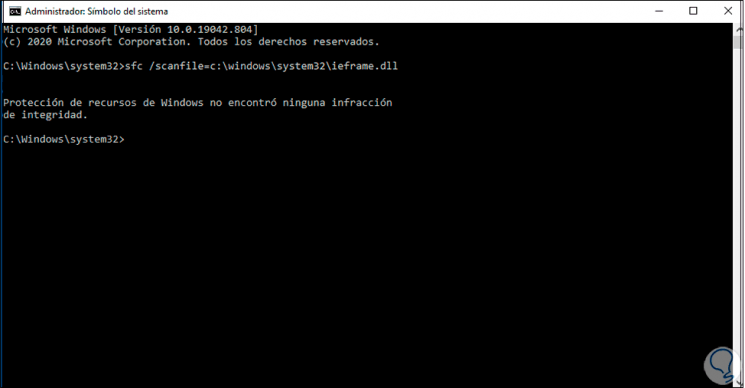
In the console run:
sfc /scanfile=c:\windows\system32\ieframe.dll
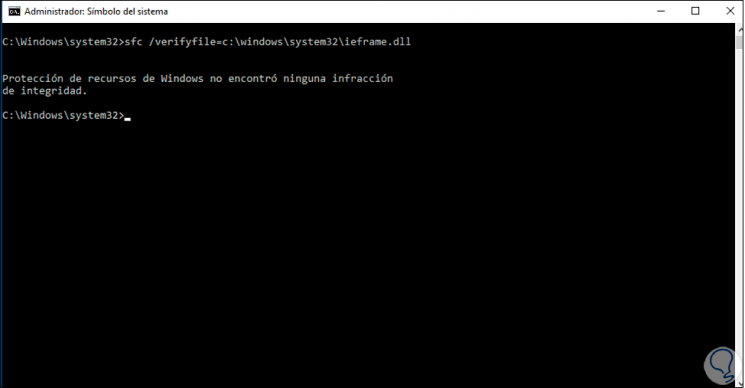
Step 17
After this run for verification:
sfc /verifyfile=c:\windows\system32\ieframe.dll
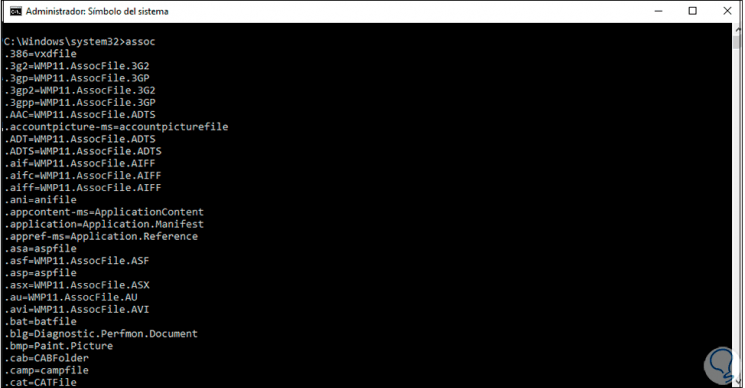
Step 18
Run "assoc" to associate the file extensions:
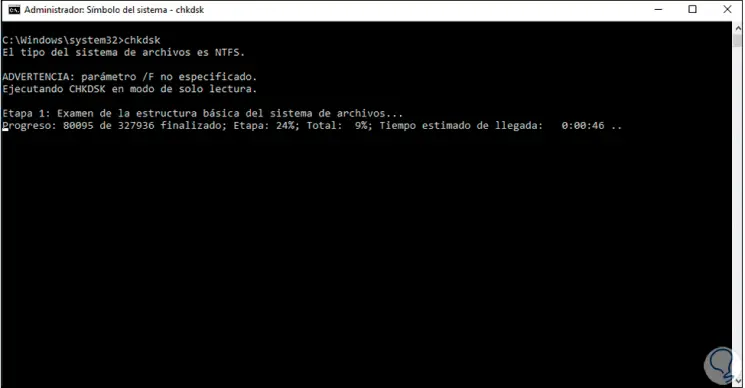
Step 19
Next we are going to check the disk using the "chkdsk" command:
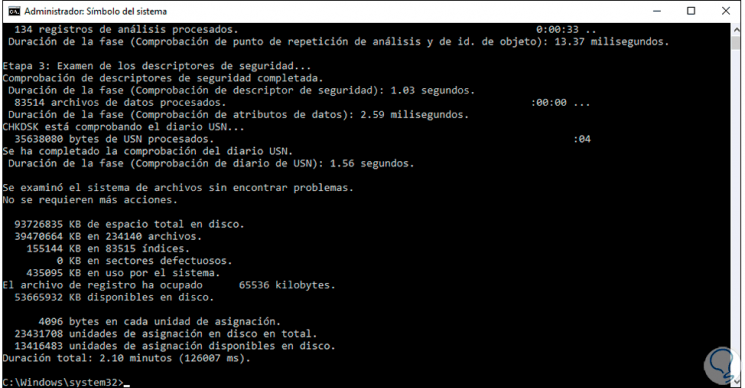
Step 20
At the end of the task we will see this:
Step 21
Lastly, restart Windows 10 to complete the task:
Thus, it will be possible that when accessing a website in Chrome it opens as it should..