Microsoft Excel 2019 is an application developed by Microsoft through which it will be possible to perform hundreds of tasks on the data, regardless of its type, thanks to its functions and integrated formulas, so it is essential to protect those cells that contain critical data , such as these formulas or functions, since an incorrect edition will cause a series of errors in chain that will affect the final results. Thanks to the blocking of cells we can prevent data from being modified thus preventing unwanted alterations . By blocking a cell or a range of cells, we are saying that it is not allowed to enter or delete data from those cells..
A good tip is to block that cell, a range of cells or the entire sheet in order to prevent other users from making changes to that book. TechnoWikis will explain how to perform this process in a simple way.
To keep up, remember to subscribe to our YouTube channel! SUBSCRIBE
1. How to block all cells in an Excel 2019 sheet
The first step involves the general blocking of the pages of the active book, this will avoid any modification that is intended to be carried out. By default, when a sheet or workbook is protected, all cells will be blocked preventing any entry in or deleting any record in it.
Step 1
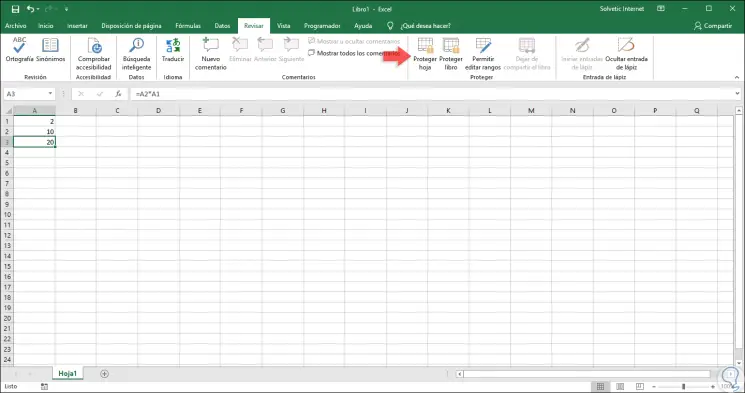
To achieve this type of blocking, we must go to the “Review†menu and in the “Protect†group we click on the “Protect sheet†option:
Step 5
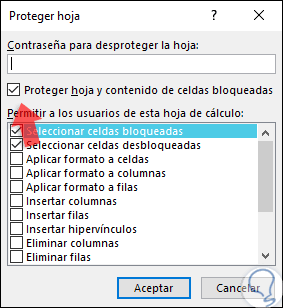
There the following wizard will be displayed:
Step 6
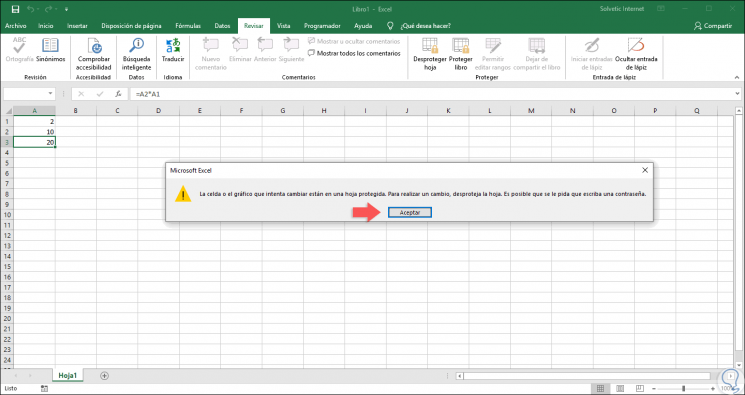
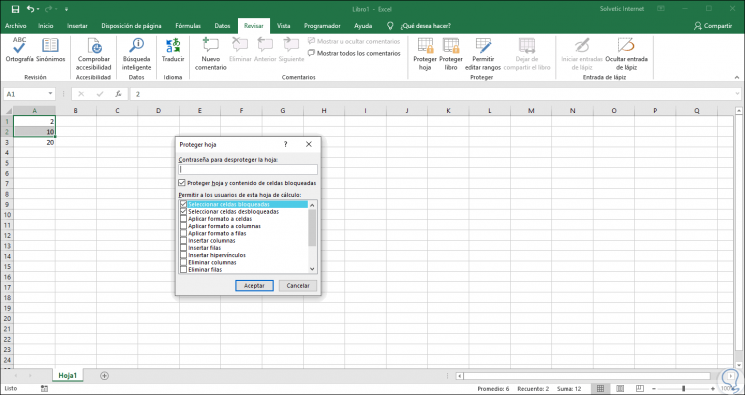
There it will be possible, if we wish, to assign a password for access to the sheets and in the central panel we can activate the boxes on which users will not have permissions for the general lock we activate the box “Protect sheet and cell contents blocked â€located at the top. Click OK to apply the changes and when you try to make any changes on any of the cells on this sheet the following message will be displayed. As we can see, it is impossible to carry out any type of editing in the cells.
Step 7
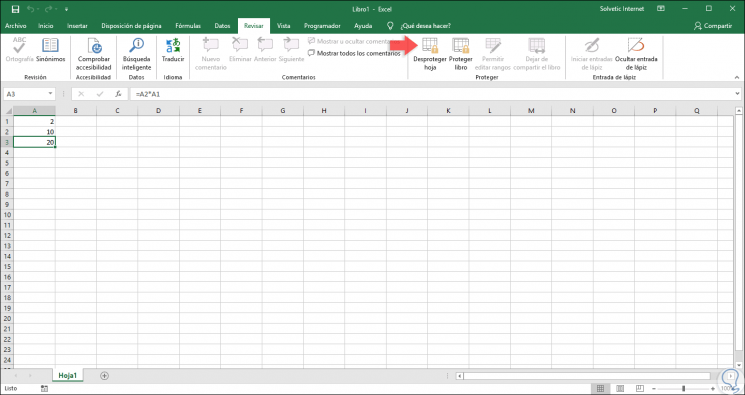
To remove this protection, we will go back to the “Review†menu and in the “Protect†group we will click on the “Check out sheet†option. This will activate all editing options of the selected sheet.
2. How to block specific cells in Excel 2019
It is likely that we do not always want to block the entire contents of the active sheet but only one or several cells in particular.
Step 1
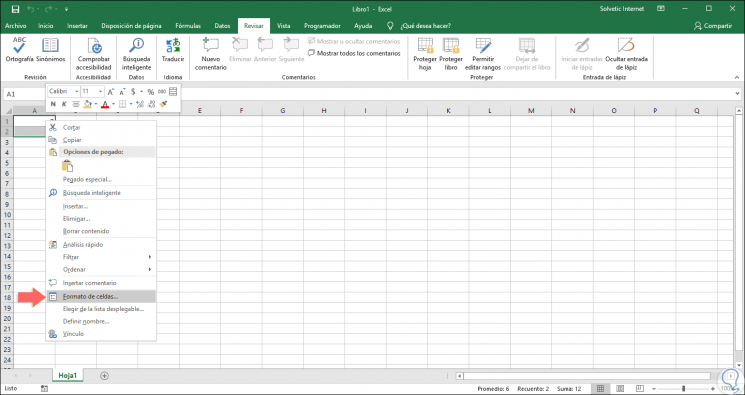
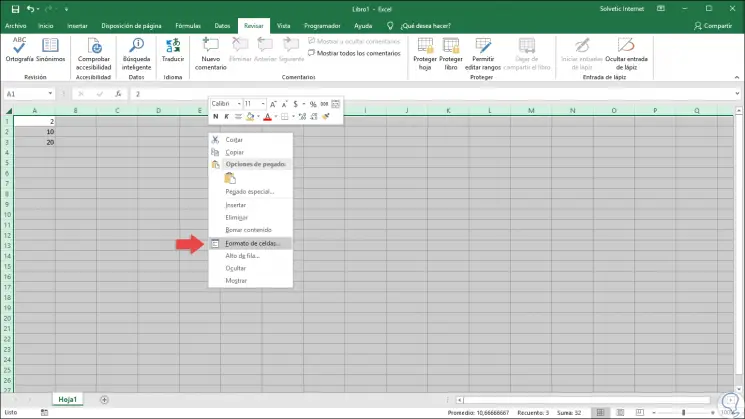
For this process we will select the cells that we do not want to be blocked., That is, these cells can be edited after protecting the active Excel 2019 sheet, after selecting them we must right click on them and choose the option “Format cells ":
Step 2
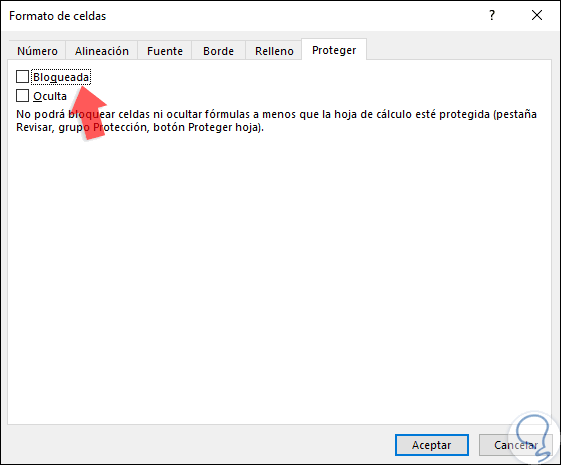
In the displayed window we will go to the “Protect†tab and there we must deactivate the “Blocked†box which is active by default. Click on OK to save the changes.
Step 3
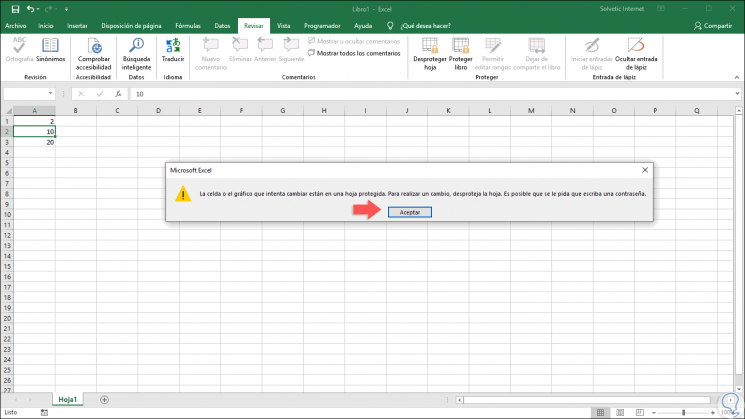
After this we return to the “Review†menu and click on “Protect sheetâ€. There we click on “Accept†and now it will be possible to edit the selected cell but not the other cells of the active Excel 2019 sheet.
3. How to protect a range of cells in Excel 2019
Now, another option that Excel 2019 offers us is the blocking of a specific range of cells, this will cause only that range does not have editing permissions.
Step 1
To achieve this goal, we must select all the cells of the sheet by clicking on the selection button located to the left of column A and we will see the following:
Step 2
Now we right click on any area and in the displayed list we select the option “Format of cellsâ€:
Step 3
In the displayed window we will go to the “Protect†tab and there we uncheck the “Blocked†box and click OK:

Step 4
Click on OK to apply the changes and now select the range we want to block or protect and we will right click on it, select "Format Cells" and in the "Protect" tab we activate the "Blocked" box:

Step 5
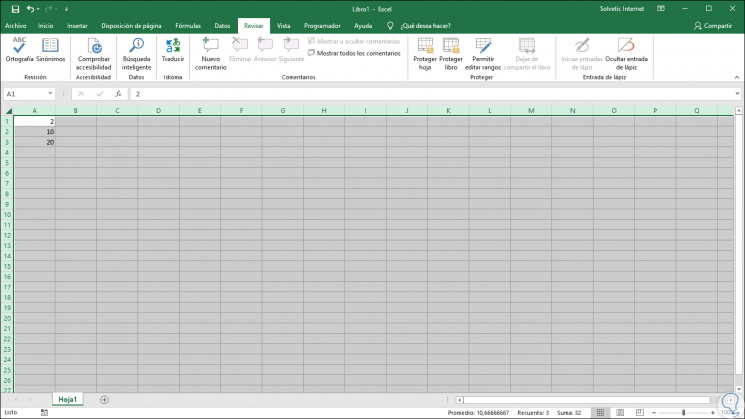
Click on OK, go to the “Review†menu to click on the “Protect sheet†option and now only this range of cells will be locked for editing:
In this way, it will be possible to protect a cell or a range of cells in Excel 2019 by preventing changes in it..