There are moments when you want to bite the edge of the table: Despite the broadband line, the Internet is excruciatingly slow and it feels like it takes forever to access the website. As a rule, the DSL or cable connection itself is not to blame, the router is also innocent. No: The cause of sluggish Internet is usually the provider's so-called DNS server. DNS stands for “Domain Name System” and translates URLs such as www.heise.de into the IP addresses required for the Internet. If this server is overloaded or simply slow - and this can change depending on the time of day - every visit to websites becomes a torture, as many domain name addresses have to be resolved. In this case, you can take a few quick steps to improve your internet connection again. But even these do not help,It may make sense to use another, more reliable DNS service provider: Google offers such a server. But there are also other providers such as OpenDNS or Quad9 . Without special functions, alternative DNS servers are usually free of charge - and significantly accelerate the Internet connection. Here you can find out which urgent measures you can take and how you can set up another DNS server.
Fast action when the internet is slow
Since setting up an alternative DNS server is a bit more complex, it is often worthwhile to briefly check a few alternative sources of error before starting the process. If the following tips do not help to improve the Internet connection again, we will explain below how you can easily set up a new DNS server.
Switch browser
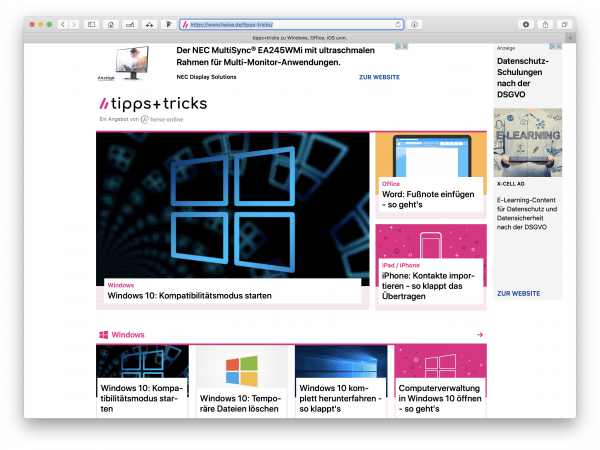
In some cases, the web browser can slow down the internet connection - for example, if the program is overloaded with a single tab or if an update has brought in bugs. Then it can help to temporarily use an alternative web browser . Depending on which browser you normally use, Mozilla Firefox, Google Chrome or Microsoft Edge are suitable for this. If the website then actually loads faster, you can search for updates in your standard browser and install them if necessary. Often restarting the program helps to improve performance again..
Restart the wireless router
Even if this doesn't happen too often these days, the wireless routers also hang up from time to time. In this case, it makes most sense to restart the router once. Many devices have a function for this which you can access via the router's web overview and which you can use to perform an orderly restart . If your router does not offer such a function or if you cannot access the web view, you can also disconnect the power cable of the device , wait a while and then reconnect the cable.
Temporarily disable the firewall
If your Internet is still not working as it should, your PC's firewall can also be the reason for the malfunction. To rule this out, temporarily disable it. You can find out how to deactivate a firewall in Windows here. If your Internet connection is improved afterwards, you can adjust the configuration of the firewall. This article will show you how to add certain exceptions to the firewall. To ensure that your computer continues to be protected, it is essential that you reactivate the firewall afterwards ..
Set up an alternative DNS server in the router
There are several ways to set up an alternate DNS server. It is ideal to store this in the router: This way, all devices in the WLAN / LAN network can use the DNS and the Internet speed is quickly done without any further device-side setup. We show an example of how it works with a FritzBox. However, most routers offer the option of storing an alternative DNS server.
1st step:
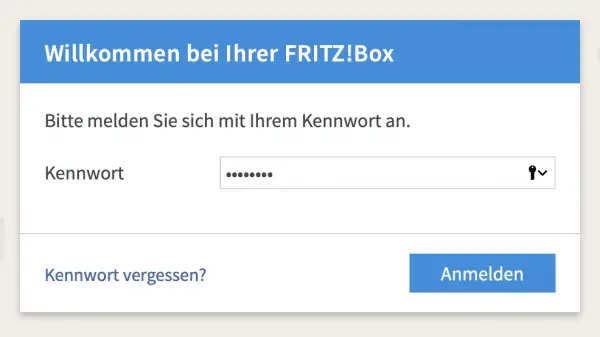 Open the FritzBox administrator interface and log in with your password.
 2nd step:
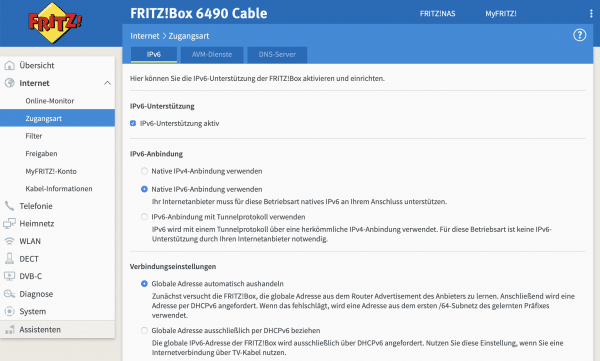 In the menu on the left, click on " Internet " and then on " Type of access ".
 3rd step:
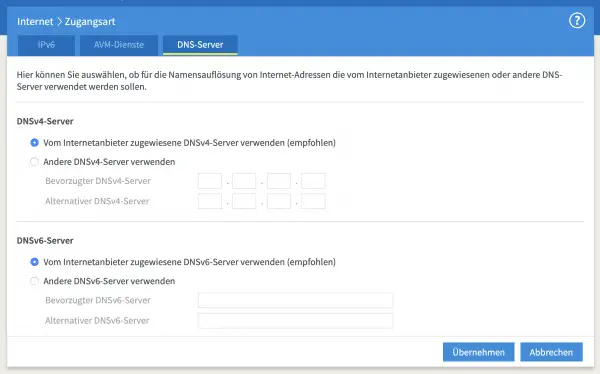 Click on the " DNS Server " tab . Here you will usually find the item " Use DNSv4 server assigned by the Internet provider (recommended) " and the same entry for the DNSv6 server. Both are activated.
 4th step:
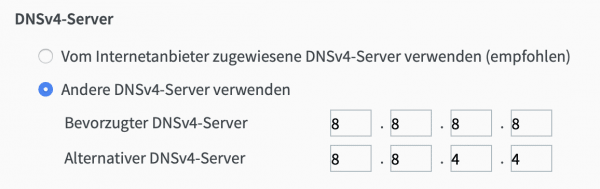 To use a more powerful DNS server, we want to use Google's servers. Google specifies this on the page https://developers.google.com/speed/public-dns/docs/using . The two DNS servers can be reached at the addresses 8.8.8.8 and 8.8.4.4 . Check the box for the DNSv4 server (“ Use other DNSv4 server ”) and enter the two servers there.
 5th step:
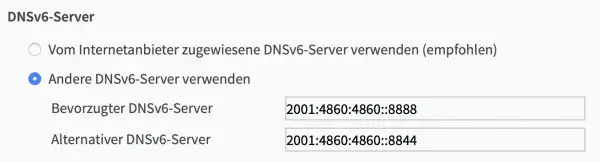 Repeat the step in the DNSv6 field by checking “ Use other DNSv6 servers ” and entering the following addresses here: 2001: 4860: 4860 :: 8888 and 2001: 4860: 4860 :: 8844 .
 6th step:
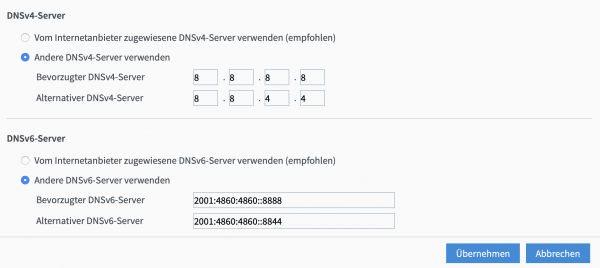 Then click on " Apply " to save the change. Depending on the FritzOS version and FritzBox model, you may have to confirm the change with a telephone code. To do this, follow the instructions in the window that appears.
 7th step:
 The alternative DNS server is now entered. Go to a website in the browser to see whether the loading times are acceptable again. Otherwise, you can try another provider's DNS. By the way: Sometimes the Google DNS is also paralyzed, in such cases you can simply switch to " Assigned by the Internet provider ... ": The FritzBox retains the settings. All your devices then use the respective DNS, unless you set up a different server on the device yourself.
 Enter alternative DNS server under Windows
Of course, there is another way: if you have a notebook, you can of course skip the router's DNS and use your own DNS in third-party WLANs, for example, in order to optimize the speed. This is done quickly under Windows:
1st step:
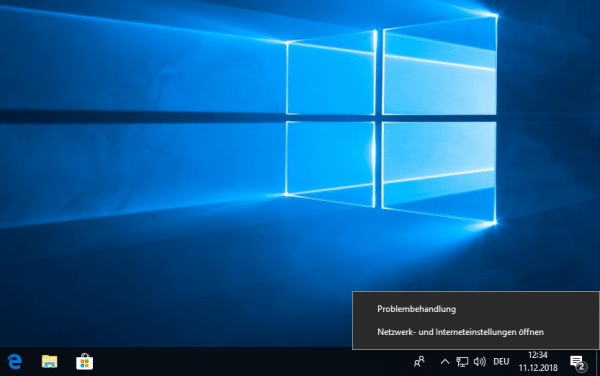 Click on the network symbol in the system tray at the bottom right and select " Open network & Internet settings ".
 2nd step:
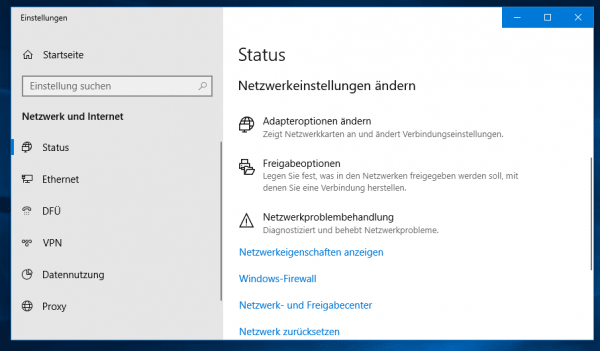 In the window that opens, scroll down and select " Change adapter options ".
 3rd step:
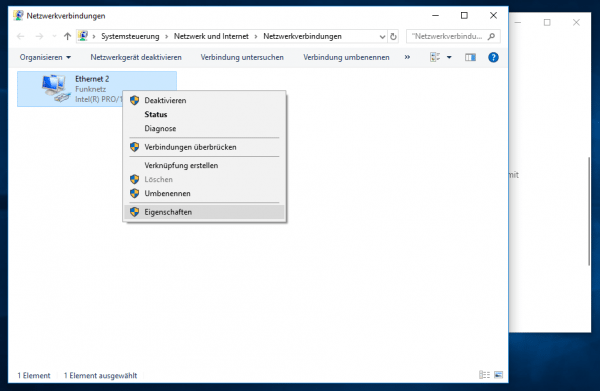 Then right- click the network adapter in the newly opened window and select " Properties ".
 4th step:
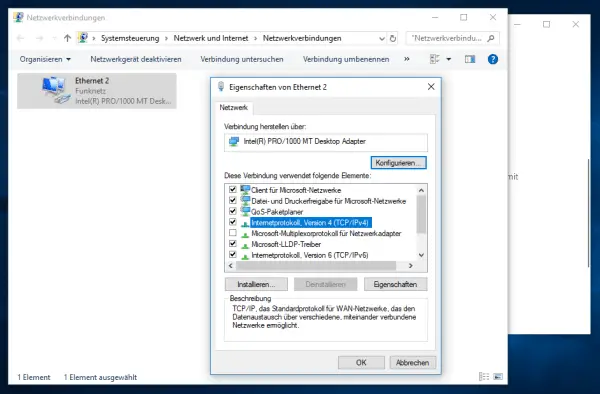 A new window will open. Click on " Internet Protocol, Version 4 (TCP / IPv4) " and click again on " Properties ".
 5th step:
 Now check “ Use the following DNS server addresses” in the lower part of the next window . Then enter the first DNS address under “ Preferred DNS server ” and the second under “ Alternative DNS server ”. So on Google 8.8.8.8 and 8.8.4.4 . Then click on " OK " to save the setting and close the window.
 6th step:
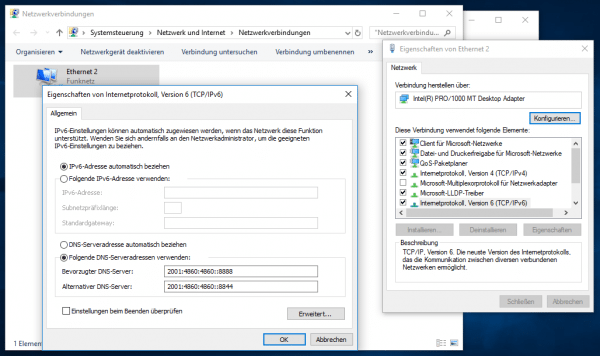 Now repeat steps 4 and 5 with the entry " Internet Protocol, Version 6 (TCP / IPv6) ": Enter the IPv6 DNS server from Google (or another provider): 2001: 4860: 4860 :: 8888 and 2001: 4860: 4860 :: 8844 . Then click on " OK " here as well . With " Close " you finish setting up the DNS server under Windows.
 Change DNS server on macOS
It is also possible to change the DNS server quickly under macOS. The procedure is a bit simpler than under Windows, but basically the same:
1st step:
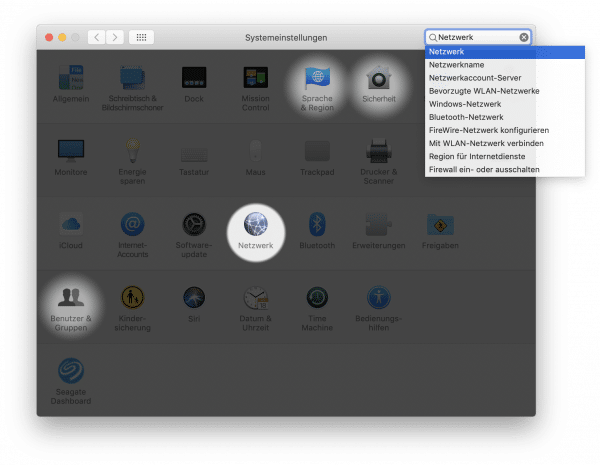 Open the network settings of macOS. You can find this in the system settings .
 2nd step:
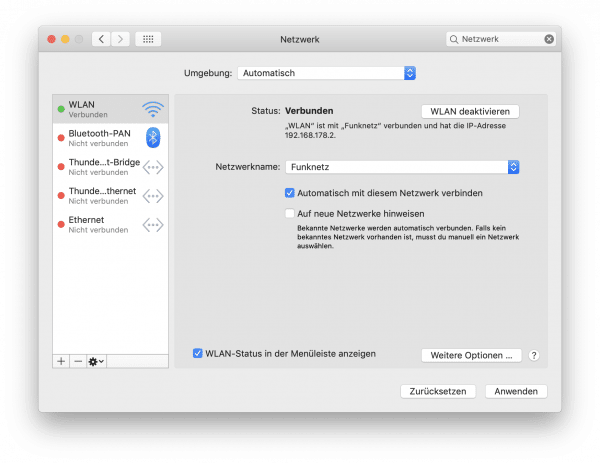
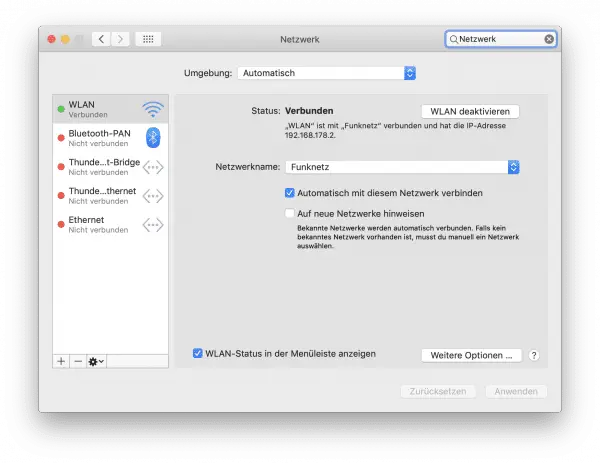 Select your active Internet connection - usually " WLAN ". Click here on " More options ".
 3rd step:
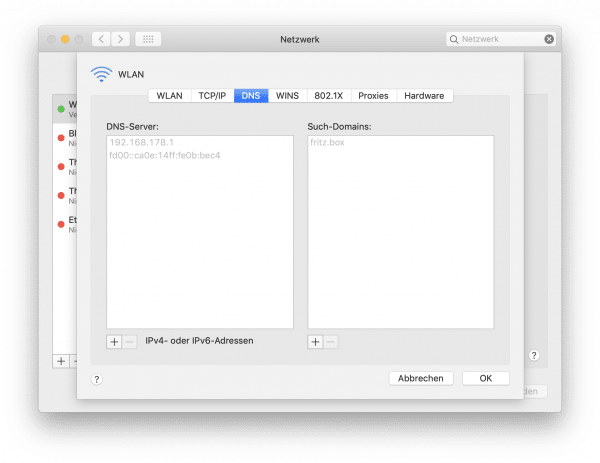 In the window that opens, click on the " DNS " tab . Here you will find a list of the DNS servers that have already been used. macOS uses the router as DNS to use its settings. However, you can enter the alternative DNS server directly.
 4th step:
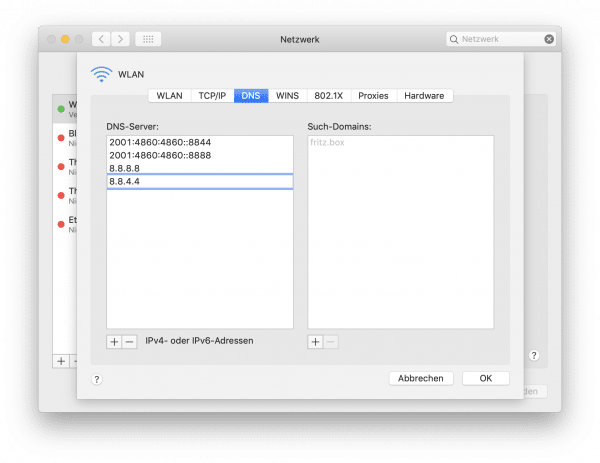 To do this, click on the “ + ” symbol at the bottom left and enter the four Google DNS V6 servers (or the servers of another provider) one after the other. Confirm each one with the Enter key . To enter the next server, click on the plus sign again. Then confirm with " OK ".
 5th step:
 Last but not least, you have to click on " Apply " in the overview of the network connections , otherwise the change will not be applied. From now on your Mac will always use the specified DNS server - no matter what is set on the router.