All current laptops are integrated with a hardware element called a touchpad or trackpad which allows us to use the traditional mouse functions and some complementary functions through a series of alternatives to use with our hands to expand, reduce or execute actions on the screen. In portable devices, the touchpad facilitates the use of the equipment without the need to use peripherals that ultimately complicate the use of the device indirectly. If we are using a laptop, but we are located in a work area where we can work more comfortably, it is interesting to keep in mind that we can complement the equipment using a mouse through physical connection..
Although it is something that is default on all portable computers, its performance, performance and accuracy are not always the best. Unwanted use causes us to select items that we do not want or accidentally perform actions that are not required. To avoid this, many users choose to connect a USB mouse to the computer and work in a much more accurate way everything related to the mouse.
For this reason TechnoWikis will explain how we can disable the Windows 10 touch panel and thus work only with the mouse connected through a USB port..
1. Disable the touchpad using the Windows 10 Device Manager
Step 1
To access the Device Manager in Windows 10 we have the following options:
To keep up, remember to subscribe to our YouTube channel! SUBSCRIBE
Step 2
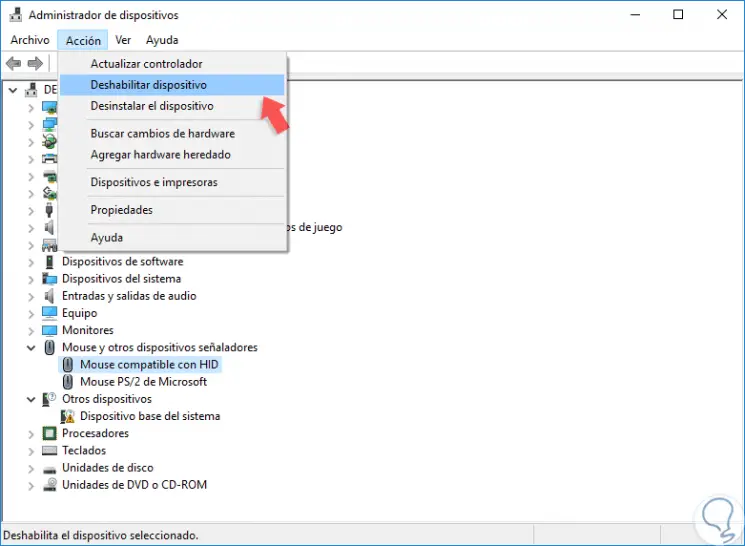
Once we access the Device Manager, we will go to the “Mouse and other pointing devices†section and there we will disable it using one of the following options:
- Right click on the “Mouse compatible with HID†line and select “Disable deviceâ€.
- Select the same option and from the “Action†menu select “Disable deviceâ€.
Step 3
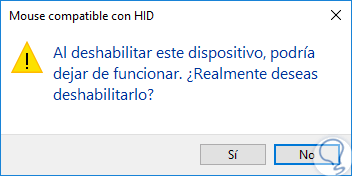
When you do this, the following message will be displayed. There we click on the "Yes" button to confirm the action.
Note
In general, disabling the HID-compatible mouse disables the touch panel built into Windows 10.
2. Disable the touchpad using the Windows 10 TouchPad Blocker
This is a utility that has been developed in order to help the user to write text in a much more comprehensive way since it blocks mouse events in a small period after pressing any key through the touchpad.
With this utility we can set the duration of the delay in milliseconds, we have a keyboard shortcut to activate and deactivate the touch lock and more options.
Step 1
Your free download is available at the following link:
TouchPad Blocker
Step 2
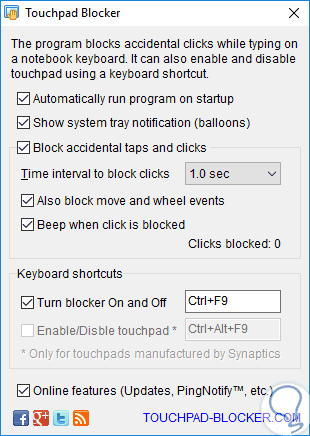
When installing this utility we will see the following in its execution:
Step 3
As we see there are available actions such as:
- Run the utility automatically when you start Windows 10.
- Show the status of the utility in the taskbar.
- Block unwanted actions on the touchpad.
- Add keyboard combination to activate the lock.
- Activate alarm when the touchpad is locked.
3. Disable the touchpad using Windows 10 Touchfreeze
Another free utility to avoid accidental use of the touchpad is Touchfreeze which is a simple utility designed for Windows systems by which the touch panel is automatically deactivated while writing text.
Step 1
Your download is available at the following link. This utility will not disable the touch panel, but it will avoid accidentally changing the cursor position or entering characters in tasks performed within Windows 10.
Touchfreeze
Step 2
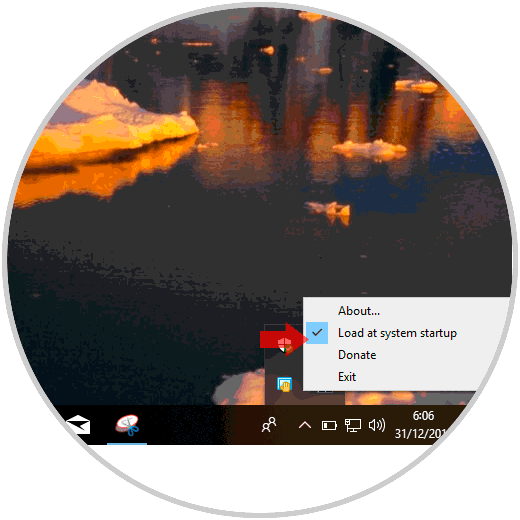
When Touchfreeze is executed, the touch panel is locked for a period of time after pressing a key, when it is downloaded and installed we can access it from the taskbar:
4. Disable the touchpad from the Windows 10 BIOS
Another way that portable computers offer us is to access the BIOS and from there disable the trackpad, for this we must access during the boot process using keys such as Esc, F2, Delete (this will depend on the manufacturer of the equipment), and there locate the section Trackpad for disabling.
5. Disable the touchpad while writing Windows 10
Windows 10 gives us the opportunity to disable the touch panel while writing to our files, thus, when we configure the Windows 10 system to automatically disable the touch panel while writing, the touch panel or trackpad will be disabled or locked while performing the writing action.
Step 1
To achieve this, we go to the Start / Settings menu and there we will see the following:
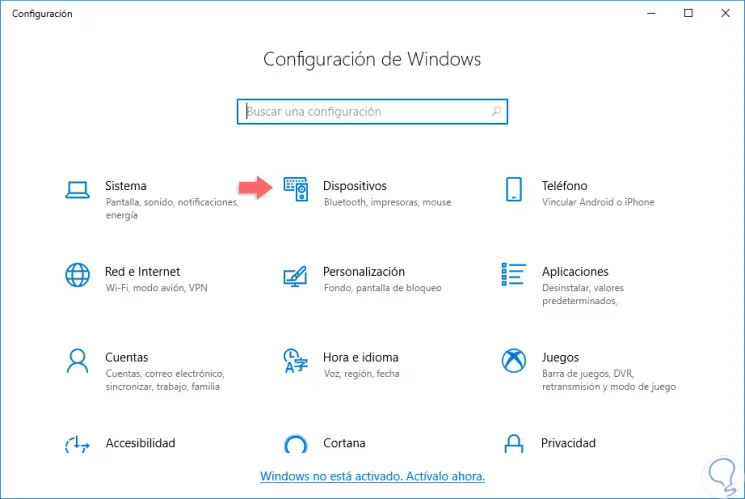
Step 2
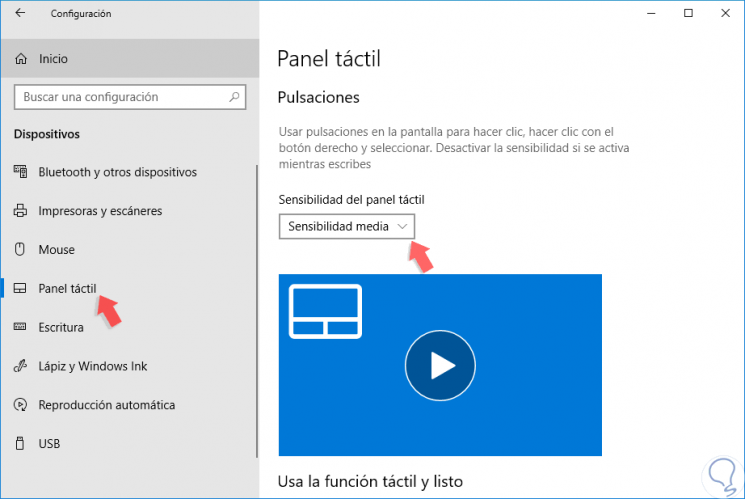
There we go to the "Devices" section and in the new window we go to the "Touch panel" section, there we go to the "Presses" line and in the "Touch panel sensitivity" field we will have the following options. There we define the option "Medium sensitivity" and thus prevent actions from being taken with the touchpad while writing in Windows 10.
With any of the options indicated, we can disable the Windows 10 touchpad and thus avoid accidentally taking unwanted actions on the tasks performed in Windows 10..