The information that we store on our mobile phones is growing so it is important that we be careful with it. In many cases it is not only about simple information, but we keep different content related to our personal accounts and in many cases at a professional level..
Since we spend a lot of our time on the phone, we may have asked ourselves how we can safely and privately keep certain information we have on our mobile. In the case of Pocophone a good option is to enable a second space. This can be very useful if we want to differentiate where we store different data, accounts or applications .
Next, we show you how to enable a second space in Pocophone, so you can have two different accounts on the same phone..
To keep up, remember to subscribe to our YouTube channel! SUBSCRIBE
1. How to create second space or private user account in Pocophone F1
Let's see how to generate a new private space
Step 1
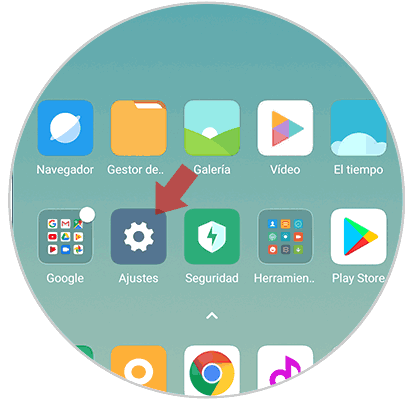
The first thing to do is enter the "Settings" that can be found on the main screen or in the application drawer.
Step 2
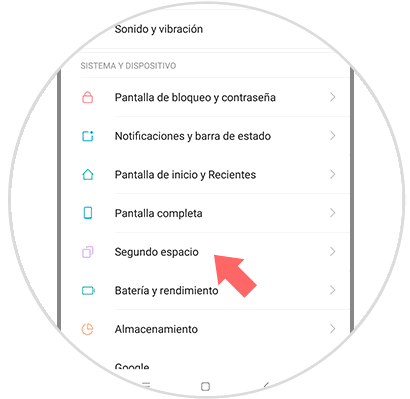
Now that we are within the settings, we must scroll down until we find the option of “Second spaceâ€.
Step 3
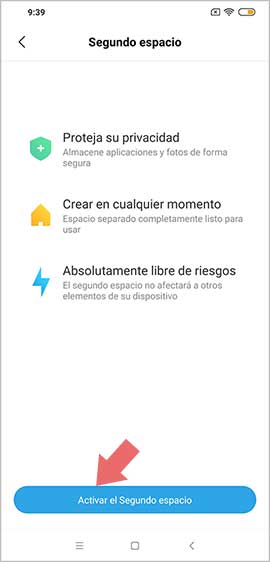
Now we will see that a new window appears. In this case we have to select “Activate the second spaceâ€
Step 4
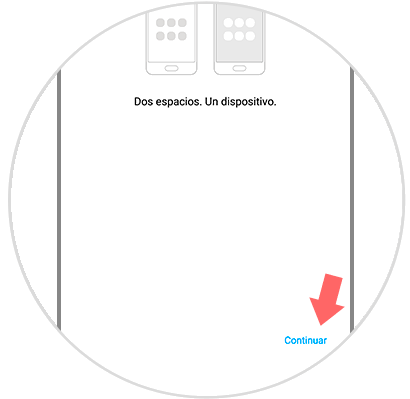
We have to click on “Continue†to continue with the creation process.
Step 5
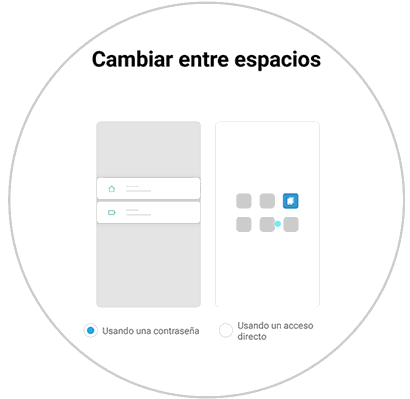
We have different options to access this second space in Pocophone, such as setting a password pattern, a fingerprint or not putting a security access. It is recommended to differentiate spaces by placing at least one different pattern.
Step 6
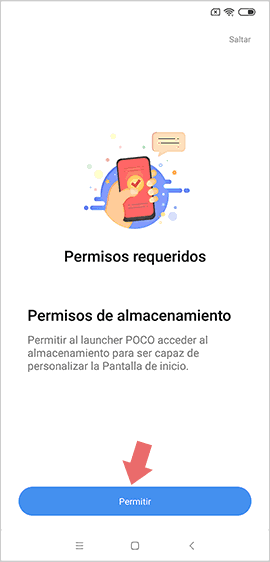
Now we must grant the corresponding permissions to this second space to access the phone's storage.
Once these security options have been configured, all we have to do is block the terminal and use the unlock pattern corresponding to the space we want to enter. (Main or second space)
2. How to delete second user account in Pocophone F1
Step 1
The first step will be to enter the "Settings" through the main screen of Pocophone F1

Step 2
We look for the “Second space†option and access it.

Step 3
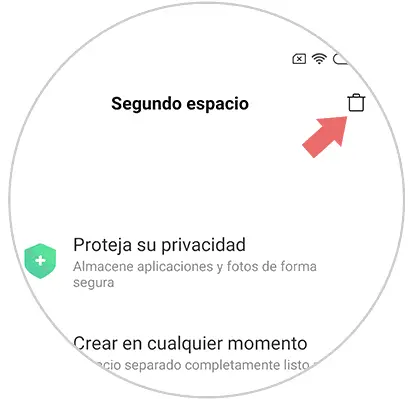
In the new screen that appears we can look at an icon in the upper right part in the form of a bin. Click on this icon.
Step 4
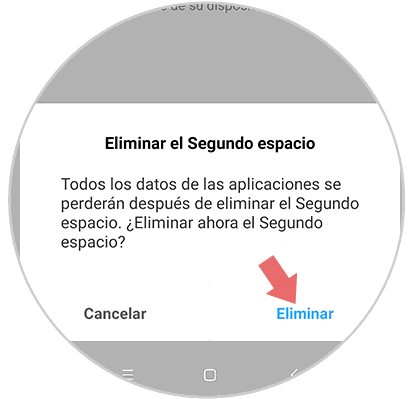
When we click on this icon, we will see that a pop-up window appears asking if it is certain that we want to erase the second space. You must remember that all application data found there will be deleted. If so, choose "Delete."
Note
In the event that we are in the second space and want to eliminate it from here, we must follow the following route
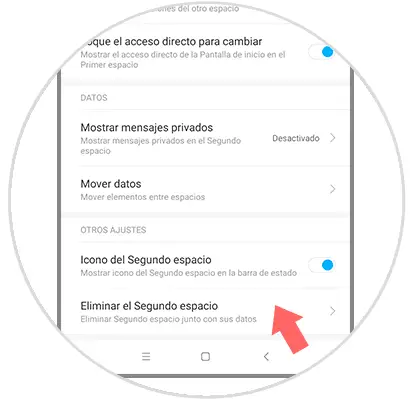
In this way we will be able to select when we want to have a second space in our Pocophone, to be able to store information in a differentiated and private way.