Windows 10 has been developed as a versatile and dynamic operating system which is capable of repairing itself when various types of errors occur during startup . Therefore, a function called automatic repair is integrated, which is a function in Windows 10 that basically solves various system problems when it does not start properly and although it is a useful function, in some situations this function will cause our equipment to remain in an infinite loop of automatic repair preventing its operational access..
If our equipment does not start normally twice in a row, the auto repair mechanism will be activated at the third start, and it is during this process that the system will carry out a series of diagnostic tests in order to detect and repair problems associated with the start of the system variables. TechnoWikis will explain how we can disable this automatic repair functionality of the Windows 10 operating system.
To keep up, remember to subscribe to our YouTube channel! SUBSCRIBE
1. How to disable automatic repair in Windows 10
Step 1
To perform this process we must access the system console as administrators (by right clicking on it and selecting Run as administrator) and in the console we will execute the following line:
Bcdedit
Step 2
BCDEdit is a command line tool developed to manage boot configuration data (BCD), with the BCD files there is a store which is used to describe boot applications and configurations of the various boot applications in Windows. BCDEdit is designed for multiple tasks such as creating new stores, modifying existing ones, adding boot menu options and others.
Step 3
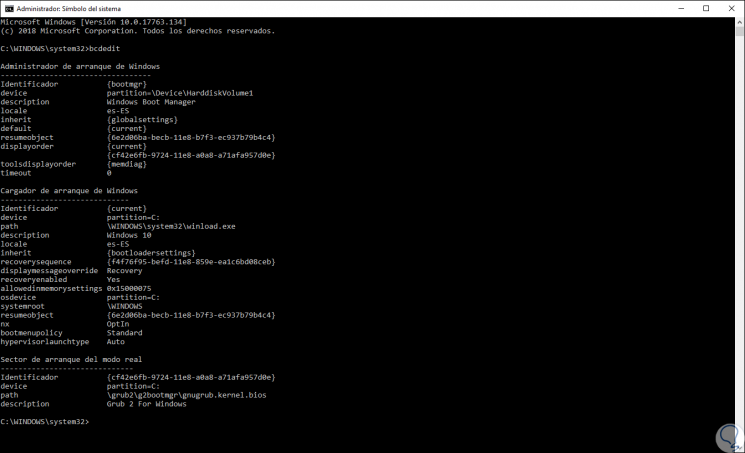
When executing the “bcdedit†line in the console this will be the result generated:
Step 4
There we must look at the following lines located in the "Windows bootloader" section:
recoveryenabled and Identifier
Step 5
By default the values ​​are:
Identifier: {current} recoveryenabled: Yes Step 6
Now we must run the following line to disable automatic repair in Windows 10:
bcdedit / set {current} recoveryenabled no Step 7
In this command, we use the value {current} in order to specify the target operating system option in the boot loader and it is left without any value to disable automatic system repair. When you run this line, the diagnostic and repair function will no longer run automatically after the third failed startup of the computer where Windows 10 is installed.

2. How to enable automatic repair in Windows 10
Step 1
When we want the automatic repair function to be active again, we must enter the command prompt as administrators and this time execute the following bcdedit:
Bcdedit
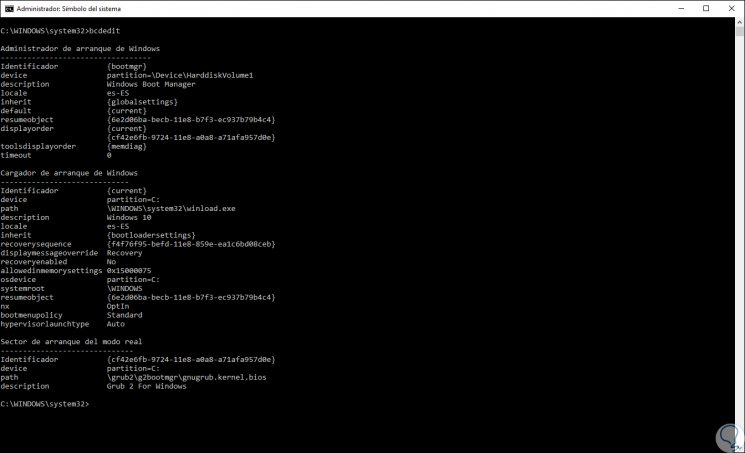
Step 2
We observe that the “recoveryenabled†line has the value “Noâ€, to enable the repair we execute:
bcdedit / set {current} recoveryenabled yes 
Thus, we have learned to disable or enable automatic repair in Windows 10..