There are different methods of teaching or expressing ideas which have changed over time. In the past paper and pencil were used for this purpose and today we have virtual classes, and needless to say what the future holds for us in this regard. But the key will always be that the information is captured by the user or person in a dynamic, practical and efficient way..
Microsoft Windows has developed its Office suite, currently in the 2019 edition , within which Microsoft Word stands out as one of the most effective applications to transmit our information thanks to its multiple integrated tools and tools for this purpose. Conceptual maps are one of the most used techniques. While it is true that at first they may seem boring, the truth is that with Word we can perform them simply and dynamically .
What is a concept map
First of all we must understand this concept a bit. A conceptual map has become a graphic way of clearly representing or explaining ideas and concepts without getting tangled up along the way. It is an alternative that allows to structure the information in a much more complete and orderly manner. This is achieved because a conceptual map allows analyzing, understanding, synthesizing, remembering or in such a case generate new ideas that can be added to it and thus give a much more appropriate information to the situation.
Some advantages of creating and using a concept map
- Presents a better planning of ideas.
- It helps in the resolution of problems.
- Generate new ideas in all participating members.
- It is a better way to display information.
- Support creativity improvement.
An advice that TechnoWikis gives you to create a conceptual map that impacts, is to follow the following sequence:
- First write or draw the idea that we will promote, develop or create.
- Second, develop the sub-themes that are associated with the central idea, these will be connected to each other with a line but all pointing to the global idea.
- Then generate sub-themes associated with the ideas that come out little by little.
With this in mind we are going to create our mind map in Microsoft Word 2019 but the process is similar in Microsoft Word 2016.
Step 1
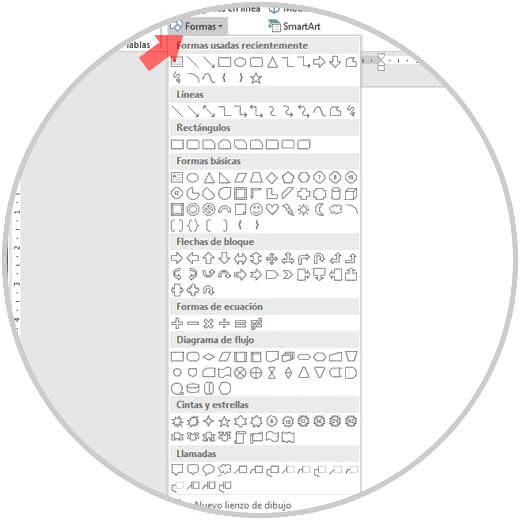
To start our adventure, we open a new Microsoft Word document and go to the "Insert menu" and in the Illustrations group we click on the "Forms" option to see the different alternatives of geometric shapes and lines that we can insert in our mental map:
Step 2
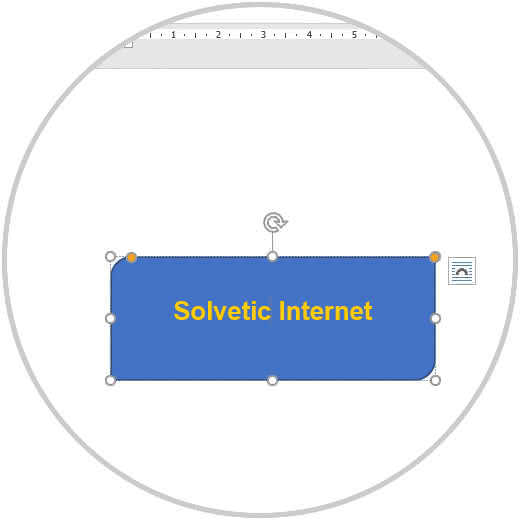
For this case we select a rectangle as the central idea, and with the click of our mouse we will define the size of the same within the file and notice that a new menu is activated at the top called "Drawing tools":
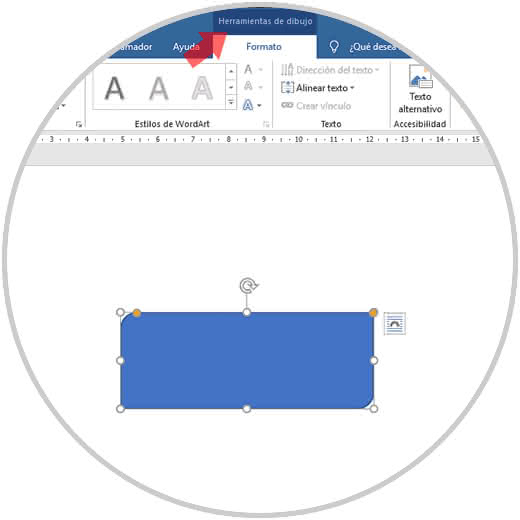
From this menu it will be possible
- Add more shapes to the mind map.
- Define a new format for the selected form.
- Adjust the text compared to the document's environment and more.
Step 3
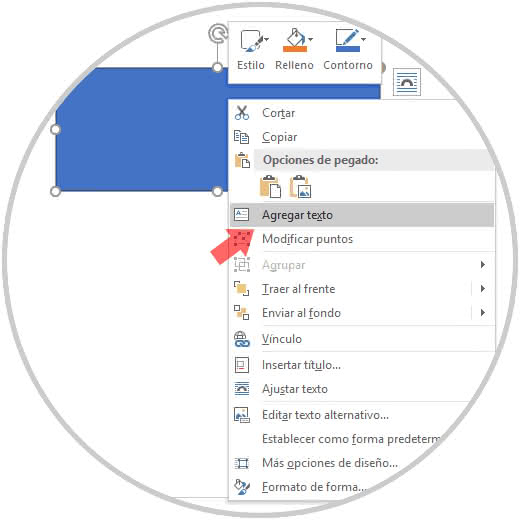
It is time to add the text to the main form, to do this we right click on it and select the option "Add text":
Step 4
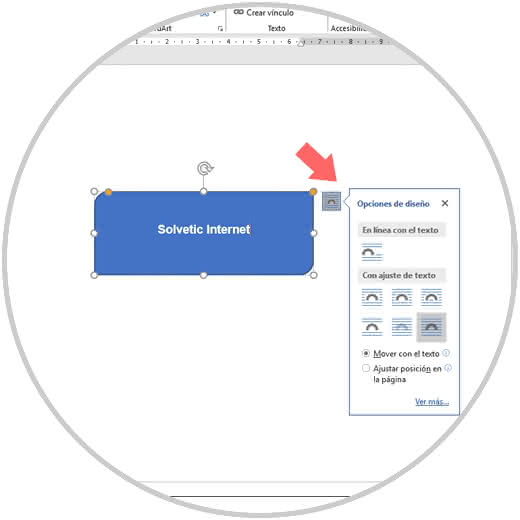
When entering the desired text we will have a contextual menu which offers us various options for text adjustments compared to the other text to be entered:
Step 5
It will also be possible to select the text entered and from the Start menu, Source group define aspects such as:
- Option to apply shadows or fills, etc.
Step 6
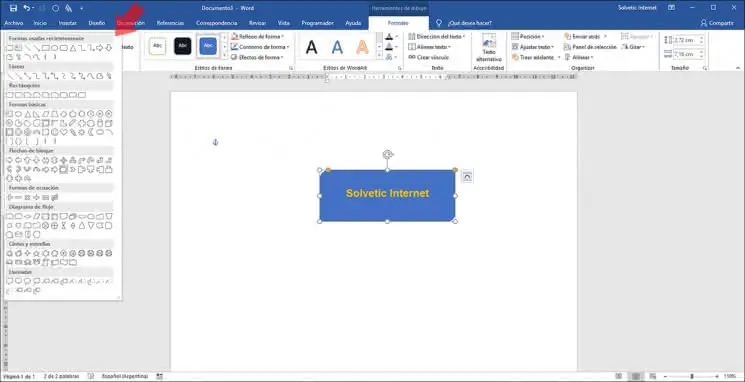
Now it's time to insert the main ideas into the mental map of Microsoft Word. To do this, we go back to the Insert / Forms option or from the Drawing Tools / Format / Forms menu and insert arrows in the direction in which the idea to insert will go:
Step 7
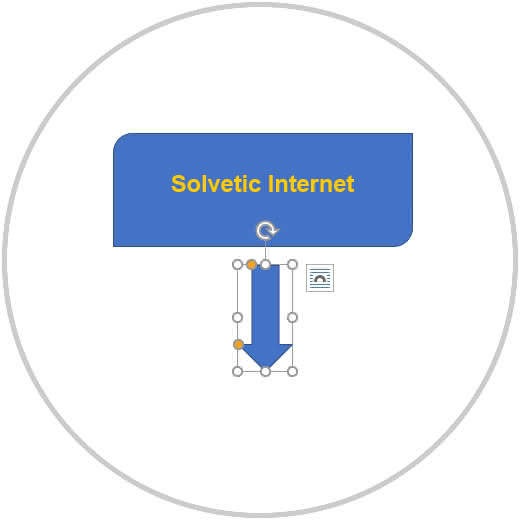
Once we insert the arrow we will define its size with the mouse and we can adjust it according to the need with the buttons deployed along this way:
Step 8
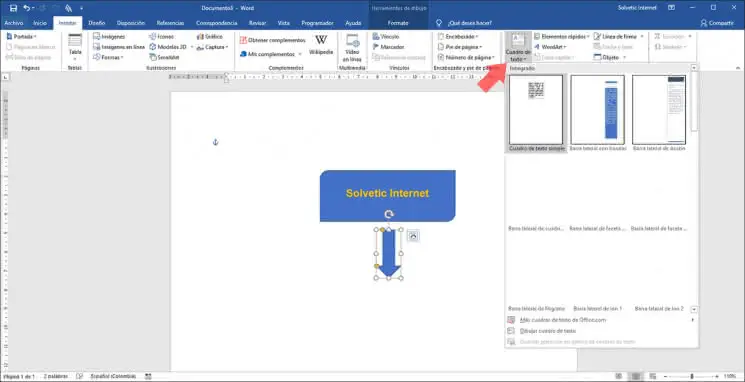
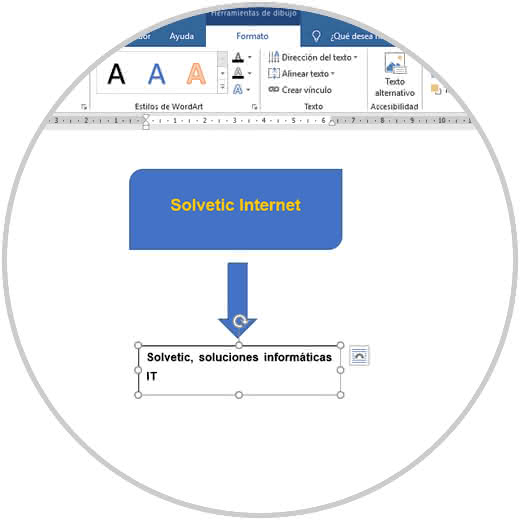
Within the structure of our mental map we can insert text that is not linked to a form, so we go to the Insert menu and in the Text group we click on the Text box option and select the option "Simple text box":
Step 9
Enter the desired text and adjust the size of the text box as necessary:
Step 10
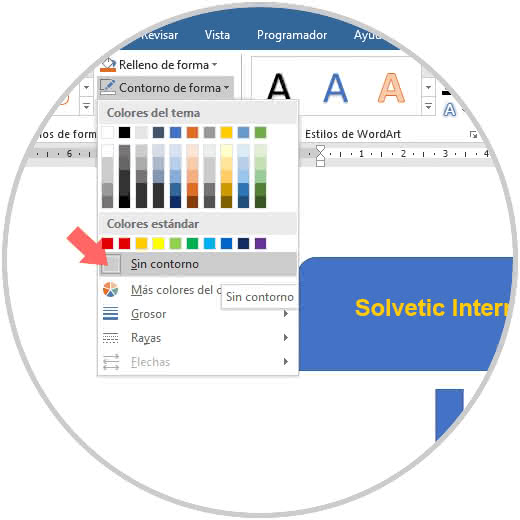
If we want the text to be without contour, we must select the text box and go to the Format menu in the Drawing Tools section and in the Outline form option, select No outline:
Step 11
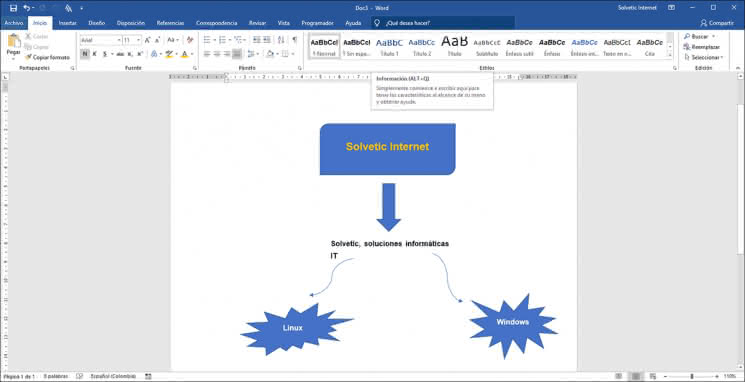
From this point we can continue adding the desired forms to represent the global ideas:
Step 12
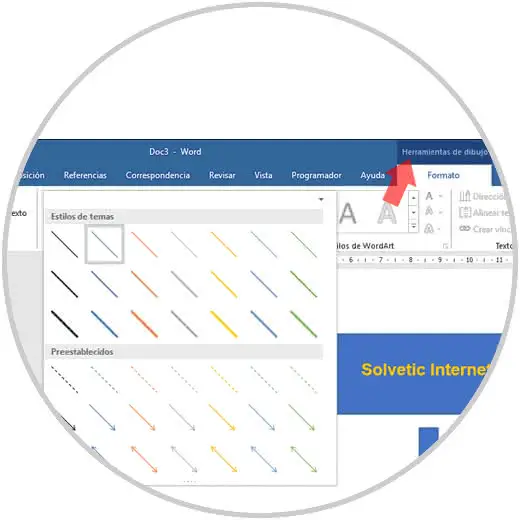
Some forms of Microsoft Word have specific functions integrated, for example, if we add some type of arrow, we can select it, go to the Drawing Tools menu and in the Styles group to display the various options to apply which range from colors to designs:
Step 13
We can select or try different options to check which one fits a much more professional ticket of the mental map to be made:
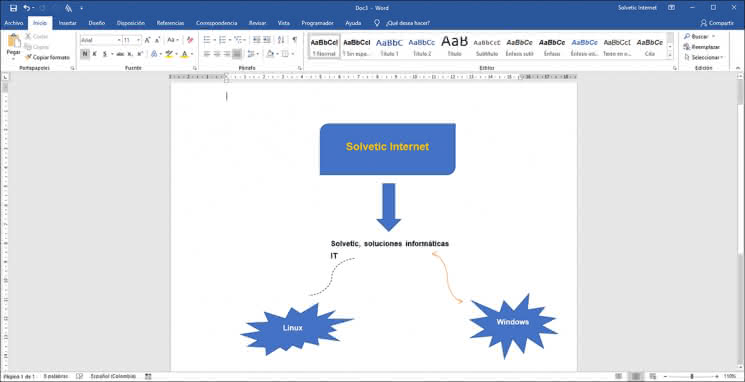
Step 14
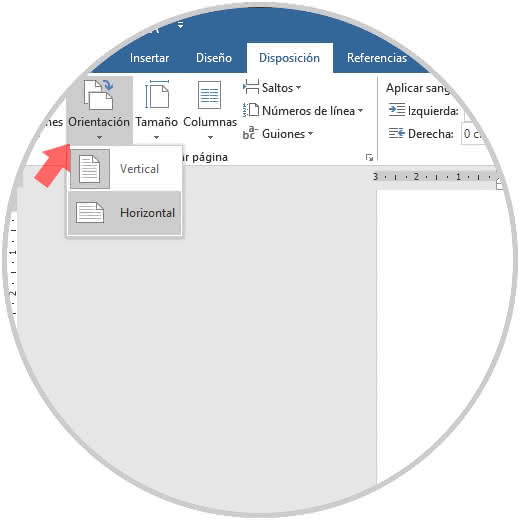
To manage the mental map in a much more complete way, the idea is that the orientation of the page is horizontal. For this we go to the Layout menu and in the group Configure page we go to the Orientation option and there we select Horizontal:
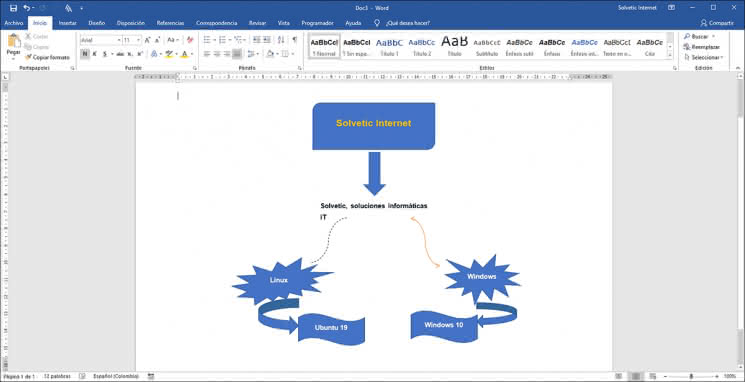
Step 15
This will allow us to have more space for mental map forms:
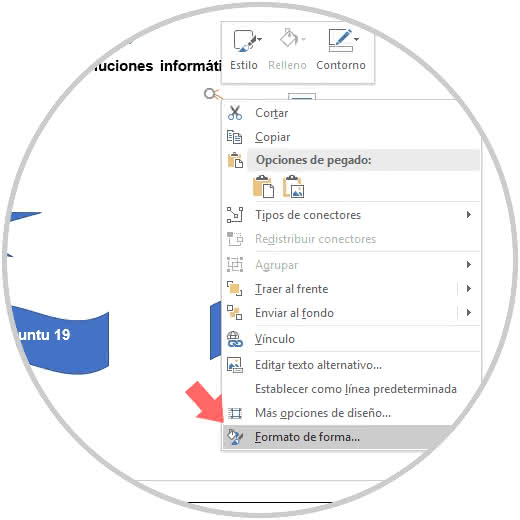
Step 16
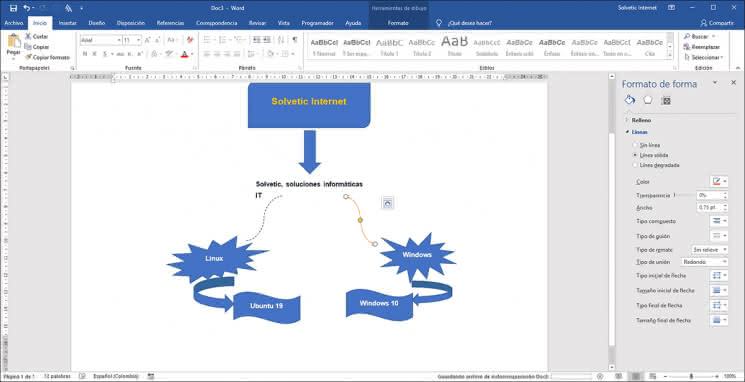
Another option to edit the shapes of the mind map is by right clicking on the shape and selecting the Format option:
Step 17
This will display a side menu from where we have several options to apply a format to the selected form:
Thanks to these Word 2016 or 2019 tools, the creation of a mental map will only be limited to our creativity since the forms, options and designs are broad to apply..