Bandwidth is responsible for measuring how much information is received every second through the network and although there is always a base defined by the Internet provider, there are many variables that affect this bandwidth, factors such as latency, speed, type of cables. , signals, etc, have a direct impact on this.
Normally we don't know exactly how much bandwidth we have on our local network but to help us have a clearer perspective there is iPerf3. This is a utility that allows us to know in real time the maximum bandwidth that can be achieved in IP-based networks, it is compatible with TCP, UDP, SCTP protocols with IPv4 and IPv6, allowing the most complete analysis factors. possible..
iPerf3 Features
Among the features of iPerf3 we highlight:
- The client and the server are capable of supporting multiple simultaneous connections.
- It is possible to run for a specific time
- It can be used on Windows, Linux, Android, MacOS X, FreeBSD, OpenBSD, NetBSD and more systems.
- Integrated multicast function
- We can create defined bandwidth UDP streams if needed
- Measure bandwidth in TCP, SCTP and UDP
- Can assign IPv6 flow labels
- It is in test read and write disk capacity
- Can set congestion control algorithm
- Allows you to use SCTP instead of TCP
- You can run the server as a daemon
TechnoWikis will teach you step by step to install iPerf3 on Windows.
To stay up to date, remember to subscribe to our YouTube channel! SUBSCRIBE
How to install iPerf3 on Windows
Step 1
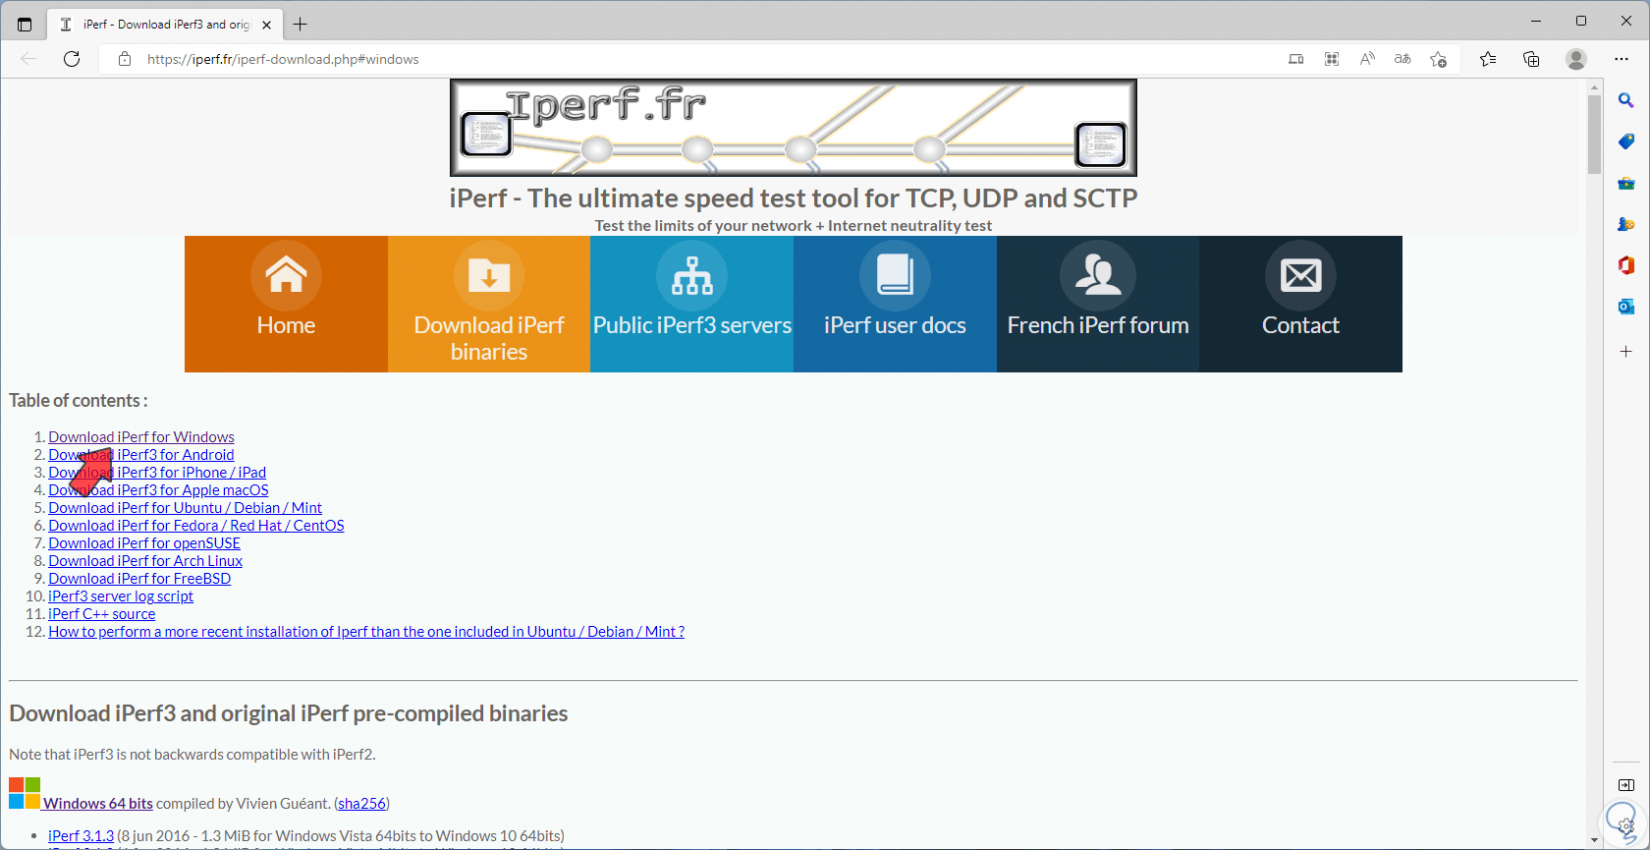
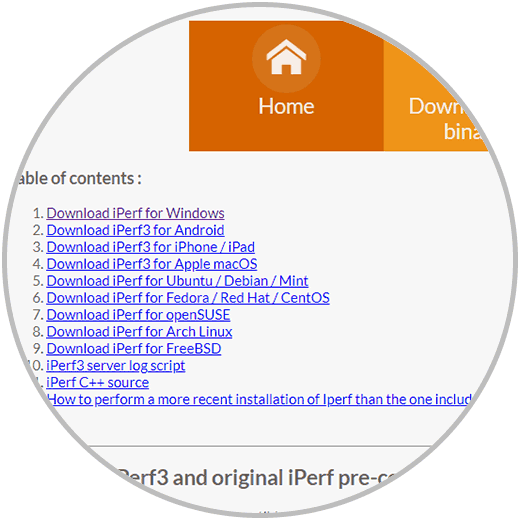
For this case we will use Windows 11 but it applies to Windows 10 if it is the case, on the computer we go to the iPerf3 URL and download the appropriate version of Windows:
iPerf3
Step 2
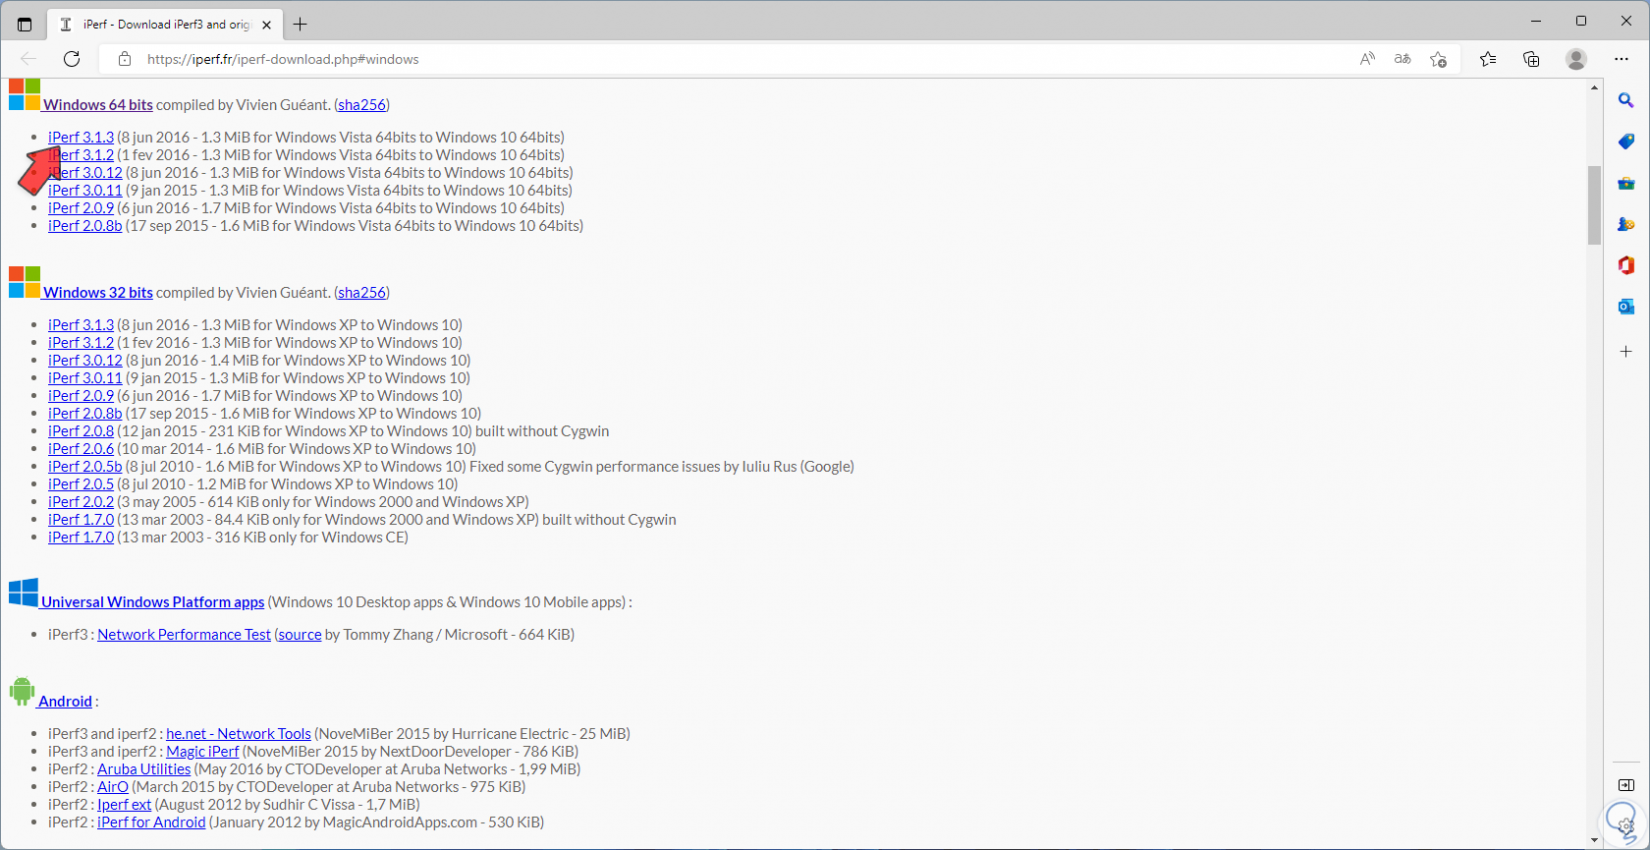
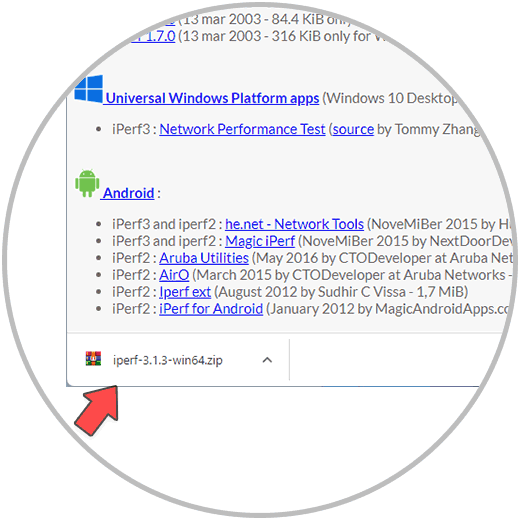
By clicking on "Download iPerf3 for Windows" we must select the version and architecture of the system (32 or 64 bits):
Step 3
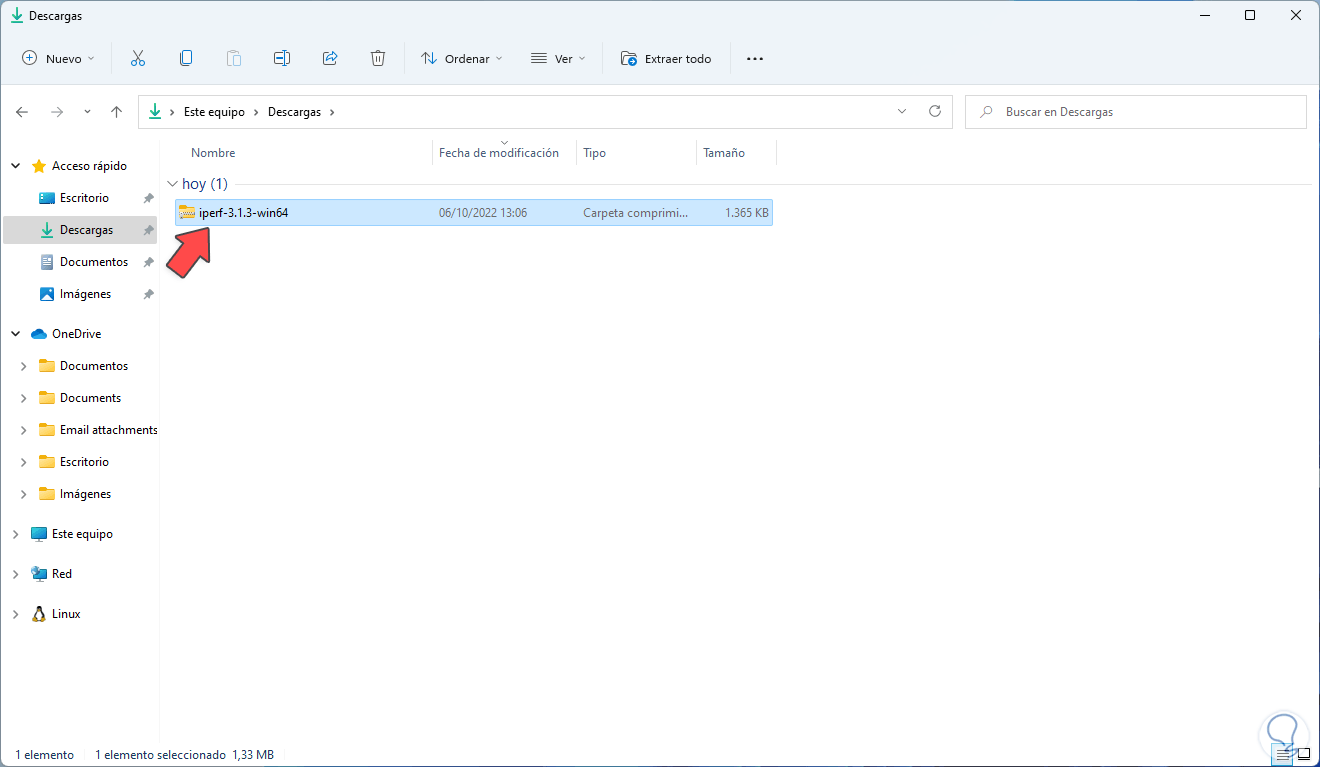
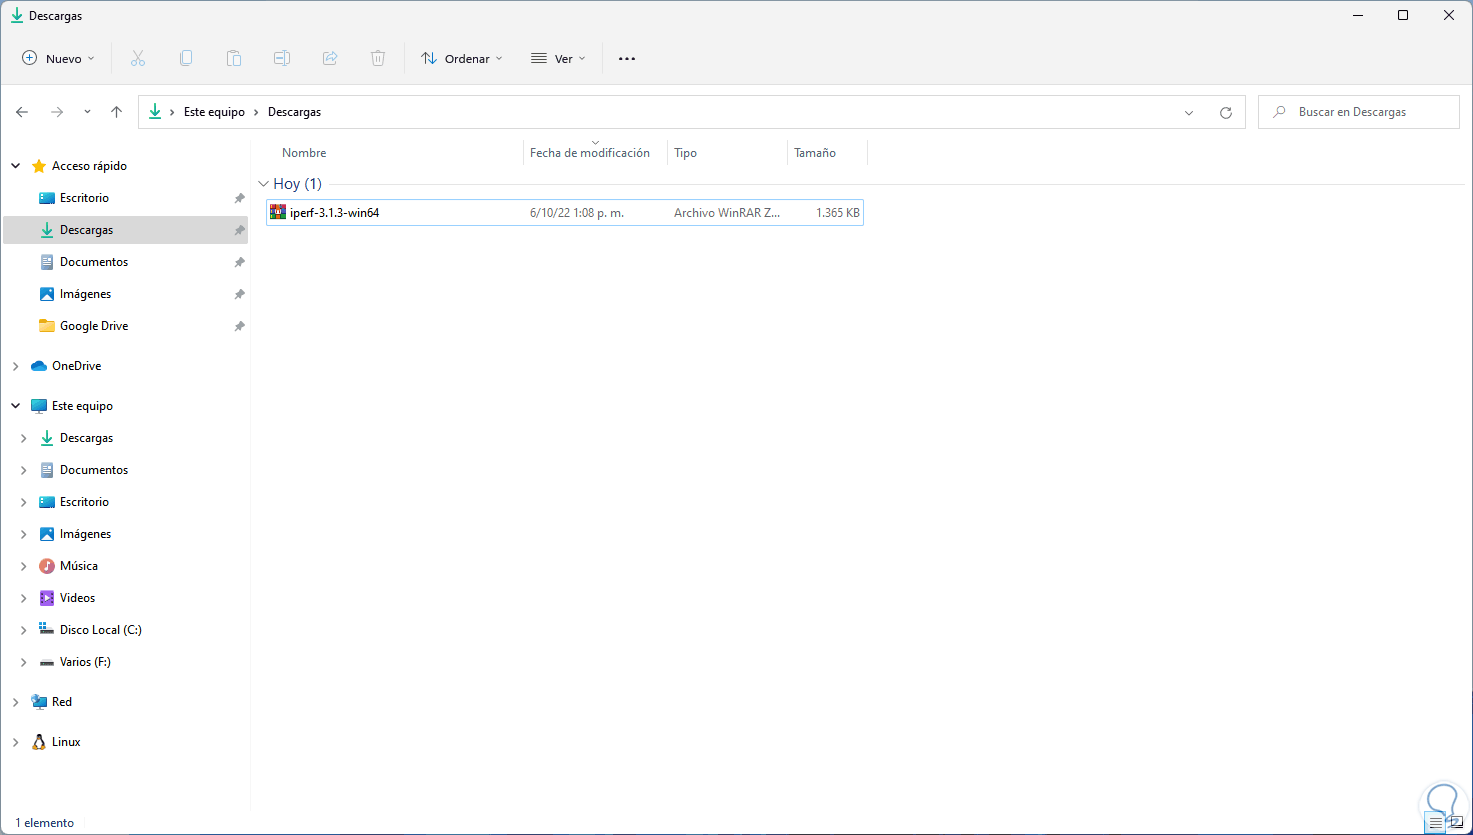
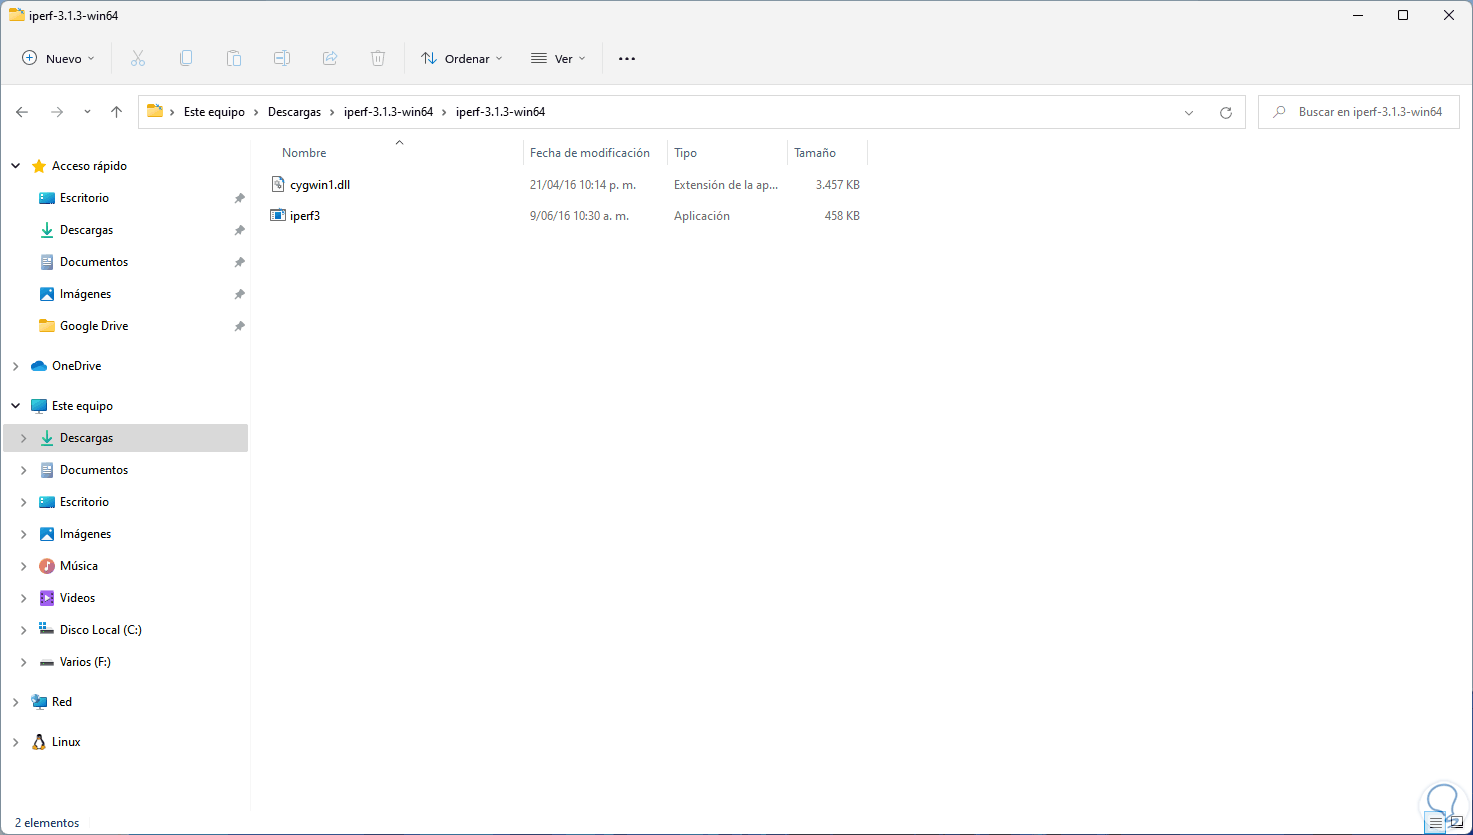
Once downloaded we go to the File Explorer and in Downloads we extract the content:
Step 4
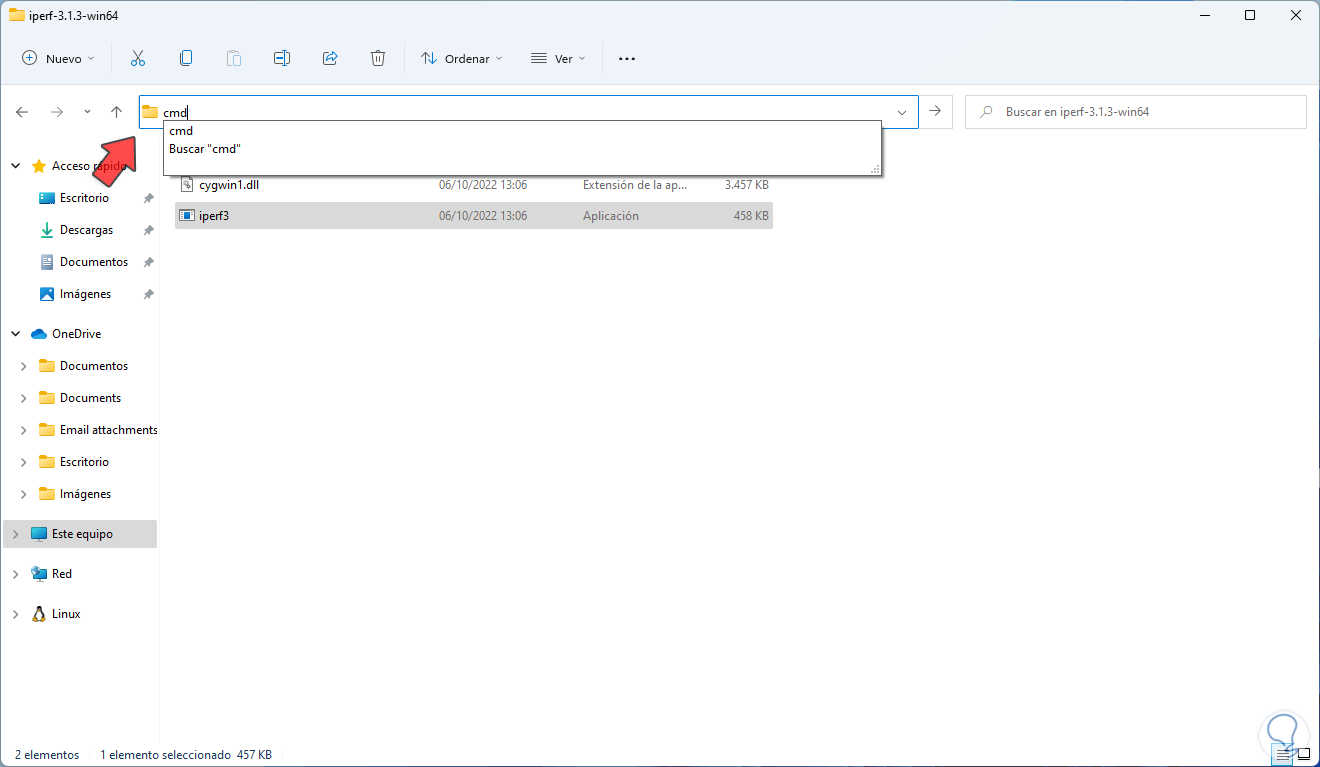
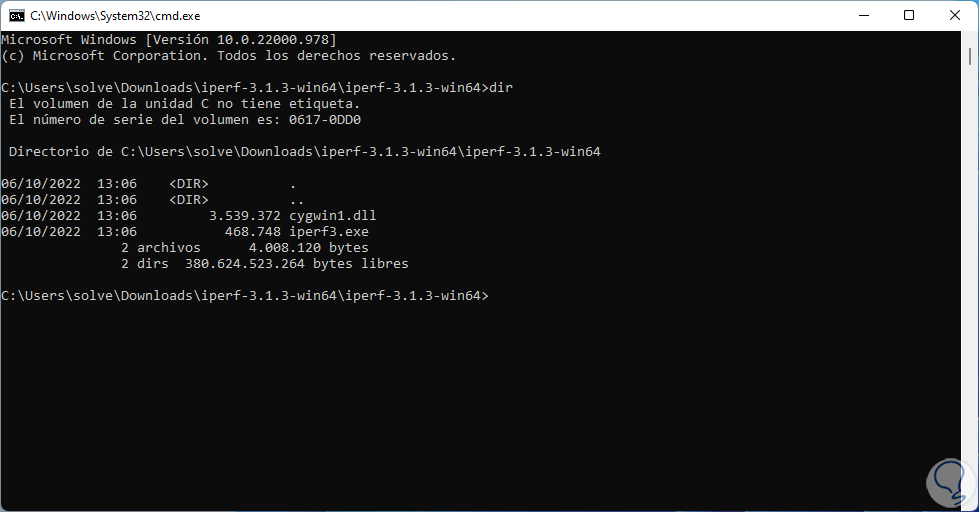
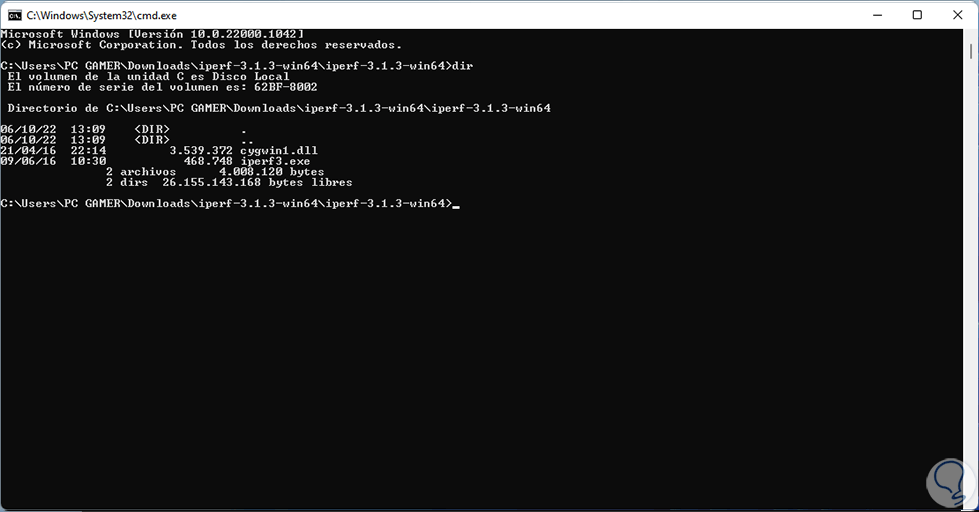
Once extracted we navigate to the executable and in the name bar we enter "cmd" and press Enter:
step 5
This will cause the console to open in that path specifically, there we execute the "dir" command to list the content:
Step 6
On a client computer download and install iPerf3:
Step 7
Again we select the version of Windows used:
step 8
In File Explorer we go to Downloads and extract the contents of the file:
step 9
We navigate to the iPerf3 executable and in the name bar we enter "cmd" and press Enter to open the terminal in that path:
step 10
In the CMD console we execute "dir" to list the content:
step 11
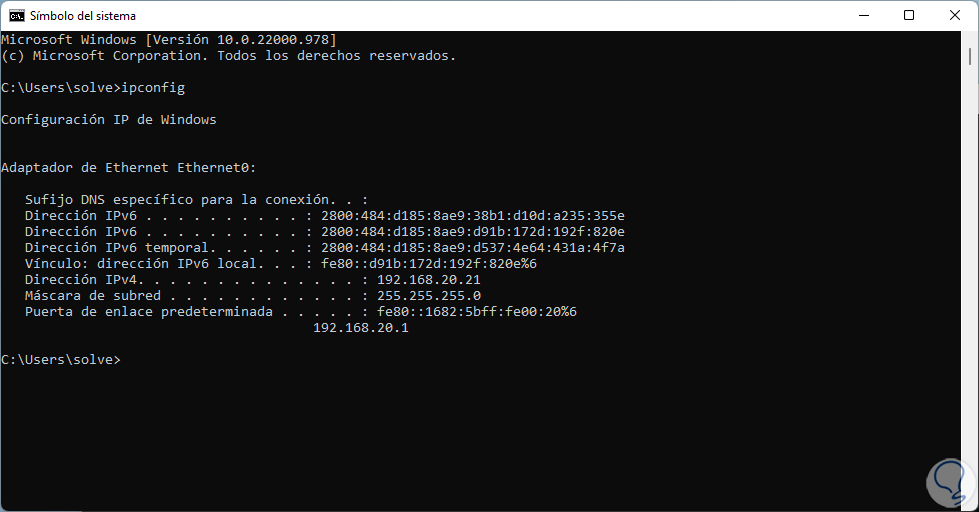
There we see the executable .exe. On the server computer we open another CMD console and execute "ipconfig" to find out the IP address to which the analysis will be done:
step 12
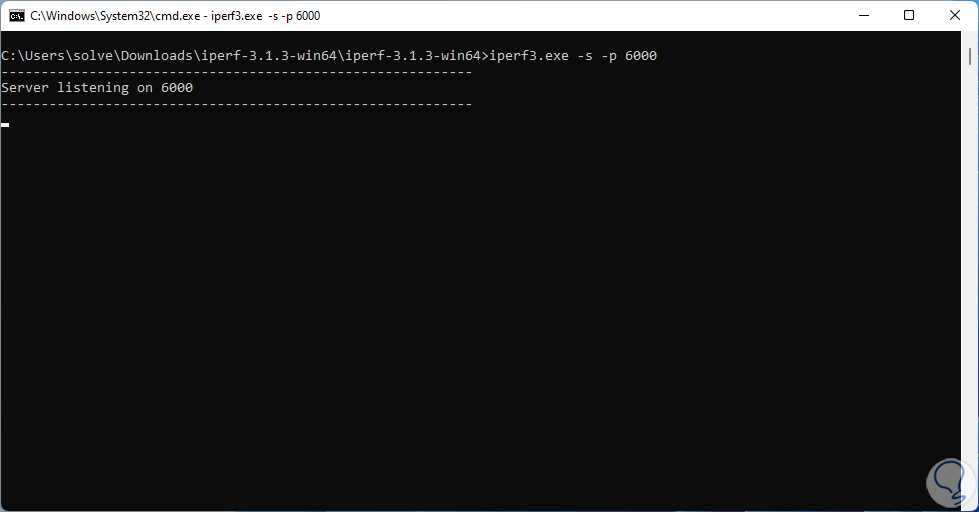
Now we activate iPerf3 assigning the desired port:
iperf3.exe -s -p #port
Note
it is possible to confirm the action of the Firewall if necessary.
step 13
With this command we have enabled port 6000 (the desired port can be used) so that the analysis of the bandwidth in the Windows network is activated. On the client computer, in CMD, we check the status of the network with the remote server:
iperf3.exe -c IP_ADDRESS -p #port"
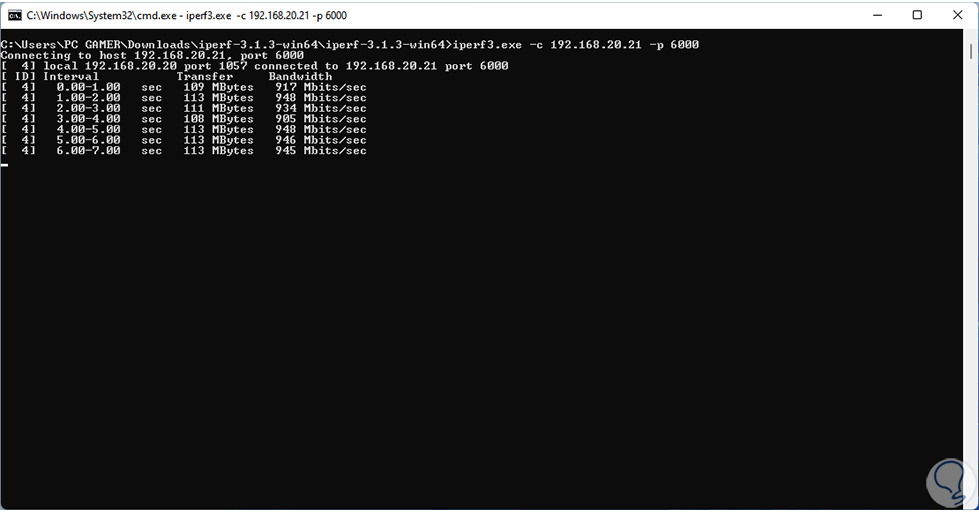
step 14
There the analysis will begin, which at the end will show us the following:
step 15
In the console it is determined:
- Nodes used in the process
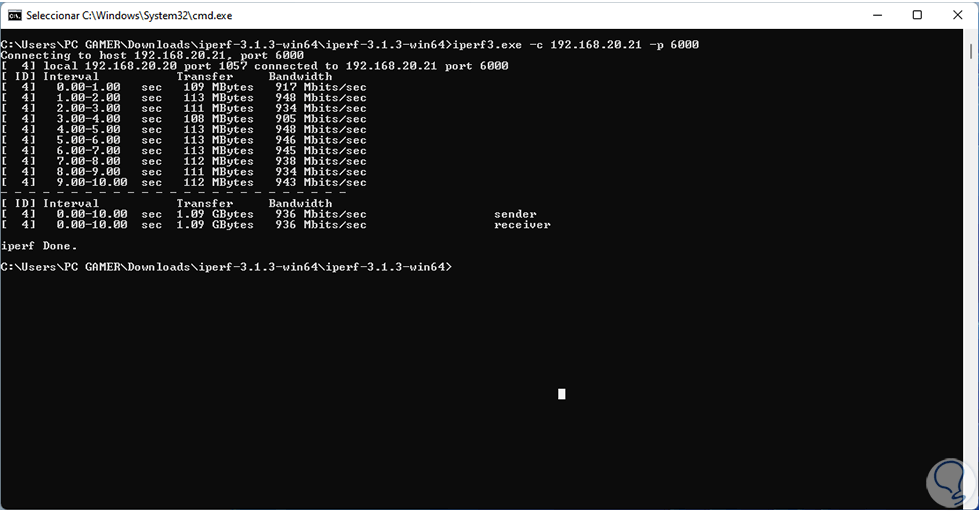
step 16
At the end we find the result of the transfer sent and received.
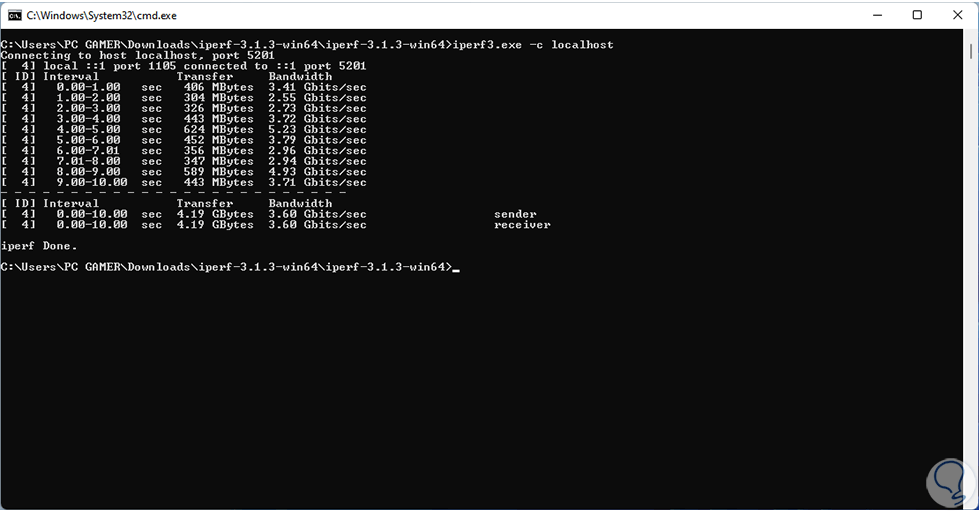
It is possible to use this on the local machine and not remotely:
iperf3.exe -c localhost
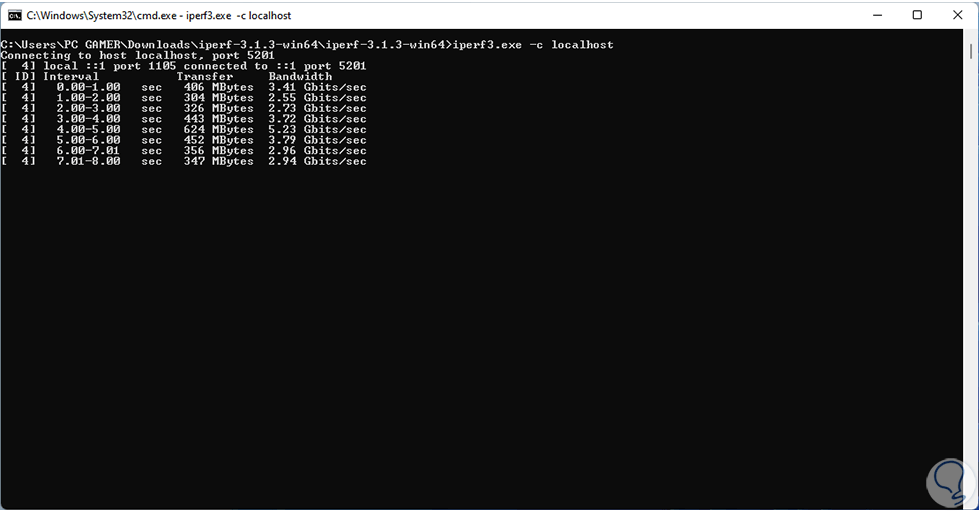
step 17
At the end we will see the result: We can see how the measure of at the local level is much higher.
step 18
Within the options at the iPerf3 parameter level we find:
iPerf3 Commands
- -p, --port: is the port number of the server to listen to
- -f, --format [kmgtKMGT]: is the format to display the rate, these options are Kbits, Mbits, Gbits, Tbits
- -A, --affinity n/n,m: set CPU affinity
- -B, --bind <host>: handles binding to the associated interface at the host address
- V, --verbose: show more complete results
- -J, --json: display the result in JSON format
- --timestamps <format>: add a timestamp to the beginning of each line of output
- -d, --debug: don't use debug output
- -v, --version: display the version
- -s, --server: iPerf3 runs in server mode
- -D, --daemon: iPerf3 runs as a daemon
- -I, --pidfile: write a write PID file
- --server-bitrate-limit: is the total bitrate limit of the server
- --rsa-private-key-path – is the path to the RSA private key used to decrypt authentication credentials
- -c, --client <host>: iPerf3 runs in client mode
- --sctp: make use of the SCTP protocol instead of TCP
- -u, --udp: use UDP instead of TCP
- -b, --bitrate: is the target bitrate in bits/sec
- -t, --time #: is the time in seconds to transmit and defaults to 10 seconds
- -n, --bytes #: is the number of bytes to transmit
- -l, --length #[: is the length of the buffer to read or write data
- -4, --version4: only use IPv4
- -6, --version6: only use IPv6
- -Z, --zerocopy: make use of the "zero copy" method to send data
- -M, --set-mss - determines the maximum TCP segment size
- -P, --parallel n: indicates the number of simultaneous connections to be made on the server
-
We see how iPerf3 is ideal for having accurate data on the bandwidth and transfers used on the network in Windows 11 and thus help better manage these values..