To stay up to date, remember to subscribe to our YouTube channel!
SUBSCRIBE ON YOUTUBE
One of the applications that we use the most in Windows 11 is the new terminal which by default is integrated into Windows PowerShell and offers us a new user experience for both administration and informational issues, the terminal in Windows, different from the CMD console , is a command line application developed by Microsoft focused on improving the user experience in terms of execution, performance and use of cmdlets and commands..
Characteristics
Some of its features are:
- It has support for multiple shells such as PowerShell, Command Prompt or CMD and Windows Subsystem for Linux (WSL)
- New modern and customizable user interface which has support for tabs and various panels.
- Advanced customization since it is now possible to customize the themes, colors, fonts and keyboard shortcuts to execute everything in a few steps.
- Support for split panels that allow you to work in several windows simultaneously, optimizing the user experience and productivity.
- Integration with Git and Azure Cloud Shell allowing you to run Git commands and work with cloud resources.
- Quick access to commands and settings.
TechnoWikis will explain in this tutorial how we can use the terminal at the configuration level and thus fully exploit its experience and operation.
1 How to use Terminal Windows Tabs
The tabs are one of the new improvements of the terminal since it allows us to open several sessions in a single one.
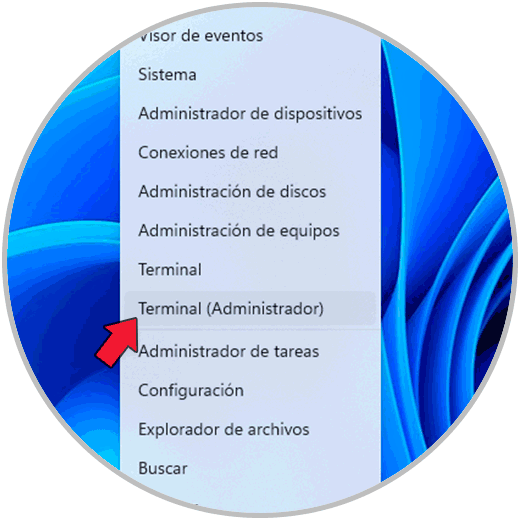
Step 1
To start we are going to open the terminal as administrators:
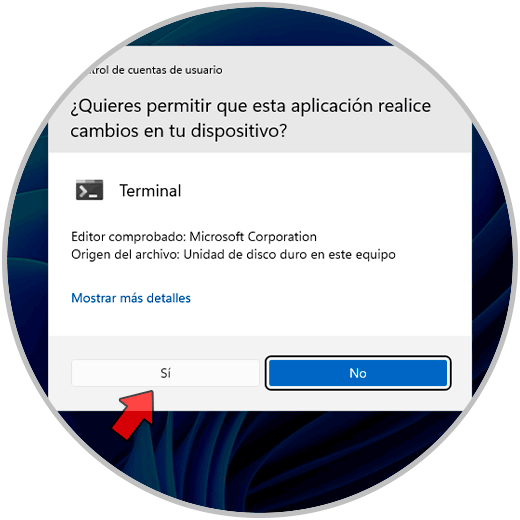
Step 2
We confirm the system permissions:
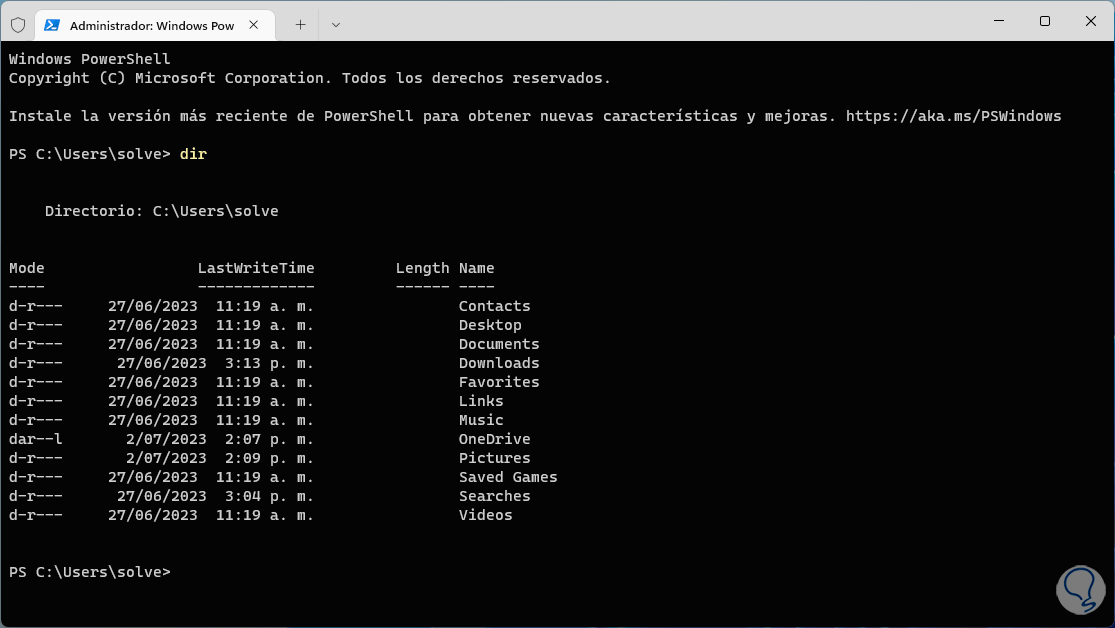
Step 3
In the terminal we can execute one of the many options to use at the command level and we see that the results are displayed in a much more organized way:
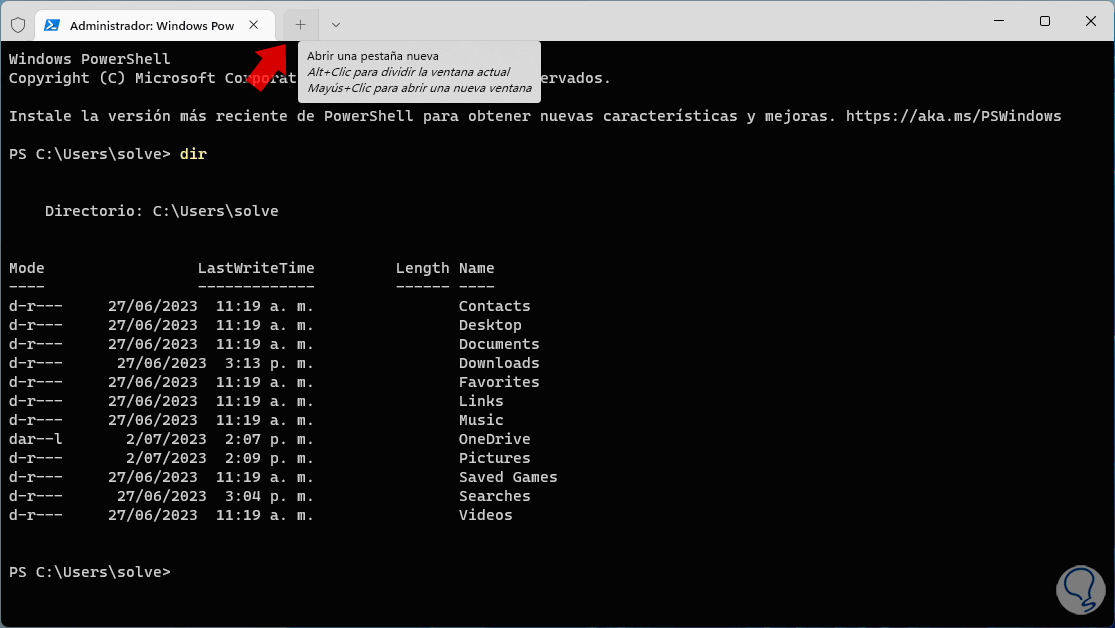
Step 4
To open a new tab we are going to click on the plus sign (+) located at the top:
step 5
Clicking there will open this new tab:
step 6
It is possible to duplicate a window, for this we are going to use the following keys:
Ctrl + Shift + D
step 7
To close a window we will use the following keys:
Ctrl + Shift + W

2 How to use Terminal with Windows Panels
The panels are one of the great novelties of the Terminal in Windows since they allow us a differential work when using different windows in a single view.
Step 1
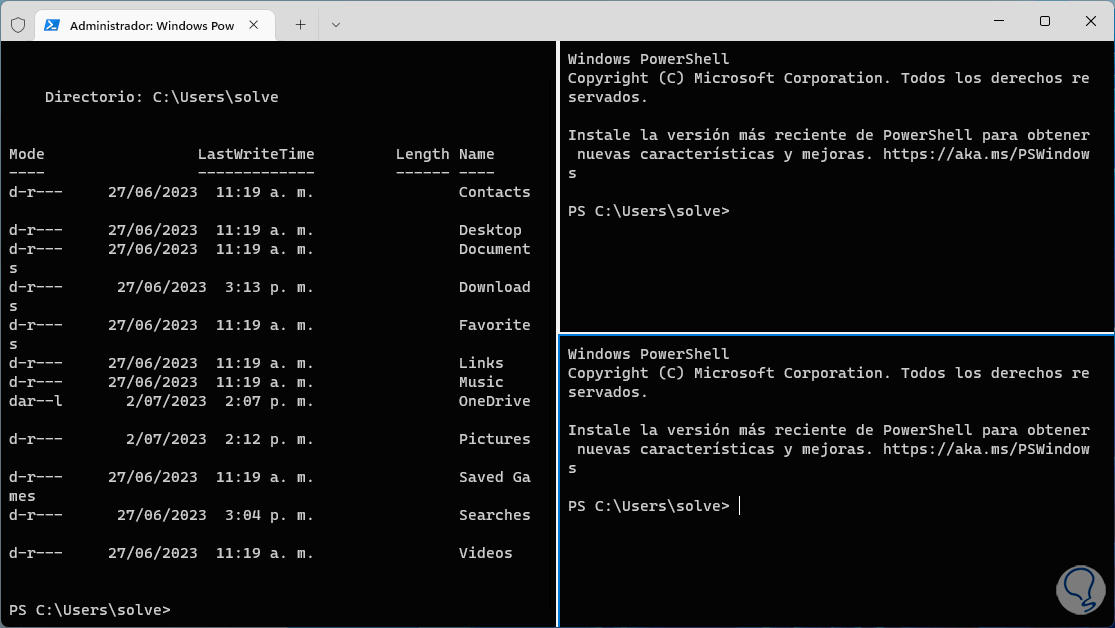
Let's open the terminal, press the Alt key and click the plus sign (+) in the terminal to open the panel:

Step 2
To open a vertical panel we will use the following keys:
Alt + Shift ++ _
Step 3
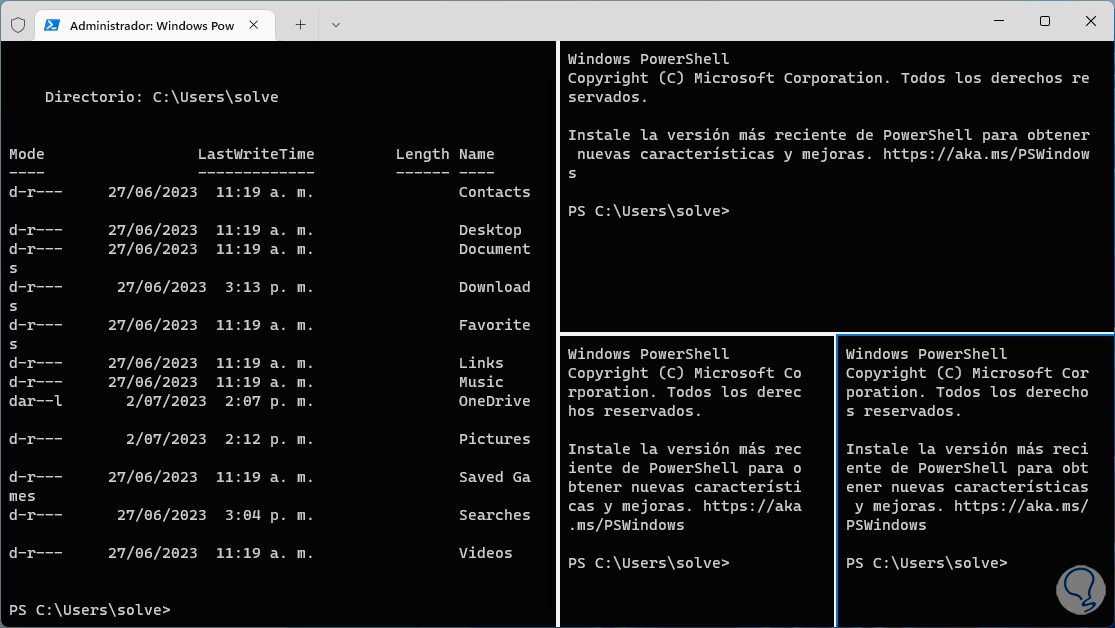
To open a horizontal panel we will use the keys:
Alt + Shift + -
Step 4
To close a window we must use the keys:
Ctrl + Shift + W

3 How to use Terminal with Options Menu
This is a contextual menu present in the terminal and through which we can access each function with its keyboard shortcut..
Step 1
To start we are going to open the terminal and there we will use the following keys to access this menu:
Ctrl + Shift + P
Step 2
We can completely see this complete list of functions which is something really functional and practical.

4 How to use the Terminal with Settings
We arrive at the most complete part of the terminal and it is from where it will be possible to configure all the parameters of the terminal, for this we are going to access the terminal.
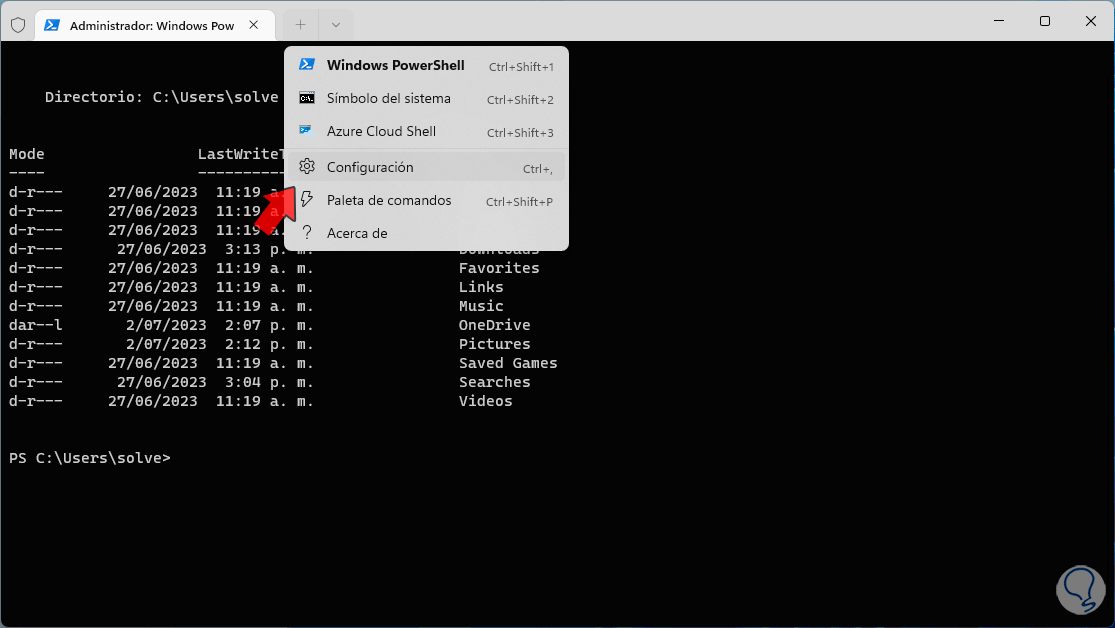
Step 1
We click on the drop-down icon and there we click on "Settings" to access these values:
Step 2
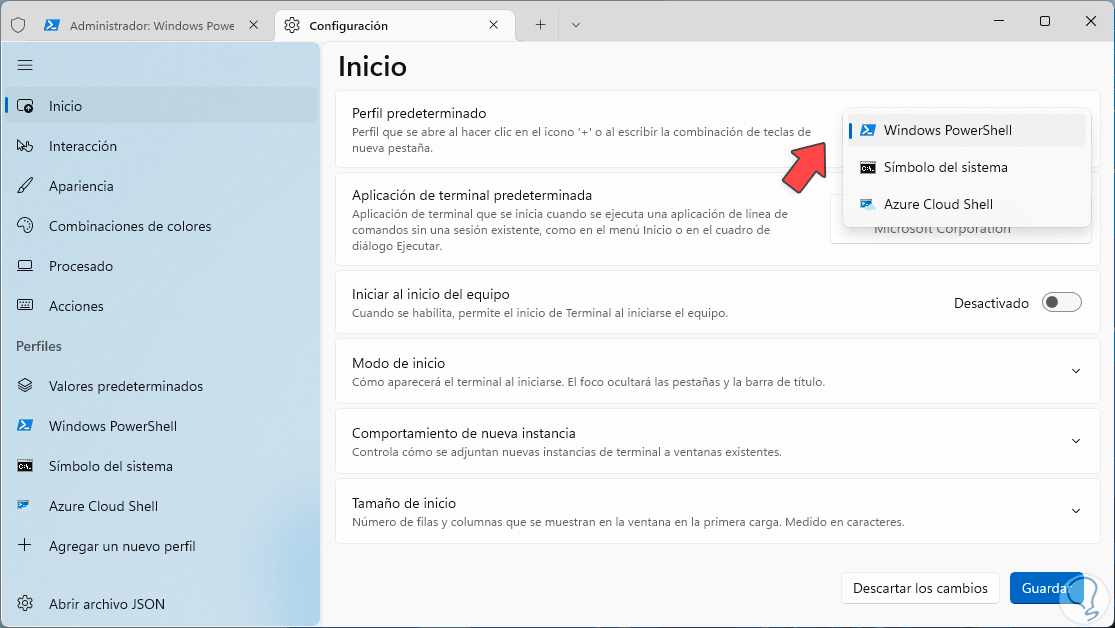
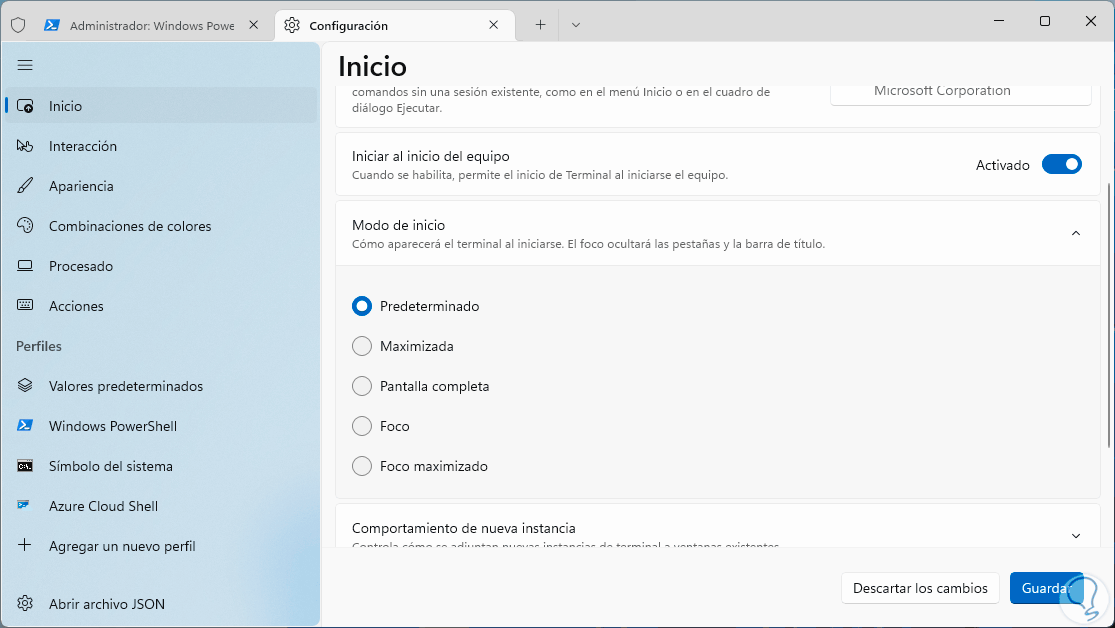
We will see the following. To get started in the "Startup" section it is possible to adjust all the initial values of the Windows terminal as needed

Step 3
There we can define with which profile the terminal will always load by default is PowerShell but we can select any of the available options such as CMD or Azure:
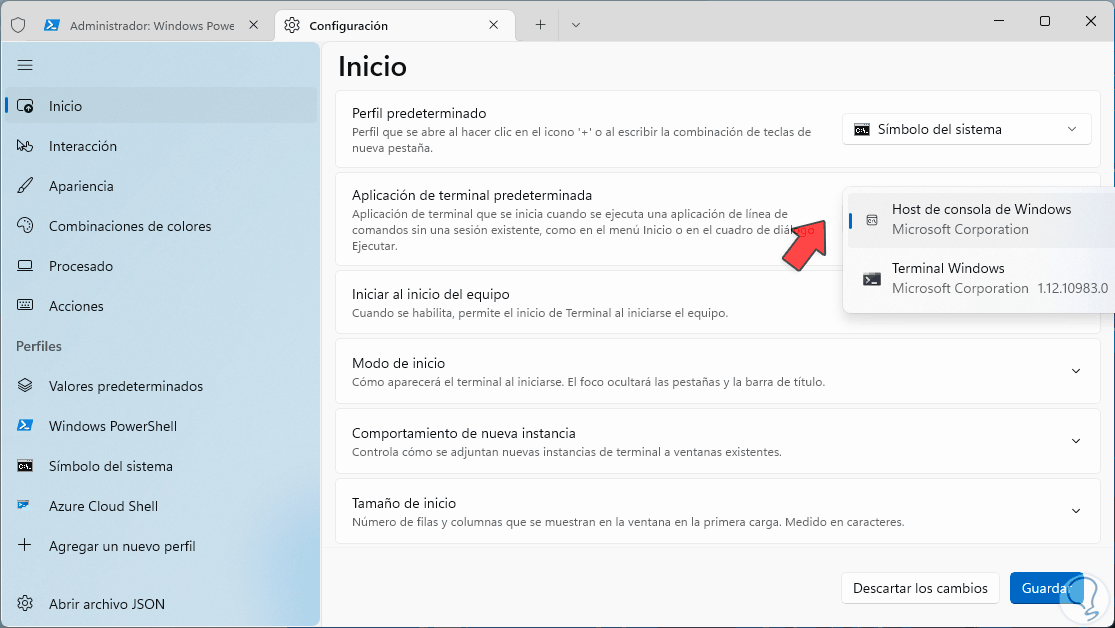
Step 4
We can also select the application to use when opening the terminal:
step 5
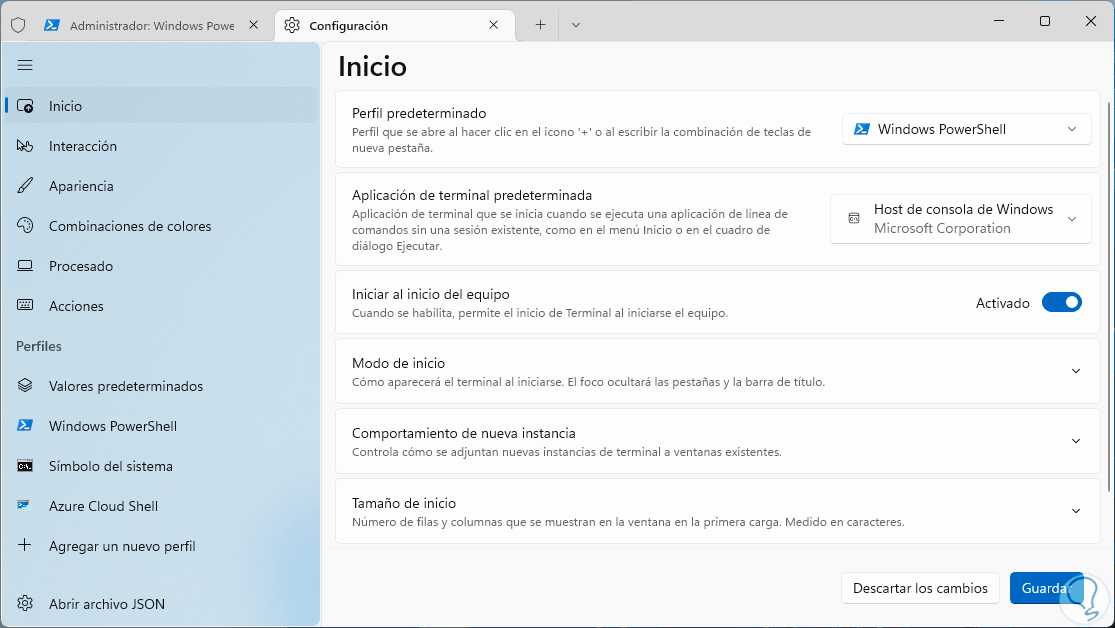
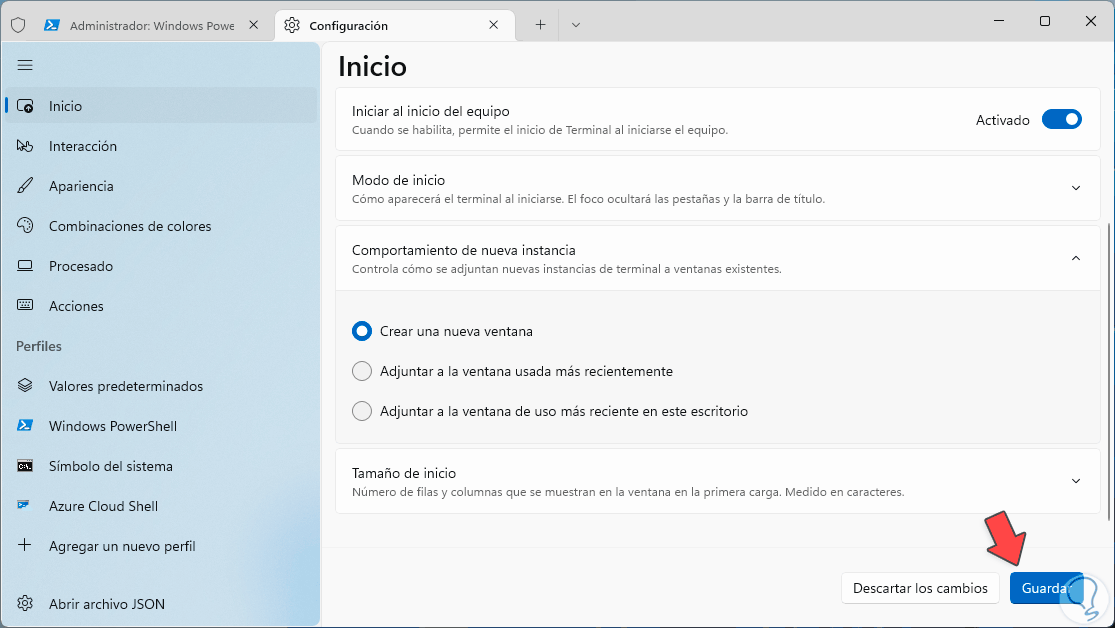
We can perform other actions such as allowing the Terminal to start with Windows or modifying the use of the instance:
step 6
Below are some additional options:
Note
whenever any modification is made, we click on "Save":
step 7
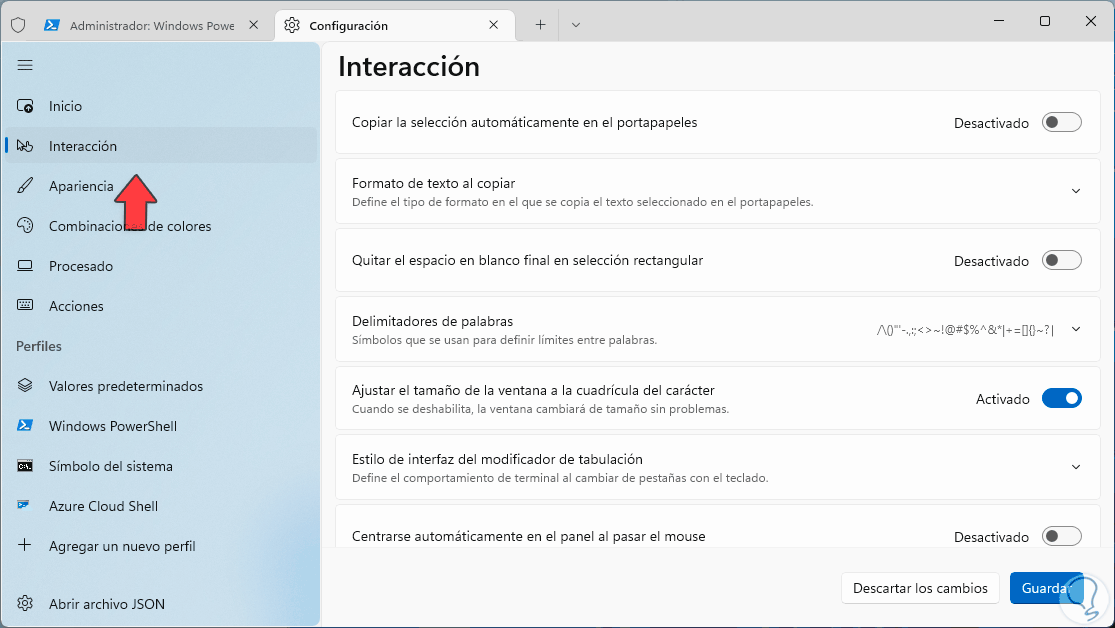
Now in the "Interaction" section it is possible to configure the actions between the terminal and the user:
step 8
This covers aspects such as:
step 9
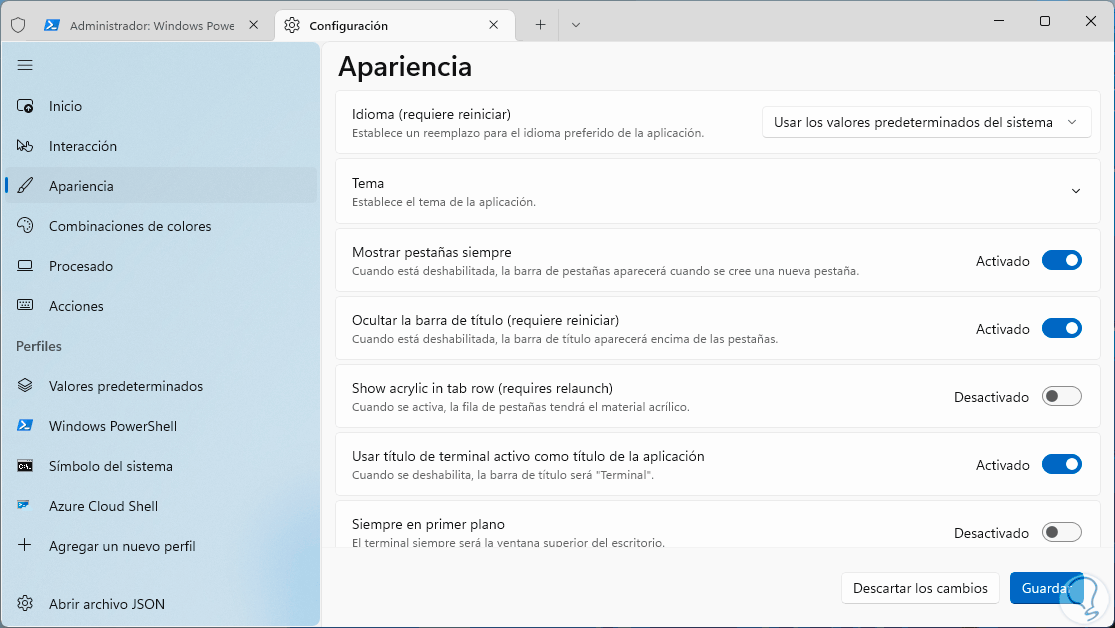
From "Appearance" we will be able to change the theme of the terminal and make adjustments to its appearance:
There you can adjust the theme, the option to always see the tabs, allow everything to be in the foreground, use the system theme, etc.
step 10
From "Color combinations" we can define the way the terminal will look in Windows using any of the available options:
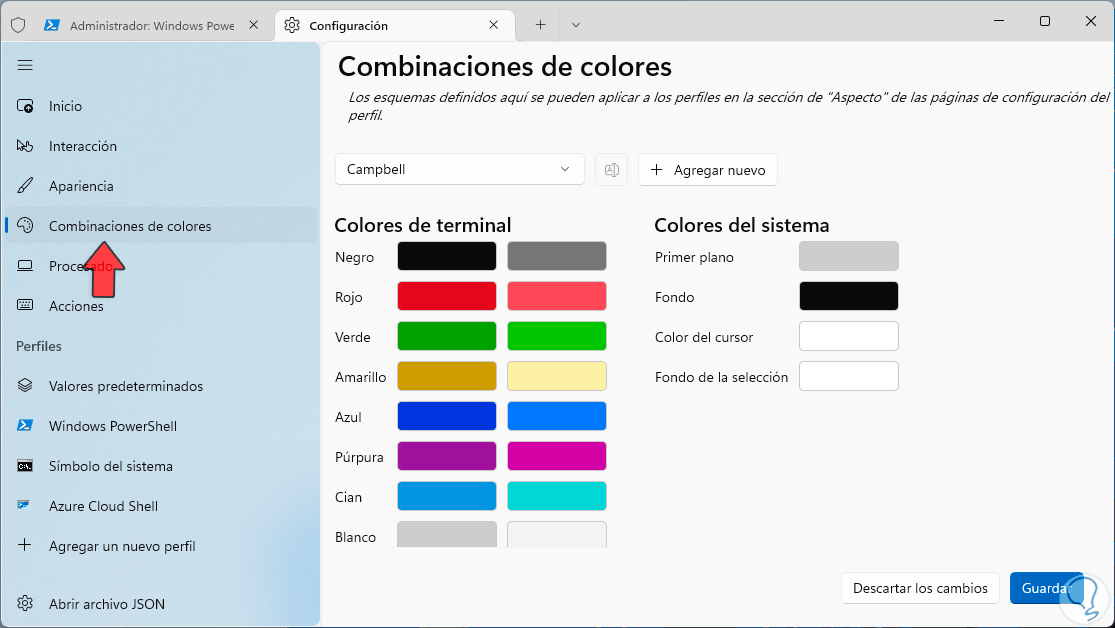
step 11
Each style will modify the colors of the terminal and the system, the objective is to use colors that facilitate the work when executing codes or commands in the terminal, if we want to create our own style we will click on "Add new", we will define the name and the color scale to use:

step 12
Clicking on a color will open the options palette:
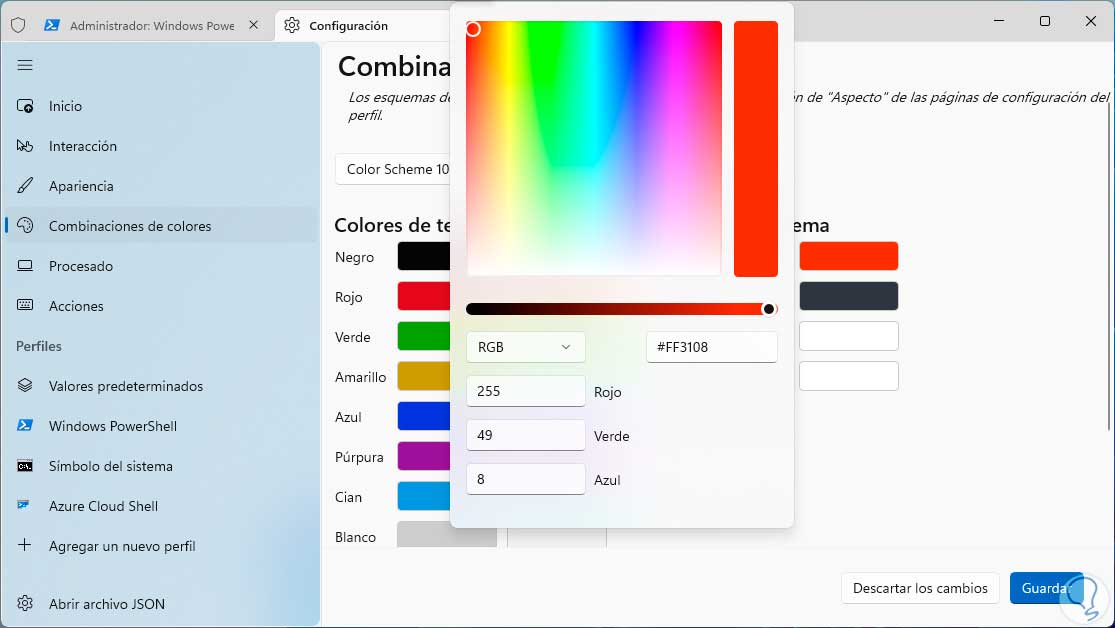
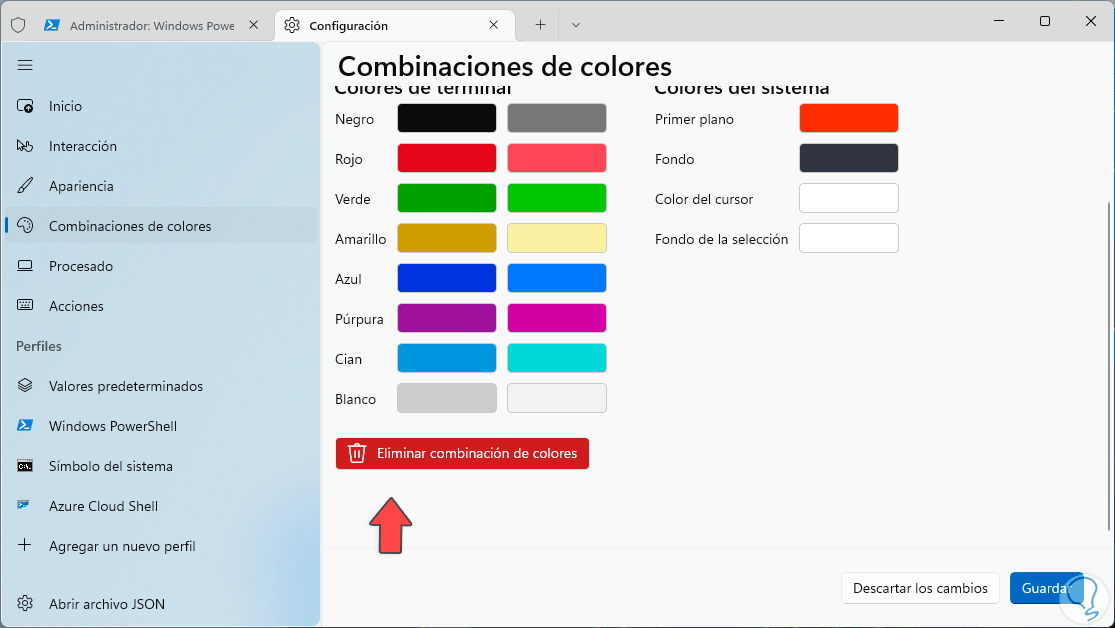
step 13
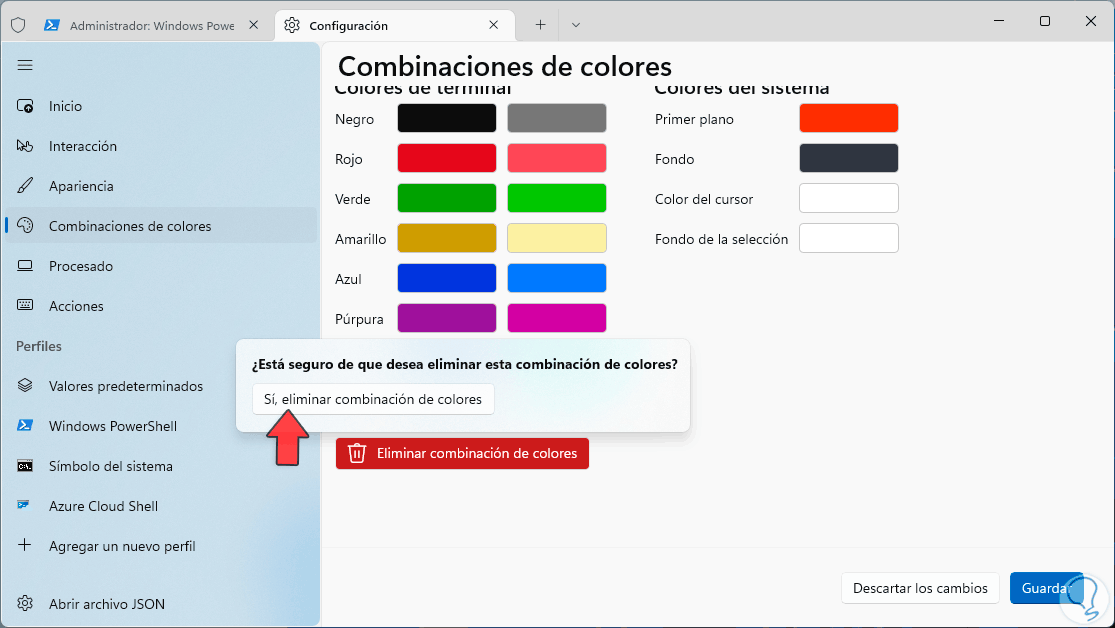
There we can select the desired color for the entire environment, if for some reason this style is not necessary we can click on "Delete color combination" at the bottom:
step 14
We must confirm this action. From the "Processing" section we can adjust terminal performance values:
step 15
There, these options will be adjusted based on the PC hardware.

step 16
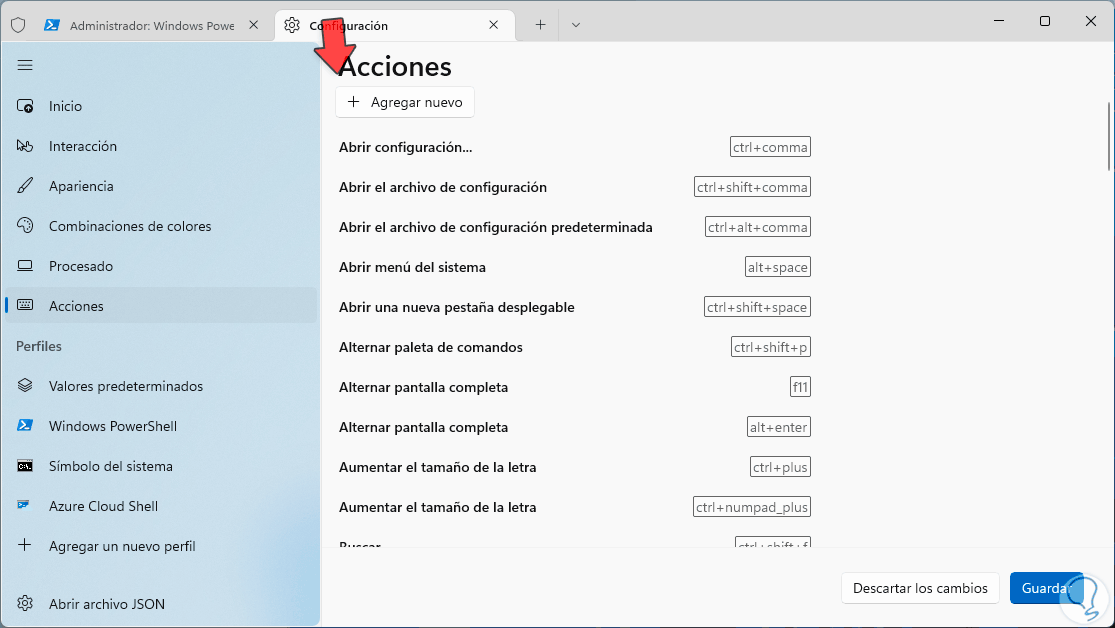
In the "Actions" section we will have access to all the key combinations to execute commands in the terminal:
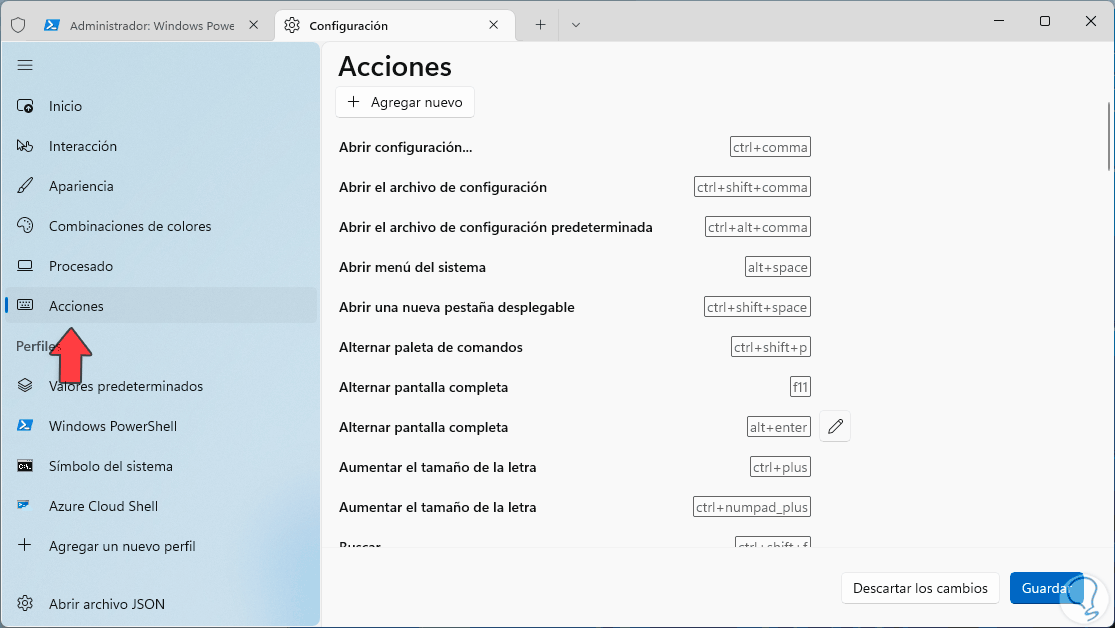
step 17
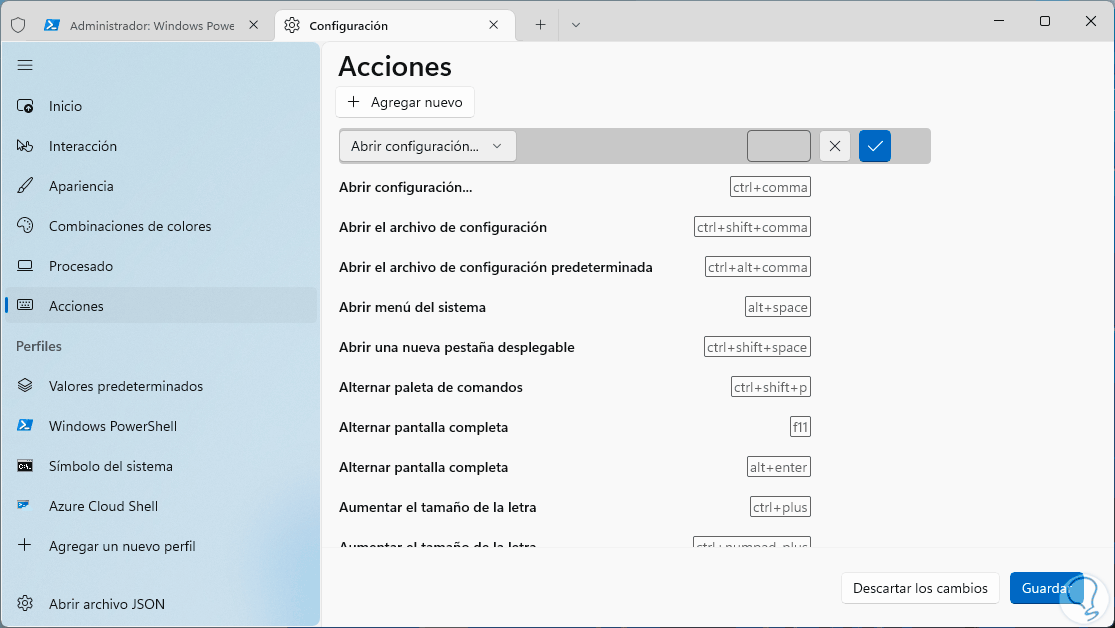
It is possible to click on the pencil icon next to any one to edit the action by pressing the new keys on our keyboard:
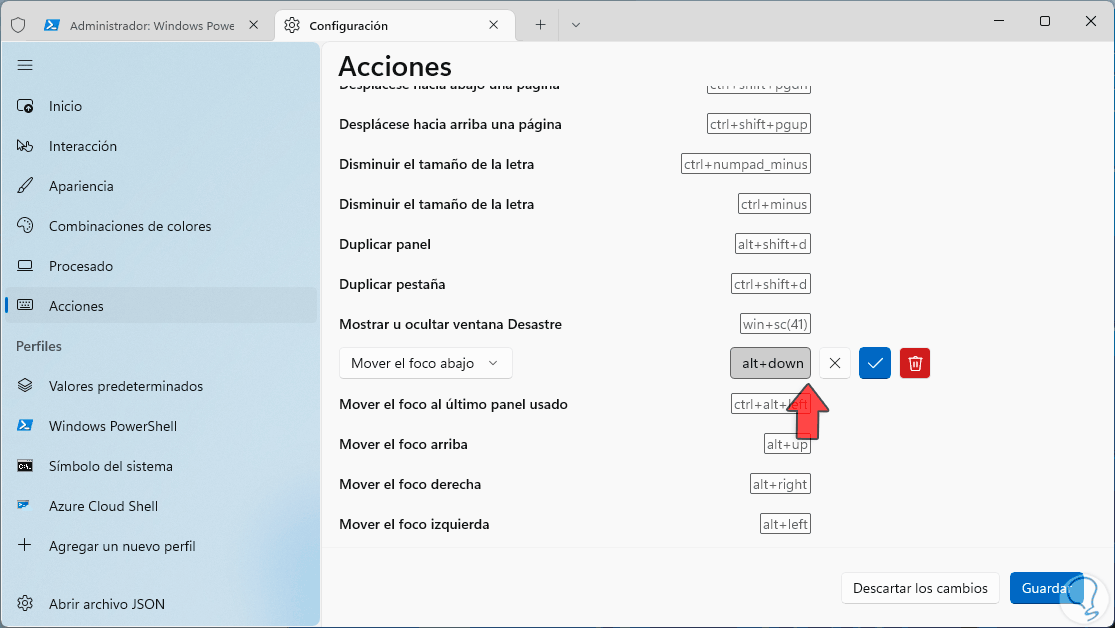
step 18
Press the keys and these will be taken automatically:
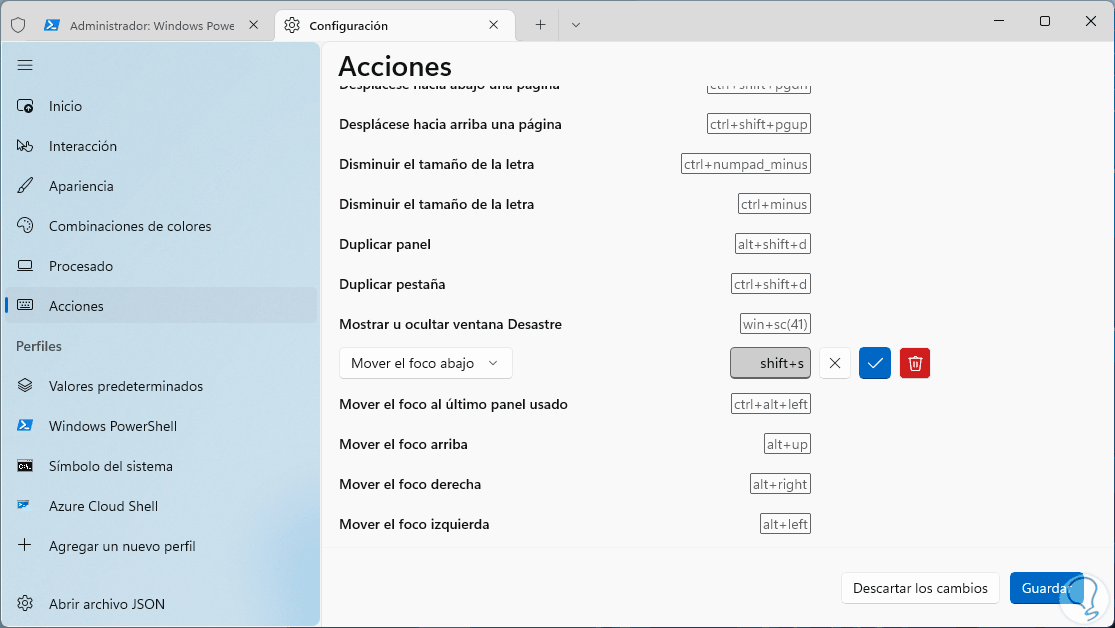
step 19
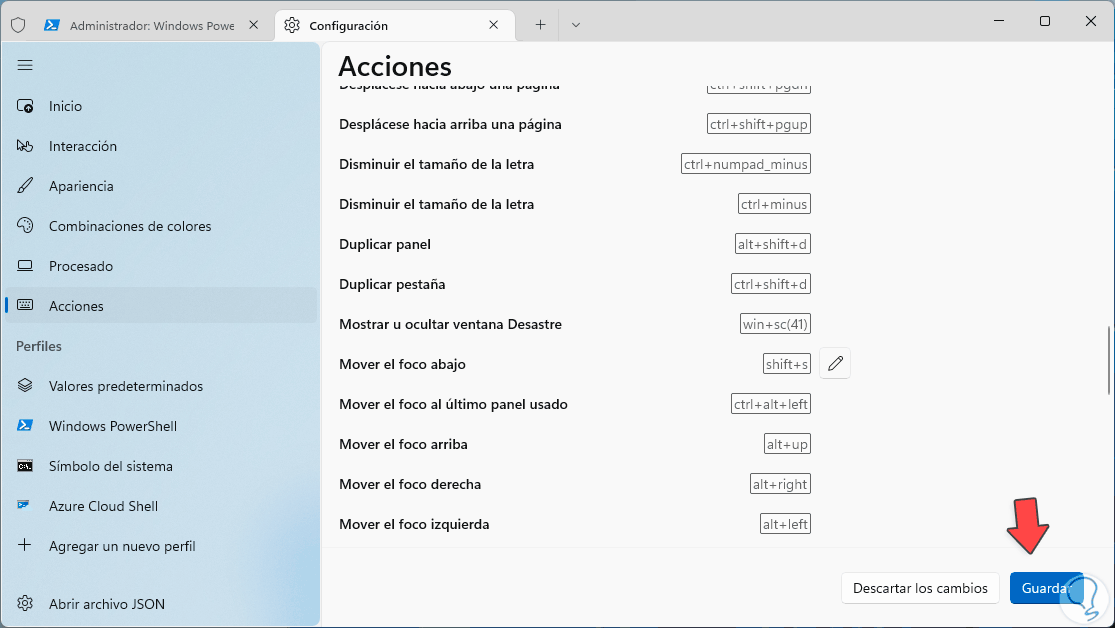
We apply the changes if necessary.
step 20
At the top we can click on "Add new" to create our own combination of orders in the Windows terminal:
step 21
There we can choose from the drop-down menu which action will be used and the respective key combination:
step 22
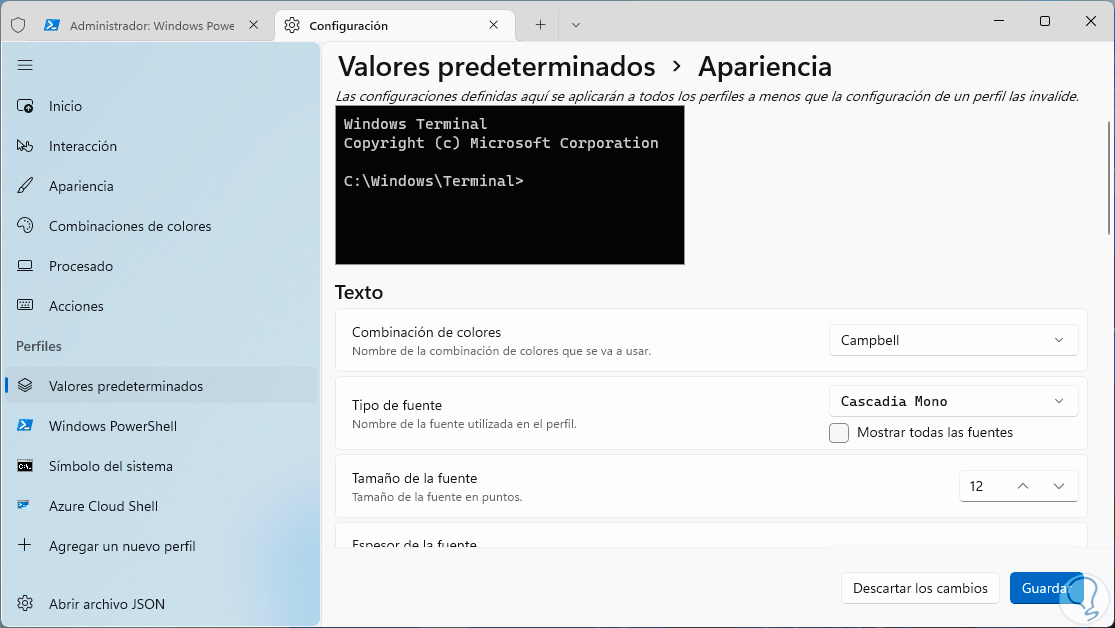
Now in the "Profiles" section we are going to click on "Default values" to see the following:
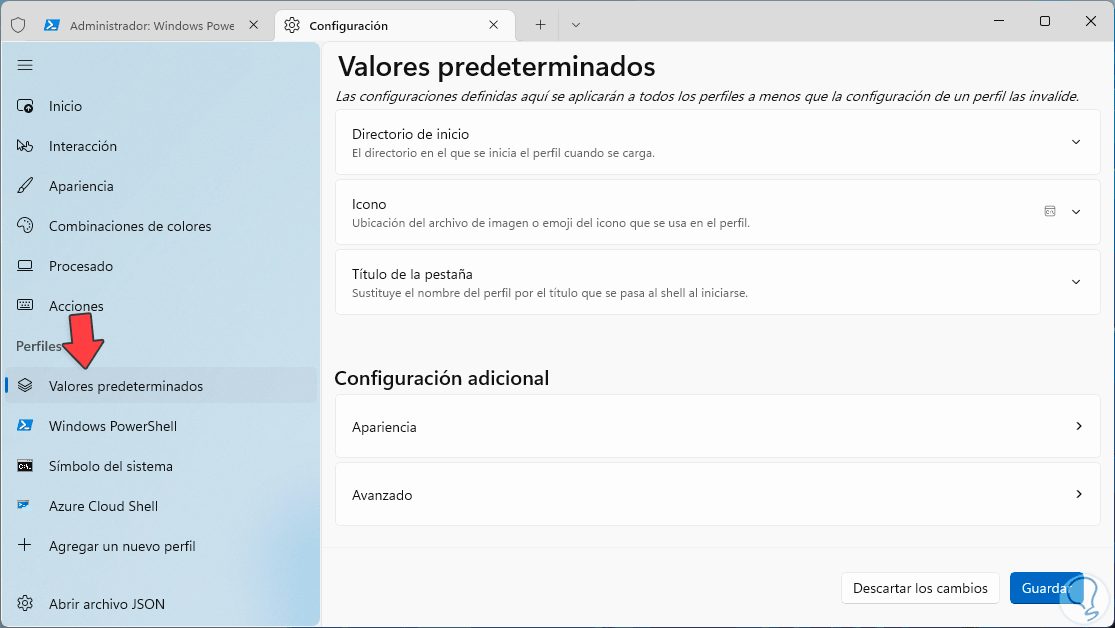
Step 23
In "Home directory" it will be possible to adjust the directory when loading the profile:

step 24
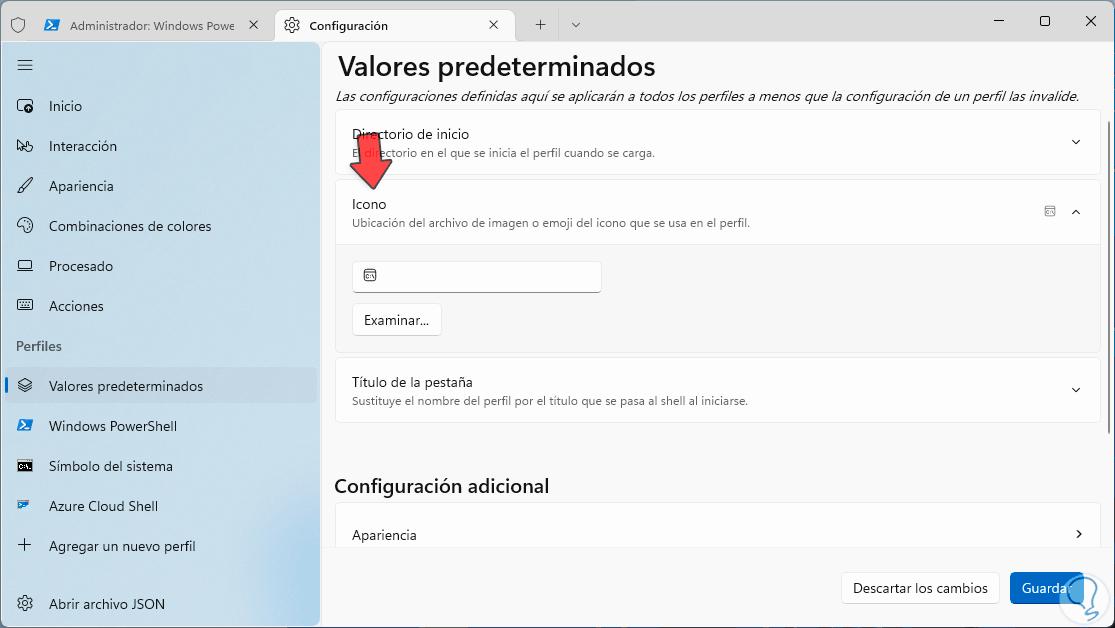
In "Icon" we can change the icon of the console if necessary:
step 25
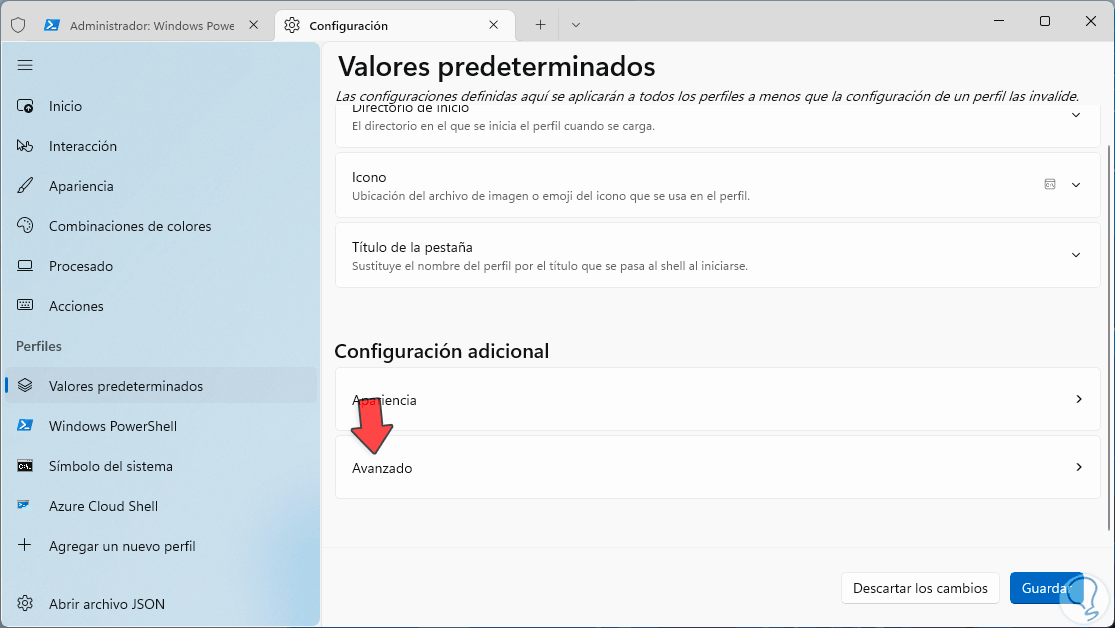
At the bottom in "Additional settings" we can click on "Appearance" to adjust the entire profile design:
Step 26
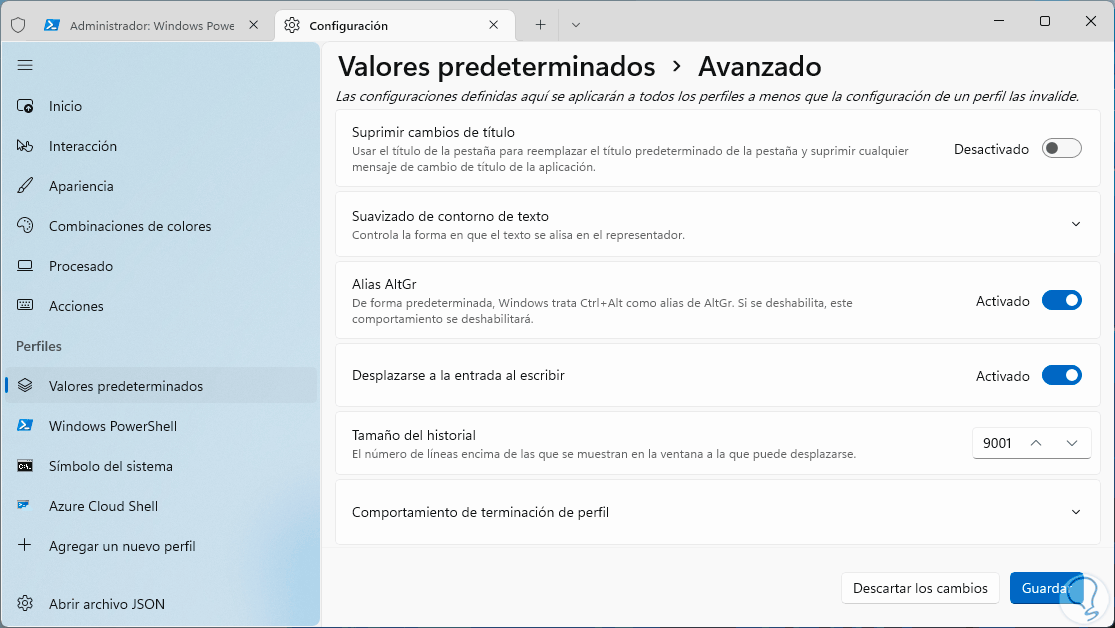
We go back to the main window and click on "Advanced":
Step 27
Now there it will be possible to configure some advanced options of the terminal profile:
Step 28
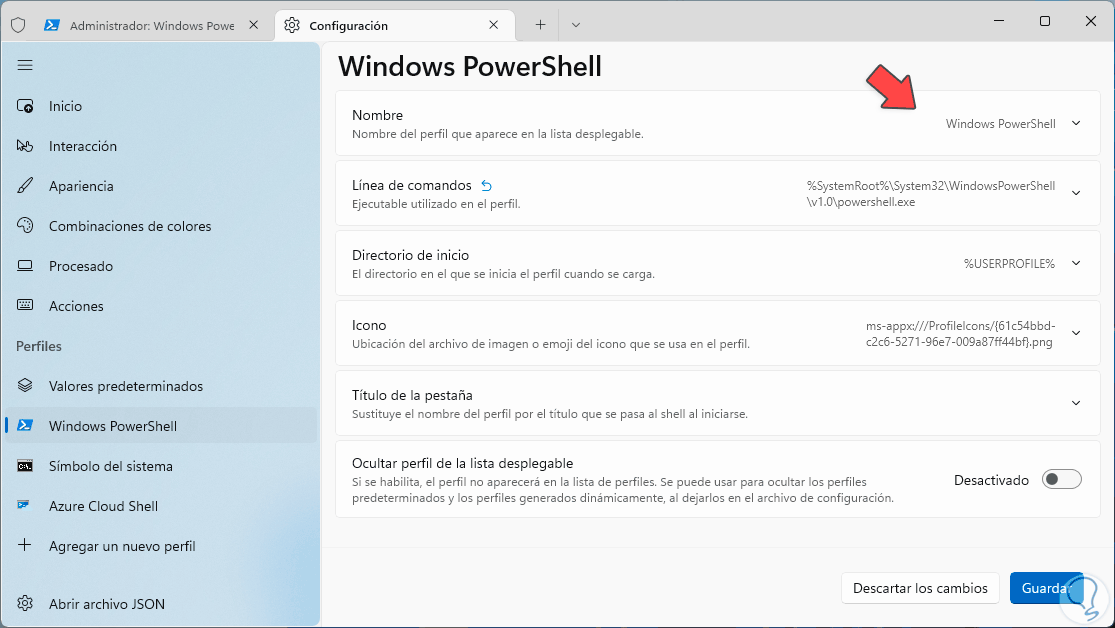
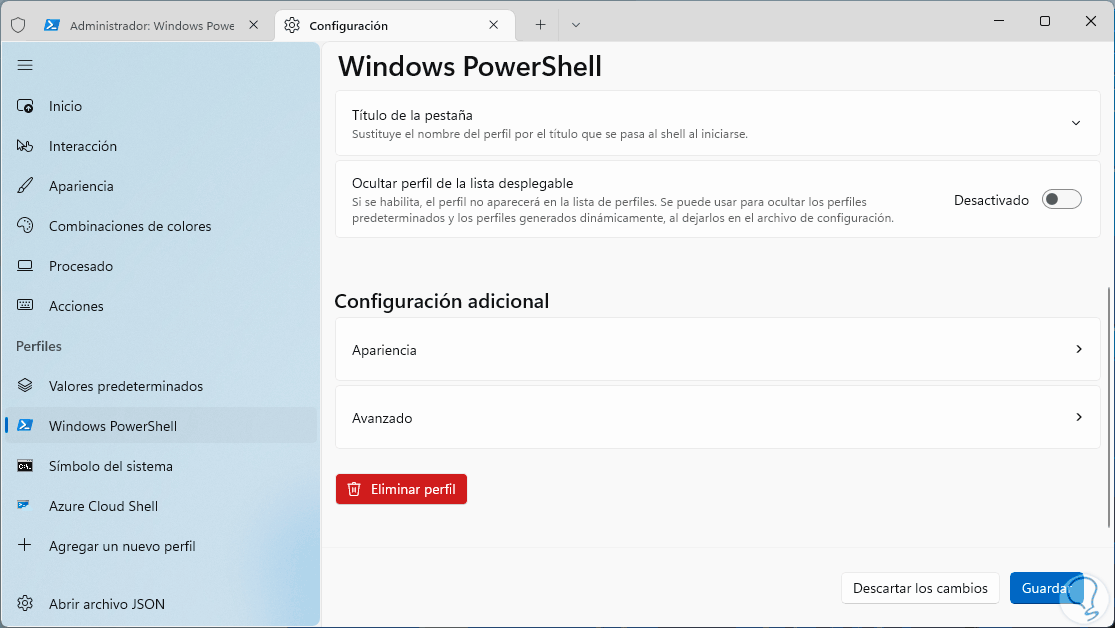
In the "Windows PowerShell" section it is possible to adjust the behavior of the console when used as PowerShell:
Step 29
We can change its name, change the executable to be used, modify its home directory, the icon and more, let's go to the bottom:
step 30
It is possible to click on "Appearance" to change these console display values:
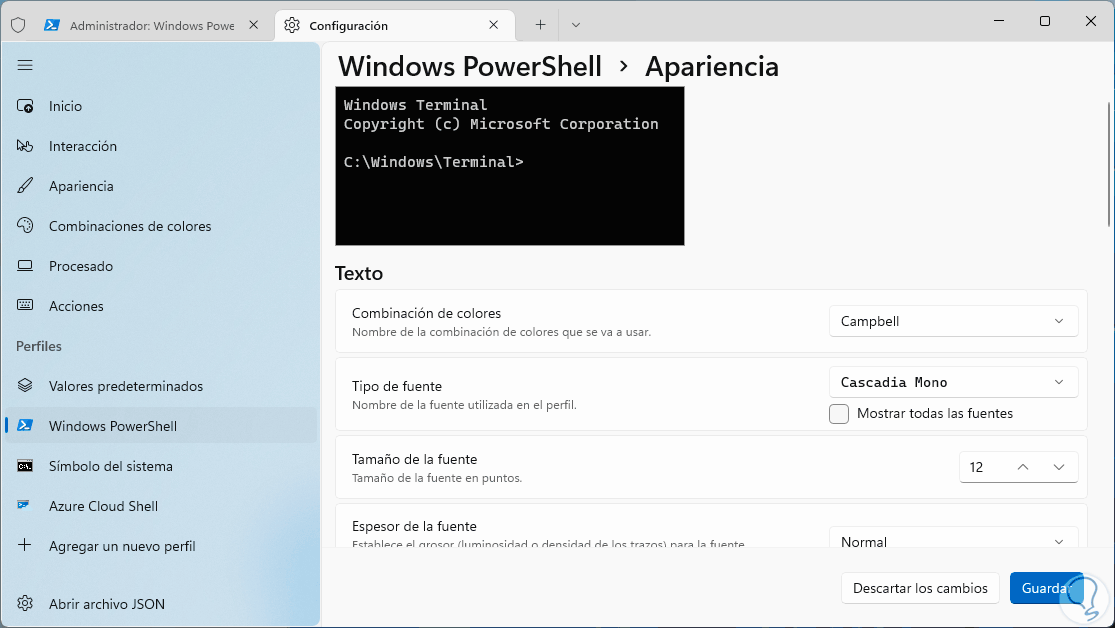
step 31
In the same way, in "Advanced" we will have access to some extra usage options:
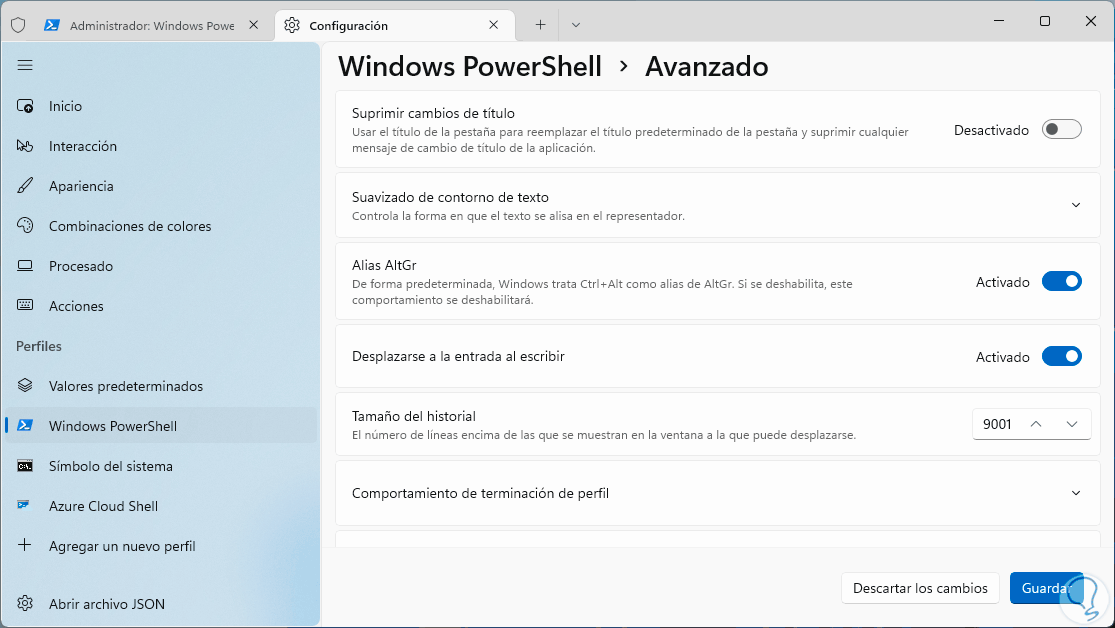
step 32
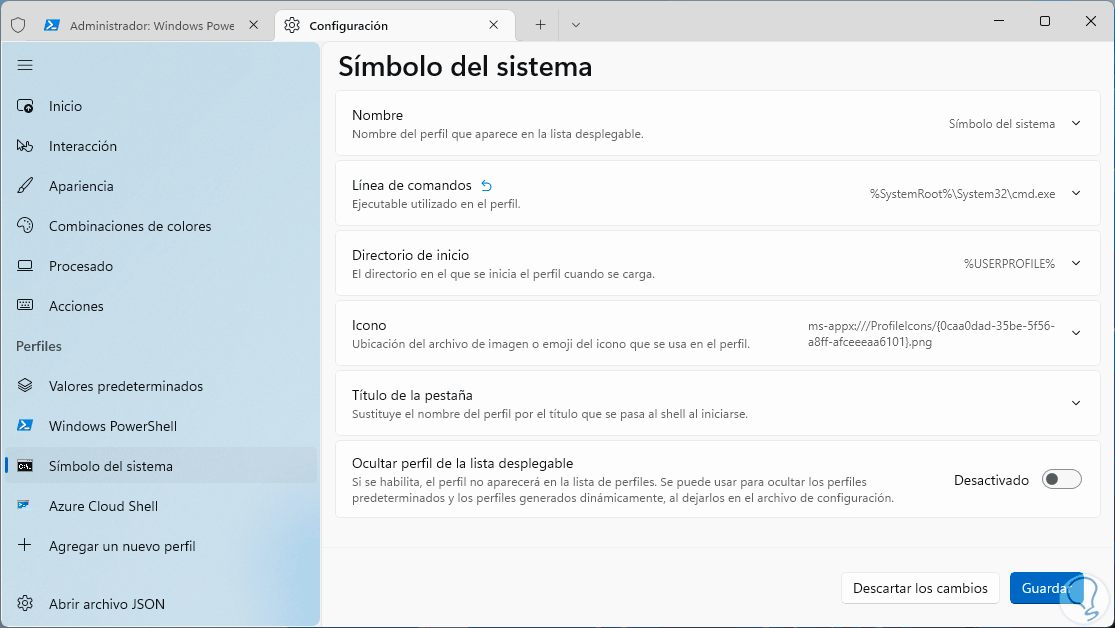
In the "Command Prompt" and "Azure Cloud Shell" sections we have the same options as in PowerShell:
Step 33
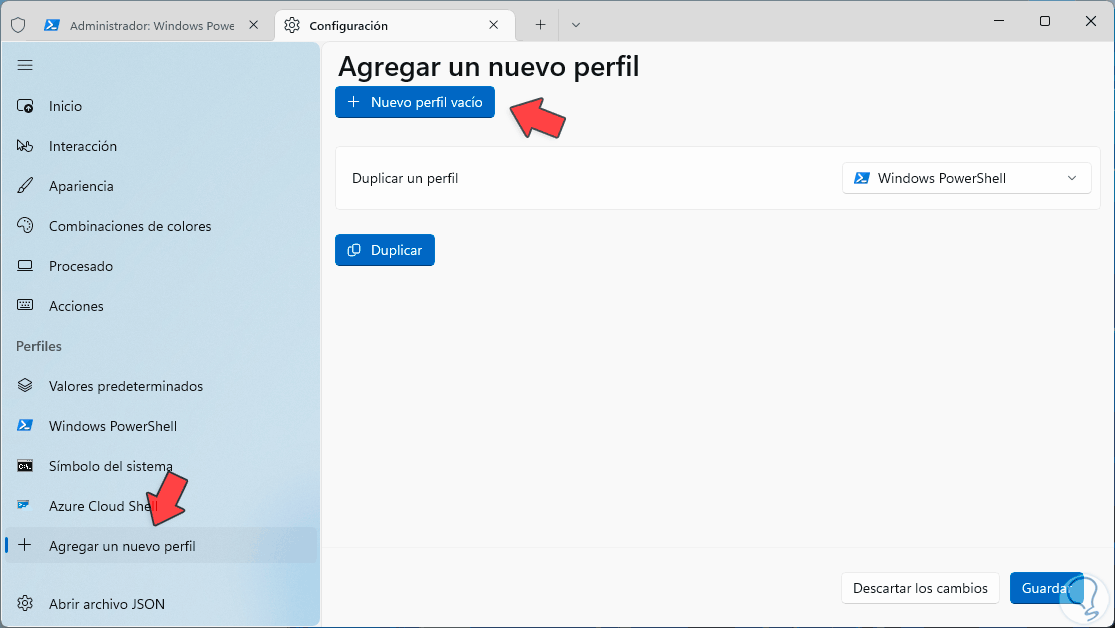
It is possible that we want to create our own profile, for this we click on "Add a new profile" and the following will open:
Step 34
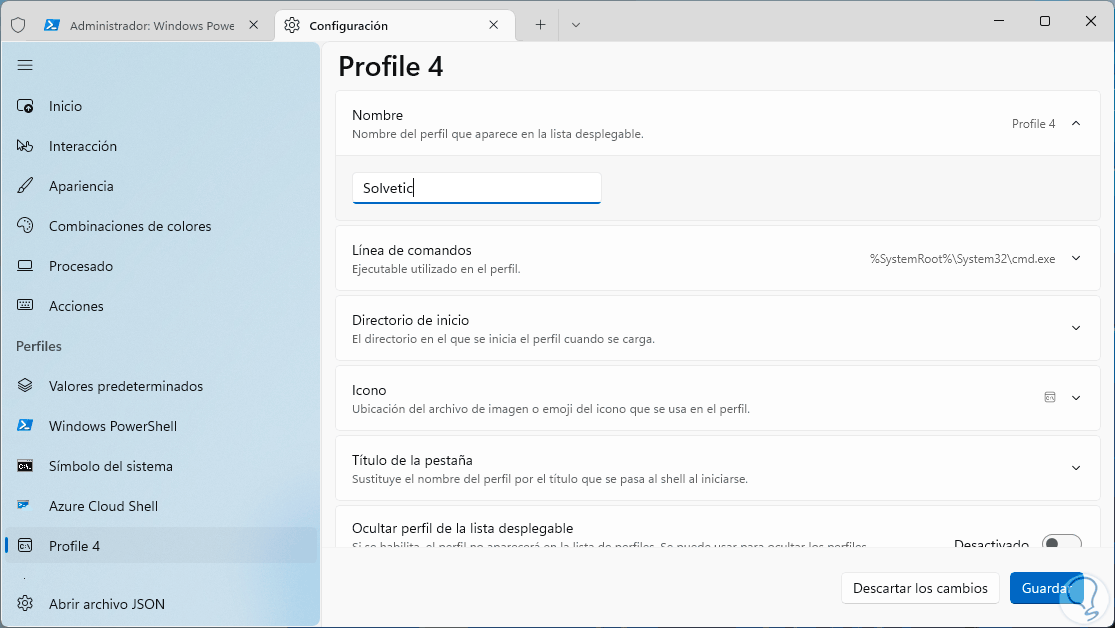
Then we click on "New empty profile" and now we assign the name and we will define the variables of this profile:
step 35
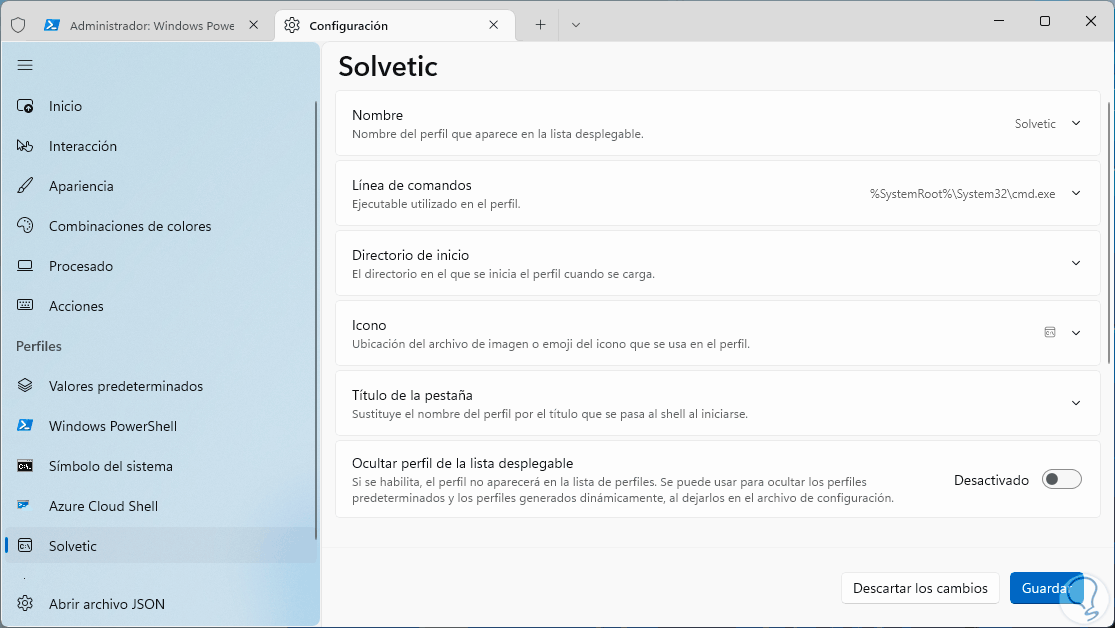
We see that we have all the options of the profiles seen:
Step 36
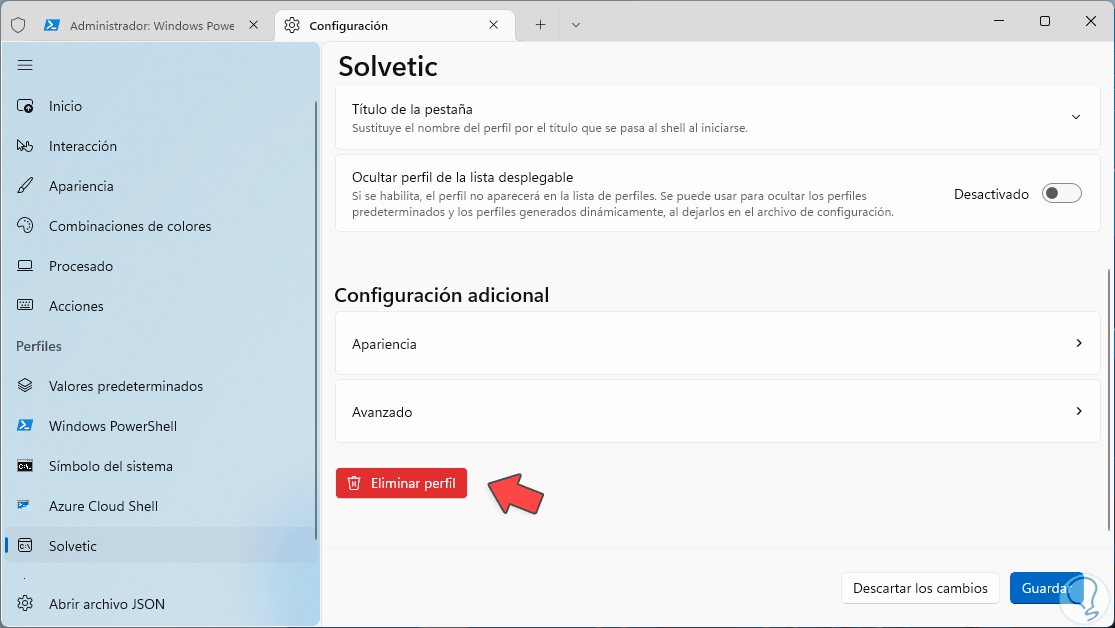
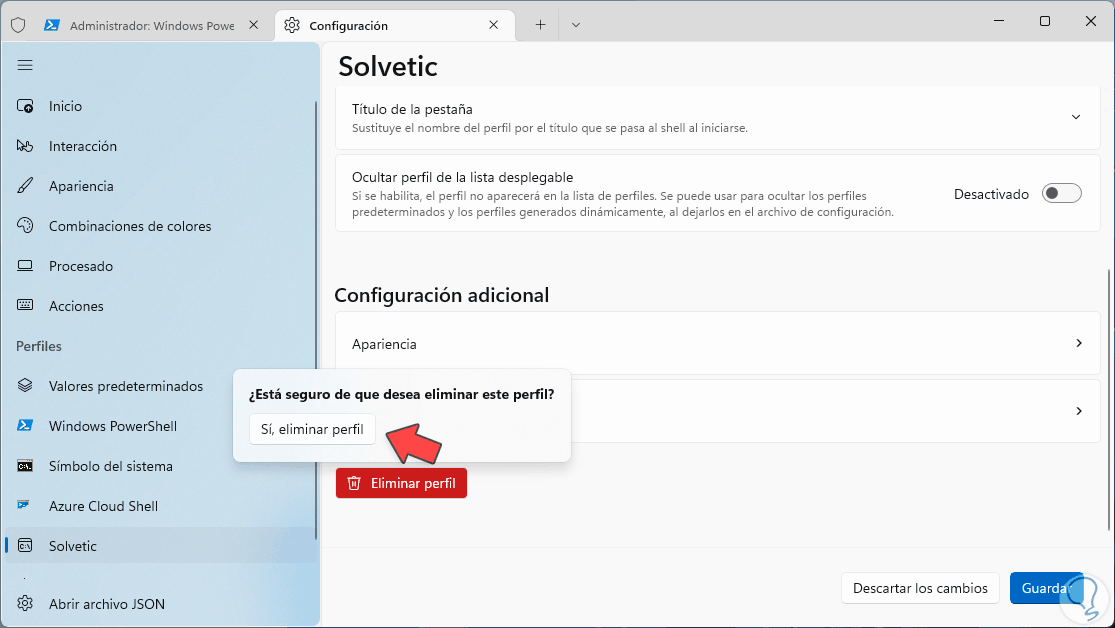
If the profile will no longer be viable, it is possible to open it and click on "Delete profile":
Step 37
Let's confirm the action and save the changes to remove this profile from the terminal:
Step 38
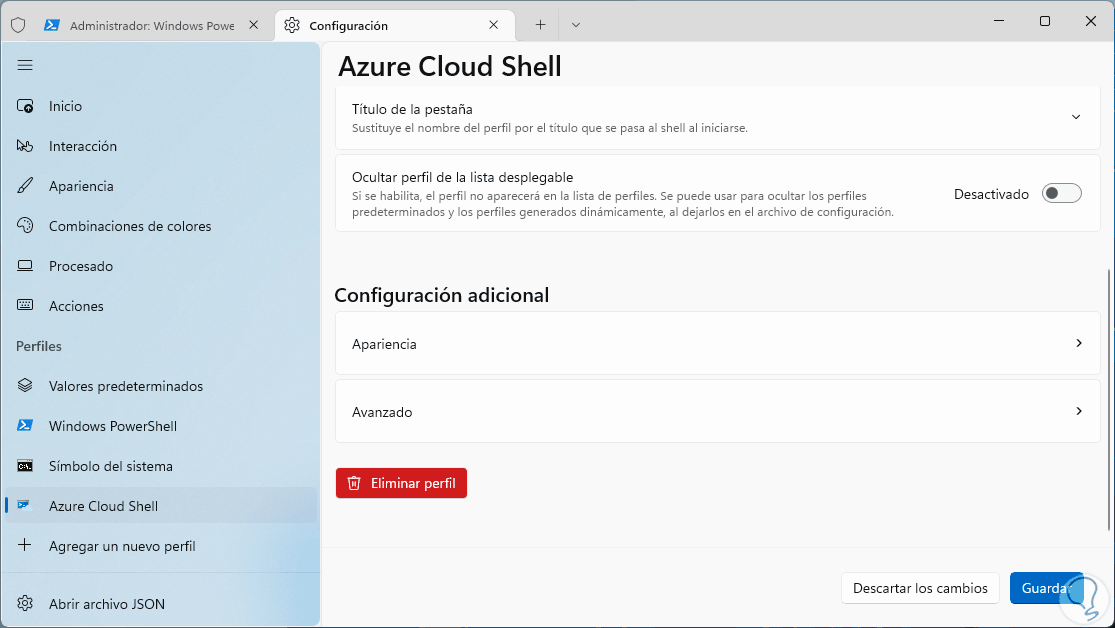
When applying the changes the profile will be deleted:
Step 39
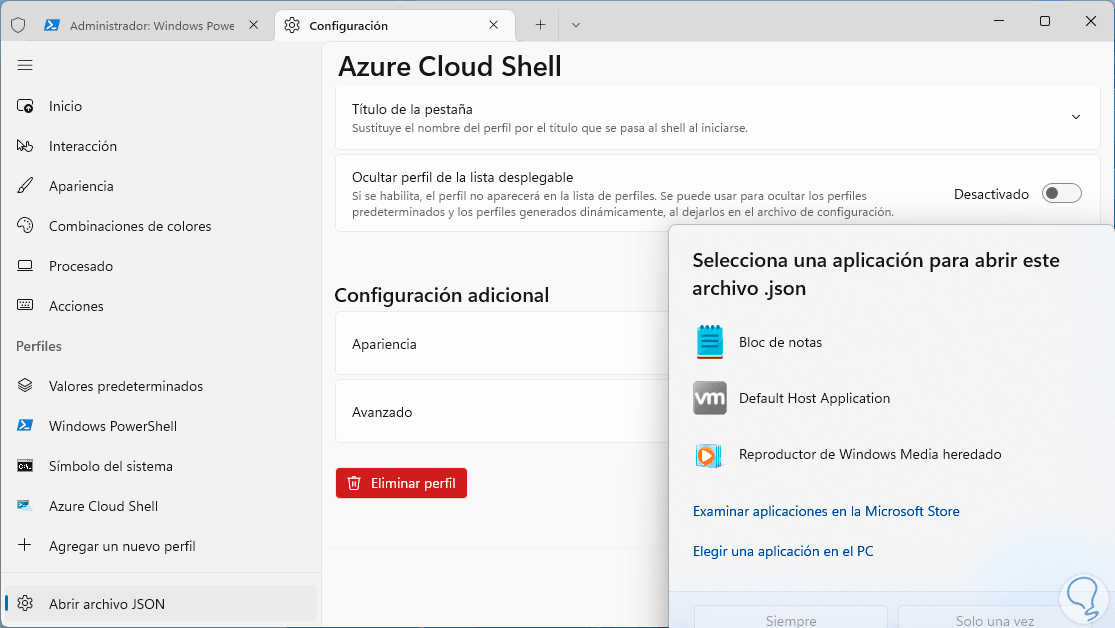
Finally we are able to create a backup copy of the terminal, for this we are going to click on "Open JSON file" and we must select with which application it will open:
step 40
We will see the following content:
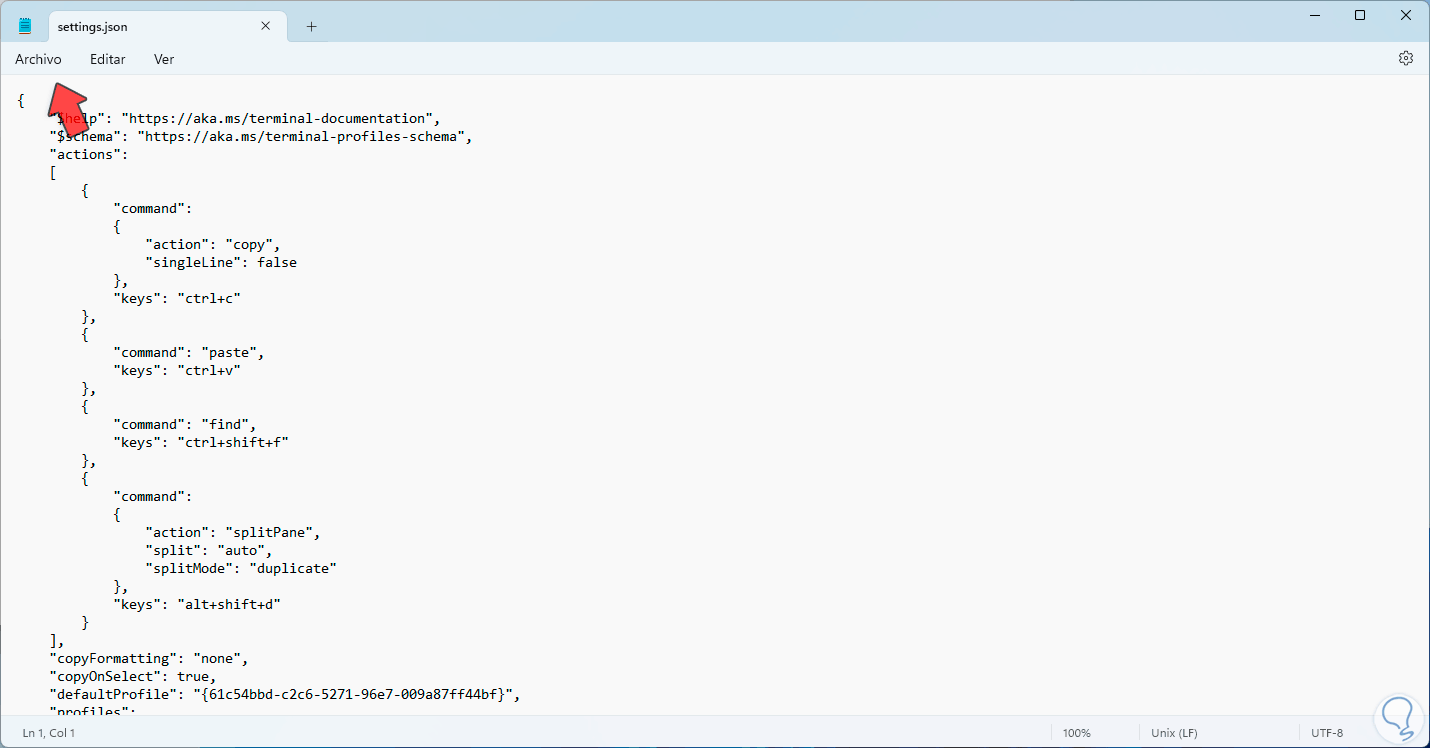
Step 41
There will be the entire structure of the terminal, there we will go to the "File" menu and then click on "Save as":
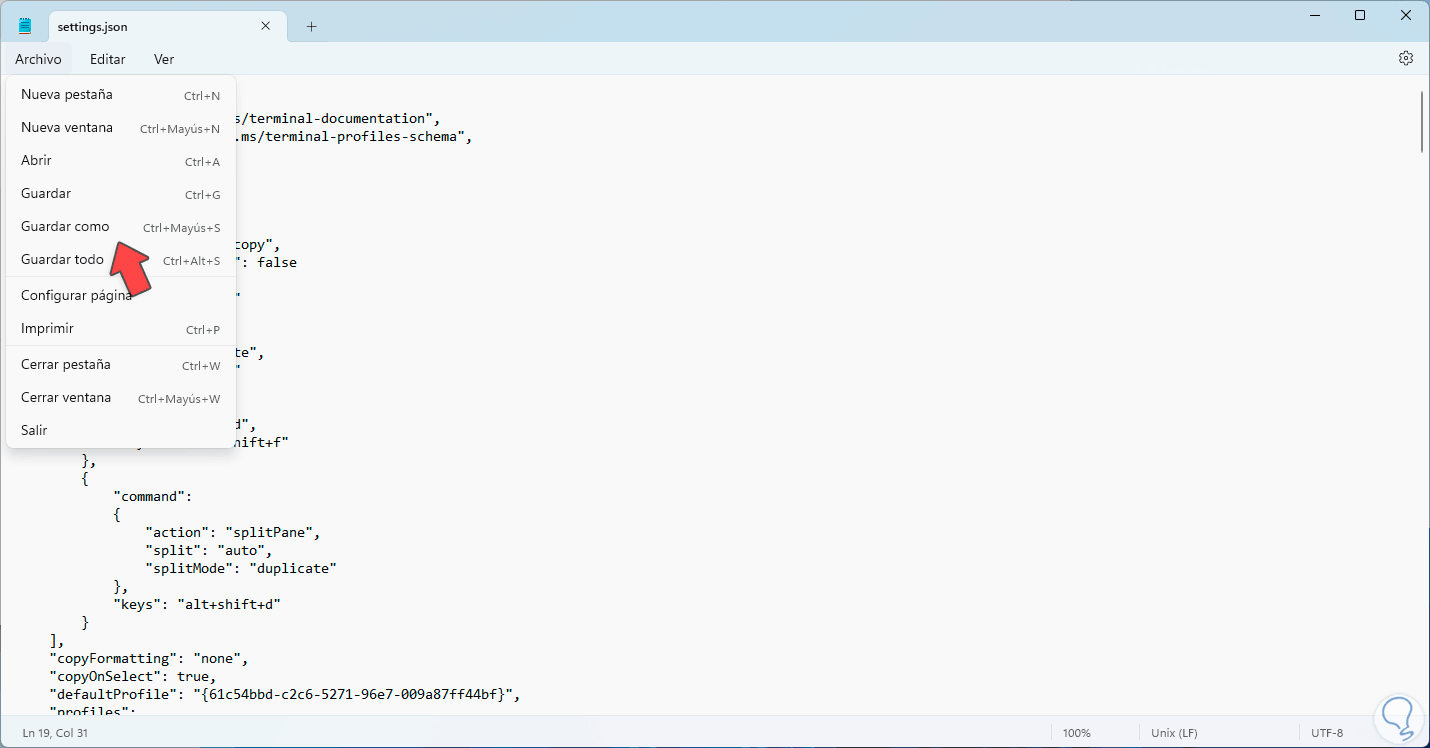
step 42
We assign a name and in the "Type" field we must select the "All files" option:
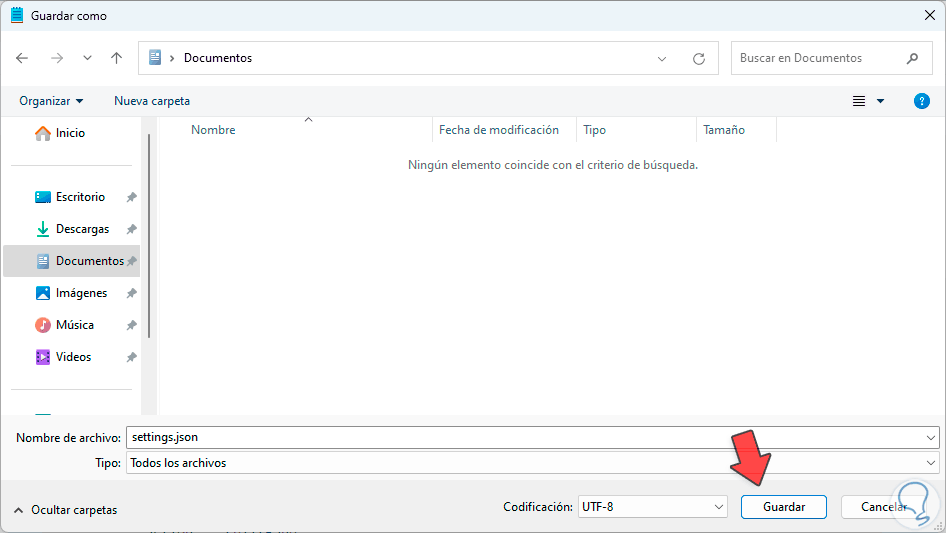
With this we will have a copy of the Windows terminal. This is the way we can manage and use the Terminal in Windows and have comprehensive access to each of its options, not only for use but also for appearance and management..